Last Updated on July 30, 2026 by Caleb Warren
Packing a camping backpack is less about filling every pocket and more about controlling weight, access, and weather protection. A well-organized load keeps dense gear close to your back, protects your sleeping system, and puts water, rain gear, navigation, and first aid where you can reach them without unpacking everything.
Quick Answer
Pack light, bulky sleep gear at the bottom; place dense items such as food and cookware in the middle, close to your back; and keep rain gear, first aid, a headlamp, snacks, and navigation near the top or in accessible pockets. Tighten compression straps and test the fully loaded pack before leaving.
Key Takeaways
- Keep the heaviest gear in the middle of the pack and close to your spine.
- Use the bottom for light, bulky items that you will not need until camp.
- Keep water, rain gear, first aid, lighting, snacks, and navigation easy to reach.
- Protect critical gear from water, secure every external item, and walk with the loaded pack before your trip.
At a Glance
| Time Required | About 15–30 minutes |
| Difficulty | Easy |
| Tools Needed | Camping backpack, gear checklist, stuff sacks or dry bags, and an optional luggage scale |
| Cost | No added cost if you already own the gear; waterproof liners or dry bags are optional purchases |
Disclosure: As an Amazon Associate I earn from qualifying purchases. Some links on this page are affiliate links, at no extra cost to you.
Why Backpack Packing Order Matters
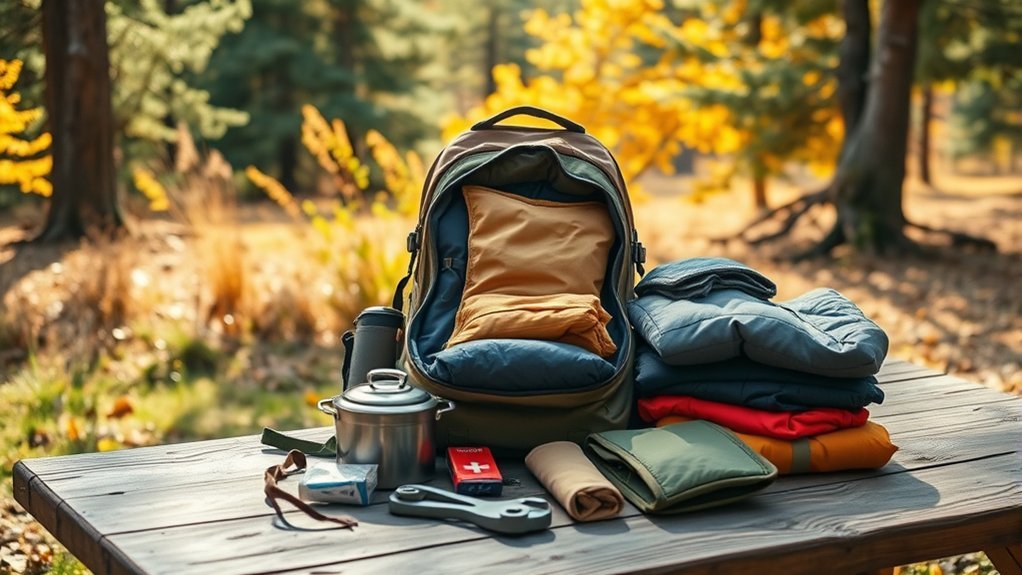
A backpack feels most stable when its dense items sit in the middle of the pack, close to your back. Light items can fill the bottom, while medium-weight and quick-access gear can sit above or in exterior pockets. This is also the loading pattern recommended in Osprey’s backpacking checklist.
Good packing does not make the load physically lighter, but it can reduce shifting, improve balance, and make the same gear easier to carry. It also prevents you from emptying the entire pack to reach a rain shell, water treatment, or first aid supplies.
The best-packed backpack keeps the heaviest gear close to your body and the most urgent gear close to your hands.
Check Backpack Fit Before You Load It
A perfect packing order cannot fix a poorly fitted backpack. The hipbelt should sit over your hip bones, the shoulder straps should wrap without large gaps, and the load-lifter straps should pull the upper pack toward your body. Use the pack maker’s fitting instructions; Osprey’s size and fit guide shows the basic adjustment sequence.
Sort Gear by When You Will Need It
Lay everything out before loading the pack, then divide it into four groups:
- Camp-only gear: sleeping bag, sleep clothes, and other items you will not need until you stop.
- Dense core gear: food, bear canister where required, cookware, stove, and other compact heavy items.
- Quick-access gear: rain shell, insulation layer, headlamp, first aid kit, navigation, snacks, water treatment, and sunscreen.
- Isolated or external gear: tent poles, wet footwear, fuel, trash, or anything that could leak, snag, or contaminate other items.
Pro Tip: Remove duplicate tools, oversized containers, and “just in case” items that do not match the route, forecast, or local regulations. A lighter gear list is more effective than trying to solve excess weight through packing order alone.
Packing the Bottom of the Backpack
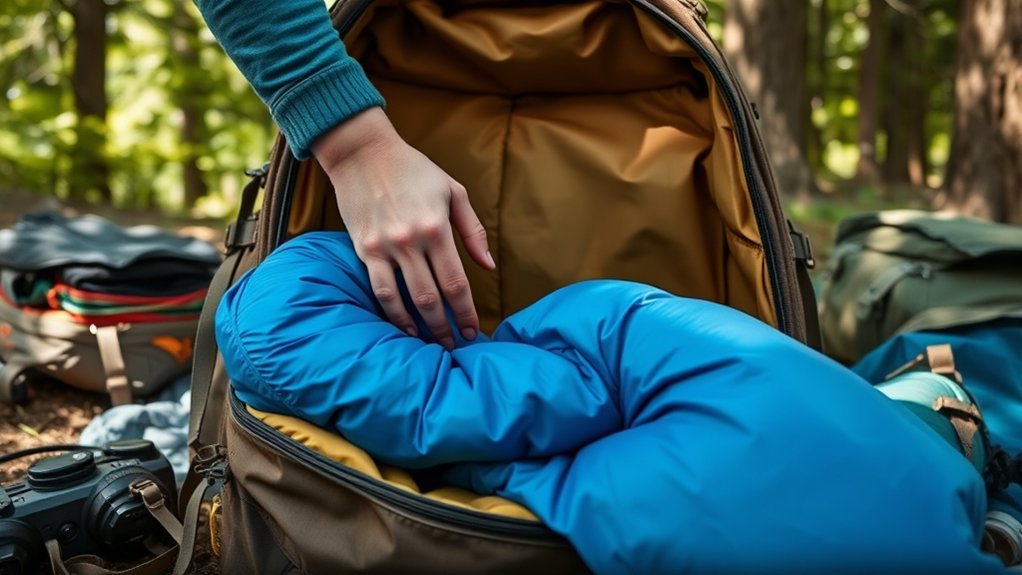
Use the bottom for light, bulky gear that you normally will not need until camp. Common choices include a sleeping bag, sleep clothes, a soft pillow, and an inflatable sleeping pad if it fits inside the pack. This creates a stable base without pulling the center of gravity too low.
Light Items Placement
Place your sleeping bag in its compartment or in a waterproof stuff sack at the bottom. Fill small gaps with sleep clothes or other soft gear. Avoid putting food, a full water container, or heavy cookware at the very bottom because dense weight below the hipbelt can make the pack feel less balanced.
Cushioning and Lumbar Support
Soft items in the bottom can help fill empty space, but they do not replace a correctly fitted hipbelt, harness, and back panel. True load support comes from the backpack’s suspension and fit. Keep hard edges away from the back panel, and use spare clothing around dense items to stop them from shifting.
Note: Protect your sleeping bag and sleep clothes with a pack liner or sealed dry bag. A wet sleeping system can turn a manageable weather change into a serious problem.
Packing the Middle Section for Balance
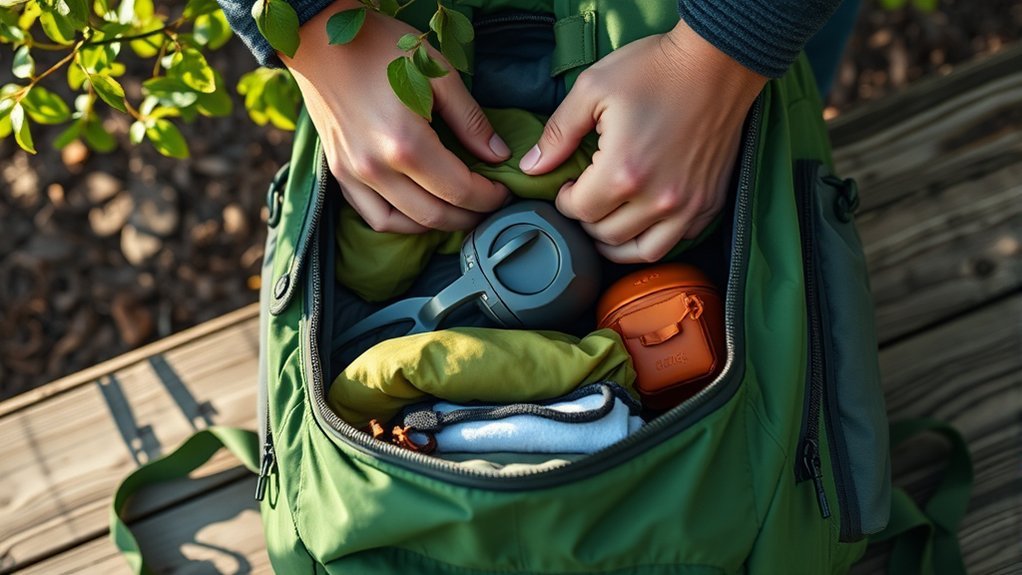
Put the heaviest and densest items in the middle of the backpack, close to your spine and between the level of your hips and shoulder blades. Typical items include a food bag or bear canister, cookware, a stove, and other compact gear. Keep hard corners away from the back panel and fill open spaces so the load cannot shift.
When a bear-resistant container is required, carry it inside the pack and follow the destination’s rules for what must go inside it. Yosemite National Park, for example, requires food, trash, toiletries, and other scented items to be stored properly and explains that a bear canister works best when carried inside the backpack. See the Yosemite food-storage guidance.
Warning: Do not bury bear spray inside the backpack. In bear country, carry it in a holster on your belt or hipbelt where you can reach it immediately, and learn how to use it before the trip. Follow local rules and the product label. The U.S. Forest Service bear-safety guidance specifically recommends keeping bear spray accessible.
Organizing the Top of the Backpack
Load a hydration reservoir into the backpack’s dedicated reservoir sleeve, usually close to the back panel, before the main compartment is full. Fill it, close it, check for leaks, and route the hose before packing around it. A reservoir should not normally float loose in the top compartment.
Use the upper main compartment and top lid for items you may need during the day: a rain shell, warm layer, first aid kit, headlamp, map and compass, snacks, sunscreen, and water-treatment supplies. The National Park Service’s Ten Essentials includes extra clothing, illumination, first aid, extra food, hydration, and emergency shelter.
Tent placement depends on the pack and conditions. If rain is likely or you expect to set up shelter quickly, keep the tent body and rain fly near the top. Tent poles can ride vertically inside the pack or on secure exterior attachment points. Do not let poles, stakes, or straps dangle.
Here is a practical placement guide:
| Item | Best Placement |
|---|---|
| Sleeping bag and sleep clothes | Bottom compartment in waterproof protection |
| Food, bear canister, and cookware | Middle of the pack, close to the back |
| Hydration reservoir | Dedicated reservoir sleeve near the back panel |
| Rain gear, first aid, headlamp, and navigation | Top compartment, lid, front pocket, or hipbelt pocket |
| Tent poles or camp shoes | Inside vertically or firmly attached outside without dangling |
Utilizing External Pockets Effectively
External pockets are for items you need while moving, not for random overflow. Use side pockets for water bottles or a filter, hipbelt pockets for snacks and small navigation tools, and a front stretch pocket for a rain shell or damp layer. Keep the headlamp and first aid kit in a consistent, easy-to-find location.
Store a trowel, toilet paper, and waste bags together in a sealed kit, away from food. Check the local rules because some areas require human waste and toilet paper to be packed out. Camp shoes can ride outside only when firmly secured. Loose footwear, mugs, straps, and tools can snag branches, swing into your legs, or fall off unnoticed.
Additional Packing Tips for a Successful Trip
Optimize Weight Distribution
- Keep dense gear centered from left to right so one shoulder is not carrying more of the load.
- Place the heaviest items close to the back rather than against the outer face of the backpack.
- Use clothing or soft gear to fill gaps around hard items and prevent shifting.
- Tighten side and bottom compression straps after the pack is loaded.
- Secure fuel containers upright, tightly closed, and separated from food according to the stove manufacturer’s instructions.
- Avoid relying on one universal body-weight percentage. Pack design, terrain, trip length, conditioning, and personal comfort all affect a manageable load.
Pack for Weather Changes
Weather protection works best in layers. A pack cover can reduce direct rain exposure, but critical gear should still be protected inside the backpack.
- Keep a lightweight rain shell near the top or in the front pocket.
- Pack an insulating layer where it can be reached without disturbing the main load.
- Use a pack liner or sealed dry bags for the sleeping bag, spare clothing, electronics, and paper maps.
- Carry an emergency blanket, bivy, or other shelter appropriate for the route.
- Download maps and forecasts before leaving service, and do not depend on a phone as your only light or navigation tool.
Test and Adjust the Loaded Pack
Close every buckle and zipper, tighten compression straps, and lift the pack by its haul loop. Nothing should shift sharply or protrude into your back. Put the pack on, tighten the hipbelt first, then the shoulder straps, load lifters, and sternum strap. Walk for at least 10 minutes, use stairs or a small hill if available, and correct any leaning, bouncing, pressure points, numbness, or rubbing before the trip.
Pro Tip: Photograph the finished load or write a simple zone list. Repacking is faster at camp when you know where each category belongs.
Common Backpack Packing Mistakes
- Heavy gear at the bottom: Move it upward and close to your back.
- Heavy gear far from the spine: Repack it against the back panel so it does not pull you backward.
- A reservoir added last: Empty the pack and place the filled, leak-checked reservoir in its sleeve first.
- Emergency items buried: Move first aid, lighting, rain gear, navigation, and water treatment to accessible locations.
- Too much gear outside: Bring items inside or secure them tightly to designed attachment points.
- Only a rain cover for waterproofing: Add internal protection for the sleeping system and electronics.
- Perishable food without a cold source: Use shelf-stable food or keep perishables at 40°F or below with frozen gel packs. USDA guidance says perishables should not remain in the 40°F–140°F range for more than two hours, or one hour when the air temperature is above 90°F. See USDA food safety while hiking and camping.
Frequently Asked Questions
What type of backpack is best for camping?
Choose a backpack that fits your torso and hips, carries the expected load within the manufacturer’s recommended range, and has a supportive hipbelt, compression straps, and enough capacity for the trip. A hydration sleeve and practical exterior pockets are useful, but fit matters more than extra features.
How do I clean my backpack after a trip?
Follow the care label or manufacturer’s instructions. Empty every pocket, shake or brush out dirt, and spot-clean with mild soap and lukewarm water. Rinse away soap and air-dry the pack completely away from direct heat. Do not machine-wash or machine-dry it unless the manufacturer specifically allows that method.
Can I pack food in my backpack safely?
Yes. Shelf-stable foods are simplest for overnight backpacking. Perishable foods need an insulated container and a cold source that keeps them at 40°F or below. In bear country, follow the exact storage rules for the park or forest and treat trash, toiletries, and other scented items like food.
What should I wear while hiking with a packed backpack?
Wear moisture-wicking base layers, weather-appropriate insulation, a rain shell, supportive footwear, and socks that manage moisture. Avoid seams, buckles, or thick items under the hipbelt and shoulder straps because they can create pressure points.
How do I prevent my backpack from getting wet?
Use a pack cover to reduce rain exposure, but place your sleeping bag, spare clothes, electronics, and paper items in a waterproof pack liner or sealed dry bags. Close every zipper and opening, and keep wet gear separate from dry insulation.
How heavy should my camping backpack be?
There is no single safe percentage for every person or trip. Keep the load as light as practical, stay within the backpack maker’s load guidance, and account for terrain, weather, water carries, conditioning, and trip length. Test the full load before departure and remove nonessential items if it causes pain, numbness, or poor balance.
Where should I pack my tent?
Keep it near the top when you may need shelter quickly or expect rain. Otherwise, the tent body can fit vertically inside the pack, while poles can be secured vertically inside or on exterior attachment points. Keep stakes covered and make sure nothing dangles.
Should a sleeping bag always go at the bottom?
Usually, because it is light, bulky, and not needed until camp. Keep it inside waterproof protection. Change the plan only when the backpack design, weather, or a wet sleeping bag makes another location safer.
Conclusion
Pack in zones: light camp gear at the bottom, dense gear in the middle and close to your back, and frequently used safety items near the top or in accessible pockets. Then waterproof the essentials, secure the outside of the pack, tighten the compression straps, and test the full load.
A few minutes of repacking before the trip can prevent constant stops, poor balance, and soaked gear later. The goal is not a perfectly neat backpack; it is a stable load that lets you reach what you need when you need it.
Sources
- Osprey Backpacking Checklist — pack zones, heavy-item placement, quick-access pockets, and reservoir sleeves.
- Osprey Backpack Size and Fit Guide — torso, hipbelt, harness, and loaded-pack adjustment.
- National Park Service Ten Essentials — weather layers, lighting, first aid, food, water, and emergency shelter.
- Yosemite National Park Food Storage While Backpacking — bear-canister contents, use, and transport.
- U.S. Forest Service Bear Safety — accessible bear-spray carry and bear-country practices.
- USDA Food Safety While Hiking and Camping — cold storage, time limits, and safe outdoor food handling.