
Last Updated on September 10, 2026 by Caleb Warren
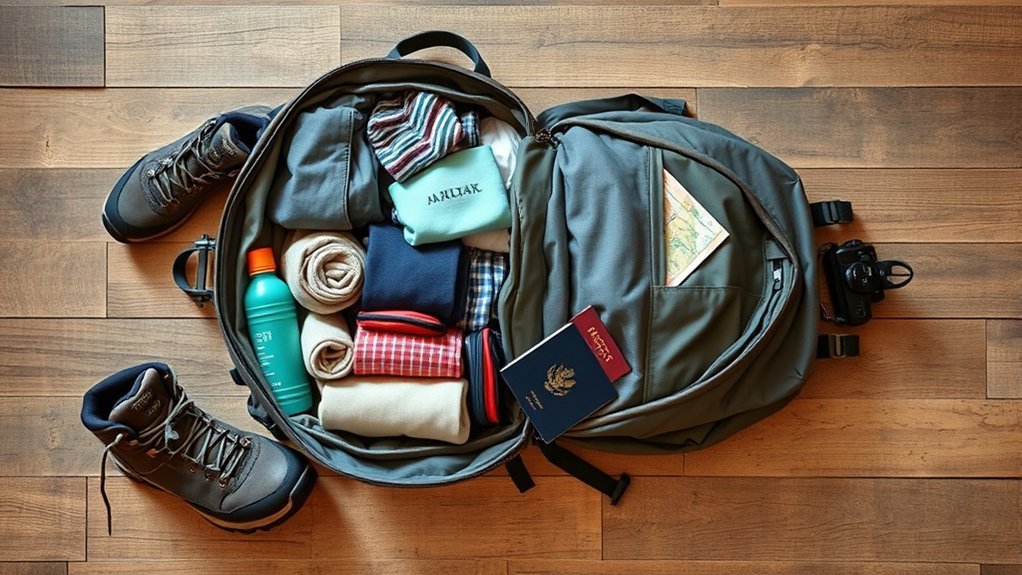
Packing a travel backpack well is less about squeezing in more and more about choosing the right items, placing them where they carry comfortably, and keeping important gear easy to reach. A simple plan helps you travel lighter, pass through airport screening faster, and avoid unpacking your whole bag whenever you need a charger or rain jacket.
Quick Answer
To pack a backpack for travel, make a trip-specific checklist, confirm your airline’s size and weight limits, use versatile clothing, and group small items in cubes or pouches. Place dense items near the center of your back, keep essentials accessible, separate liquids, and finish with a loaded fit and weight check.
Key Takeaways
- Choose a backpack by its external dimensions, fit, and loaded comfort—not its liter capacity alone.
- Pack only for the weather, activities, and laundry access you realistically expect.
- Keep heavier items centered close to your back and lighter items around them.
- Carry medicines, documents, valuables, and power banks where you can reach and protect them.
- Leave a little empty space and test the fully packed bag before departure.
At a Glance
| Time Required | 20–40 minutes |
| Difficulty | Easy |
| Tools Needed | Checklist, tape measure, optional luggage scale, packing cubes or pouches |
| Cost | $0 with gear you own; about $10–$50 for optional organizers, bottles, or an ID tag |
Disclosure: As an Amazon Associate I earn from qualifying purchases. Some links on this page are affiliate links, at no extra cost to you.
Assess Your Travel Needs

Start with the trip rather than the bag. Note the trip length, forecast, planned activities, transportation, laundry access, and local dress expectations. A city break with hotel laundry needs a different kit from a rainy hiking trip or a journey with frequent train changes.
Check the forecast close to departure, but pack for a useful range instead of every unlikely possibility. One warm layer and one rain layer are often more practical than several bulky backup outfits. For places with religious sites, formal venues, or conservative dress customs, include clothing that covers the shoulders or knees when needed.
Build a Travel Packing Checklist
Divide your list into a few simple groups so it is easy to review:
- Documents and money: passport or ID, tickets, payment cards, insurance details, and required visas.
- Clothing: tops, bottoms, underwear, sleepwear, outer layers, and activity-specific items.
- Health and toiletries: medicines, basic first aid, hygiene products, sunscreen, and insect repellent when appropriate.
- Technology: phone, charger, plug adapter, headphones, and only the cables you will use.
- Daily essentials: water bottle, snacks, glasses, reusable bag, and a small laundry bag.
Lay everything out before placing it in the backpack. Remove duplicate items and anything that does not match a planned activity. This visual check is one of the fastest ways to prevent overpacking.
Choose the Right Backpack
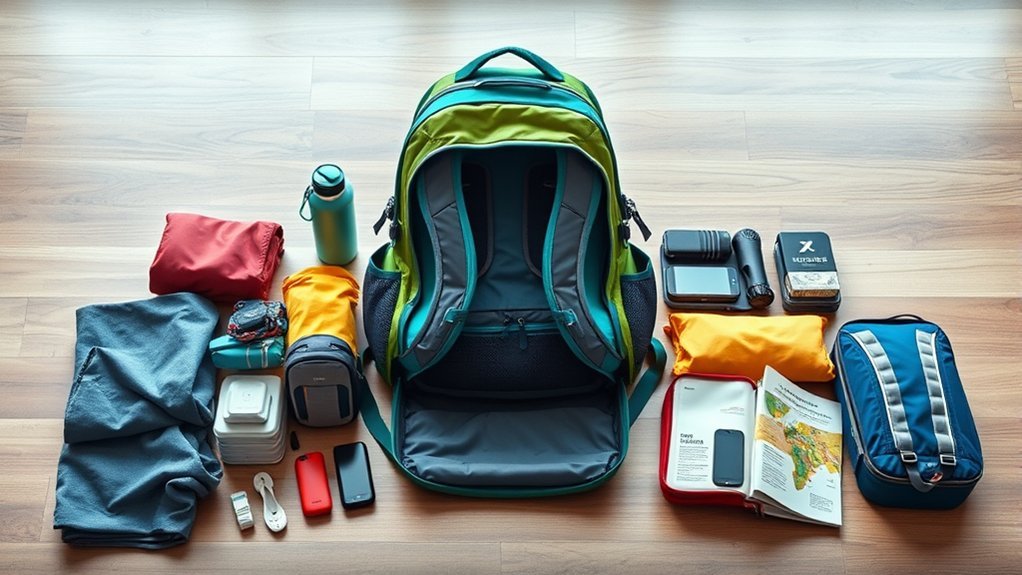
Select the smallest backpack that comfortably holds your tested packing list. Capacity in liters is useful for comparison, but airlines judge a bag by its outside dimensions and weight. Carry-on allowances vary by airline, cabin, route, and aircraft, so compare the packed bag with the operating airline’s current rules before leaving home. The International Air Transport Association notes that cabin-baggage limits are not universal.
Look for a comfortable harness, adjustable shoulder straps, a sternum strap, and—on larger packs—a supportive hip belt. Try the backpack with realistic weight inside. It should sit close to your body without pulling backward, pinching your shoulders, or restricting normal movement.
- Short, light trips: A compact pack may be enough when you have a small wardrobe and reliable laundry access.
- Carry-on-focused trips: Choose by the airline’s dimensional limit, not by a marketing label such as “carry-on ready.”
- Long or gear-heavy trips: A 60–65L model, including packs such as the Osprey Sojourn Porter 65L, offers more room but may need to be checked because its dimensions can exceed many cabin limits.
- Daily excursions: A packable daypack can hold water, a layer, and small essentials without the bulk of the main bag.
Pro Tip: Measure the fully packed backpack at its widest points, including stuffed pockets, straps, handles, and wheels. Soft bags can become too large when overfilled.
Opt for Lightweight Clothing
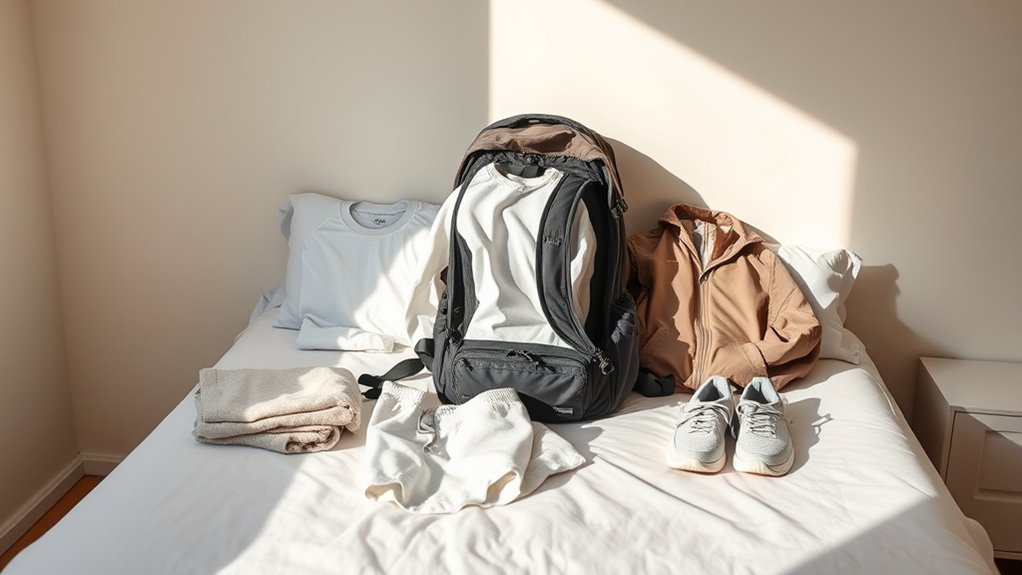
Choose clothing that is comfortable, easy to combine, and suitable for more than one setting. Merino wool and many synthetic blends can dry faster than heavy cotton, which is helpful when hand-washing or moving between climates. Cotton can still work well in hot, dry conditions, but it becomes slow to dry when soaked.
A practical travel wardrobe usually includes a small number of neutral basics, one or two accent pieces, underwear and socks for the period between washes, comfortable walking shoes, and a weather layer. Wear the bulkiest shoes or jacket during transit when practical.
Pack “what if” items only when the consequence of not having them is serious and replacement would be difficult. Common toiletries and basic clothing are available in many destinations, while prescription medicine, specialty gear, or unusual sizes may not be.
Master the Art of Layering
Layering lets one compact wardrobe handle changing temperatures. Instead of packing separate outfits for every condition, combine light pieces that work together.
Choose Versatile Pieces
- Base layer: A breathable shirt worn next to the skin.
- Mid-layer: A fleece, sweater, or light insulated jacket for warmth.
- Outer layer: A wind-resistant or waterproof shell suited to the forecast.
Neutral colors make mixing easier, but every item does not need to match perfectly. Focus on pieces you will genuinely wear. A scarf, hat, or compact pair of gloves can add warmth without taking much space.
Prioritize Lightweight Fabrics
Favor fabrics that breathe, resist wrinkles, and dry within your travel schedule. Test hand-washing at home if you plan to wash clothing in a sink. A fabric that remains wet overnight may be inconvenient in a humid destination even if it is sold as “quick drying.”
Do not sacrifice comfort for the lowest possible weight. Seams, waistbands, and fabric texture that feel fine for ten minutes may become irritating after a full day of walking.
Utilize Packing Cubes for Organization
Packing cubes do not create extra capacity, but they make a backpack easier to manage. Use one cube for tops and bottoms, another for underwear, and a separate bag for laundry. Small pouches also keep cables, medicines, and loose accessories from spreading through the bag.
The best packing system is the one that lets you find an essential item without emptying the entire backpack.
Compression cubes can reduce the volume of soft clothing, but they can also make it easy to exceed an airline’s weight limit. Use compression to control bulk, not as permission to add more items. Resealable plastic bags are useful for leak protection, but avoid sealing damp clothing for long periods because trapped moisture can create odor or mildew.
Pack Your Backpack in the Right Order
- Prepare the bag: Close unused straps, open the main compartment, and place a rain cover or liner where it is easy to reach.
- Fill the bottom: Put light, bulky items you will not need during transit—such as sleepwear or a soft jacket—at the base.
- Build the center: Place dense items near the middle of the bag and close to your back. This creates a steadier center of gravity. The REI backpack-loading guide also recommends keeping heavy gear centered rather than too low or too high.
- Cushion the load: Arrange clothing cubes around hard objects so corners do not press into your back.
- Use the top and outer pockets: Store a rain layer, liquids bag, snacks, headphones, and other items needed during the journey.
- Protect fragile gear: Use a padded sleeve for a laptop or tablet and keep it against the structured back panel when the bag is designed for that position.
- Balance both sides: Avoid placing all dense items on one side, which can twist the pack while walking.
Note: A travel backpack used mainly in airports may be packed more like a suitcase, while a pack carried for hours benefits most from careful weight placement.
Streamline Your Tech Gear
Bring only the devices and cables that serve a clear purpose. A multi-port charger can replace several wall plugs, and a labeled cable pouch prevents tangles. A universal plug adapter may fit several outlet types, but an adapter changes the plug shape—it does not automatically convert voltage. Check the input range printed on each charger before connecting it abroad.
Keep a portable charger where it can be removed quickly. Under current Federal Aviation Administration guidance, spare lithium batteries and power banks belong in carry-on baggage, not checked baggage, and their terminals must be protected from short circuit. If a carry-on is gate-checked, remove the power bank and spare batteries first.
Warning: Do not pack a damaged, swollen, or recalled lithium battery. Battery capacity limits and airline-approval rules can apply, especially above 100 watt-hours.
Pack Smart Toiletries
Use travel-size containers, solid products, or decanted amounts that match the trip length. Put liquids in a leak-resistant pouch and close flip-top bottles with a small piece of tape or place them in separate resealable bags.
For U.S. airport carry-on screening, the TSA liquids rule generally limits liquids, aerosols, gels, creams, and pastes to containers of 3.4 ounces (100 milliliters) or less inside one quart-size bag. Larger toiletries usually belong in checked baggage, while medically necessary liquids and certain child-related items have exceptions and should be declared for screening.
Keep the liquids bag near the top if the checkpoint requires it to be removed. Check the security and customs rules for every country on the itinerary because local requirements can differ.
Consider Health and Beauty Essentials
Prioritize the products that protect your health or are difficult to replace. Multi-use cosmetics can reduce bulk, but essential medicine and skin protection should not be cut simply to save a few ounces.
Lightweight Toiletries Selection
- Choose shampoo bars, soap bars, toothpaste tablets, or concentrated products when they work for you.
- Transfer ordinary products into clearly labeled, leak-resistant travel containers.
- Use a compact, fast-drying towel only when your accommodation will not provide one.
- Pack sunscreen and insect repellent in quantities suitable for the destination and trip length.
Travel-Sized Beauty Products
Use small containers for cleanser, moisturizer, hair care, and cosmetics. A tinted moisturizer with sun protection can be useful, but apply enough dedicated sunscreen to obtain the labeled protection rather than relying on a thin cosmetic layer alone.
Keep powders, brushes, and fragile containers in a structured pouch. Buying common products after arrival can save weight, but check availability first if you need a specific formula, shade, or allergy-safe product.
Essential Health Items
Pack prescription medicines for the whole trip plus a reasonable extra supply for delays. The Centers for Disease Control and Prevention advises international travelers to keep medicines in original, labeled containers and carry copies of prescriptions. Keep critical medicines in hand luggage rather than a checked bag, and confirm whether the destination restricts any medication.
- Medicines: Original labeled containers, prescription copies, and any required doctor’s letter.
- Basic first aid: Adhesive bandages, blister care, pain relief, and other items suited to your health needs.
- Personal aids: Glasses, contact supplies, hearing-aid batteries, epinephrine, or other essential equipment.
A resealable bag can organize medicine containers, but it should not replace their identifying labels during international travel.
Keep Documents and Valuables Accessible
Keep your passport or ID, wallet, phone, medicine, keys, and travel documents in a secure compartment that remains under your control. Do not bury them beneath clothing or place them in an outer pocket that can be opened unnoticed.
Store digital copies of important documents in a protected account and keep emergency contact details available offline. Split backup payment methods between two secure locations, but never put all cash, cards, and identification in a checked bag.
Secure Your Luggage With Registration Tags
Attach a durable luggage tag with a name, phone number, and email address. Avoid displaying a full home address where strangers can read it. A registered tag service such as TSID may give a finder a way to contact you without exposing all of your personal details, but no tag or tracker can guarantee recovery.
Place a second identification card inside the backpack in case the outer tag breaks off. Photograph the packed bag and keep receipts for valuable items. If an airline loses or delays a checked backpack, report it at the airline’s baggage desk or through its stated reporting channel as soon as possible and keep the claim number. The U.S. Department of Transportation explains passenger rights and baggage-claim responsibilities for covered flights.
Do a Final Weight and Fit Check
Close every zipper, tighten compression straps without crushing fragile items, and weigh the bag. Compare the result with the airline’s current limit. Then wear the fully packed backpack for at least 10 minutes, walk stairs if available, and check for pressure points.
- Tighten the hip belt first on packs designed to transfer weight to the hips.
- Snug the shoulder straps without forcing them to carry the entire load.
- Adjust the sternum strap for stability without restricting breathing.
- Remove one or two low-value items if the pack feels unstable or difficult to lift safely.
Finally, confirm that zippers are closed, loose straps are secured, liquids cannot leak, and anything required during transit is reachable.
Stay Flexible and Ready for Adventure
Leave a small amount of unused space for food, a wet rain layer, or something acquired along the way. A tightly packed bag is harder to repack and more likely to strain zippers.
Your packing system should remain flexible. Move a jacket to the top when rain is expected, shift valuables to a closer pocket in crowded areas, and use the daypack for short outings. The goal is not a perfect-looking backpack; it is a comfortable, secure bag that supports the trip.
Frequently Asked Questions
How do I choose the right size backpack for my trip?
Start with your packing list, then choose the smallest pack that holds it without straining the zippers. Check torso fit and loaded comfort. For flights, compare the bag’s packed outside dimensions and weight with the operating airline’s rules; liter capacity alone does not determine whether it qualifies as a carry-on.
What are the best materials for travel clothing?
Merino wool and lightweight synthetic blends are popular because many versions breathe well and dry faster than heavy cotton. The best choice still depends on climate, skin comfort, durability, and how often you can wash clothes. Test unfamiliar fabrics before a long trip.
Can I bring full-sized toiletries in my backpack?
It depends on how the backpack travels. For a U.S. flight, ordinary carry-on liquids are generally limited to containers of 3.4 ounces or 100 milliliters inside one quart-size bag. Larger toiletries can usually go in checked baggage if they are not otherwise restricted. Medically necessary liquids have separate screening exceptions.
How do I manage dirty clothes while traveling?
Use a lightweight laundry bag or separate packing cube. Let damp clothing dry before sealing it for long periods. If you must isolate a wet item in a waterproof bag, air it out as soon as possible to reduce odor and mildew.
Where should heavy items go in a travel backpack?
Place dense items near the center of the backpack and close to your back, then cushion them with clothing. Avoid putting all heavy gear at the very bottom, high above the shoulders, or on one side because those positions can make the load sag, feel top-heavy, or pull unevenly.
Can I put a power bank in checked luggage?
No. Spare lithium batteries and power banks must travel in the aircraft cabin under FAA rules. Protect the terminals from short circuit, keep the power bank accessible, and remove it if your carry-on backpack is checked at the gate.
What should I do if my backpack gets lost?
For an airline-handled bag, file a baggage report immediately and keep the reference number, baggage receipt, photographs, and purchase receipts for necessary replacement items. Check the airline’s tracking system and written claim deadlines. If the backpack was stolen rather than mishandled, report it to local police and contact your insurer when applicable.
Conclusion
A well-packed travel backpack should feel organized, balanced, and easy to use. Start with a realistic checklist, choose a properly fitted bag, pack dense items close to your back, and keep documents, medicine, liquids, and electronics in the right places. Test the loaded pack before departure, remove anything you do not need, and leave enough room to adapt as the journey unfolds.
Sources
- International Air Transport Association — Passenger Baggage Rules — cabin-baggage limits and airline variation.
- REI — How to Pack and Hoist a Backpack — balanced placement of dense items.
- Transportation Security Administration — Liquids, Aerosols, and Gels Rule — U.S. carry-on liquid limits and exceptions.
- Federal Aviation Administration — PackSafe: Lithium Batteries — power-bank and spare-battery rules.
- Centers for Disease Control and Prevention — Traveling Abroad with Medicine — medicine containers, prescriptions, and destination restrictions.
- U.S. Department of Transportation — Lost, Delayed, or Damaged Baggage — reporting and passenger protections.
