Last Updated on August 22, 2026 by Caleb Warren
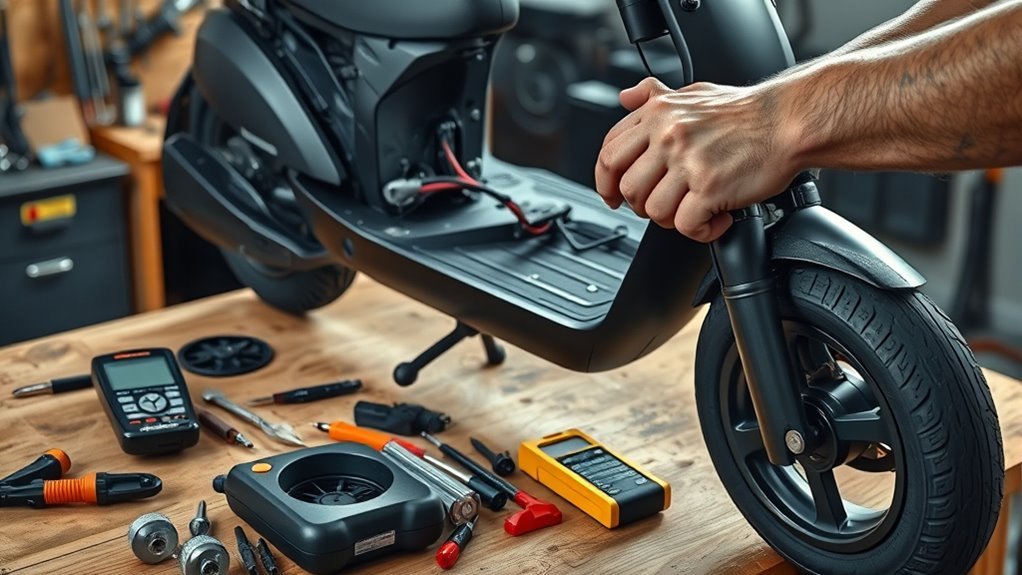
Start by checking the battery, charger, fuse, throttle, brake switch, and wiring, since most scooter problems trace back to those parts. Use a voltmeter to confirm battery charge, inspect the charger port for damage, and replace any blown fuse. If the scooter won’t move, verify the brake lever isn’t stuck and the controller connections are tight. For slow performance, test battery voltage under load and check the speed settings. Work through the checks below in order, and you’ll usually land on the exact fix.
Quick Answer
Most electric scooter problems come from the battery, charger, fuse, or brake switch. Check battery voltage with a voltmeter, inspect the fuse for burn marks, confirm the brake lever isn’t stuck, and make sure the charger port and connector are undamaged before assuming the motor or controller has failed.
Key Takeaways
- Diagnose in order: battery and charger first, then fuse and brake switch, then controller and motor.
- A weak or deeply discharged battery is the single most common cause of scooters that won’t move or won’t hold power.
- Only use the manufacturer’s specified charger — a mismatched charger can damage the battery and create a fire risk.
- Store the battery partially charged, not fully charged, if the scooter will sit unused for weeks.
- If you spot a swollen battery, exposed wiring, or a burning smell, stop and get it inspected by a professional rather than continuing to troubleshoot.
Disclosure: As an Amazon Associate I earn from qualifying purchases. Some links on this page are affiliate links, at no extra cost to you.
How to Diagnose Electric Scooter Problems
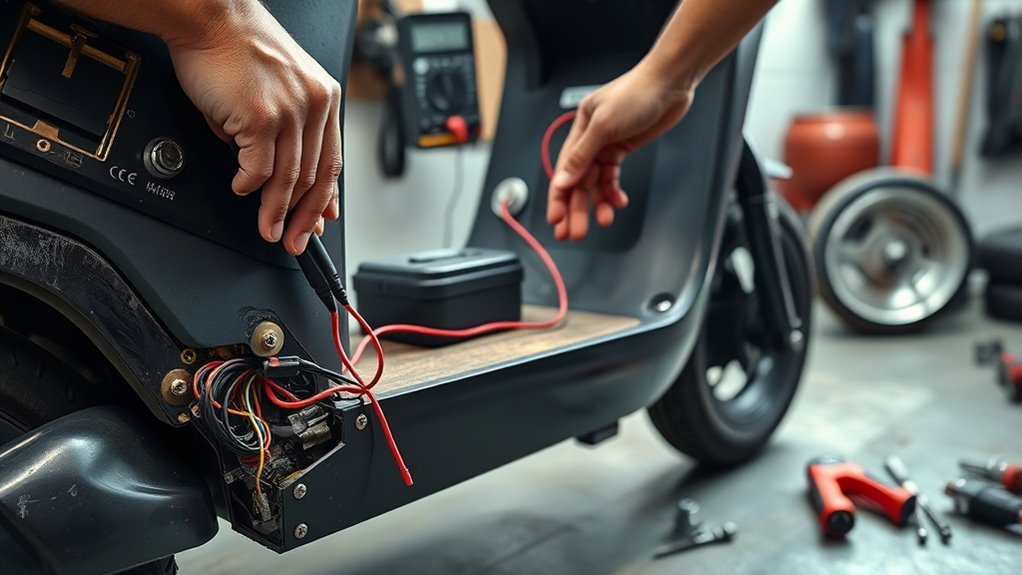
Start by checking the battery status with a voltmeter to confirm it has enough charge, since a weak battery can mimic other failures. Then use diagnostic tools to read any dashboard error codes; they can point you to motor, battery, or controller faults, and your owner’s manual will decode them precisely. Next, inspect fuses and circuit breakers for damage. A blown fuse often follows overloads or short circuits, especially after steep climbs or wet rides. Test the throttle and brake lever switches for continuity and response. A failed brake lever switch can block operation even when every other system works. Finally, evaluate the charger and its connections: make sure the charger port is secure, undamaged, and paired with the manufacturer’s specified charger. Tracking symptoms in this order helps you find the real fault instead of guessing at parts.
Pro Tip: Photograph or write down any error code before you clear it. Many scooter apps and displays only show the most recent fault, so a documented code makes it much easier to describe the issue if you end up calling a repair shop or the manufacturer’s support line.
Fix Electric Scooter Won’t-Move Issues
When your scooter powers on but won’t move, first confirm the power switch is on and the battery is charged, because a low battery can stop motion even if the display lights up. Then inspect the fuse for cracks or burn marks; a blown fuse breaks current and can halt the drive system. Test the brake lever switch too, since a stuck switch tells the controller to hold position. Check the speed controller and battery connections for loose plugs, corrosion, or damaged wires. If the scooter only runs while the charger’s connected, the battery is likely deeply discharged or failing.
| Check | What you see | Result |
|---|---|---|
| Fuse | Darkened or open | Replace |
| Brake switch | Stuck engaged | Adjust |
| Controller | No throttle response | Inspect |
These checks target the most common causes of a scooter that powers on but won’t drive.
Fix Battery and Charger Problems
If your scooter powers on but still won’t run correctly, check the battery first and make sure it’s adequately charged; a low battery can prevent movement even if the display lights up. Charging time varies by model and charger output — many scooters take roughly 5–8 hours for a full charge, but check your owner’s manual for the exact figure rather than assuming that range applies to your unit. If the battery still won’t hold power after a full charge, or after a longer “deep charge” following extended storage, its cells may have degraded and it may need replacing. Use only the manufacturer’s recommended charger; a mismatched unit can damage the battery and charging port and, in worse cases, create a fire hazard. Inspect the port for debris, bent pins, or corrosion, because a poor connection blocks proper charging. For a more precise diagnosis, measure battery voltage under load; sudden voltage drops usually signal cell failure or an internal defect.
Warning: Lithium-ion batteries in e-scooters can overheat or catch fire if they’re damaged, charged with an incompatible charger, or left on charge unattended for long periods. Never charge overnight, always use the official charger, and check periodically for battery swelling. If you notice swelling, a burning smell, or excessive heat from the battery pack, stop charging immediately, move the scooter away from flammable materials, and have it inspected by a qualified technician rather than continuing to troubleshoot it yourself.
Solve Electric Scooter Speed Problems
Speed issues usually point to the same power path you just checked for charging problems, so inspect the battery first for damage, low charge, or voltage sag under load; a weak pack can cut both acceleration and top speed. If the battery looks sound, verify that the speed limiter isn’t engaged and that your settings allow full output. Then test the throttle by disconnecting it and watching for a change in behavior.
| Check | What to look for | Result |
|---|---|---|
| Battery | Damage, low charge, sag | Restore or replace |
| Controller | Faults, cutoffs, burned wires | Repair or swap |
| Throttle | No change when disconnected | Replace |
If the scooter cycles on and off or feels sluggish, suspect a low-voltage cutoff or a controller fault. Once you’ve confirmed stable voltage during a ride, consider a performance upgrade only if your system already runs within its rated limits — pushing past a manufacturer’s rated output stresses the battery and controller and can shorten their lifespan.
Check the Motor, Controller, and Wiring
Start by checking the motor connections for looseness, unusual noise, or heat, since these signs can point to internal damage or overload. Then inspect the controller for burnt wiring, melted connectors, and other visible faults that can disrupt power delivery. Finally, test the wiring harness and throttle connections for corrosion, fraying, or intermittent behavior so you can isolate the fault quickly.
Motor Connection Checks
Inspect the motor connections first, because corrosion, loose terminals, or damaged plugs can cut power and cause motor failure. Perform a careful connection inspection and clean any oxidized contacts before you ride.
| Check | What to look for | Action |
|---|---|---|
| Terminals | Corrosion, looseness | Tighten, clean |
| Harness | Frayed, broken wires | Replace safely |
| Mounting | Movement, debris | Secure, clear |
Keep the motor firmly mounted; a loose unit can cause erratic performance and strain the drivetrain. Trace the harness for cuts or pinch points, and confirm each plug seats fully. If you find damage, repair it before testing again. This focused approach helps you isolate the fault and restore reliable power without unnecessary part-swapping.
Controller and Wiring Tests
Trace the electrical path next: check the wiring for frayed insulation, burnt spots, or pinched sections that could interrupt power or trigger erratic behavior. Trace each connector between the controller and motor, and look for corrosion, looseness, or heat damage. If you find a fault, repair or replace the lead before you move on. For controller testing, disconnect the motor from the controller, then apply direct power to the motor. If it runs smoothly, the motor is likely fine and the controller may be failing. Use a multimeter to verify controller output voltage to the motor; large deviations point to wiring or controller trouble. Watch the controller for overheating, and keep its vents clear so it can dissipate heat properly.
Fix Water Damage and IP-Rating Problems
Many electric scooters carry an IP (Ingress Protection) rating, but that rating usually covers splashes and light rain — not submersion, high-pressure hose spray, or deep puddles. If your scooter cuts out, flashes error codes, or won’t power on after riding in wet conditions, water may have reached the battery compartment, controller, or display connector. Dry the scooter thoroughly before attempting to power it on again; do not charge a scooter you suspect has water inside it. Check your model’s specific IP rating in the manual, since ratings vary widely between brands and even between models from the same manufacturer.
Note: If a scooter has been submerged or heavily soaked, don’t attempt to charge or ride it until it’s been fully dried and, ideally, inspected. Water intrusion into a lithium battery pack is one of the more serious causes of corrosion and cell damage over time.
Fix Brake and Tire Problems
If your scooter isn’t stopping or rolling right, check the brakes and tires first. Start with brake adjustment: inspect the pads, and replace them if they’re worn or degraded. Tighten brake cables so they stay firm, and make sure they’re free from frays that can weaken braking response. If you use hydraulic brakes, check the fluid level regularly; a leak can leave the lever spongy, so top up or replace the fluid as needed. Then move to tire maintenance. Inspect both tires for punctures, cuts, and visible wear, and keep pressure at the recommended level to preserve grip and prevent flats. If you ride pneumatic tires, carry sealant so you can patch small punctures on the go.
Fix Kill Switch, Fuse, and Key Problems
Before you dig deeper into electrical faults, make sure the kill switch isn’t engaged, because an engaged switch will stop the scooter from starting. Confirm the switch moves freely and clicks into the correct position before you power up again. If it still won’t run, inspect the fuse next. A blown fuse cuts power, so open the holder, check for heat damage, and replace it with one that matches the manufacturer’s rating exactly — never a higher-amperage fuse.
Turn off the kill switch first, then check the fuse if the scooter still won’t start.
- Replace any damaged fuse holder parts before inserting a new fuse.
- Keep spare keys ready; a lost key often means you’ll need a new key switch.
- Test the scooter after each fix to isolate the fault fast.
If the scooter still won’t start after the kill switch, fuse, and key checks, the fault likely sits deeper in the battery or motor.
When to DIY vs. Call a Professional
Most of the checks above — fuses, brake switches, connectors, tire pressure — are safe and reasonable to handle yourself with basic tools. A few situations call for a professional instead:
- The battery pack is swollen, leaking, or has a visible dent or puncture.
- You smell something burning or notice heat coming from the battery compartment.
- Opening the battery pack itself would be required to diagnose the issue — battery packs are sealed for a reason and shouldn’t be opened by non-specialists.
- The scooter is still under warranty; DIY repairs can void manufacturer coverage.
When in doubt, contact the manufacturer’s support line or a certified e-mobility repair shop rather than working on a damaged battery pack yourself.
Prevent Future Electric Scooter Problems
To prevent future scooter problems, perform routine maintenance checks on the battery, tires, brakes, cables, and electrical connections. Charge the battery after rides, avoid letting it sit fully depleted for long periods, and store the scooter in a cool, dry place to preserve battery health. Also ride within the scooter’s rated limits and follow the manufacturer’s maintenance schedule to reduce wear and failure risk.
Routine Maintenance Checks
Routine maintenance keeps your electric scooter reliable and helps you catch small issues before they become breakdowns. Build a simple recurring checklist: verify battery voltage and secure terminals, then check tire pressure and tread for grip and puncture resistance.
- Run safety inspections on brakes, pads, and cables.
- Apply brake adjustment and cable checks when stopping feels weak.
- Clean and lubricate throttle and lever pivots for smoother response.
These steps preserve range consistency and ride confidence. Inspect regularly, correct wear early, and your scooter stays ready when you are.
Proper Battery Care
Your battery is the most failure-prone part of the scooter, so a few disciplined habits prevent most future electrical problems. Charge it after each ride, and avoid letting deep discharges become routine; they shorten battery lifespan and weaken output over time. Use the manufacturer’s charger only, because mismatched charging can stress lithium-ion cells and cause overheating. Keep the battery in a cool, dry place, away from extreme heat or cold, since temperature extremes can accelerate degradation. Check voltage under load periodically to catch sagging cells before they strand you.
Note: If the scooter will sit unused for more than a few weeks, store the battery at a partial charge — roughly 40–70% — rather than fully charged or fully drained. Storing lithium-ion cells at full charge for extended periods generates more heat and stresses the cells; check the charge level every couple of months and top it up if it drops too low.
Safe Riding Habits
Good battery care helps, but how you ride also affects long-term scooter reliability and safety. Wear safety gear every ride: a helmet, gloves, and pads reduce injury if you fall. Use disciplined speed control — slow down in crowds, on rough pavement, and before turns.
- Check tire pressure, brakes, and battery health before departure.
- Watch for potholes, doors, pedestrians, and vehicles.
- Avoid heavy rain and snow when possible, given the water-resistance limits covered above.
Follow traffic laws, signals, and lane rules wherever you ride. That habit, combined with the maintenance checks above, prevents most crashes, fines, and avoidable repairs.
Frequently Asked Questions
What is the main problem in electric scooters?
Battery issues are the most common problem in electric scooters, often causing reduced range and power loss. Motor and controller faults are the next most frequent cause of a scooter that won’t move, so regular inspection of both areas catches most failures early.
Can I fix my electric scooter myself?
Yes, many common issues are DIY-friendly: replacing tires, adjusting brakes, cleaning contacts, tightening hardware, and testing wiring with a multimeter. Leave anything involving a damaged, swollen, or opened battery pack to a professional.
What is the most common problem with electric scooters?
Battery-related issues are the most common problem, causing reduced range, weak acceleration, and sudden power loss. Tire punctures are the second most frequent issue, especially on scooters with pneumatic tires.
How long do electric scooter batteries typically last?
Most e-scooter batteries hold up reasonably well for a few hundred charge cycles before range noticeably drops, though this varies by battery quality and how it’s cared for. Charging after each ride, avoiding deep discharges, and storing at a partial charge when idle all help extend that lifespan.
Conclusion
In short, you can fix many scooter problems by checking power, wiring, brakes, tires, and controls in a logical order. Start with the battery and charger, then move to the fuse, kill switch, controller, and motor. Most “dead scooter” failures are battery-related, but connector corrosion, water intrusion, and a tripped safety circuit often mimic the same symptoms. Inspect methodically, follow the manufacturer’s charging and storage guidance, and treat any sign of battery damage as a reason to stop and call a professional rather than keep troubleshooting.
Sources
- UL Solutions — Personal e-Mobility Evaluation, Testing and Certification — background on UL 2272/UL 2271 safety standards for e-scooter electrical systems and batteries.
- U.S. Consumer Product Safety Commission — Battery Standards — federal guidance on lithium battery safety standards relevant to micromobility devices.
- Buchalter — CPSC Moves Toward Mandatory Lithium-Ion Battery Standards — context on why battery and charger safety matters for e-scooters today.