
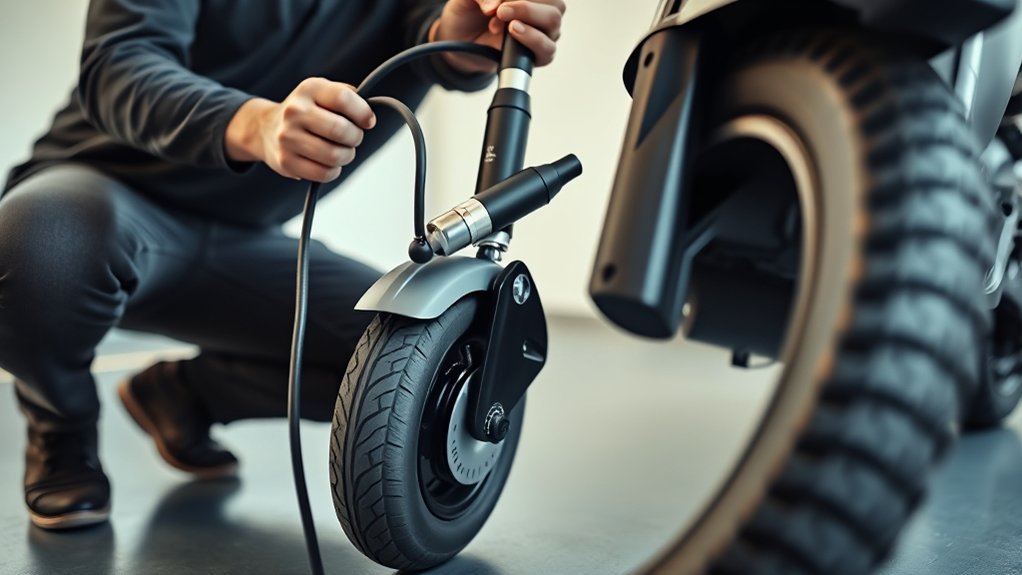
Last Updated on September 10, 2026 by Daniel Globe
Filling an electric scooter tire with air is simple once you know the tire type, the correct pressure, and how to reach the valve. First confirm that the tire is pneumatic—either tubed or tubeless—rather than solid or honeycomb. Then use the pressure specified for your exact scooter model, connect a compatible pump, inflate gradually, and verify the final pressure with a gauge before riding.
Quick Answer
To fill air in an electric scooter tire, confirm that the tire is pneumatic, check the scooter manufacturer’s recommended cold-tire PSI, remove the valve cap, attach a compatible pump or valve extender, and inflate gradually while watching the gauge. Recheck the pressure after disconnecting the pump and investigate any continuing air loss before riding.
Key Takeaways
- Pneumatic scooter tires may be tubed or tubeless; solid and honeycomb tires do not need inflation.
- Use the pressure specified for your exact scooter model rather than relying on a generic PSI range.
- Check pressure when the tire is cool and use a reliable pressure gauge instead of judging pressure by squeezing the tire.
- A short or recessed valve may require the valve extender supplied with the scooter or another compatible extension.
- If pressure keeps falling, find and repair the leak before riding.
At a Glance
| Time Required | About 5–10 minutes |
| Difficulty | Easy |
| Tools Needed | Compatible hand pump or electric inflator with pressure gauge; optional valve extender; clean cloth; soapy water for leak testing |
| Cost | No additional cost if you already have a compatible pump and gauge |
Disclosure: As an Amazon Associate I earn from qualifying purchases. Some links on this page are affiliate links, at no extra cost to you.
How to Identify Your Scooter Tire Type
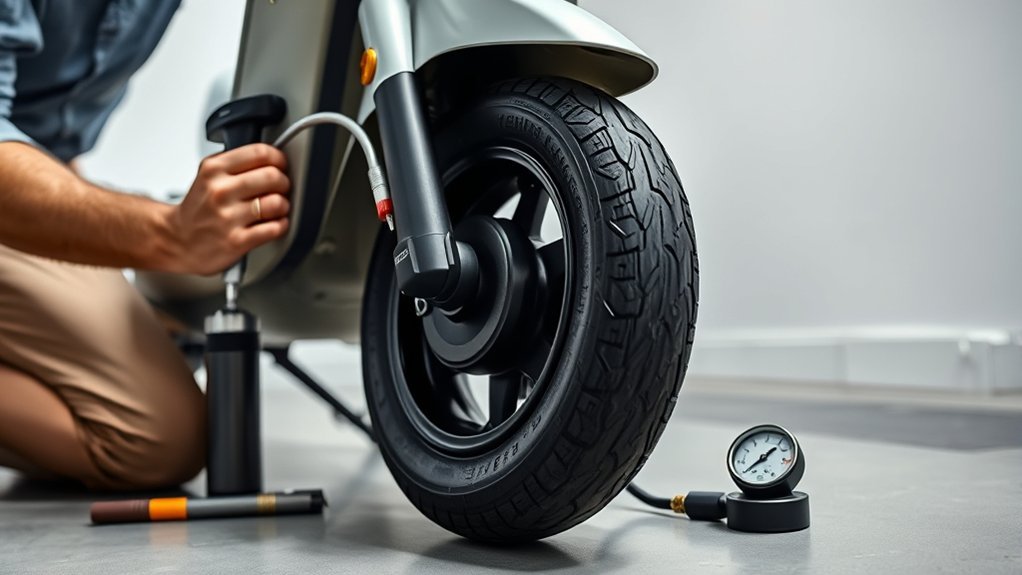
Before adding air, determine whether the scooter has pneumatic, solid, or honeycomb tires. A pneumatic tire contains pressurized air and has a valve stem. However, pneumatic does not automatically mean that the tire has an inner tube. Modern electric scooters may use either tubed pneumatic tires or tubeless pneumatic tires.
For example, Xiaomi specifies tubeless pneumatic tires on several current scooter models. Solid and honeycomb tires are airless and therefore do not have an inflation pressure to maintain.
- Tubed pneumatic tire: Contains a separate inner tube that holds the air.
- Tubeless pneumatic tire: Holds air between the tire and rim without a conventional inner tube.
- Solid or honeycomb tire: Contains no pressurized air and does not need pumping.
A visible valve stem is the easiest sign that a tire requires air. If you are uncertain whether the tire is tubed or tubeless, check the scooter manual or manufacturer support information rather than trying to determine the construction by removing or pulling on the valve.
Before inflation, inspect the tire for cuts, bulges, severe cracking, exposed material, embedded objects, a damaged bead, or a bent valve stem. A structurally damaged tire should be repaired or replaced before the scooter is ridden.
Note: A tire can be pneumatic without having an inner tube. Do not assume that every air-filled electric scooter tire is a tubed tire.
Check the Recommended PSI First
Once you have confirmed that the tire is pneumatic, find the recommended tire pressure for your exact scooter model. The scooter manual or official manufacturer support page should be your primary reference.
There is no single PSI that applies to every electric scooter. For example, Xiaomi specifies 45–50 PSI for the Electric Scooter 4 Pro (2nd Gen), while the Segway Ninebot MAX G2 product manual specifies 42–48 PSI. Other models may use different pressures.
Also distinguish the scooter manufacturer’s recommended operating pressure from a maximum pressure molded into a tire. The manufacturer recommendation is the normal target for that vehicle. A maximum tire pressure is an upper limit and should not automatically be used as the operating target.
For the most consistent reading, measure and adjust pressure when the tire is cold—before riding or after it has had time to return to ambient temperature. Tire temperature can affect pressure readings.
Warning: Do not guess the PSI, inflate to a generic internet number, or intentionally exceed the pressure allowed by the scooter and tire manufacturer. Incorrect pressure can reduce handling quality and may damage the tire or wheel.
Find and Prep the Tire Valve
Rotate the wheel until the valve stem is easy to reach. On some electric scooters, the motor, fork, brake hardware, or rim shape leaves very little room around the valve. In that situation, use the valve-stem extension supplied with the scooter or another extension that is specifically compatible with the valve.
Segway, for example, documents a valve-stem extension for some KickScooter models. Do not bend or pull a short valve aggressively just to make a pump head fit.
Locate Valve Stem
Find the valve stem where it passes through the wheel rim. Rotate the wheel until you can reach the valve without forcing the stem sideways. Unscrew the valve cap and place it somewhere clean.
If the valve is recessed, screw the compatible extension onto the valve by hand before attaching the pump. It should be snug enough to seal without requiring excessive force.
Clear Valve Area
Wipe dirt, grit, moisture, or dried sealant away from the valve before attaching the pump. Debris around the sealing surface can prevent the pump head from seating properly.
Check the valve for obvious damage, including bent threads, a cracked stem, or signs that the valve is pulling away from the rim. If the valve itself is damaged, inflation alone will not solve the problem.
Attach the Pump Securely
Use a pump or inflator that is compatible with the valve and includes an accurate pressure gauge. Attach the pump head straight to the valve rather than pushing it sideways.
The connection method depends on the pump. Some heads push onto the valve and lock with a lever, some screw onto the valve threads, and others use a short hose or chuck. Do not wait for a “click” unless your particular pump is designed to click into place.
Valve Type Check
Many electric scooters use a Schrader-style valve, but you should confirm the valve on your scooter before attaching the pump. A Schrader valve has a relatively wide stem with a small center pin. If your scooter uses a different valve system, use the matching pump head or adapter.
- Schrader: Use a Schrader-compatible chuck, hose, or pump head.
- Presta: If your scooter or custom wheel actually uses one, loosen the small top nut before inflation and use a Presta-compatible head or adapter.
- Recessed valve: Install the correct valve extension before connecting the pump.
Never force a pump head onto a valve that does not fit. Doing so can bend the valve stem, damage the threads, or create a leak.
Secure Pump Connection
Seat the pump head or extension squarely so that it forms an airtight connection. A very brief hiss while attaching the pump can be normal because the valve opens and the hose pressurizes. Continuous hissing means the connection is leaking and should be reseated before you continue.
| Setup | What to Do | Correct Result |
|---|---|---|
| Schrader valve | Attach the compatible pump head straight and lock or thread it as designed | Stable connection with no continuous hiss |
| Presta valve | Loosen the small top nut and attach a compatible head | Valve opens without bending the stem |
| Valve extension | Thread the extension on by hand, then connect the pump | Easy access with minimal air leakage |
Inflate the Scooter Tire
With the pump securely attached, add air gradually while watching the pressure gauge. Electric scooter tires have relatively small air volumes, so pressure can rise quickly.
- Confirm the manufacturer’s recommended pressure before pumping.
- Attach the pump or valve extension securely.
- Add air in controlled strokes or short bursts.
- Pause frequently and read the gauge.
- Stop when the pressure reaches the model-specific target.
- Disconnect the pump cleanly and remove any temporary valve extension.
- Recheck the pressure after disconnection.
- Replace the valve cap.
A short hiss when the pump is removed is usually just air escaping from the pump hose or connection. Because a scooter tire contains relatively little air, however, it is worth checking the gauge again after disconnecting the pump.
Pro Tip: Do not rely on squeezing the tire to decide whether the pressure is correct. Small scooter tires can feel very firm even when their pressure is several PSI away from the specified target. Use the gauge.
Recheck Pressure and Test for Leaks
After inflation, check the pressure again with the pump gauge or a reliable standalone gauge. If the reading dropped slightly while disconnecting the pump, add a small amount of air and measure again.
If the pressure continues to fall, look for a leak instead of repeatedly topping up the tire. Mix a small amount of dish soap with water and apply it around the valve core, valve base, and other suspected leak points. Growing bubbles indicate escaping air.
On a tubeless tire, air can also escape around the tire bead or through a tread puncture. On a tubed tire, a punctured or pinched inner tube may require removal and repair or replacement.
Inspect any embedded nail, screw, glass, or other object carefully. Do not pull an object from a tubeless tire immediately if you are away from a safe repair location, because removing it may make the air loss much faster.
Only take a short, low-speed test ride after the tire is holding its specified pressure and there is no visible structural damage. Pay attention to steering, vibration, and stability.
Warning: Do not ride on a tire with a bulge, deep sidewall cut, exposed casing, damaged bead, badly bent valve, or pressure that continues to fall. Repair or replace the damaged component first.
Avoid Common Tire Inflation Mistakes
Most inflation problems come from using the wrong pressure, poor valve access, or relying on guesswork instead of a gauge.
The correct PSI is the pressure specified for your scooter model—not a generic number copied from another scooter.
- Do not inflate a solid or honeycomb tire. It has no pressurized air chamber.
- Do not treat the tire’s maximum pressure as the normal operating target. Follow the scooter manufacturer’s specification.
- Do not check pressure immediately after a hard ride when the specification assumes a cold tire.
- Do not force the pump onto a hard-to-reach valve. Use a compatible extension if required.
- Do not ignore continuous hissing. Reseat the pump connection before adding more air.
- Do not rely on tire firmness by hand. Check with a gauge.
- Do not keep topping up a tire that repeatedly loses pressure. Find the leak.
- Use high-flow automotive compressors cautiously. Small scooter tires can gain pressure quickly, so monitor the gauge closely.
Maintain the Right Tire Pressure
Check tire pressure at the interval specified in your scooter manual. There is no universal schedule for every model. Several current Xiaomi scooters recommend checking approximately every 20–30 days or monthly, while other manufacturers may specify a different maintenance interval.
Extra checks are sensible before a longer ride, after a major temperature change, or whenever a tire looks softer than usual. Measure the pressure while the tire is cool whenever possible.
Correct pressure helps the tire maintain the handling, comfort, wear characteristics, and rolling resistance the scooter was designed for. Xiaomi warns that low pressure can increase tire wear and reduce handling and stability on its scooters.
Keep the valve cap installed after checking the tire. It protects the valve from dirt and moisture and provides an additional barrier against contamination.
What to Do If the Tire Won’t Hold Air
If a freshly inflated tire loses pressure again, work through the likely causes rather than simply adding more air.
- Check the pump connection. If pressure only seems to disappear while the pump is attached, reseat the pump head or valve extension.
- Check the valve. Apply soapy water around the valve core and valve base. Bubbles indicate a leak.
- Inspect the tread. Look for nails, screws, glass, or visible punctures.
- Check the bead on tubeless tires. Bubbles around the rim can indicate a bead-sealing problem.
- Consider the inner tube on tubed tires. A punctured or pinched tube normally needs proper repair or replacement.
- Stop riding if structural damage is present. Cuts, bulges, exposed casing, or damaged beads require more than inflation.
Do not automatically inject automotive emergency sealant into a scooter tire. Fix-a-Flat states that its automotive product should not be used in scooter tires.
If you want to use a tire sealant, choose one explicitly approved for the tire construction and application. For example, Slime’s 2-in-1 Tire & Tube Premium Sealant specifically lists scooters among compatible non-highway applications. Always check the sealant instructions and your scooter manufacturer’s guidance first.
Frequently Asked Questions
How to Fill Air in an E-Scooter Tire?
Confirm that the tire is pneumatic, find the manufacturer’s recommended cold-tire PSI, remove the valve cap, attach a compatible pump or valve extender, and inflate gradually while watching the gauge. Stop at the specified pressure, disconnect the pump, recheck the pressure, and replace the valve cap.
Can You Put Fix-a-Flat in an Electric Scooter Tire?
Fix-a-Flat says its automotive tire product should not be used in scooter tires. If you want a sealant, use only a product specifically approved for scooters and for your tire type—tubed or tubeless—and check the scooter manufacturer’s recommendations first.
Do Electric Scooter Tires Have Air in Them?
Some do and some do not. Pneumatic electric scooter tires contain pressurized air and may be either tubed or tubeless. Solid and honeycomb tires are airless and do not require inflation. A valve stem normally indicates that the tire is pneumatic.
How Much PSI Does an Electric Scooter Tire Need?
There is no universal PSI for every electric scooter. Check the manual or official support information for your exact model. As examples, Xiaomi specifies 45–50 PSI for the Electric Scooter 4 Pro (2nd Gen), while Segway specifies 42–48 PSI for the Ninebot MAX G2.
Can I Use a Car Tire Inflator on an Electric Scooter?
A compatible inflator can work if its chuck fits the scooter valve and its gauge covers the required pressure accurately. Because scooter tires have a small air volume, inflate slowly or use a preset pressure so you do not overshoot the manufacturer’s target.
Why Does My Scooter Tire Lose Air After I Pump It?
A small pressure change can occur while disconnecting the pump, but continuing pressure loss can indicate a leaking valve core, punctured tube, tread puncture, or tubeless bead leak. Recheck with a gauge and use soapy water to help locate escaping air.
Conclusion
To fill an electric scooter tire correctly, identify the tire type first, use the manufacturer’s pressure specification for your exact scooter, and measure with an accurate gauge. Inflate gradually, recheck the pressure after disconnecting the pump, and investigate any repeated air loss instead of simply topping the tire up again. Correct pressure and a leak-free tire give you the safest basis for predictable handling and consistent tire wear.
Sources
- Xiaomi — Electric Scooter 4 Pro (2nd Gen) tire inflation guidance — supports tubeless construction, 45–50 PSI guidance, and monthly pressure checks.
- Segway — Ninebot KickScooter MAX G2 Product Manual — supports the model-specific 42–48 PSI specification.
- Segway — F-Series User Instructions — documents use of a valve-stem extension for tire inflation.
- Michelin — Motorcycle Tire Pressure Guidance — supports cold-pressure checks and following the vehicle manufacturer’s recommended pressure rather than treating sidewall maximum pressure as the operating target.
- Fix-a-Flat — Approved Tire Applications FAQ — states that its automotive product should not be used in scooter tires.
- Slime — 2-in-1 Tire & Tube Premium Sealant — documents compatibility with scooters and other non-highway tubed or tubeless applications.
