
Last Updated on September 10, 2026 by Daniel Globe
Changing a tubeless tire on an electric scooter is manageable for an experienced DIYer, but the exact wheel-removal method, tire pressure, fastener torque, and self-sealing system vary by model. The safest approach is to identify your scooter and tire specifications first, fully deflate the tire, protect the rim and brake components, mount the correct replacement tire, seat the beads carefully, and finish with a complete wheel and brake inspection.
Quick Answer
To change a tubeless tire on an electric scooter, power the scooter off, remove the correct wheel using the model-specific procedure, fully deflate the tire, break both beads, mount the correct directional tire, lubricate the beads with an approved fitting fluid, seat them safely, and inflate only to the pressure specified for your scooter and tire.
Key Takeaways
- Do not assume 35–40 PSI is correct. Tire pressure varies by scooter model and tire.
- Remove the brake rotor only if your scooter’s service procedure requires it.
- Use the exact replacement tire size and confirm any directional arrow before installation.
- Approved tire-fitting lubricant can reduce bead damage and help the tire seat evenly.
- Never keep increasing compressor pressure when a bead refuses to seat; stop, deflate, reposition, inspect, and lubricate again.
- After installation, check the bead, pressure, valve, axle hardware, motor cable if applicable, brake operation, and wheel alignment before riding.
At a Glance
| Time Required | About 45–90 minutes for a first-time DIY tire change, depending on scooter design and tire stiffness. |
| Difficulty | Intermediate to advanced. Small scooter tires can be very stiff, and hub-motor wheels add cable-handling steps. |
| Tools Needed | Correct axle/brake tools, tire levers or suitable tire tools, valve-core tool, pressure gauge, approved tire-fitting lubricant, air source, torque wrench where specified, cutters and optional zip ties. |
| Cost | Varies by scooter and tire. Budget for the replacement tire plus any model-approved valve, sealant, or mounting consumables required by the manufacturer. |
Warning: Pressurized bead seating, brake components, axle hardware, and hub-motor cables can create serious safety risks if handled incorrectly. Follow the service information for your exact scooter and tire. If you cannot verify tire compatibility, wheel-removal steps, fastener torque, or safe bead-seating limits, use a qualified scooter or tire service technician.
Disclosure: As an Amazon Associate I earn from qualifying purchases. Some links on this page are affiliate links, at no extra cost to you.
Tools You Need for the Tire Swap
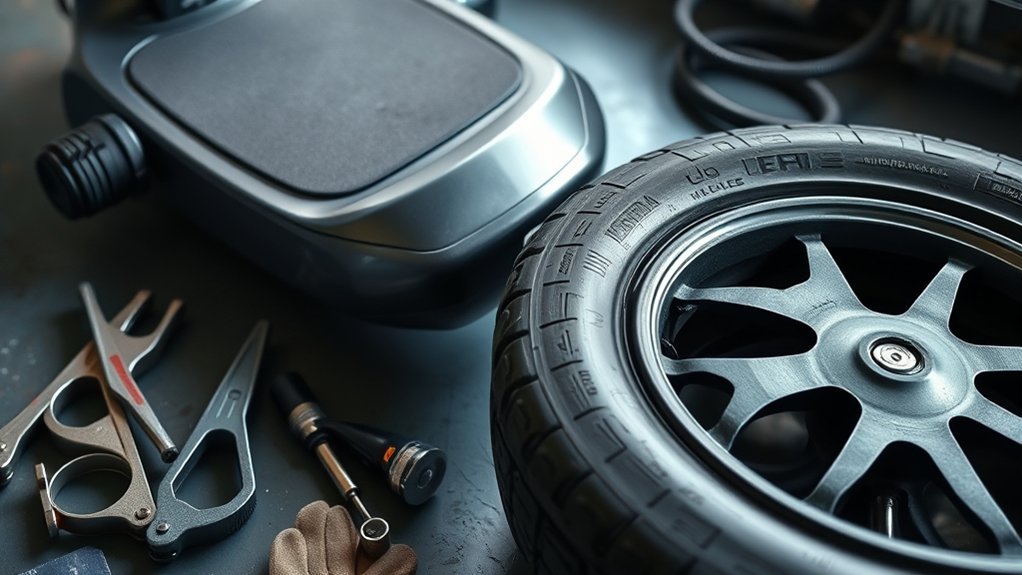
Gather your tools before removing the wheel. You will usually need the correct sockets, hex keys, or wrenches for the axle and brake hardware; sturdy tire levers or tire-changing tools; a valve-core tool; an accurate pressure gauge; an approved tire-fitting lubricant; and an air source capable of delivering enough airflow to seat a tubeless bead. A torque wrench is strongly recommended wherever the scooter manufacturer provides axle, brake, or rotor torque specifications.
Keep small containers available for washers, spacers, axle hardware, and brake fasteners. If your scooter has a hub-motor wheel, you may also need tools to access or disconnect the motor cable according to the service procedure. Optional zip ties can help compress particularly stiff small-diameter tires, but they are a mounting aid rather than a universal requirement.
Use only tire-compatible mounting lubricant on the bead. Michelin and Continental both advise using an approved tire-fitting lubricant and avoiding petroleum-based or solvent-based products as mounting lubricants because unsuitable chemicals can damage rubber. Michelin’s mounting guidance also notes that proper lubrication helps reduce bead damage and encourages even seating.
Confirm the Tire, Wheel, and Pressure Before Starting
Before taking anything apart, confirm the tire size molded into the old tire and compare it with the replacement. The bead diameter and intended rim size must match. Also check whether the replacement tire is directional, whether the scooter uses a conventional tubeless setup, liquid sealant, or a factory self-sealing tire, and what pressure the scooter manufacturer specifies for normal riding.
Do not assume one pressure range fits every electric scooter. Segway’s technical-support table lists 32–37 PSI for G30-family self-sealing tubeless tires, 40–45 PSI for the G65, and 42–48 PSI for MAX G2 and F2-family tubeless tires. NIU’s current KQi guidance recommends 45–50 PSI. Your exact scooter manual, tire markings, and wheel limits take priority over generic advice.
Note: A tire’s maximum sidewall pressure is not automatically the correct riding pressure. Use the scooter manufacturer’s recommended operating pressure while also respecting every tire, rim, and valve limit.
Remove the Wheel and Deflate the Tire
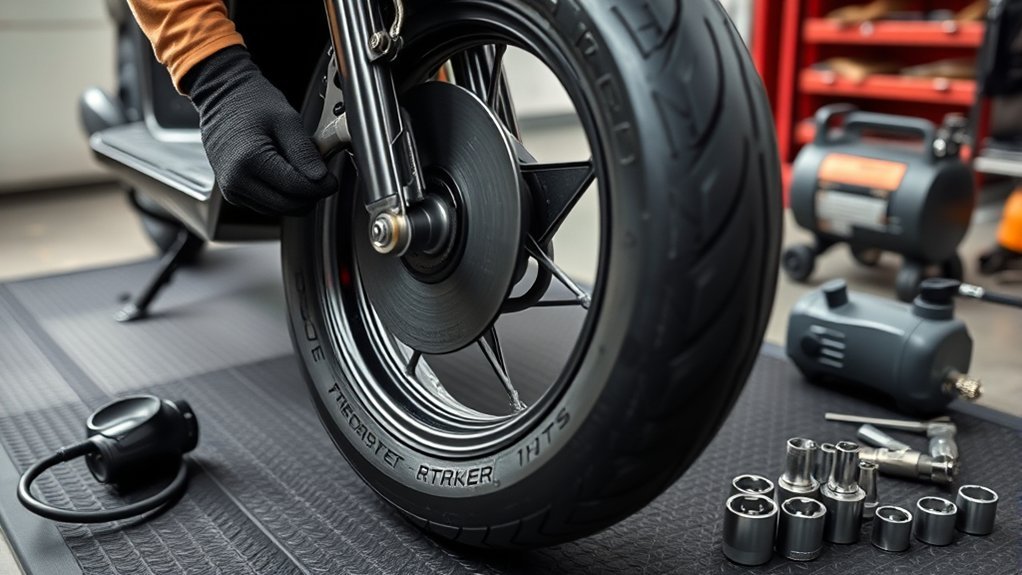
Power the scooter off completely and position it securely so it cannot roll or fall while you work. Remove the wheel according to the service procedure for your model. Take a photo before disturbing spacers, washers, cable guides, or brake components so you can reproduce their original order during reassembly.
If the wheel contains a hub motor, follow the manufacturer’s instructions for the motor cable. Do not pull the wheel away while the cable is still attached, and do not twist, pinch, or sharply bend the cable. If a brake caliper blocks wheel removal, move it only as required by the scooter procedure.
The brake rotor does not need to be removed on every scooter. Remove it only when the model-specific procedure or the physical tire-removal process requires additional clearance. If you do remove it, keep the rotor and its braking surfaces free from grease, tire lubricant, and sealant, and reinstall the fasteners to the manufacturer’s specified pattern and torque.
| Step | Action |
|---|---|
| 1 | Power off and securely support the scooter |
| 2 | Record spacer, washer, cable, and brake-component positions |
| 3 | Remove the wheel using the model-specific procedure |
| 4 | Remove the rotor only if required |
| 5 | Fully deflate the tire before breaking either bead |
Once the wheel is free, remove the valve cap and release all air. Removing the valve core with the correct tool can speed complete deflation and improve airflow later during bead seating. Continental’s tire-mounting guidance likewise specifies completely releasing pressure before dismounting a tubeless tire.
After the tire is fully deflated, push the sidewalls inward to separate both beads from their seats. Work around the entire circumference rather than forcing one point. Use proper tire tools if the bead is stubborn; avoid curbs, screwdrivers, or sharp improvised tools that can bend the rim or cut the bead.
Match Tire Direction and Clean the Rim
Before installing the replacement, inspect the tire and wheel carefully. Confirm the tire size again, locate any rotation arrow or outside marking, and inspect both tire beads for shipping damage. Check the rim for cracks, dents, burrs, corrosion, dried sealant, or debris in the bead seat.
Match Tread Direction
If the tire has a directional arrow, orient it so the arrow matches the wheel’s forward rotation when installed on the scooter. Directional tires are designed to operate in their marked direction; Michelin’s inspection guidance specifically notes that directional tires use arrows to show correct rotation.
Before levering the final bead into place, pause and check the arrow again. Correcting a backward tire after both beads are seated means repeating most of the job.
Clean Rim Thoroughly
Remove dirt, loose sealant, and foreign material from the rim and bead seats using a cleaner appropriate for the wheel material and sealing system. Do not gouge or sand the bead seat unnecessarily. If the rim has tape, a sealing strip, molded seal, or factory liner, inspect it closely and replace or service it only as the scooter or wheel manufacturer specifies.
Inspect the valve at the same time. Replace a cracked, loose, leaking, or damaged valve with the correct part. Allow cleaned surfaces to dry before installing the tire.
Pro Tip: Keep the section of bead you are not currently levering down in the rim’s deepest center channel. That reduces the effective circumference and often makes the final section much easier to mount without excessive force.
Compress the Tubeless Tire With Zip Ties
For a particularly stiff small-diameter scooter tire, evenly spaced zip ties can be used as an optional mounting aid. Wrap several ties around the tire and tighten them gradually so the sidewalls move closer together. Keep the locking heads accessible so they can be removed without putting a cutter near the sidewall or bead.
Do not crush, sharply crease, or deform the tire bead. A damaged bead may never seal correctly. If the tire mounts normally without zip ties, skip this technique entirely.
When using the method, tighten the ties evenly instead of pulling one tie fully tight at a time. Uniform compression gives you a more manageable shape and helps keep the opposite side of the tire in the rim’s center channel while the remaining bead is worked over the flange.
Tuck the Tire Into the Rim
Apply a thin, even layer of approved tire-fitting lubricant to the bead as recommended for the tire and wheel. Start the bead by hand wherever possible, keeping the mounted section down in the rim’s center channel. Finish difficult sections with suitable tire levers, taking small bites instead of forcing a large section over the rim at once.
Because this is a tubeless assembly, there is no inner tube to pinch. Instead, protect the tire bead, rim edge, valve, sealing surface, and any factory self-sealing liner from the levers.
Lever Placement
Place tire levers only where needed and use them to roll the bead over the rim flange in small increments. Maintain pressure on the already-mounted section so it does not climb back out of the drop center.
- Keep the opposite bead section in the deepest part of the rim.
- Use smooth tire tools without sharp edges.
- Take small sections rather than forcing a large portion of bead.
- Keep tools away from the valve and any exposed motor cable.
- Stop if the bead begins to tear, kink, or expose reinforcement.
Maintain Tire Tension
Work methodically around the wheel and keep the bead centered. If the final section becomes extremely tight, do not simply apply more force. Recheck that every mounted section is pushed into the rim’s drop center and that the tire is the correct size.
Excessive levering can damage the bead or deform the wheel. If the tire still cannot be mounted without extreme force after confirming size, lubrication, and drop-center position, professional tire equipment is the safer option.
Remove Zip Ties
If you used zip ties, remove them only after both beads are fully inside the rim. Cut each tie where the cutter cannot contact the tire, rim, valve, or brake rotor. Remove the ties one at a time and check that the bead remains correctly positioned after each one.
- Keep the cutting edge away from the tire carcass.
- Do not drag a cut tie across the bead.
- Confirm no plastic pieces remain trapped between bead and rim.
- Inspect both beads for nicks, folds, or deformation.
- Check the directional arrow one final time before inflation.
Check the Sealant or Self-Sealing System
Not every tubeless scooter tire uses the same puncture-sealing system. Some scooters use factory self-sealing tires with an internal gel layer, while other tire-and-rim systems may call for liquid sealant. Do not automatically pour bicycle or automotive sealant into every scooter tire.
If your original setup uses liquid sealant, use only the type and quantity specified by the scooter, tire, or wheel manufacturer. If the replacement is a factory self-sealing tire, do not disturb or contaminate the internal sealing layer. Also verify that the valve remains open and correctly seated.
General tubeless systems often rely on a rapid initial airflow to establish the seal. Schwalbe’s tubeless guidance, for example, describes using strong airflow, checking the bead’s seating line around both sides, and respecting the lower applicable maximum pressure of the tire or rim. The exact procedure for your electric scooter should still come from its own tire and wheel documentation.
Seat the Bead With an Air Compressor or Suitable Air Source
Center the tire on the rim before connecting the air source. Keep your hands, face, and body away from the sidewall’s potential path while inflating. The wheel should be stable and restrained so it cannot jump or move unexpectedly as the bead seats.
A compressor or high-flow inflator can help when an ordinary pump cannot supply air quickly enough to establish the initial seal. However, high airflow does not mean unlimited pressure. Stay within the applicable bead-seating and maximum-pressure instructions for the exact tire, rim, valve, and scooter.
Watch both sidewalls continuously. Most tires have a molded line near the bead that can be compared with the rim edge. That line should become evenly spaced from the rim around the entire circumference on both sides.
Warning: If a bead does not seat within the permitted pressure, stop inflating. Deflate the tire completely, inspect the bead and rim, apply approved mounting lubricant again, reposition the tire, and retry. Never defeat the problem by continuing to raise pressure beyond the applicable manufacturer limit, and never use fire or a flammable aerosol to seat a tire bead.
Inflate to the Manufacturer-Specified Pressure and Inspect the Fit
After both beads are seated, install and tighten the valve core if it was removed, then set the tire to the normal operating pressure specified for your exact scooter and tire. Use a reliable gauge rather than estimating by feel.
There is no universal electric-scooter pressure. Segway, for example, lists different values across its tubeless models, and NIU publishes still different KQi guidance. Always use the scooter’s manual or official manufacturer specification.
- Confirm the bead line is even around both sides of the rim.
- Check for bulges, dips, twists, or sections of bead trapped below the rim seat.
- Listen for air escaping around the valve and bead.
- Apply soapy water around suspected leak points if compatible with the wheel and tire, and look for growing bubbles.
- Check that the valve is straight and secure.
- Recheck pressure after several minutes.
If the pressure drops noticeably, do not ride until you identify the leak. Possible causes include an incompletely seated bead, damaged valve, debris in the bead seat, rim damage, damaged sealing tape or strip, incompatible tire, or a sealing system that was not serviced correctly.
Troubleshoot a Tire That Will Not Seat or Hold Air
The Bead Will Not Seat
Fully deflate the tire and check that both beads are free of damage. Confirm the tire size, clean the bead seat, apply approved tire-fitting lubricant, and place the bead evenly in the rim before trying again. Do not keep adding pressure beyond the permitted limit.
Air Escapes Too Fast During Initial Inflation
Push both tire sidewalls outward around the valve and bead-seat area to reduce large gaps. Removing the valve core temporarily can increase airflow if the manufacturer permits it. A high-flow inflator or compressor may be needed for some tight tubeless combinations.
The Tire Holds Air but Runs Wobbly
Check the molded bead line on both sides. A section that sits closer to or farther from the rim edge may not be seated correctly. Deflate, lubricate, center, and reseat the tire instead of riding on a visibly uneven bead.
The Tire Loses Pressure After Installation
Check the valve first, then the bead circumference and rim sealing system. If your scooter uses liquid sealant, confirm it was installed according to the applicable instructions. A damaged rim, valve, bead, self-sealing liner, or sealing strip may require replacement rather than repeated inflation.
Reinstall the Wheel and Perform Final Safety Checks
Return every spacer, washer, axle component, cable guide, brake part, and rotor to its original position. Tighten axle, brake, and rotor fasteners to the manufacturer’s specified torque rather than guessing. If a hub-motor cable was disconnected, reconnect and route it exactly as intended so it cannot rub the tire, brake, or moving wheel.
Spin the wheel by hand before riding. It should rotate without abnormal wobble, sidewall contact, motor-cable contact, or heavy brake drag. Operate the brake several times and confirm that the rotor runs correctly through the caliper.
- Verify axle hardware is fully secured.
- Check the motor cable and connector if applicable.
- Confirm the brake operates normally.
- Make sure the wheel is centered and spins true.
- Recheck tire pressure with a gauge.
- Look once more for bead irregularities or leaks.
Begin with a short, low-speed test in a safe area. Stop immediately if you feel vibration, pulling, unusual brake behavior, rubbing, or loss of pressure. Recheck the tire and fasteners after the first ride.
Frequently Asked Questions
Can you change a tubeless electric scooter tire yourself?
Yes, if you have the correct tools, the model-specific wheel-removal procedure, and enough mechanical experience to reinstall the axle, brakes, and any hub-motor cable safely. Small scooter tires can be unusually stiff, so professional service is reasonable if the bead or wheel hardware is difficult to handle.
How do you put a tubeless tire on an electric scooter?
Remove the wheel according to the scooter’s service procedure, fully deflate and remove the old tire, clean and inspect the rim, orient the replacement correctly, lubricate the beads with approved fitting fluid, work both beads onto the rim, seat them with a suitable air source, and set the final pressure to the scooter manufacturer’s specification.
Do you have to remove the brake rotor to change a scooter tire?
Not always. Rotor removal depends on the scooter, wheel, and available clearance. Follow the model-specific procedure and leave the rotor installed when it does not interfere with safe tire removal. If it must be removed, protect it from lubricant and sealant and reinstall its fasteners to specification.
Do you need an air compressor to seat a tubeless scooter tire?
Not in every case, but some tubeless tires need faster airflow than a small hand pump can provide. A compressor or high-flow inflator can help establish the initial seal. Regardless of the air source, never exceed the applicable tire, rim, valve, or manufacturer pressure limits.
What PSI should a tubeless electric scooter tire use?
Use the pressure specified for your exact scooter and tire rather than a universal number. Current manufacturer recommendations vary considerably; for example, Segway lists 32–37 PSI on some G30 models and 42–48 PSI on MAX G2/F2 models, while NIU publishes 45–50 PSI guidance for its KQi scooters.
Does every tubeless scooter tire need sealant?
No. Some systems use liquid sealant, while others use factory self-sealing tires with an internal sealing layer. Follow the tire and scooter manufacturer’s instructions instead of automatically adding sealant.
How can you remove a tubeless scooter tire without tire tools?
A loose tire may sometimes be worked off by hand after complete deflation, but stiff electric-scooter tires commonly require proper bead-breaking and tire tools. Do not use a curb, screwdriver, or sharp improvised lever because you can damage the rim, bead, valve, or brake components.
Can you ride an electric scooter with a flat tubeless tire?
You should not. Riding with little or no air can damage the tire, bead, and rim and can severely reduce handling and braking stability. Stop riding, repair the leak or replace the tire, and restore the model-specified pressure before using the scooter again.
Conclusion
A successful tubeless electric-scooter tire change depends less on one universal trick and more on following the specifications for the exact scooter, wheel, and tire. Confirm compatibility first, remove the wheel without damaging brake or motor components, protect the bead and rim during installation, seat the tire within its permitted limits, and use the manufacturer-specified operating pressure.
Before riding, make sure the bead is even, the wheel spins true, the axle and brake hardware are secure, the motor cable is correctly routed if applicable, and the tire holds pressure. Finish with a short low-speed test and another pressure check. If the tire will not seat normally or any safety-critical hardware cannot be verified, professional service is the safer choice.
Sources
- Segway-Ninebot Technical Support — current model-specific electric-scooter tire types and pressure ranges.
- NIU Kick Scooter FAQ — manufacturer guidance on KQi tubeless tires and recommended tire pressure.
- Schwalbe Tubeless Technology Guidance — tubeless bead seating, airflow, seating inspection, and pressure-limit guidance.
- Continental Tire Mounting Safety Instructions — complete deflation, approved mounting lubricant, tire/rim compatibility, and inflation safety.
- Michelin Tire Inspection and Mounting Guidance — directional markings, bead/rim inspection, and approved mounting lubrication.
