
Last Updated on September 10, 2026 by Daniel Globe
Start by turning off the scooter, flipping it upside down, and fully deflating the tire. Remove the rear wheel with an 8 mm Allen key, keeping the washer order intact. Use tire levers and soapy water to lift one bead, then pull out the old tube. Install the new tube with the valve centered, reseat the bead, and reinstall the wheel. Inflate to 36 PSI and check alignment—you’ll catch the finer details next.
Disclosure: As an Amazon Associate I earn from qualifying purchases. Some links on this page are affiliate links, at no extra cost to you.
Tools and Prep for a Pure Air Tube Change
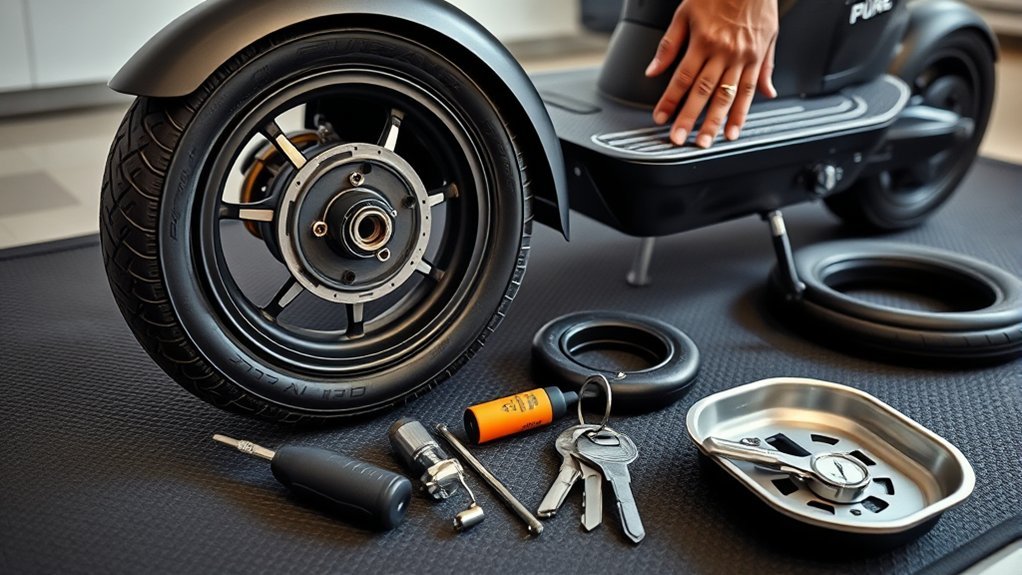
Before you start, gather an 8 mm Allen key, tire levers, soapy water, a new inner tube, and the washers you’ll need for reassembly. Turn the scooter upside down so you can work with control and stability. Fully deflate the tire; zero pressure makes bead removal safer and reduces strain on the rim. Keep the tools within reach, because efficient inner tube maintenance depends on preparation, not improvisation. Check the washer order now: locking washer first, then the small flat washer, then the split washer. You’ll reinstall them in that sequence to preserve alignment and secure fastening. Apply soapy water to the tire bead later to ease removal and installation, but don’t skip the prep stage. This is practical tire care that gives you clean access, fewer mistakes, and more control over the repair. With everything staged correctly, you can move forward without waste or uncertainty.
Remove the Rear Wheel
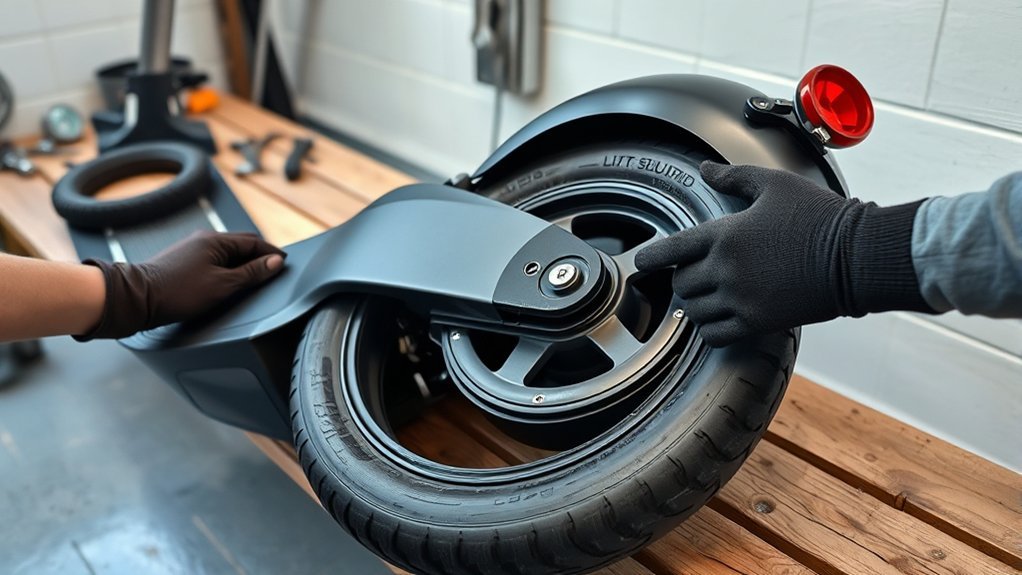
Use an 8 mm Allen key to remove the two nuts on either side of the rear wheel, then carefully pull the wheel backward. Keep your movements controlled so you don’t strain the motor cable attached to the hub. As you free the wheel, collect every axle component in order: the locking washer, small flat washer, and split washer. Storing these parts together now prevents confusion during reassembly and supports disciplined wheel maintenance. Set the rear wheel aside on a clean, stable surface where it won’t roll or take damage. You’re clearing the rear assembly so you can move on with confidence, without forcing anything or losing hardware. Check the axle for remaining debris or misaligned parts, but don’t begin tire removal yet. Your focus here is simple: separate the wheel safely, preserve all hardware, and keep the scooter ready for the next step in the tube change.
Take Off the Tire and Old Tube
Fully deflate the rear tire before you start so you can remove it safely. Apply a little soapy water to the bead, then use tire levers to pry one side of the tire off the rim, beginning opposite the valve for better leverage. Push the valve stem inward, pull out the old inner tube, and check the tire for debris before you install a replacement.
Deflate The Rear Tire
Start by making sure the rear tire is completely deflated, since any remaining air can make removal much harder and increase the risk of damage. Then break the work into controlled steps, following tire maintenance tips and scooter safety precautions so you stay in command.
| Step | Action | Why it matters |
|---|---|---|
| 1 | Verify zero pressure | Prevents binding |
| 2 | Add soapy water | Reduces friction |
| 3 | Loosen with levers | Protects the rim |
Use tire levers to pry up the first side from the opposite side of the valve. Once one side lifts, push the inner tube valve through the rim and pull the punctured tube free. Before removing the rear wheel completely, collect any axle washers so nothing gets lost.
Remove Tire Bead
With the tire fully deflated, apply soapy water around the bead to help it break free from the rim. This reduces friction and gives you controlled movement for tire maintenance. Set a tire lever beside the valve, then pry one bead section over the rim. Move in small increments, working around the wheel until one side is free. Keep the lever shallow so you don’t pinch the rim tape or strain the motor cable. After the bead clears, push the valve stem into the rim to release the tube’s valve opening. Then lift the remaining bead off the rim with steady hand pressure. Don’t force it; precise bead seating changes make removal easier and protect the wheel. You’re freeing the assembly cleanly, ready for the next step.
Extract The Old Tube
Once the bead is free, keep the tire completely deflated and brush a little soapy water along the edge to lower friction as you work. Push the tire’s bottom section into the rim channel, then lever one side off with tire levers.
- Start with a fully flat tire.
- Use soapy water for smoother extraction.
- Protect the valve while pulling the tube.
Push the valve stem inward before you lift the inner tube out, then guide the tube free without twisting it. Retrieve the punctured tube and inspect it closely for the cause of the flat; this supports smarter tire maintenance and puncture prevention. Check the tire casing and rim bed for sharp debris, embedded glass, or pinch points before you install a replacement. Work deliberately and keep control: you’re stripping away failure so your scooter can roll with greater freedom again.
Install the New Inner Tube
Slide the new inner tube into place by first confirming the tire is clean and free of debris, then brushing a little soapy water around the rim and tire to help the rubber seat more easily. This simple prep supports tube maintenance tips and puncture prevention techniques by reducing abrasion and contamination. Insert the valve straight into the rim’s valve housing and check that it sits centered, not twisted. Then guide one side of the tire bead over the tube, working slowly so you don’t trap or pinch the rubber. If the bead resists, use tire levers sparingly and keep them shallow to preserve the tube. Continue around the rim until the tire rests evenly in the channel. Finally, press the entire circumference into the rim groove with your hands, confirming the bead is fully seated all the way around before you inflate. This careful fit protects your setup and keeps your ride ready.
Reinstall and Secure the Rear Wheel
Reattach the rear wheel assembly by aligning the axle with the rear fork slots and guiding the motor cable so it isn’t pinched or damaged. Place the locking washer, small flat washer, and split washer on the axle in the correct order, then seat the wheel fully. Tighten both axle nuts with an 8 mm Allen key until they’re secure, and inflate the tire to 36 PSI (2.5 bars).
Reattach Wheel Assembly
Align the rear wheel with the fork and guide the axle into the designated slots without forcing it. Check wheel alignment so the tire sits centered and the axle tracks cleanly. Next, focus on washer placement: put the locking washer, small flat washer, and split washer on the axle in that order before you secure anything. This keeps the assembly stable and ready for the road.
- Inspect both sides of the axle.
- Verify the washers sit flush.
- Make sure the wheel spins freely.
Use an 8 mm Allen key to snug the two nuts evenly. Then rotate the wheel by hand and confirm nothing rubs the motor cable or nearby parts. Finish by setting the tire to 36 PSI, or 2.5 bars, so you can ride with control, range, and freedom.
Tighten Axle Hardware
With the rear wheel seated in the fork, use an 8 mm Allen key to tighten the two axle nuts evenly on both sides until the hardware is firmly secure. Before final torque, confirm the locking washer, small flat washer, and split washer sit in the correct order and fully seat against the axle. Keep the motor cable clear so it isn’t pinched between the wheel and frame as you tighten. Use these wheel alignment tips to center the wheel in the rear fork and prevent drag. Apply axle maintenance techniques by checking both nuts for equal resistance and verifying the axle doesn’t shift under load. Spin the wheel by hand; it should rotate freely without wobble. Once everything checks out, you’re ready to inflate the tire and finish the repair.
Inflate the Rear Tire to 36 PSI
Inflate the rear tire to 36 PSI (2.5 bars) using a reliable tire pressure gauge, since accurate pressure is critical for safe handling and even tire wear. After reassembling the wheel, check that the inner tube sits evenly and isn’t twisted before adding air.
- Set tire pressure to 36 PSI for stable traction and efficient rolling.
- Recheck with your gauge; small errors can cause poor handling or excess wear.
- If inflation feels abnormal, inspect for pinches, leaks, or a misseated bead.
Use these maintenance tips before every ride, because temperature shifts can change PSI and affect performance. If the tire won’t hold pressure, stop and diagnose the tube or tire before you ride. Proper inflation keeps you mobile, independent, and ready to move with confidence.
Frequently Asked Questions
How to Put an Inner Tube on an Electric Scooter?
You put it on by deflating the tire, removing the wheel, fitting the valve through the rim, seating the tube inside, and remounting the tire. Use necessary tools, observe safety precautions, then inflate to spec.
Can You Change the Inner Tube Without Removing the Wheel?
Yes, you can, but you’ll need skill and patience for tire maintenance and puncture repair. Deflate completely, pry one bead off, access the valve stem, replace the tube, then reseat the tire carefully.
Can You Change Tires on Electric Scooters?
Yes, you can change tires on electric scooters. You’ll handle tire maintenance through scooter repairs, remove the wheel, deflate fully, fit the new tire and tube, then inflate to 36 PSI for safe, liberated riding.
Is It Easy to Replace an Inner Tube?
Yes, you can replace it fairly easily if you’ve got basic tools and follow inner tube maintenance steps. For careful scooter tire care, deflate fully, remove the wheel, swap the tube, lubricate, and inflate correctly.
Conclusion
Now you’ve got the job done: the rear wheel is back in place, the new tube is seated correctly, and the tire is inflated to 36 PSI. Give the wheel a final spin and check for smooth rotation and any air leaks. If everything looks right, you’re set to ride again. Small maintenance tasks like this keep your scooter dependable. As the saying goes, a stitch in time saves nine, and that really holds true here.
