
Last Updated on September 10, 2026 by Daniel Globe
To change the front inner tube on an electric scooter, first gather an 18mm wrench, a 2.5mm Allen or T10 Torx key, tire levers, and a matching replacement tube. Remove the front wheel, deflate the tire, and pry one bead off the rim. Pull out the old tube, check the tire for damage, then fit the new tube and reseat the bead evenly. Reinstall the wheel, tighten the nuts, inflate to spec, and there’s more to get right.
Disclosure: As an Amazon Associate I earn from qualifying purchases. Some links on this page are affiliate links, at no extra cost to you.
What Tools Do You Need?
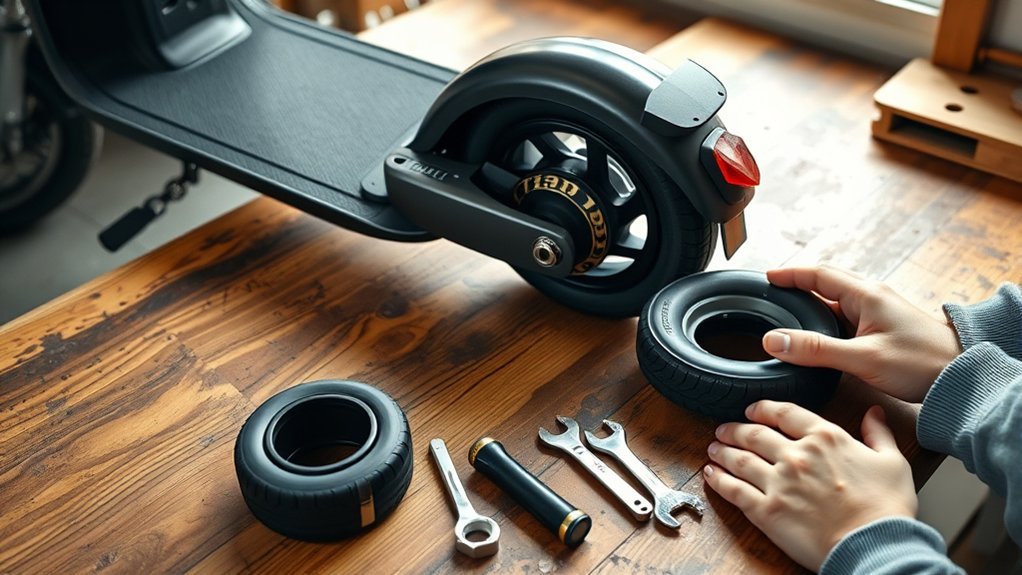
To change the front inner tube on a Xiaomi M365, you’ll need a few specific tools before you start: an 18mm wrench for the motor nuts, a 2.5mm Allen key or T10 Torx key for the plastic covers, and Hercules tire levers to safely separate the tire from the rim without damage. Add an 8 1/2x2L inner tube with a straight valve, since the old tube must match it exactly. Keep soapy water nearby; it helps you work the tire free with less force and more control. Use cable ties when you remount the tire so you can hold sections in place while you work. Before you begin, inspect each tool for wear and keep up with tool maintenance so nothing slips under load. Follow basic safety precautions: work deliberately, protect your hands, and don’t force damaged hardware. With the right kit ready, you stay in command and keep the repair clean, fast, and self-directed.
How to Remove the Front Wheel?
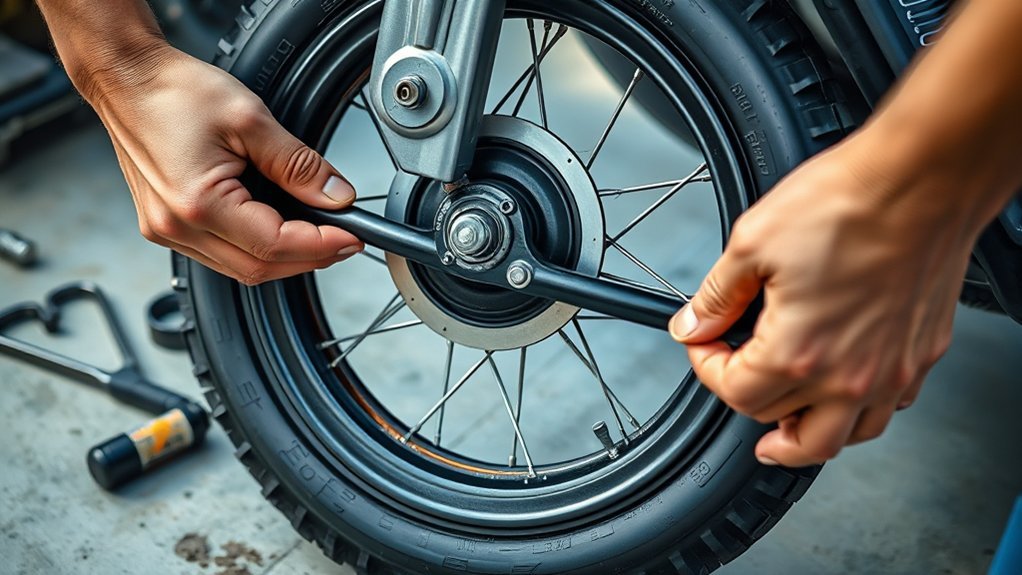
Start by carefully lifting the sticker with a thin blade so you don’t damage it, then use a 2.5mm Allen key or T10 Torx key to remove the plastic covers on both sides of the wheel. Next, switch to an 18mm wrench and loosen the nuts that secure the motor axle. Hold the wheel steady as you work so you keep control and protect scooter safety. If the tube still holds air, remove the valve cap and press the valve inward to deflate it before continuing.
Once the hardware is off, slide the wheel free from the fork and set the parts aside in order. You’ve now opened direct access for wheel maintenance and for replacing the tube with minimal resistance. Keep the removed nuts, covers, and stickers organized so reassembly goes smoothly. By removing the front wheel cleanly, you reclaim control over the repair process and make the next step faster, safer, and more precise.
How to Remove the Tire and Tube
Deflate the inner tube completely, then push the valve inward through the rim to create slack and make tire removal easier. Next, apply a thin bead of soapy water around both tire edges; this reduces friction and helps the bead release cleanly from the rim. Insert Hercules tire levers under one side of the tire, then pry it outward in small increments. Work methodically around the rim until one bead comes free. Keep steady pressure so you don’t pinch the tube or damage the wheel. Once the tire’s first side is off, reach inside and push the valve stem through the rim opening, then pull the inner tube out fully.
Now lift the remaining tire bead off the rim. Inspect the tire’s interior and exterior for wear, cuts, or deformation; this is one of the most practical tire maintenance tips. Handle the removed tube with care, since good inner tube care starts with avoiding needless stress during removal.
How to Check Tire Wear and Punctures
With the tire removed, inspect it carefully for wear and damage before reinstalling anything. First, read the tread wear indicators; if the tread sits flush with them, replace the tire. Next, examine the entire surface for punctures, cuts, or embedded debris. Even tiny breaches can cause slow leaks, sudden deflation, or blowouts. Then, run your hand slowly around the tire to detect bulges, soft spots, or uneven areas that suggest internal failure. Check both sidewalls for cracks, splits, or tears, because sidewall damage weakens the casing and reduces control. Use a pressure gauge to verify inflation during routine tire maintenance; under-inflation speeds wear and raises puncture risk. These checks support puncture prevention and keep your scooter ready for open, independent travel. If you find any serious damage, don’t ignore it—replace the tire before you move on.
How to Install the New Inner Tube
Fit the new 8 1/2x2L inner tube with a straight valve into the tire, making sure it matches the Xiaomi M365. Remove the valve core first; this eases insertion and supports clean valve core replacement later. Next, guide the tube inside the casing and align the valve with the rim hole. Lift the valve upward while pushing from behind so it seats through the hole without pinching the rubber. Keep the tube relaxed and centered as you work, because careful inner tube maintenance prevents twists and future leaks.
- Check that the valve points straight through the rim opening.
- Push gently from the rear until the stem clears the hole.
- Reinstall the valve core after the tube sits correctly.
Once the tube’s position feels correct, deflate it slightly, then replace the valve cap to secure the stem before you mount the tire. That’s how you free the wheel for the next step.
How to Mount the New Tire
Now that the inner tube is seated and the valve points cleanly through the rim, you can mount the new resistant V3 tire onto the wheel. First, verify the arrow on the sidewall and match it to the tire rotation direction. Then start one bead on the rim, keeping the valve centered in the rim hole for clean rim alignment. Use your hands to work the second bead over the rim, and add cable ties if you need leverage; they help guide the tire without trapping the tube. Move slowly around the wheel, checking that the tube stays tucked inside and the bead doesn’t bite it. Once both beads are on, inspect the whole circumference to confirm even seating. Press the tire into place, then verify the valve stands straight and the sidewalls sit uniformly. This careful fit gives you a freer, safer ride.
What Tire Pressure Should You Use?
What tire pressure should you use? For a Xiaomi M365, set the front tire to 50–65 PSI. Start at the middle of that range, then tune it with pressure monitoring based on your weight, road surface, and riding style. Correct tire maintenance frees your scooter to roll efficiently, saves battery, and slows tire wear.
- Check pressure with an accurate gauge before every long ride.
- Inflate in small steps; don’t exceed 65 PSI.
- Recheck after the tire settles, then adjust if needed.
If you run too low, you’ll feel more drag, lose range, and risk pinch flats. If you run too high, the ride gets harsh, traction drops, and blowout risk rises. Keep the pressure stable, and you’ll get smoother handling, better control, and safer performance. Regular pressure monitoring is a small task that protects your freedom to ride farther with less effort and fewer repairs.
How to Reassemble the Front Wheel
Align the locking washers first, then refit the wheel components with the inner tube seated correctly and the valve stem through the rim hole. Next, install the tire in the correct rotation direction, work the bead fully into the rim, and secure the plastic covers with the proper Allen or Torx key. Tighten the axle nuts with an 18mm wrench, then check for wobble and confirm the wheel spins freely.
Align Locking Washers
Position the locking washers on both sides of the motor with the concave side facing the wheel, then line up each washer with its corresponding hole before installing the nuts. This locking washer orientation keeps the axle seated and the wheel free to move as intended. Use precise washer alignment techniques so both sides sit flush and centered. Check the valve stem’s position against the rim hole now, because a shift here can trap the tube later.
- Hold each washer in place while you start the nuts.
- Tighten the nuts evenly with an 18mm wrench.
- Spin the wheel to confirm smooth rotation and secure fit.
When everything turns cleanly, you’ve reclaimed a solid front end and can move on with confidence.
Refit Wheel Components
With the locking washers already set, you can now refit the wheel components by guiding the inner tube and tire back into place and making sure the valve stem passes cleanly through the rim hole without pinching. Keep the tube centered as you seat the tire evenly around the rim. Reattach the motor nuts on both sides with an 18mm wrench, turning them evenly so the wheel stays square. Then snap the plastic covers back on with a 2.5mm Allen key or T10 Torx key until they sit flush. Check that the tire beads rest properly on the rim before inflation. These wheel maintenance tips support component longevity and help you keep your scooter ready for free, reliable motion.
Tighten And Test
Make sure every part is still seated correctly before you tighten the front wheel back down, especially the locking washers, which should sit in the proper orientation to prevent the wheel from shifting. Use an 18mm wrench to snug the nuts on both sides of the motor until they’re secure, but don’t overtighten. Refit the plastic covers with a 2.5mm Allen key or T10 Torx key so they sit flush and protect the inner components. Then inflate the tire to the recommended 40-50 psi, adjusting for your scooter’s specs and rider weight.
- Check alignment before torqueing
- Apply safety precautions during reassembly
- Follow maintenance tips for pressure checks
Take a careful test ride and listen for noise, wobble, or poor handling. If anything feels off, stop and inspect the wheel again.
Frequently Asked Questions
How to Put an Inner Tube on an Electric Scooter?
You fit the inner tube on your electric scooter by deflating it, aligning the valve with the rim hole, easing it inside the tire, adding soapy water, seating the bead, then inflating to 40–50 PSI.
Can You Change the Inner Tube Without Removing the Wheel?
Yes, you can, but it’s tougher. Deflate the tire, use tire levers, apply soapy water, and pull the valve stem through the rim. These wheel removal alternatives support tube maintenance tips and let you work freely.
How to Remove Tubeless Tire Without Tool?
Deflate it fully, then pinch the sidewalls inward. Lubricate the bead with soapy water, work your hands around the rim, and stand carefully if needed. These tire maintenance tips support scooter safety advice and freedom.
How to Fix a Flat Tire on an Electric Scooter?
To fix a flat tire on your electric scooter, you’ll inspect first, then disassemble the wheel, deflate the tube, lever off the tire, replace it, inflate correctly, and reassemble—your tire maintenance and scooter safety secured.
Conclusion
You’ve now got the front wheel back in shape, so take a final moment to inspect every bolt, valve, and bead before you ride. A careful reassembly helps you avoid any future “unexpected pauses” in your trip and keeps the scooter rolling smoothly. Keep your tire pressure in the recommended range, since a properly inflated tube supports safer handling and longer tire life. With these steps done, you’re ready to get back on the road with confidence.
