

Last Updated on July 29, 2026 by Mason Reed
Camping on wet ground is manageable when you choose a safe, well-drained site and control water before it reaches your sleeping area. A fitted footprint, fully tensioned rainfly, open vents, protected gear, and a willingness to relocate are more effective than trying to reshape the campsite after rain begins.
Quick Answer
To keep a tent dry on wet ground, pitch on high, durable soil away from drainage channels, tuck a fitted footprint completely beneath the floor, tension the rainfly, stake every required guyline, and keep vents open. Protect bedding in sealed dry bags, and relocate instead of digging trenches if water begins pooling.
Key Takeaways
- Choose an established, slightly raised site that shows no evidence of flooding or concentrated runoff.
- Keep every edge of the footprint beneath the tent floor so it cannot collect rainwater.
- Use the rainfly, vents, stakes, and guylines exactly as the tent manufacturer directs.
- Use sealed dry bags or a waterproof pack liner for sleeping gear; ordinary stuff sacks may only be water-resistant.
- Do not trench or build dirt barriers. Move the tent if the site begins collecting water.
- Never cook, burn charcoal, or operate a fuel-burning heater inside the tent.
At a Glance
| Time Required | About 15–30 minutes for site inspection and setup, plus periodic checks during changing weather |
| Difficulty | Easy to moderate; practice pitching the tent at home before using it in heavy rain |
| Tools Needed | Tent, rainfly, fitted footprint, stakes, guylines, stake tool or mallet, dry bags or pack liner, absorbent cloth, and tent repair supplies |
| Cost | No added cost if you already own the equipment; otherwise, cost varies by footprint, dry-storage system, tarp, and repair materials |
Disclosure: As an Amazon Associate I earn from qualifying purchases. Some links on this page are affiliate links, at no extra cost to you.
Importance of Keeping Your Tent Dry
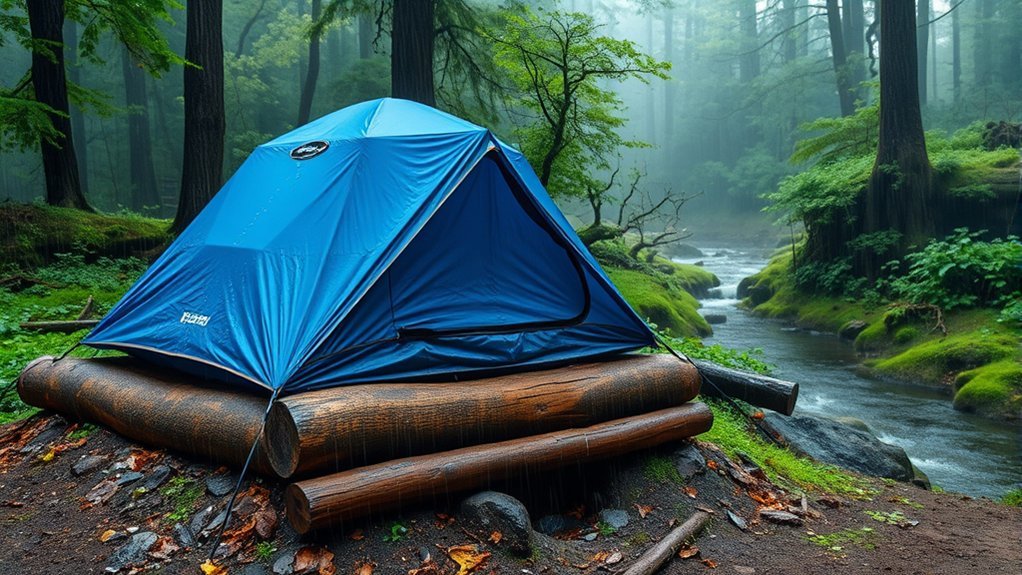
Keeping your tent dry protects more than your comfort. Wet clothing and insulation lose warmth, electronics may be damaged, and a soaked sleeping bag can be difficult to dry in humid weather. Cold rain, wind, and wet clothing can also chill a camper quickly.
A damp tent does not always mean the shelter is leaking. Moisture may enter from rain, wet clothing, saturated soil, or condensation created when warm, humid air meets the cooler rainfly. The best setup controls all four sources instead of relying on one tarp or waterproof coating.
The safest wet-weather campsite is selected before the tent is unpacked: high enough to drain, durable enough to camp on, and free from flood, tree, wind, and lightning hazards.
Tent Setup Strategy for Rainy Conditions
Before leaving home, check the forecast, campground alerts, flood watches, wind predictions, and local camping rules. Save a way to receive updated warnings when cell service is limited, and identify where you would go if lightning, rising water, or strong wind made the site unsafe.
Choose a Safe, Well-Drained Campsite
Use a designated tent pad or an established campsite whenever one is available. In the backcountry, choose a durable surface such as compacted soil, gravel, rock, or dry grass and follow local distance requirements. Leave No Trace wet-weather guidance advises avoiding areas that show evidence of flooding, camping about 200 feet from water sources where local rules permit, and not digging trenches.
- Look for slightly raised, level ground rather than the lowest point in the area.
- Avoid gullies, dry washes, streambanks, floodplains, depressions, and channels where leaves or debris have collected.
- Do not pitch where runoff from a road, trail, rock face, or hillside will cross the tent pad.
- Check the soil for standing water, deep mud, saturated moss, and flattened vegetation that may indicate previous flooding.
- Keep a clear route to higher ground in case conditions worsen.
A tree canopy may create a warmer microclimate that reduces condensation, but it is not automatically a safe shelter. Look upward and around the site for dead limbs, split trunks, leaning trees, storm damage, or branches caught overhead. The National Park Service camping-safety guidance warns that branches and trees can fall even when they are not visibly dead.
Warning: A tent, picnic shelter, and tree canopy are not safe lightning shelters. If you hear thunder, move to a substantial building or a hard-topped vehicle when one is accessible. Do not remain under a large isolated tree.
Pitch the Tent With Minimal Rain Exposure
Practice the full setup at home so you know which poles, clips, sleeves, buckles, vents, and guylines are used. Some tents allow the footprint, poles, and rainfly to be pitched before the inner body. Use that fly-first method only when the manufacturer supports it.
- Keep the tent body packed while you complete the final site inspection.
- Lay down the fitted footprint with every edge beneath the planned tent floor.
- Assemble poles and attach them in the sequence shown in the tent instructions.
- Raise the tent body quickly and place the rainfly over it immediately.
- Attach every rainfly buckle, hook, or strap and center the fly over the tent.
- Stake the corners, then tension the rainfly and required guylines.
- Open protected vents and confirm that the rainfly is not resting against the inner tent.
Orient doors away from wind-driven rain when possible. If the tent has one side with a stronger pole structure, face that side toward the prevailing wind according to the manufacturer’s instructions. Keep vestibule fabric and rainfly panels taut enough to shed water without overstressing seams or poles.
Pro Tip: Pack the rainfly near the top of your backpack or vehicle bin. You should not have to unpack clothing, bedding, or loose equipment before reaching the shelter’s rain protection.
Essential Gear Protection Techniques
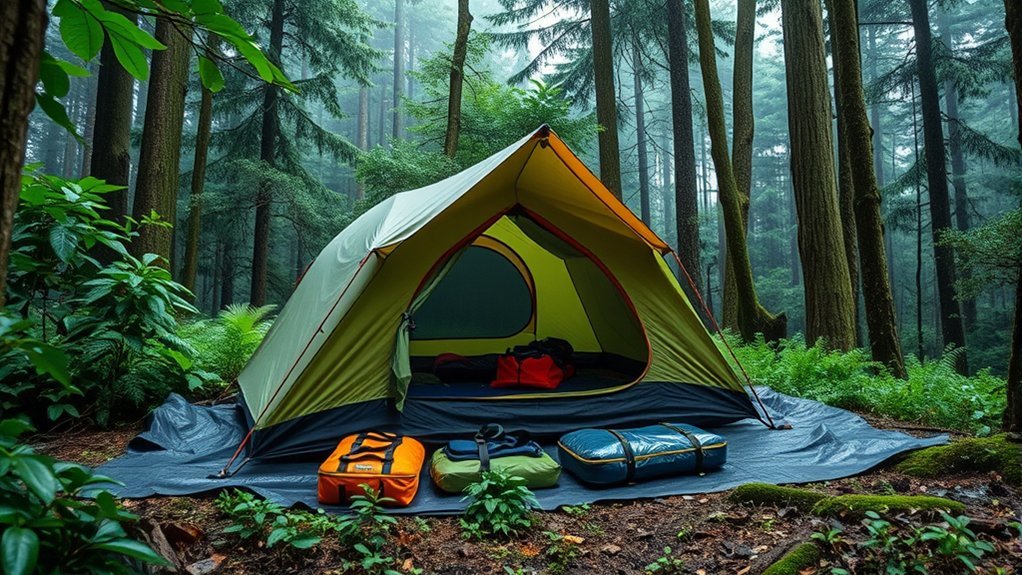
Your sleeping bag, dry base layer, insulation, medication, electronics, fire-starting supplies, and navigation equipment deserve more than one layer of protection. Keep critical items sealed while pitching the tent, and unpack them only after the shelter is stable and its floor is dry.
Use Stuff Sacks and Dry Bags Correctly
An ordinary drawcord stuff sack is useful for organization, but it may not be waterproof. Seams can leak and the open drawcord top can admit water. For moisture-critical gear, use a roll-top dry bag with sealed seams or place everything inside a waterproof pack liner.
| Storage Type | Best Use | Rain Protection |
|---|---|---|
| Drawcord stuff sack | Organizing clothing and small gear inside a protected pack | Often water-resistant, not reliably waterproof |
| Roll-top dry bag | Sleeping bag, dry clothing, electronics, and emergency supplies | Strong rain protection when closed correctly; do not assume it is submersible |
| Waterproof pack liner | Protecting most of the contents inside a backpack | Effective secondary barrier when folded or closed securely |
| Rigid waterproof container | Phones, batteries, medication, keys, and delicate equipment | Depends on the container’s gasket and water-resistance rating |
Keep one complete dry clothing set sealed until you need it. Place wet clothing and muddy footwear in a separate bag so they cannot transfer moisture to insulation or sleepwear.
Select and Maintain Wet-Weather Gear
Wear a rain shell and rain pants that fit over your insulating layers without restricting movement. Water-resistant coatings and seam tape wear with age, dirt, abrasion, and repeated use, so inspect your clothing and shelter before each trip.
- Check rain-jacket seam tape, zippers, cuffs, hood adjustments, and fabric for peeling or damage.
- Inspect the tent floor, rainfly, and high-stress corners for pinholes or worn coatings.
- Carry repair tape and the seam sealer recommended for your tent’s fabric and coating.
- Test repairs at home in dry, controlled conditions before relying on them in the field.
- Replace badly delaminated or brittle components rather than trusting a temporary patch.
Elevate and Separate Gear
Keep sleeping bags and dry clothing away from tent walls, doors, and any damp floor areas. Use interior pockets or a gear loft only within the manufacturer’s weight limits. A sleeping pad, cot designed for the tent, closed-cell foam pad, or dry waterproof bag can create separation between equipment and the floor.
Do not hang heavy bags from lightweight tent loops unless the tent instructions allow it. Overloading a loop can damage the canopy or pull the tent out of shape, reducing the air gap between the rainfly and inner wall.
Note: Store wet boots and rainwear in a covered vestibule when the tent design allows it. Keep them away from the inner door and do not block vents or your exit route.
Post-Setup Considerations for a Dry Tent
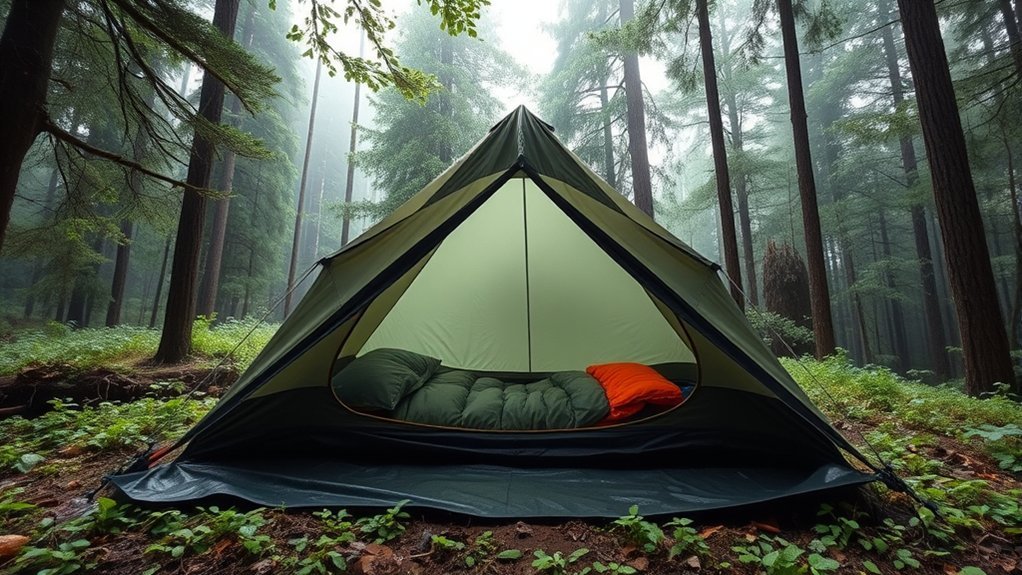
Once the tent is standing, walk around it before bringing in bedding. Confirm that runoff moves away from the shelter, the footprint is hidden beneath the floor, the fly is centered, and no fabric panel is sagging enough to hold water.
Ventilate the Tent Without Letting Rain In
Condensation forms when humid air from breathing, wet gear, and damp ground meets a colder tent surface. Ventilation cannot remove all condensation, but it can greatly reduce the amount that collects inside.
- Open all protected rainfly vents unless wind-driven rain begins entering them.
- Use opposing vents to create crossflow.
- Keep the rainfly taut and separated from the inner tent.
- Avoid pressing bedding against the canopy or rainfly.
- Store wet clothing outside the sleeping compartment under reliable cover.
- Wipe collected droplets with an absorbent cloth before they reach the sleeping bag.
The REI condensation guide recommends reducing internal moisture sources and ventilating early and fully. Do not seal every opening merely because the outside air feels cold; trapped moisture may make the sleeping area wetter.
Distinguish Leaks From Condensation
Condensation usually appears across broad cool surfaces, especially on the underside of the rainfly. A leak tends to follow a seam, tear, zipper, attachment point, or place where water has pooled against fabric.
- Droplets spread across the fly: Improve airflow and separate wet gear from the sleeping area.
- A narrow wet line along a seam: Mark the location and repair it with a compatible seam sealer when conditions allow.
- Water near a door: Check door orientation, vestibule tension, zipper closures, and whether gear is holding fabric open.
- Water beneath the floor: Confirm the footprint is fully tucked under the tent and inspect the floor for abrasion or punctures.
- A sagging pool overhead: Retension the rainfly or tarp from outside without pushing the pool from below.
Perform a full hose or spray test at home after the tent is pitched correctly and any sealant has cured. Follow the shelter manufacturer’s cleaning, waterproofing, and seam-sealing directions because silicone-coated and polyurethane-coated fabrics may require different products.
Effective Tarp Usage for Rain Protection
A footprint and an overhead tarp perform different jobs. Mixing their setup rules can direct water beneath the tent.
Use a Footprint Beneath the Tent
A fitted footprint protects the tent floor from abrasion and dirty ground. It should be the same size as, or slightly smaller than, the tent floor. Every edge must remain underneath the floor. The REI tent-care guide notes that an oversized ground cloth can catch rainwater and pool it beneath the tent.
If you use a generic tarp as a groundsheet, fold all excess material underneath. Do not leave a visible lip around the tent.
Pitch an Overhead Rain Tarp
An overhead tarp should extend beyond the area it protects and be angled so water drains away from the tent, entrance, cooking area, paths, and neighboring campsites.
- Use solid anchor points that are allowed by campground rules.
- Protect trees from rope damage and never cut branches to make the tarp fit.
- Create a clear ridge or sloped panel instead of a flat surface.
- Keep the tarp high enough that it does not rub against the tent or block ventilation.
- Tension all lines, but leave enough flexibility for wind rather than overtightening the fabric.
- Use reflective guylines or markers to reduce trip hazards.
- Recheck knots, stakes, and drainage after wind or heavy rain.
Warning: Do not stand beneath a tarp while pushing a heavy pool of water from below. The sudden release can collapse poles, pull out stakes, or dump water onto people and equipment. Retension or drain it from a safer position.
Why You Should Not Trench Around a Tent
Digging a trench, moat, or drainage channel around a tent is not a recommended wet-weather solution. It disturbs soil and plants, may accelerate erosion, can violate land-management rules, and may redirect water toward another campsite or sensitive area.
Leave No Trace guidance specifically advises visitors not to dig trenches for tents. A good campsite should work without permanent or temporary construction.
Use Site Selection Instead of Trenching
Study the ground before unpacking. Rainwater follows gravity, compacted channels, slopes, and existing depressions. Choose a position where runoff naturally passes around the tent rather than through it.
- Move uphill from low depressions, but stay away from exposed ridges and lightning-prone high points.
- Avoid the base of steep slopes, cliffs, or rock faces where water and debris may fall.
- Stay out of dry streambeds and washes even when the immediate sky is clear.
- Use an existing tent pad rather than expanding the campsite onto vegetation.
- Relocate early if a shallow sheet of water begins crossing the floor area.
Tools for Low-Impact Water Management
A shovel is not needed for routine tent drainage. More useful wet-weather tools include:
- A correctly sized footprint
- Extra manufacturer-approved stakes for soft soil
- Guylines and tensioners
- A stake puller or lightweight mallet
- An overhead tarp with suitable poles or allowed anchors
- Absorbent cloths or a small pack towel
- Waterproof dry bags or a pack liner
- Tent repair tape and compatible seam sealer
- A headlamp for checking runoff after dark
- A weather-alert method that works in the area
Prevent Water Accumulation Without Digging
Keep fly and tarp panels taut, move loose equipment out of natural drainage paths, and prevent guyline tension from distorting the tent floor. Do not build soil walls, move large rocks, strip vegetation, or scrape channels.
If water is collecting beneath or around the tent, the safest correction is usually to move to a better established site. A footprint cannot protect a tent placed in a forming pool, and no amount of seam sealant will make a flood-prone location appropriate.
Recommended Tools for Camping in Wet Conditions
Pack equipment that prevents moisture, supports a fast setup, and helps you respond without modifying the campsite.
- Complete tent and rainfly: Include every pole, clip, buckle, stake, and required guyline.
- Fitted footprint: Protects the floor without projecting beyond its edges.
- Overhead tarp: Creates a covered work or entry area when safely pitched and permitted.
- Dry bags or pack liner: Protect sleeping insulation, dry clothing, electronics, and emergency supplies.
- Rain cover: Helps reduce direct exposure, although pack contents should still have an internal waterproof barrier.
- Repair kit: Carry compatible seam sealer, repair tape, spare cord, patches, and any model-specific pole sleeve.
- Absorbent cloth: Removes condensation and small amounts of tracked-in water.
- Rain clothing: Allows you to work outside without soaking the clothing needed for warmth.
- Headlamp: Keeps both hands free while checking stakes and runoff.
- Weather-alert device: A charged phone, weather radio, or other suitable method for the destination.
Keep the footprint, rainfly, stakes, and rain jacket easy to reach. Bedding and dry clothing should remain sealed until the shelter is ready.
Tips for Maintaining Tent Ventilation
Ventilation needs change with wind direction, rain intensity, occupancy, and temperature. Check the tent periodically instead of choosing one vent position for the entire night.
- Open high vents first because warm, humid air rises.
- Use sheltered low openings only when they do not admit splash or wind-driven rain.
- Keep gear away from mesh panels and vent openings.
- Retension the rainfly if wet fabric stretches and begins touching the inner tent.
- Open vestibule doors partially on their sheltered side when the design permits.
- Reduce indoor moisture by removing wet jackets, boots, towels, and packs.
- Do not operate a heater as a condensation solution.
Pro Tip: Before sleeping, run a dry cloth along the underside of the fly or other safe-to-reach damp surfaces. Wring the cloth outside and store it away from bedding.
Best Practices for Gear Storage Inside the Tent
Divide equipment into dry, damp, and frequently needed groups before entering the tent. This prevents wet gear from being moved repeatedly across the sleeping area.
- Keep sleeping bags, sleepwear, and insulation in the driest part of the tent.
- Place medication, a light, footwear, and rain clothing where they are reachable during an emergency.
- Store electronics in a sealed container or dry bag, not loose in a tent pocket beside a wet wall.
- Use a vestibule for muddy footwear and wet outer layers when the shelter is designed for it.
- Do not block doors, vents, zippers, or the route out of the tent.
- Keep sharp tools, trekking-pole tips, and exposed stakes away from the floor and walls.
- Do not bring food or strongly scented items into the sleeping area where wildlife rules prohibit it.
Shake off rain before entering and remove wet outer layers near the doorway. A small absorbent mat or cloth can catch drips, but it should be removed or dried before it becomes another source of humidity.
Learning From Camping Experiences and Mistakes
Wet-weather skill improves when you test the full system instead of evaluating each item alone. Practice pitching the tent with the rainfly, footprint, guylines, dry-storage system, and tarp you will actually carry.
Good campsites are found, not made. If the ground requires trenches, dirt walls, or major alteration to stay dry, choose another site.
- Time your practice setup so you know how long critical gear will be exposed.
- Photograph the correct pole, fly, and guyline arrangement for reference.
- Test the tent for leaks at home and mark repair locations.
- Record which items became damp and determine whether the cause was rain, condensation, packing, or handling.
- Dry and inspect all equipment before the next trip.
- Replace failed stakes, cord, seam tape, buckles, and storage bags promptly.
What to Do If Water Enters the Tent
Act early. A few damp spots can often be managed, but rising or moving water means the campsite is unsafe.
- Check for a flash-flood warning, rapidly rising water, runoff crossing the site, or water entering from uphill.
- If flooding is possible, leave the tent and move to higher ground immediately. Do not remain inside to protect equipment.
- Put on rain clothing and move sleeping bags, dry layers, medication, and electronics into sealed bags.
- Identify whether the water is entering through a door, seam, floor puncture, exposed footprint, or sagging fly.
- Correct only problems that can be reached safely without digging or standing beneath unstable branches or pooled tarps.
- Use an absorbent cloth to remove limited standing water and keep insulation off the wet section.
- Change out of wet clothing and begin warming anyone who is shivering heavily, becoming clumsy, confused, unusually sleepy, or unable to care for themselves.
The National Weather Service outdoor flood guidance warns against camping on low ground near streams because flash flooding may occur with little warning. If water continues rising, abandon the site rather than trying to repair the setup during the emergency.
Warning: Never walk through moving floodwater to retrieve equipment. Follow evacuation orders and move to higher ground by a safe route.
How to Dry and Store a Wet Tent
A wet tent can be packed temporarily for travel, but it should not remain compressed or sealed longer than necessary.
- Shake off loose water, mud, leaves, and debris before packing.
- Separate the wet rainfly, footprint, and tent body from dry equipment when possible.
- At home, pitch or hang every component in a shaded, well-ventilated area.
- Open doors, vents, pockets, and folds so trapped moisture can escape.
- Use a soft cloth and the manufacturer-approved cleaning method for dirt or stains.
- Allow the tent, rainfly, guylines, footprint, poles, and storage bag to dry completely.
- Inspect seams, coatings, mesh, zippers, buckles, pole joints, and stake loops.
- Store the clean tent loosely in a cool, dry place rather than leaving it tightly compressed for months.
Avoid harsh detergents, bleach, household waterproofing products, machine washing, and high heat unless the tent manufacturer specifically permits them.
Frequently Asked Questions
What should I wear while camping on wet ground?
Wear a waterproof rain shell and rain pants over moisture-managing and insulating layers suitable for the temperature. Pack a completely dry base layer and socks in a sealed bag. Avoid cotton in cold, wet conditions because it holds moisture and dries slowly.
How do I choose a campsite on wet terrain?
Choose an established, durable, slightly raised surface with no evidence of previous flooding. Avoid depressions, gullies, washes, streambanks, floodplains, steep runoff paths, exposed ridges, and areas beneath damaged trees or hanging branches.
Can I use a regular tarp beneath my tent?
Yes, but fold it so every edge stays completely beneath the tent floor. Exposed material can catch runoff and direct it under the tent. A model-specific footprint is easier to position correctly and protects the floor from abrasion.
Should I dig a trench around my tent?
No. Trenching disturbs soil and vegetation, may increase erosion, and can violate campsite rules. Choose a site where water naturally drains away, use a correctly sized footprint, tension the rainfly, and move the tent if water starts pooling.
How do I dry my tent after rain?
Shake off excess water and unpack the tent as soon as practical. Pitch or hang the body, fly, and footprint in a shaded, ventilated place until every layer, fold, seam, and storage bag is completely dry. Clean and repair it according to the manufacturer’s instructions before storage.
What food should I bring for wet camping conditions?
Bring simple foods that require little preparation, such as shelf-stable meals, nut or seed butter, crackers, dried fruit, and snack bars, while following local wildlife-storage rules. Cook only in a safe outdoor cooking area. Never operate a stove, charcoal burner, lantern, or fuel-burning heater inside the tent.
Can I cook in the tent vestibule when it is raining?
Do not use a fuel-burning stove or open flame inside the tent. Vestibule cooking also creates serious fire and carbon-monoxide risks and can conflict with manufacturer instructions. Use an open, well-separated cooking area or eat a no-cook meal until conditions improve.
What should I do if water starts flowing through my campsite?
Leave the tent and move to higher ground by a safe route. Take people, medication, communication equipment, and dry insulating layers first. Do not dig drainage channels, enter moving water, or remain in a low area to save replaceable gear.
Conclusion
Keeping a tent dry on wet ground begins with the campsite, not with a shovel. Choose established, well-drained terrain; inspect for flood, wind, tree, and lightning hazards; tuck the footprint beneath the floor; tension the rainfly; and maintain ventilation. Keep essential gear sealed and relocate promptly when water begins flowing or pooling.
After the trip, dry and inspect every shelter component before storage. A practiced setup, a reliable dry-storage system, and sound weather judgment will do more to protect you than last-minute campsite alterations.
Sources
- Leave No Trace — Camping in the Rain — supports durable campsite selection, distance from water, and the recommendation not to dig trenches.
- Leave No Trace — Leave What You Find — supports avoiding trenches, structures, soil disturbance, and other campsite alterations.
- National Park Service — Camping Safety — supports falling-tree, dead-branch, and lightning precautions.
- National Weather Service — Outdoor Flooding Safety — supports avoiding low ground near streams and moving to higher ground during flood danger.
- REI — How to Clean, Waterproof and Care for a Tent — supports fitted-footprint placement, tent-floor protection, and shelter care.
- U.S. Consumer Product Safety Commission — Portable Heaters and Camping Equipment — supports carbon-monoxide precautions for stoves, heaters, lanterns, tents, campers, and vehicles.
