

Last Updated on July 30, 2026 by Mason Reed
Waterproofing a tent is not a single spray-and-done job. A reliable repair starts with finding where the moisture comes from, identifying the tent’s fabric coating, and using a compatible treatment for the seams, rainfly, floor, or damaged area. Applying the wrong product can leave a sticky finish, fail to bond, or make the original problem harder to repair.
Quick Answer
To waterproof a tent, first confirm that the moisture is a true leak rather than condensation. Clean the tent, repair tears, seal leaking seams with a product made for its coating, restore the rainfly’s water repellency if needed, let every treatment cure fully, and test the tent with a gentle hose spray before camping.
Key Takeaways
- Check the tent manufacturer’s care instructions before applying any cleaner, sealer, or water-repellent treatment.
- Use silicone seam sealer only on silicone-treated fabrics such as silnylon or silpoly.
- A surface water-repellent spray cannot repair torn fabric, failed seam tape, or a peeling waterproof coating.
- Some treatments go on clean, wet fabric; others require clean, dry fabric. Follow the current product label.
- Do not pack the tent until the coating or seam sealer is completely dry and cured.
At a Glance
| Time Required | About 30–90 minutes of active work, plus 3–12 hours or overnight for curing, depending on the product |
| Difficulty | Easy to moderate |
| Tools Needed | Tent-specific cleaner, soft sponge, clean cloths, compatible seam sealer, applicator brush, optional water-repellent treatment, protective gloves, and a gentle garden-hose nozzle |
| Cost | Approximately $15–$50, depending on tent size and whether the seams, surface treatment, or underlying coating needs repair |
Disclosure: As an Amazon Associate I earn from qualifying purchases. Some links on this page are affiliate links, at no extra cost to you.
Why Tents Leak and What Waterproofing Fixes
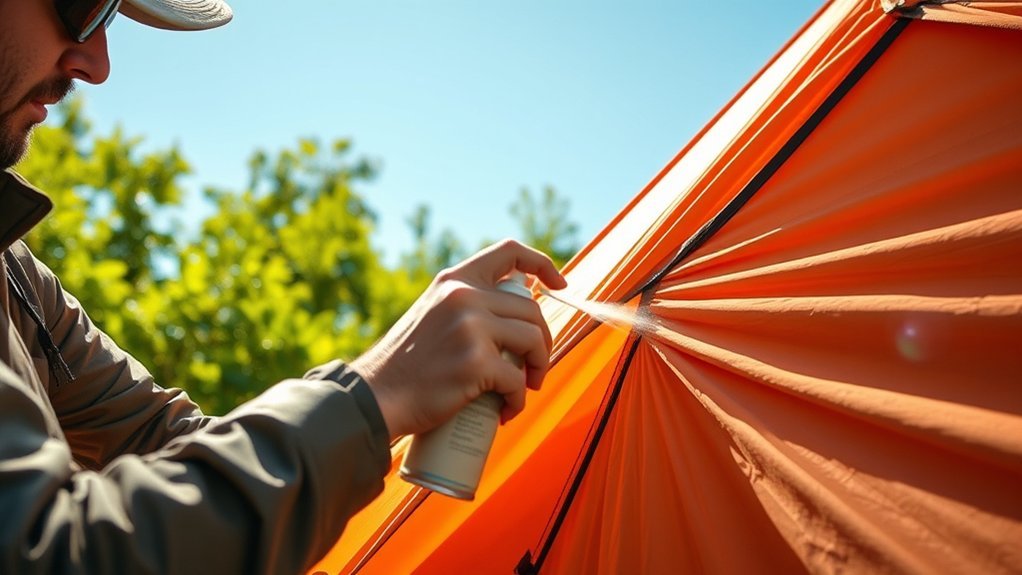
A tent stays dry through several separate components working together. The fabric provides the structure, an inner coating or laminate blocks water, a surface treatment helps rain bead and roll away, and seam tape or liquid sealer closes the needle holes created during sewing.
A failure in one part needs a different repair from a failure in another. Spraying the entire tent will not close an open seam, and seam sealer will not restore a large area of peeling polyurethane coating.
A waterproof tent is a system: intact fabric, sealed seams, a sound waterproof coating, working surface repellency, and enough ventilation to control condensation.
Condensation Versus a True Leak
Water on the inside of a tent does not always mean rain passed through the fabric. Campers release moisture through breathing, wet clothes add humidity, and warm indoor air can condense when it touches a cold rainfly or tent wall.
Condensation is more likely when moisture is spread across a large inner surface, appears after a cold or humid night, or improves when vents and doors are opened. A leak is more likely when water repeatedly appears beneath one seam, tear, attachment point, zipper cover, or damaged section of coating.
Note: Waterproofing will not solve condensation. Keep vents open when conditions allow, avoid pressing wet gear against the walls, and use the rainfly configuration recommended by the tent manufacturer.
Match the Symptom to the Repair
| Symptom | Likely Cause | Best Response |
|---|---|---|
| Drops form along a stitched line | Failed seam tape or missing seam sealer | Remove loose tape as directed and apply a compatible seam sealer |
| Rainfly absorbs water instead of beading | Worn surface water repellency | Clean the rainfly and apply a manufacturer-approved water-repellent treatment |
| Water enters through one visible hole | Puncture or tear | Patch the damage before applying any broader treatment |
| Floor or rainfly feels sticky or flakes | Deteriorating polyurethane coating | Confirm the coating type and use a suitable coating restorer or contact the manufacturer |
| Moisture covers much of the inner wall | Condensation | Increase ventilation and reduce moisture inside the tent |
Choose Compatible Tent-Waterproofing Products
Before buying a treatment, check the tent manual, care label, product page, or manufacturer support information. You need to know whether the fabric is silicone-treated, polyurethane-coated, or already protected by factory seam tape.
Do not assume that every nylon tent uses the same coating. Two tents can use the same base fabric but require different sealers.
Product Compatibility Guide
| Treatment | Use It For | Important Instructions |
|---|---|---|
| Gear Aid Seam Grip WP | Seams and small repairs on many nylon, polyester, canvas, vinyl, and other non-silicone-treated fabrics | Does not work on silicone-treated fabric or silnylon. The manufacturer lists an 8–12-hour cure at 60–100°F. |
| Gear Aid Seam Grip SIL | Silicone-treated fabrics, including silnylon and silpoly shelters | Use only on silicone-treated material. The listed cure time is 3–6 hours at 60–100°F. |
| Gear Aid Seam Grip TF | Restoring a worn polyurethane coating on a compatible tent floor, rainfly, or tarp | Apply to clean, dry fabric. Do not use on silnylon. The manufacturer lists a four-hour cure. |
| Nikwax Tent & Gear SolarProof | Restoring water repellency on compatible weatherproof tent fabric | Apply to clean, wet fabric from about 6 inches away, wipe away excess after two minutes, and air dry. |
| 3M Scotchgard Heavy Duty Water Shield | Adding water repellency to compatible outdoor fabrics when the tent manufacturer permits it | Apply to clean, dry fabric with a sweeping motion from 6–8 inches away. Do not saturate the fabric. |
Warning: Apply aerosol products outdoors or in the well-ventilated setting specified on the label. Keep aerosols away from flames, sparks, pilot lights, smoking materials, and hot surfaces. Protect nearby items from overspray, wear suitable protective gear, and let the tent dry completely before sleeping in or packing it.
Prepare the Tent for Waterproofing
Clean the Tent Safely
Set up the tent in a shaded, well-ventilated area. Brush away loose dirt, leaves, sand, and pine needles. Clean dirty sections with a soft sponge and a tent-specific cleaner or the cleaning product approved by the tent manufacturer.
Avoid conventional laundry detergent, bleach, abrasive scrubbers, washing machines, and hot water unless the manufacturer specifically allows them. These can damage coatings, seam tape, or surface water repellency.
Rinse away cleaner residue thoroughly. The next step depends on the treatment: some products require the fabric to remain wet, while others require it to dry completely.
Inspect and Repair Damage
Check the rainfly, tent body, floor, vestibules, vents, zipper covers, guyline attachment points, and pole sleeves. Look for:
- Holes, cuts, punctures, and stretched stitching
- Peeling, cracked, or missing seam tape
- Sticky, cloudy, bubbling, or flaking coatings
- Areas where water no longer beads
- Gaps around toggles, loops, and attachment points
- Damaged zipper flaps or rain gutters
Patch tears before sealing seams or treating a large area. If seam tape is peeling, remove only the loose material according to the tent maker’s repair guidance. Do not pull firmly bonded tape away from the fabric.
Pro Tip: Photograph each suspected leak and mark it with a small piece of low-tack painter’s tape. This prevents you from losing the location after the fabric dries.
How to Seam-Seal a Tent
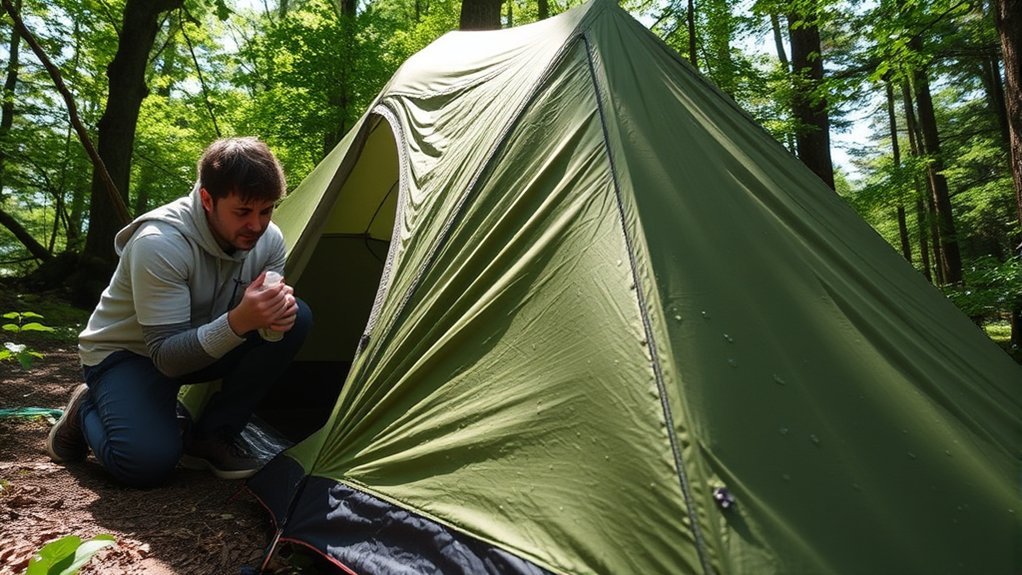
Seams contain needle holes that can become entry points for water. Many new tents arrive with factory-applied seam tape or sealant, so do not automatically reseal a new tent. Check the manufacturer’s instructions first. Big Agnes, for example, states that its tents arrive seam taped and normally do not need added seam sealer when new.
1. Select the Correct Seam Sealer
Use a silicone sealer for silicone-treated fabric. Use the tent maker’s recommended urethane or water-based sealer for compatible non-silicone fabric. When the coating type is unknown, contact the manufacturer instead of guessing.
2. Pitch and Tension the Tent
Set up the tent so the seams are smooth and lightly tensioned. This exposes folds and needle holes and prevents the sealant from curing in a bunched position.
3. Clean the Seam
Remove dirt and loose coating. If the sealer’s instructions call for a specific surface cleaner, use only that cleaner and let it evaporate as directed. Test any cleaner on a hidden spot before treating a visible area.
4. Apply a Thin, Continuous Layer
Use the supplied applicator or a small disposable brush. Cover the stitched line and extend the sealer slightly beyond both edges of the seam. Pay special attention to corners, guyline attachments, floor seams, toggles, and points where several fabric panels meet.
A thick bead does not necessarily create a better seal. It takes longer to cure and is more likely to remain tacky. Follow the coverage width stated on the product label.
5. Let the Sealer Cure Completely
Keep the tent pitched and protected from rain, dust, pets, and direct handling. Cure time varies by product, temperature, and humidity. Seam Grip WP lists 8–12 hours, while Seam Grip SIL lists 3–6 hours. Use the current package instructions as the final authority.
Do not fold, stuff, or roll the fabric until the sealant is dry and no longer transfers when lightly touched in an inconspicuous area.
Restore the Rainfly’s Water Repellency
If water spreads across the rainfly instead of forming beads, the outer water-repellent finish may be worn. This is often called “wetting out.” The underlying coating may still block water, but a saturated outer surface dries slowly and can increase the feeling of dampness.
For a Clean-Wet Treatment
Products such as Nikwax Tent & Gear SolarProof are applied to clean, wet fabric. Shake the bottle, spray evenly from the label’s stated distance, wait for the specified time, and wipe away excess with a damp cloth. Air dry the tent completely before use or storage.
For a Clean-Dry Aerosol Treatment
Products such as 3M Scotchgard Heavy Duty Water Shield require clean, dry fabric. Test an inconspicuous area for color change. Shake the can, protect nearby surfaces, and apply an even sweeping coat from 6–8 inches away without saturating the fabric.
Allow the treatment to dry fully. At ordinary room conditions, 3M says treated fabric may need to dry overnight, with longer drying possible in cool or humid conditions.
Note: Keep broad waterproofing treatments off mesh panels, zippers, clear windows, and hardware unless the tent and treatment manufacturers specifically approve those surfaces.
Repair a Worn Waterproof Coating
A sticky, flaking, or peeling tent floor usually needs more than a surface spray. These signs can indicate deterioration of the underlying polyurethane coating.
First confirm that the fabric is polyurethane-coated rather than silicone-treated. Remove loose material using the method approved by the tent maker or coating-restorer manufacturer. Apply a product designed to renew the coating, such as Gear Aid Seam Grip TF when it is compatible with the fabric.
Coating failure across a large area can be difficult to restore evenly. If the fabric itself is weak, brittle, heavily delaminated, or repeatedly leaking after treatment, contact the tent manufacturer about professional repair, replacement panels, warranty options, or retirement of the shelter.
Cure and Test the Waterproofing
After every coating and seam treatment has fully cured, pitch the tent outdoors on a dry day. Close the rainfly and doors as they would be used in rain while leaving normal vents open.
- Use a garden hose with a gentle shower setting.
- Spray from above so the water falls like rain rather than forcing it horizontally into vents.
- Work one section at a time for several minutes.
- Have another person inspect the inside or check each area between sections.
- Mark any remaining entry point and let the tent dry before making another repair.
Do not use a pressure washer or a hard jet. High pressure can force water through openings that would not leak in normal rain and may damage lightweight fabric or coatings.
Regular Tent-Waterproofing Maintenance
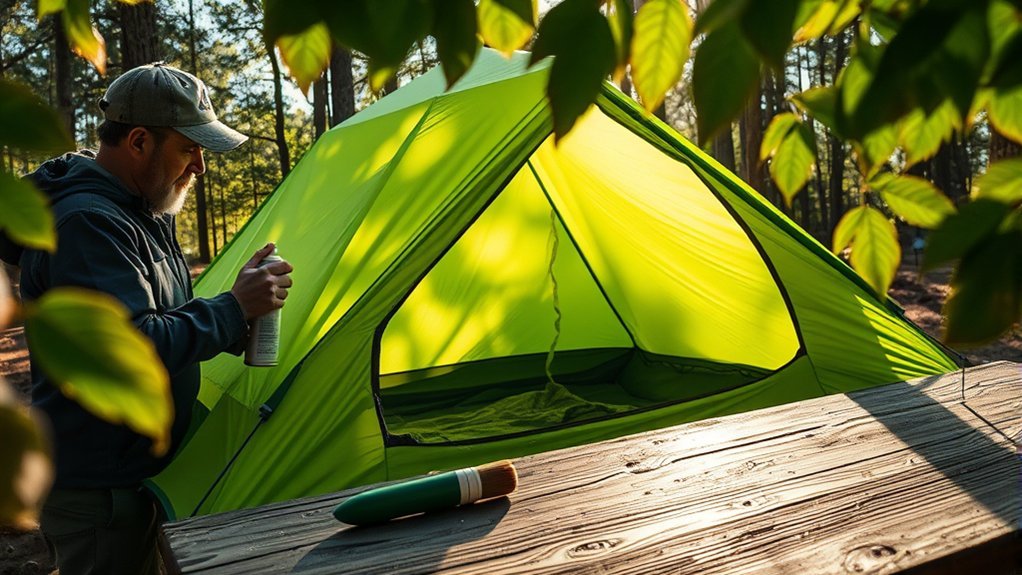
There is no universal schedule that fits every tent. Sun exposure, abrasion, cleaning, storage conditions, climate, trip length, and the original construction all affect how quickly protection wears.
| After Every Trip | Dry the tent fully and inspect the fabric, seams, zippers, and attachment points. |
| Before the Camping Season | Pitch the tent, check water beading, inspect seam tape, and perform a gentle hose test if its condition is uncertain. |
| When a Seam Leaks | Spot-seal the affected seam with a compatible product after cleaning and drying it as directed. |
| When Water Stops Beading | Clean the rainfly and reapply an approved water-repellent treatment if the underlying coating remains sound. |
| For Long-Term Storage | Store the tent clean, completely dry, and loosely packed in a cool, temperature-controlled location. |
Avoid leaving a tent compressed in a hot attic, damp basement, or vehicle. Heat and moisture can speed the breakdown of coatings, adhesives, and seam tape.
Troubleshooting Common Waterproofing Problems
The Seam Sealer Remains Tacky
The coating may be too thick, the temperature may be outside the recommended range, or the product may need more curing time. Move the pitched tent to a protected, well-ventilated area and follow the manufacturer’s remedy. Do not apply powders, solvents, or another coating unless the product maker recommends them.
The New Treatment Peels Off
The fabric may have been dirty, the old coating may still be loose, or the sealer may be incompatible with the tent’s finish. Stop adding more product. Identify the original coating and contact the tent or treatment manufacturer for removal and repair guidance.
Water Still Enters After Seam Sealing
Check nearby fabric, zipper covers, vents, guyline attachments, pole clips, and floor corners. Water can travel along the inner surface before dripping, so the visible wet spot may not be directly below the entry point.
The Spray Finish Looks Uneven
Allow it to dry before judging the final appearance. Heavy spots may result from holding the nozzle too close or pausing during a pass. Do not keep layering product onto a wet area. Follow the label for recoating and removal.
The Tent Smells Musty
A musty odor can indicate that the tent was stored damp. Set it up outdoors, inspect it for mildew and coating damage, and clean it using the tent maker’s approved method. Waterproofing over contamination will not solve the underlying problem.
Additional Preparation for a Safe Camping Trip
Waterproofing protects your shelter, but it is only one part of trip preparation. Check the forecast and campground alerts before leaving. Pack weather-appropriate layers, a stocked first-aid kit, a flashlight or headlamp, extra water, and a basic repair kit with compatible patches and seam sealer.
Use an appropriate insect repellent when ticks or mosquitoes are expected. Research wildlife rules for the exact destination, store food as required, and carry bear spray only where it is lawful, recommended, and you know how to use it safely.
A multi-tool or camping knife can help with small gear tasks, but it does not replace the correct repair materials. Inspect the tent at home so you are not discovering a failed seam or missing rainfly after reaching camp.
Frequently Asked Questions
How often should I waterproof my tent?
Inspect it after trips and before each camping season, but treat it only when performance declines or the manufacturer recommends treatment. Warning signs include leaking seams, peeling tape, a worn coating, or a rainfly that no longer beads water. Depending on use and storage, one tent may need frequent attention while another may go several seasons without treatment.
Can I waterproof a tent while it is wet?
It depends on the product. Nikwax Tent & Gear SolarProof is applied to clean, wet fabric, while 3M Scotchgard Heavy Duty Water Shield requires clean, dry fabric. Do not apply treatments during active rain or assume that every product uses the same preparation method.
Does every new tent need waterproofing?
No. Many new tents arrive with waterproof coatings and factory-sealed or taped seams. Added treatment may be unnecessary and could affect the finish or warranty. Read the manual or contact the manufacturer before sealing a new tent.
What should I do if my tent leaks?
Dry the tent and trace the moisture to its source. Check for condensation, torn fabric, failed seam tape, open stitching, damaged zipper covers, and deteriorating floor or rainfly coatings. Repair the specific failure rather than immediately spraying the entire tent.
Can I use household silicone to waterproof a tent?
Do not use generic household silicone as a universal tent treatment. Silicone sealers bond correctly only to compatible silicone-treated fabrics, and household products may contain additives or cure into a finish that is unsuitable for lightweight gear. Use a purpose-made tent sealer approved for the fabric.
How do I know whether my tent is silicone- or polyurethane-coated?
Check the owner’s manual, care label, manufacturer’s product page, or support department. Do not rely only on whether the base fabric is nylon or polyester because either fabric can be finished with different coatings.
Can waterproofing spray repair a leaking tent floor?
Not usually. A surface water-repellent spray may improve beading, but a torn floor, open seam, or deteriorating polyurethane coating needs a patch, compatible seam sealer, or coating-restoration product. Diagnose the failure before applying a broad spray.
How long should a waterproofed tent dry before packing?
Wait until every treatment is completely dry and has reached the cure time stated on its label. Depending on the product, this may range from several hours to overnight or longer in cool, humid weather. Packing too soon can make coated surfaces stick together and damage the repair.
Conclusion
Effective tent waterproofing begins with diagnosis, not with spraying every surface. Determine whether the problem is condensation, an open seam, damaged fabric, worn surface repellency, or a failing waterproof coating. Then choose a treatment that matches the tent’s material and follow its preparation, temperature, coverage, and curing instructions exactly.
Inspect the repair with a gentle hose test before the next trip, and always store the tent clean and completely dry. These steps prevent small leaks from becoming larger failures and help the shelter remain dependable in wet weather.
Sources
- Gear Aid Seam Grip WP — compatibility, coverage, application temperature, and cure time for the urethane seam sealer.
- Gear Aid Seam Grip SIL — silicone-treated fabric compatibility and cure instructions.
- Gear Aid Seam Grip TF — restoration of compatible worn polyurethane tent coatings.
- 3M Scotchgard Heavy Duty Water Shield Instructions — clean-dry preparation, spray distance, drying, and reapplication guidance.
- Nikwax Tent & Gear SolarProof — clean-wet application, excess removal, and air-drying instructions.
- Big Agnes Seasonal Tent Maintenance — factory seam sealing, condition-based reproofing, and dry storage guidance.
