
Last Updated on September 10, 2026 by Daniel Globe
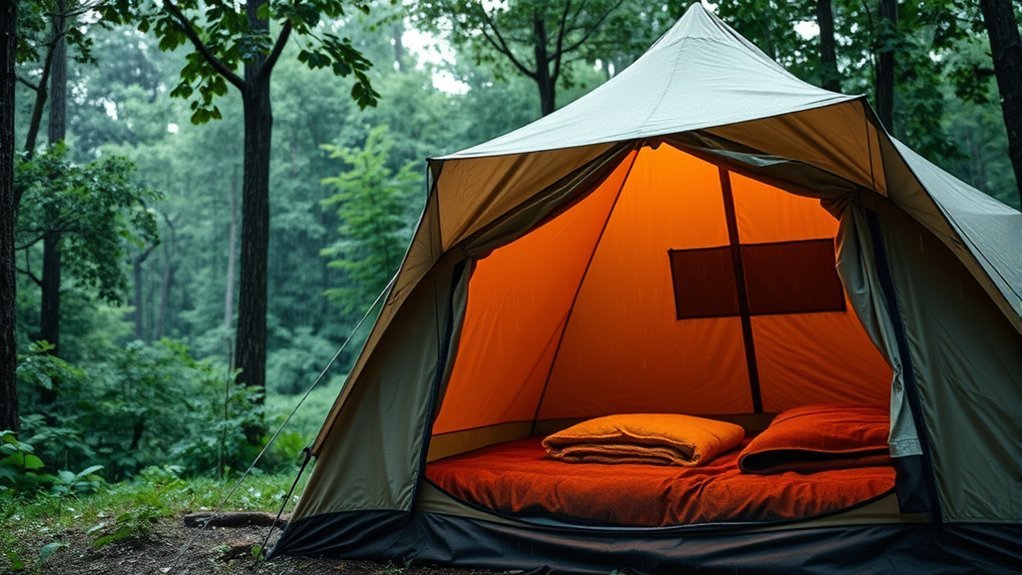
Camping in the rain can be comfortable when you prepare for water, cold, wind, and changing ground conditions before the first drop falls. The goal is not simply to own waterproof gear. You also need a safe campsite, a practiced tent pitch, protected sleeping equipment, good ventilation, and a clear plan for cooking and thunderstorms.
Quick Answer
Camp comfortably in the rain by checking the forecast, choosing high, durable ground, pitching a well-ventilated tent with the rainfly taut, and keeping clothing and sleep gear in waterproof liners. Build a separate tarp-covered living area, but cook only in open air. Leave immediately for safe shelter when thunder starts.
Key Takeaways
- Check the forecast, alerts, wind, temperature, and flood risk before leaving home.
- Use an established or durable campsite above low spots, runoff channels, washes, and flood-prone ground.
- Keep the rainfly taut, vents open, and the footprint completely beneath the tent floor.
- Seal sleep clothing, insulation, electronics, and emergency gear inside waterproof bags or liners.
- Never operate a fuel-burning stove inside a tent or vestibule, and never treat a tent as lightning shelter.
At a Glance
| Time Required | About 15–30 minutes for campsite inspection and a practiced pitch; allow longer in wind or darkness. |
| Difficulty | Easy to moderate with practice; difficult when the site is exposed, flooded, or affected by strong wind. |
| Tools Needed | Tent, rainfly, stakes, guylines, footprint, pack liner, dry bags, rain clothing, headlamp, repair kit, and an optional separate tarp. |
| Cost | No added cost if your current equipment is sound; optional liners, dry bags, sealant, extra stakes, or a tarp vary by size and quality. |
Warning: A tent, tarp, pavilion, or open rain shelter does not protect you from lightning. If you hear thunder, move to an enclosed building or a hard-topped vehicle when one is available. Wait at least 30 minutes after the last thunder before returning outside.
Disclosure: As an Amazon Associate I earn from qualifying purchases. Some links on this page are affiliate links, at no extra cost to you.
Check the Weather and Know When to Postpone
Start with the forecast for the exact campground, trailhead, and elevation you plan to visit. Review hourly rain totals, overnight temperatures, wind gusts, lightning risk, flood watches, and road conditions. Download the forecast before entering an area with weak cell service, and identify the nearest sturdy building or hard-topped vehicle you could reach during a thunderstorm.
Ordinary rain may only require better shelter and clothing. Thunderstorms, flash-flood warnings, damaging wind, rising water, or cold conditions beyond your equipment’s limits are reasons to change the campsite, shorten the trip, or postpone it. The National Park Service advises campers not to rely on tents for lightning protection and to move away from water, exposed ground, isolated trees, and rocky outcrops during thunderstorms. See the National Park Service lightning-safety guidance before camping in storm-prone areas.
The safest rainy-camping skill is knowing when the weather has moved beyond the limits of your shelter, clothing, route, or experience.
Essential Gear for Rainy Camping
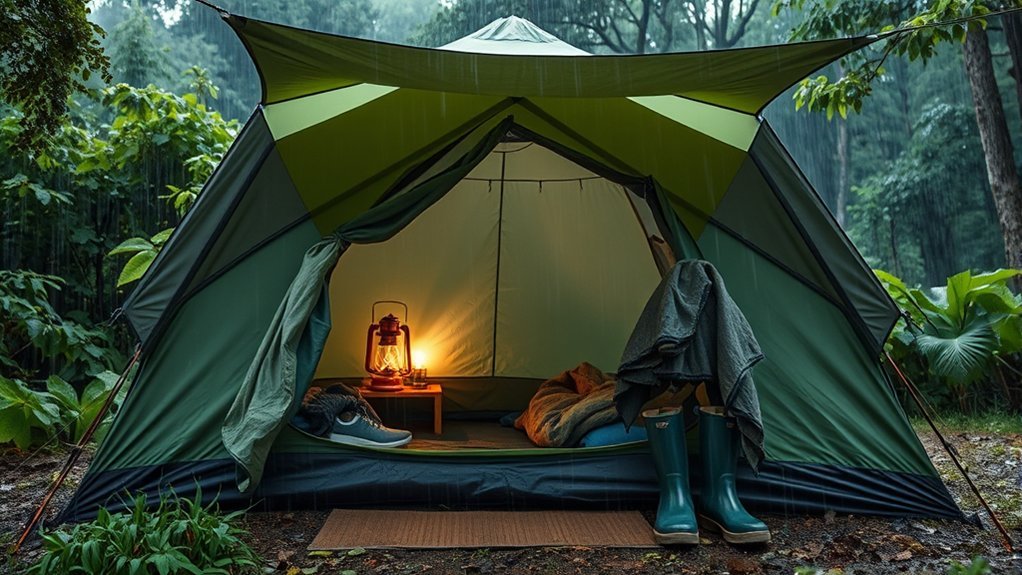
Reliable rainy-camping equipment creates several layers of protection. The tent keeps outside water away from your sleeping area, waterproof liners protect critical gear if the shelter or pack gets wet, and clothing layers keep your body warm while moisture moves through the system.
- Rain shell: Pack a waterproof, breathable jacket with a hood and enough room for insulating layers.
- Rain pants or gaiters: These reduce water entry around your legs and boots when grass, brush, or trails are saturated.
- Wool or synthetic layers: Bring a moisture-wicking base layer, an insulating midlayer, and a completely dry layer reserved for sleeping.
- Pack liner: A heavy-duty plastic liner or purpose-made waterproof liner protects the entire contents of the backpack.
- Dry bags: Use separate bags for the sleeping bag, sleep clothing, electronics, first aid, and other critical items.
- Repair kit: Carry material-compatible seam sealer or repair tape, a pole sleeve, spare cord, and extra stakes.
- Lighting: Use a weather-resistant headlamp and keep a spare light and batteries in a sealed bag.
- Ground protection: Use the tent’s fitted footprint or a groundsheet cut smaller than the tent floor.
- Absorbent cloth: A small synthetic towel or cloth helps remove condensation and water brought in on clothing.
Synthetic sleeping-bag insulation is often easier to manage when repeated dampness is likely because it generally retains more useful loft when moist and dries faster than untreated down. A down bag can still perform well when it remains protected inside a waterproof liner and dry tent. The important rule is to keep your sleep system dry rather than assuming any insulation is unaffected by water.
Pro Tip: Pack the rainfly, stakes, and footprint where you can reach them without exposing your sleeping bag or dry clothing. Practice the complete pitch at home until you know which component must come out first.
Choosing the Right Tent for Wet Conditions
A well-designed double-wall tent is a practical choice for prolonged rain because the waterproof fly is separated from the breathable inner tent. That gap helps manage condensation and reduces the chance that sleeping bags or clothing will touch a wet exterior surface. A single-wall shelter can also work, but it often requires more active ventilation and condensation management.
Fly-first and simultaneous-pitch systems can protect the inner tent during setup, but they are not universal features of every double-wall model. Some tents require a matching footprint or special configuration, while others connect the inner and outer tents so they pitch together. Read the manufacturer’s instructions and practice the exact wet-weather method before the trip.
Consider these features when comparing tents:
- Full-coverage rainfly: The fly should protect doors, mesh, and the main tent body without blocking required ventilation.
- Bathtub-style floor: Raised waterproof sidewalls help keep runoff and splashing away from the sleeping area.
- Useful vents: High and low vents allow humid air to escape while the fly remains closed.
- Strong attachment points: Adequate stakes, guylines, and reinforced points help stabilize the shelter in wind.
- Vestibule storage: A vestibule provides space for boots and wet equipment, but it is not a safe indoor kitchen.
- Repairable construction: Confirm that compatible seam sealer, fabric patches, and replacement pole sections are available.
A hydrostatic-head rating describes the water pressure a fabric resisted in a test, but a larger number does not automatically make one complete tent better than another. Coating type, seam construction, fabric age, abrasion, ultraviolet exposure, ventilation, floor design, and the quality of the pitch also affect real-world performance. SlingFin provides a useful explanation in its hydrostatic-head guide.
Place a fitted footprint beneath the tent to reduce abrasion and contact with saturated soil. No part of the footprint or groundsheet should extend beyond the tent floor. Exposed material can collect runoff and funnel it underneath the shelter.
Waterproofing Your Gear Effectively
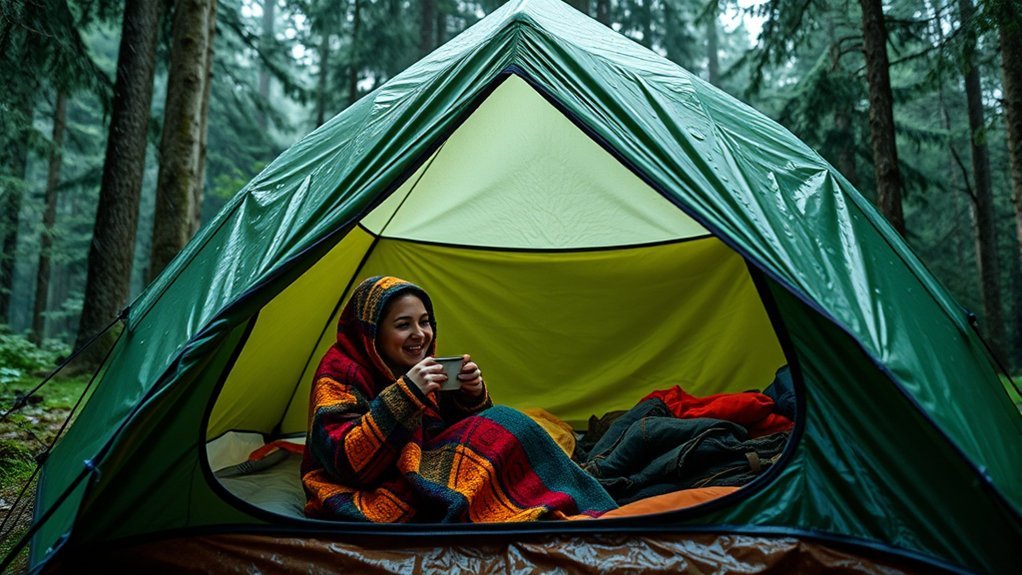
Do not depend on a backpack’s exterior fabric or rain cover to keep every item dry. Wind-driven rain can enter around shoulder straps, seams, zippers, or the opening beneath a cover. A waterproof pack liner provides the main barrier, while smaller dry bags organize the items that must remain dry.
Before departure, inspect the tent and rainfly in daylight:
- Pitch the tent completely and check that all poles, clips, buckles, stakes, and guylines are present.
- Look for peeling seam tape, flaking coatings, pinholes, torn mesh, worn corners, and damaged zipper tracks.
- Confirm which seam sealer is compatible with the tent’s coating and fabric.
- Apply repairs at home and allow the product to cure for the full time stated by its manufacturer.
- Test the repaired shelter with gentle hose spray or steady rain before depending on it in remote conditions.
Keep electronics in their own sealed bag even when they carry a water-resistance rating. IPX4 equipment is designed to resist splashing water from multiple directions; it is not rated for immersion. Follow the equipment manufacturer’s charging, battery, and water-exposure instructions.
Note: A pack cover protects the exterior and reduces water absorption, but it does not replace a pack liner or sealed protection for a sleeping bag, electronics, first aid, and dry clothing.
Selecting an Ideal Campsite in Rain
The best rainy-weather campsite drains naturally without requiring digging, trenching, or vegetation removal. Use a designated site when one is available. In the backcountry, choose a durable surface or an already established site and follow all local restrictions.
- Stay above low ground: Avoid depressions, washes, dry streambeds, gullies, narrow canyon bottoms, and places where water has left debris or sediment lines.
- Read the slope: Look uphill for channels, bare soil, exposed roots, or other signs that runoff may cross the sleeping area.
- Keep away from water: Follow local rules. Where no different requirement applies, Leave No Trace generally recommends camping about 200 feet from lakes, streams, trails, and other water sources.
- Inspect overhead hazards: Do not camp beneath dead limbs, leaning trees, unstable burned trees, loose rocks, or cliff faces that can shed water and debris.
- Avoid lightning exposure: Stay away from ridge tops, open high points, isolated tall trees, shorelines, and exposed rocky areas when thunderstorms are possible.
- Use durable ground: Favor established tent pads, rock, gravel, sand, dry grass, or compacted soil where permitted.
- Plan the entrance: Aim the door away from the strongest expected wind and away from runoff moving downhill.
- Leave room for guylines: Confirm that the full fly and every required guyline can be tensioned without blocking paths or entering another campsite.
Carry water from the source to camp rather than moving the tent close to the shoreline. The Leave No Trace durable-surfaces guidance explains how campsite distance protects wildlife access and fragile riparian areas.
Warning: Never dig a drainage trench around a tent. If water begins crossing or pooling at the site, move the shelter to safer ground as soon as conditions allow.
Efficient Tent Setup Techniques
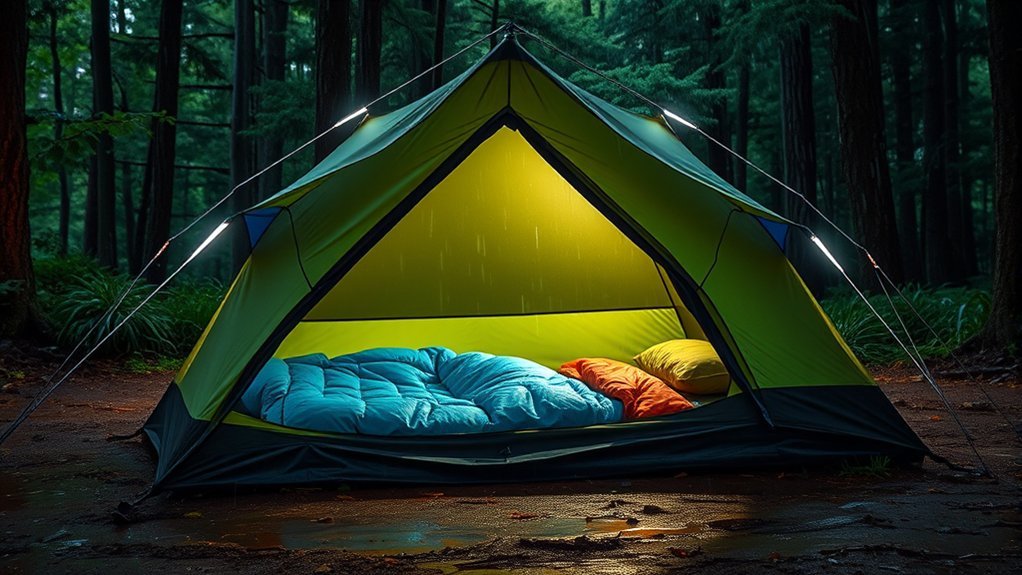
A practiced setup reduces the time that the inner tent, sleeping equipment, and clothing remain exposed. Before opening the pack, put on rain clothing and decide exactly where the tent, entrance, guylines, and separate living tarp will go.
Tarp Utilization Tips
A tarp can create a useful place for sitting, organizing gear, or preparing cold food, but it must not create a new drainage or fire problem.
- Use a separate tarp that is large enough for the intended activity without pressing against the tent or blocking its vents.
- Pitch one edge lower so water drains to an area where it will not flow toward the tent, trail, fire ring, or neighboring campsite.
- Keep the tarp taut enough to prevent large water pockets.
- Use trees only where local rules permit and protect bark with wide straps rather than thin cord.
- Use poles and stakes when suitable anchors are unavailable.
- Keep all guylines visible and away from walking routes.
- Lower or remove the tarp if winds approach the limits of the fabric, poles, anchors, or your ability to manage it safely.
Efficient Pitching Methods
- Inspect the ground: Confirm that the site is durable, naturally drained, and free from overhead or uphill hazards.
- Place the footprint: Lay it within the exact outline of the tent floor. Fold any exposed edge underneath.
- Use the approved wet-weather pitch: Follow the manufacturer’s fly-first, footprint-assisted, simultaneous-pitch, or standard procedure.
- Anchor early: Secure the windward corners before raising a large fly or tent body.
- Build the structure: Assemble poles carefully and attach the inner body only as required by the design.
- Install the rainfly: Attach every buckle, hook, or corner point and close doors while the initial pitch is completed.
- Stake the floor evenly: Avoid pulling one corner so tightly that the floor or door becomes distorted.
- Guy out the fly: Create an even air gap between the rainfly and inner tent.
- Open protected vents: Maximize airflow without allowing direct rain to enter.
- Check runoff: Confirm that water leaves the fly and tarp without landing on the footprint or entering the doorway.
- Retension later: Recheck guylines after rain, temperature changes, or fabric stretch alters the pitch.
Pro Tip: Carry a few stakes that match the expected soil. Soft forest ground, sand, gravel, and hard-packed tent pads may require different shapes or anchoring methods.
Creating a Comfortable Dry Area With Tarps
A separate living tarp keeps wet clothing, boots, and routine camp tasks away from the sleeping area. Position it near enough for convenient access but far enough that runoff, loose fabric, and activity do not affect the tent.
Angle the tarp so water leaves from a controlled edge. Do not allow a corner to drain onto the tent, into the entrance, or across a walking path. Check for pooling after the first sustained rain and adjust the ridgeline or corners before the added water load becomes excessive.
Keep wet packs and rain gear under the living tarp or in the vestibule without blocking tent ventilation. Store food and scented items according to campground and wildlife rules rather than bringing them into the sleeping area.
Warning: Never place a stove, lantern, candle, charcoal, or open flame inside a tent or vestibule. Keep combustion devices outdoors and follow the manufacturer’s required ventilation and clearance from tarps, clothing, dry grass, and other combustible material.
Clothing Layers for Wet Weather
Wet-weather clothing should move perspiration away from your skin, retain useful warmth, and block wind and rain. Avoid relying on cotton clothing in cold, wet conditions because it absorbs water and loses insulating value.
- Base layer: Choose wool or a moisture-wicking synthetic fabric.
- Midlayer: Use fleece, synthetic insulation, or another layer suited to the expected temperature.
- Shell: Wear a waterproof, breathable jacket and rain pants with working closures and vents.
- Hands and head: Pack a warm hat and gloves in a waterproof bag even during mild seasons.
- Feet: Use appropriate footwear and carry at least one dry pair of socks reserved for camp or sleep.
- Sleep clothing: Keep a complete dry layer sealed until you enter the sleeping area.
Adjust layers before you begin sweating heavily. Open vents, slow your pace, or remove insulation while working. Once you stop, replace warm layers before your body cools.
Cold rain and wind can contribute to hypothermia even when temperatures remain above freezing. Warning signs can include persistent shivering, clumsiness, confusion, poor judgment, slurred speech, unusual fatigue, or loss of coordination. Move the person out of wind and rain, replace wet clothing with dry insulation, provide warmth, and seek emergency help when symptoms are significant or worsening. Review the National Park Service hypothermia guidance before remote wet-weather trips.
Managing Condensation and a Dry Sleep System
Water inside a tent is not always a leak. Breathing, damp clothing, wet ground, and humid air can create condensation on the rainfly or inner walls. Poor ventilation makes the problem worse.
- Open all rain-protected vents and maintain cross-ventilation when the design allows it.
- Keep the fly evenly tensioned so it does not rest against the inner tent.
- Avoid pressing sleeping bags, packs, or clothing against tent walls.
- Store wet boots and rainwear in the vestibule or under the living tarp without blocking airflow.
- Wipe heavy condensation with an absorbent cloth before it drips onto the sleeping area.
- Place the sleeping pad fully on the waterproof tent floor and inspect beneath it for moisture.
- Keep the sleeping bag in a waterproof liner until the shelter is ready.
- Do not bring a wet dog, saturated gear, or open cooking pot into the sleeping area.
Note: If moisture appears evenly across cold surfaces, condensation is likely. Water concentrated at one seam, zipper, puncture, or floor edge is more likely to be a leak.
Cooking in the Rain: Tips and Tricks
Rain does not make indoor stove use safe. Operate fuel-burning stoves outdoors, outside the tent and vestibule, on a stable surface with unrestricted airflow. The Centers for Disease Control and Prevention warns against using portable gas camp stoves indoors because carbon monoxide is colorless, odorless, and potentially fatal. See the CDC carbon-monoxide guidance.
If a tarp is used near the cooking area, keep the stove at an open edge with the full clearance required by the stove manufacturer. Do not use a stove beneath a low, enclosed, sagging, or flammable tarp. Move the kitchen farther from the sleeping area when wildlife or campground regulations require it.
Make wet-weather meals easier by choosing foods that need little preparation:
- Premeasure ingredients at home.
- Use meals that require one pot and a short cooking time.
- Keep one meal that can be eaten without cooking.
- Protect matches, lighters, and ignition tools in separate sealed containers.
- Keep fuel connections dry and inspect them for damage or leaks before ignition.
- Prepare ingredients under shelter, but move the stove and cooking vessel to the safe outdoor cooking position.
- Keep children, pets, loose clothing, and wet guylines away from the stove.
Warning: Headache, dizziness, weakness, nausea, unusual sleepiness, or confusion near a fuel-burning device may indicate carbon-monoxide exposure. Move everyone to fresh air, stop using the device, and seek emergency assistance.
Staying Entertained During Bad Weather
Once the shelter is secure and the weather remains within safe limits, simple activities can make a wet day enjoyable without adding moisture, flame, or clutter to the sleeping area. Keep emergency alerts audible and continue checking changing wind, water, and thunder conditions.
Indoor Games and Activities
- Pack a deck of waterproof or easily dried playing cards.
- Bring a lightweight book or water-resistant e-reader case.
- Use compact puzzles, travel games, or a notebook for drawing and journaling.
- Plan tomorrow’s route and review the weather, map, turnaround points, and emergency contacts.
- Organize gear without opening the waterproof bags that contain sleep clothing or insulation.
Keep food out of the sleeping compartment where wildlife rules require separate storage. Avoid candles and other flames inside the tent.
Cooking and Baking Projects
Rainy periods are useful for meal planning and ingredient preparation, but the tent should never become a kitchen. Under a well-ventilated living tarp, you can measure dry ingredients, assemble cold wraps, prepare drink mixes, or portion snacks. Move all fuel-burning cooking equipment to the safe outdoor cooking location before lighting it.
Complex baking projects require more fuel, longer burn times, and additional hot equipment. Save them for a stable, open-air cooking area where the stove or oven manufacturer’s clearance and ventilation requirements can be met. In severe weather, use a no-cook meal rather than improvising with a stove inside the shelter.
Storytelling and Campfire Songs
Storytelling, group games, and quiet music do not require a fire. A campfire is appropriate only where fires are permitted, no burn restriction applies, wind and lightning conditions are safe, and the fire can be contained in an approved location.
- Prepare a few favorite camp stories or local-history topics.
- Invite each camper to contribute a story, riddle, or memory.
- Use a weather-resistant speaker at a respectful volume where permitted.
- Keep all electronics protected from moisture.
- Extinguish any permitted fire completely before leaving it or going to sleep.
If thunder is audible, stop outdoor activities and follow the lightning plan. Do not remain around a fire, under a tarp, or inside a tent as a substitute for safe shelter.
Packing a Wet Tent and Preventing Mold
You may have to pack the shelter while it is still wet. Protect the rest of the equipment by separating wet components from dry items.
- Move the sleeping bag, dry clothing, electronics, and other protected gear into sealed bags before opening the tent.
- Wipe or shake off as much water as conditions allow.
- Pack the wet fly, footprint, and tent body in an exterior pocket, separate waterproof bag, or other location that cannot soak the sleep system.
- Keep poles and stakes away from delicate wet fabric to prevent punctures.
- Set up or hang the shelter to dry as soon as you reach a suitable location.
- Inspect the dry tent for seam damage, coating failure, mildew odor, tears, bent poles, and missing hardware.
- Store the tent loosely in a cool, dry location only after every layer is completely dry.
Do not machine-wash or machine-dry a tent unless the manufacturer specifically permits it. Harsh detergents, bleach, heat, and aggressive agitation can damage coatings, seam tape, mesh, and fabric. The REI tent-care guide provides additional cleaning, drying, and storage guidance.
Troubleshooting Tent Leaks in Rain
Before applying a repair, identify where the water originates. Moving water can travel along poles, fabric folds, guylines, or seams before it drips into the tent.
- Uniform droplets on the inner surface: Increase ventilation and keep gear away from the walls; this is often condensation.
- Water along a stitched seam: Mark the location and apply a fabric-compatible seam sealer when the area can be cleaned and dried.
- Drips near a door or zipper: Check fly tension, door alignment, storm flaps, and whether the opening faces wind-driven rain.
- Water beneath the floor: Confirm that the footprint is tucked fully underneath and that the site is not collecting runoff.
- A localized fabric leak: Dry and clean the area as well as possible, then apply compatible repair tape or a temporary patch.
- Fly touching the inner tent: Restake or retension the fly to restore an air gap.
- Water pooling overhead: Leave the tent only when safe, then correct the tarp or fly angle so water drains naturally.
If water continues entering because the site is flooding, the shelter is structurally unstable, or the weather exceeds the tent’s design, move to safer ground or established emergency shelter. Do not attempt to solve a dangerous site by digging trenches.
Making the Most of Your Rainy Camping Experience
Rain changes the pace of a camping trip, but it does not have to ruin it. A dry sleep system, warm clothing, reliable shelter, simple meals, and a safe living area make steady rain manageable. Small habits—closing bags immediately, keeping wet gear out of the sleeping area, retensioning the fly, and checking runoff—prevent most comfort problems from becoming serious.
Continue to reassess the campsite throughout the trip. Water levels can rise, soil can soften, branches can fail, wind can change direction, and a harmless shower can develop into a thunderstorm. Comfort is secondary when conditions indicate flooding, lightning, hypothermia, falling objects, or shelter failure.
When the weather remains safe, listen to the rain, prepare a warm drink outdoors using safe stove practices, play a game, read, or rest. Good rainy-weather camping is less about enduring discomfort and more about maintaining dry systems, sound judgment, and an orderly campsite.
Frequently Asked Questions
How can I improve my tent’s drainage during heavy rain?
Use a naturally drained, durable campsite above low spots and runoff channels. Keep the footprint completely beneath the tent, tension the fly evenly, open protected vents, and direct tarp runoff away from the shelter. Never dig trenches. If water continues to pool or cross the site, relocate when it is safe.
What types of food are best for cooking in the rain?
Choose one-pot meals, quick-cooking dehydrated foods, premeasured ingredients, and at least one no-cook backup meal. Prepare ingredients under a separate shelter if needed, but operate the stove outdoors, outside the tent and vestibule, with full ventilation and the manufacturer’s required clearance.
How do I prevent mold in my tent after rainy camping?
Unpack the tent promptly and allow the body, fly, footprint, guylines, and stuff sack to dry completely. Clean it only with methods approved by the manufacturer, inspect the waterproof coating and seams, and store the dry tent loosely in a cool location rather than leaving it compressed in a damp stuff sack.
Can I use a regular tarp instead of a camping tarp?
Yes, if the tarp is strong enough for the expected weather and has secure attachment points. General-purpose tarps are often heavier, noisier, and harder to tension. Pitch the tarp so it drains away from the tent, keep it from touching the shelter, and lower it before wind exceeds the tarp or anchors’ safe limits.
What should I do if my tent leaks despite waterproofing?
First determine whether the moisture is condensation or an exterior leak. Check fly tension, vents, seams, zippers, punctures, floor edges, and the footprint. Use compatible repair tape for a temporary field repair, then clean, dry, and permanently seal or patch the damaged area after the trip.
Should a rain tarp touch the tent?
No. Contact can transfer water, block ventilation, abrade fabric, and place added load on the tent when the tarp collects water or moves in wind. Keep a clear air gap and use a separate pitch that sends runoff away from the tent and entrance.
Is it safe to cook in a tent vestibule when it is raining?
No. A vestibule remains part of the tent structure and places flame, hot cookware, and combustion gases close to fabric and occupants. Use the stove outdoors in an open, stable location with full ventilation and manufacturer-specified clearances. Carry a no-cook meal for conditions in which outdoor stove use is not safe.
Conclusion
Comfortable rainy camping depends on preparation and judgment more than any single piece of equipment. Check the forecast, use naturally drained ground, pitch the shelter correctly, protect the sleep system, ventilate the tent, and keep every stove and flame outside the tent and vestibule.
Rain can create a peaceful camping experience, but conditions must be reassessed throughout the trip. Rising water, thunder, strong wind, falling branches, cold stress, or a failing shelter are signals to move, seek safe shelter, or end the trip. When those hazards are controlled, a dry sleeping bag, warm layers, simple food, and a secure tarp area can make wet weather both manageable and memorable.
Sources
- Centers for Disease Control and Prevention: Carbon Monoxide Poisoning Basics — camp-stove and combustion safety.
- National Park Service: When Thunder Roars, Go Indoors — lightning shelter, terrain, water, and 30-minute safety guidance.
- Leave No Trace: Travel and Camp on Durable Surfaces — campsite selection and distance from water and trails.
- National Park Service: Hypothermia — wet-weather clothing, cold exposure, and warning signs.
- REI Expert Advice: Tent Care Basics — footprints, drying, cleaning, storage, and waterproofing maintenance.
- SlingFin: Waterproofness Ratings Explained — hydrostatic-head testing, coatings, wear, and real-world limitations.
