
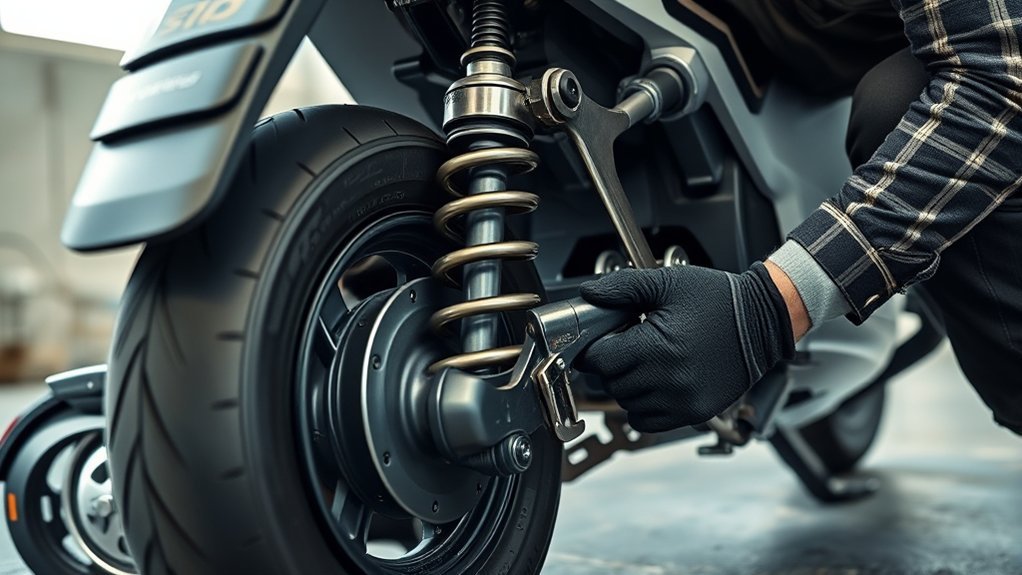
Last Updated on September 10, 2026 by Daniel Globe
Adjusting an electric scooter’s suspension can improve comfort and control, but there is no universal preload, damping, or air-pressure setting that works for every scooter. Start by identifying the suspension hardware, checking whether it is designed to be user-adjustable, and finding the manufacturer’s baseline settings. Make only one small change at a time, record it, and test the scooter at low speed before riding normally.
Quick Answer
To adjust electric scooter suspension, first identify whether you have a coil spring, air spring, elastomer system, and adjustable hydraulic damping. Follow your scooter or shock manual, set preload or air pressure for proper support, tune rebound or compression one step at a time, and test every change at low speed.
Key Takeaways
- Check the scooter or shock manual before adjusting anything because tool sizes, adjuster direction, pressure limits, and factory settings vary by model.
- Preload affects initial spring compression and sag; it does not change the spring’s actual spring rate.
- Rebound and compression damping are different controls, and clockwise does not mean the same thing on every shock.
- Never use a generic air-pressure number. Use the pressure range or sag target specified for your exact scooter and shock.
- Test one adjustment at a time and stop riding if you find leaks, damaged hardware, excessive play, recurring wobble, or a suspension unit that does not move normally.
At a Glance
| Time Required | About 15–30 minutes for basic adjustment and a careful test ride |
| Difficulty | Easy to moderate when the suspension is designed for user adjustment |
| Tools Needed | Model-specific spanner or hook wrench, Allen keys or wrenches, screwdriver if required, and a high-pressure shock pump for adjustable air shocks |
| Cost | Usually no replacement parts are needed; cost depends on whether you already own the correct adjustment tools or shock pump |
Warning: Suspension hardware is safety-critical. Do not exceed an air shock’s maximum pressure, force an adjuster beyond its stop, loosen structural fasteners without the correct torque specification, or continue riding with leaks, cracks, excessive play, recurring wobble, or abnormal suspension movement.
Disclosure: As an Amazon Associate I earn from qualifying purchases. Some links on this page are affiliate links, at no extra cost to you.
What Type of Scooter Suspension Do You Have?
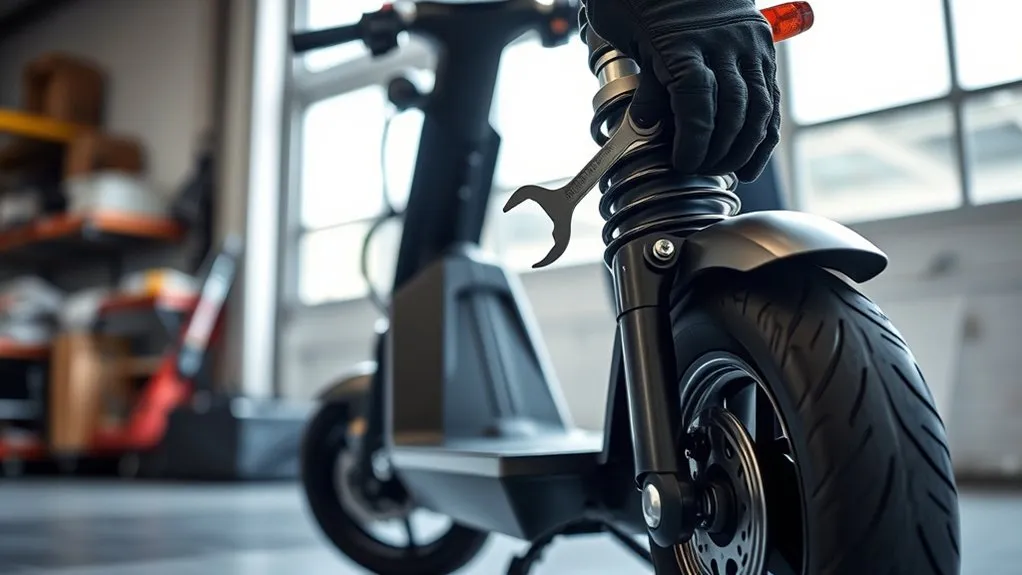
Before you adjust anything, identify what actually supports and damps the scooter. A suspension system may combine more than one technology, so “spring” and “hydraulic” should not always be treated as separate suspension types.
The most common setups include:
- Coil-spring suspension: Uses a visible metal spring. Some shocks have a threaded preload collar or stepped adjustment mechanism. Many coil shocks also contain hydraulic damping.
- Air-spring suspension: Uses compressed air as the spring. Pressure is adjusted with a compatible high-pressure shock pump. Some air shocks also offer rebound or compression damping.
- Elastomer or rubber suspension: Uses rubber or another elastic material to flex under load. Some systems have limited adjustment, while others are effectively fixed.
- Hydraulic damping: Controls how quickly the suspension compresses or returns after a bump. It may be combined with either a coil or air spring.
Inspect the fork, swingarm, shock body, springs, air valves, and adjustment knobs. If you cannot identify an adjuster or the manual does not describe user adjustment, do not loosen hardware experimentally. Some suspension components are factory-set and are not intended to be tuned by the rider.
Note: An adjustment knob changes only the function it was designed to control. A rebound knob does not set air pressure, and a preload collar does not change the spring’s inherent spring rate.
Tools for Adjusting Scooter Suspension
You may need hex keys or Allen wrenches, open-end or socket wrenches, a model-specific hook or spanner wrench, and a screwdriver if the damping adjuster requires one. If the scooter uses an adjustable air shock, use a compatible high-pressure shock pump with a gauge rather than assuming a normal tire pump or tire-pressure gauge is suitable.
Before adjusting anything, power off the scooter, place it on a stable level surface, and check the owner’s or service manual for the correct tool, adjustment range, and torque requirements.
Essential Adjustment Tools
Use tools that fit the hardware correctly. A loose-fitting wrench or improvised tool can damage a preload collar or fastener and make later servicing difficult.
| Tool | Use | Best for |
|---|---|---|
| Hex keys | Adjustment screws and fasteners | Many scooter systems |
| Wrench or socket set | Model-specific nuts and bolts | Service and inspection |
| Hook/spanner wrench | Threaded preload collar | Adjustable coil shocks |
| Screwdriver | Certain damping adjusters | Model-specific hydraulic shocks |
| High-pressure shock pump | Air-pressure adjustment | Adjustable air shocks |
Safety And Setup
Work on a clean surface and keep the scooter stable. Check the wheels, stem, handlebars, tires, brakes, suspension mounts, and visible fasteners before starting. If you find a cracked component, fluid leak, damaged shock shaft, significant looseness, or a bent mount, adjustment is not the correct repair.
If a procedure requires loosening a suspension mounting bolt, use the manufacturer’s specified tightening torque when reinstalling it. Do not guess a torque value or simply tighten a safety-critical bolt as hard as possible.
How to Adjust Spring Suspension Preload
First determine how your scooter adjusts coil-spring preload. Common designs use either a threaded collar or a stepped cam. The manual should show the correct tool and adjustment direction.
With a conventional threaded collar, turning the collar to compress the spring further increases preload. Reducing that initial compression decreases preload. However, the exact rotation direction depends on the way the shock is mounted and threaded, so verify it before turning the collar.
More preload generally reduces rider sag and can help prevent excessive suspension travel under a heavier load. Less preload generally allows more sag and easier initial movement. Preload does not turn a soft spring into a higher-rate spring.
Identifying Preload Collar
A threaded preload collar usually surrounds the shock body next to the coil spring. Some shocks also have a separate lock ring that must be released before adjustment and secured afterward.
Before moving the collar:
- Clean dirt from the threads.
- Record the current position or count exposed threads.
- Confirm the permitted adjustment range in the manual.
- Use the correct spanner instead of striking the collar with a screwdriver or other improvised tool.
- Make a small change and recheck the setup.
If your scooter has paired shocks on the same end, keep the left and right settings matched unless the manufacturer specifically instructs otherwise. Uneven paired settings can affect handling.
Setting Rider Comfort
Use rider sag and actual ride behavior rather than the idea that “harder is always better.” Sag is the amount the suspension compresses from fully extended when the scooter is loaded by the rider. The correct target is model-dependent, so use the scooter or shock manufacturer’s specification when one is provided.
| Adjustment | Likely effect | When it may help |
|---|---|---|
| More preload | Less sag, more initial support | Excessive sag or frequent bottoming under load |
| Less preload | More sag, easier initial movement | Harsh setup with too little sag |
| Test ride | Confirms behavior | After every small change |
If you have to run preload near an extreme just to make the scooter usable, the spring itself may not suit the rider and load. That is a reason to check the manufacturer’s spring options or consult a qualified technician.
Pro Tip: Mark the factory setting before you change it. For threaded collars, count turns or measure a repeatable reference point. For damping, count clicks. That gives you a known baseline if the new setup feels worse.
How to Tune Hydraulic Suspension Damping
Hydraulic damping controls the speed and resistance of suspension movement. Two adjustments are common:
- Rebound damping controls how quickly the shock extends again after being compressed.
- Compression damping controls resistance while the suspension is compressing.
Some electric scooters offer rebound only; others may offer compression and rebound. Do not assume that every red, blue, or numbered knob performs the same function.
Also do not assume that clockwise always means “firmer.” Manufacturer labeling may use H/S, +/−, or Fast/Slow, and model-specific designs can differ. Follow the markings and manual.
A safe tuning method is:
- Record the current setting.
- If the manufacturer gives a factory baseline, return to it first.
- Move the adjuster one click or one small increment.
- Test the scooter on the same low-speed route.
- Change only one damping control at a time.
- Never force an adjuster beyond its normal stop.
Too little rebound damping may make the scooter feel springy or cause repeated bouncing after a bump. Too much rebound damping can make the suspension return too slowly and may cause it to stay partly compressed over a series of bumps, sometimes described as “packing down.”
How to Set Air Suspension Pressure
Air-suspension pressure must be set for the specific shock and scooter. There is no safe universal PSI range for electric scooters.
Use a high-pressure shock pump with a gauge, then check the shock or scooter manufacturer’s pressure table, sag instructions, and maximum-pressure limit. Different air shocks can operate at very different pressures, so a number copied from another scooter may be inappropriate even if the rider weighs the same.
There is no universal scooter suspension PSI. The correct air pressure is the value that stays within your exact shock’s limits and produces the manufacturer-recommended setup for your rider load and scooter geometry.
- Find the air-pressure or sag guidance for the exact scooter or shock.
- Confirm the maximum pressure printed on the shock or specified by the manufacturer.
- Attach a compatible high-pressure shock pump.
- Add or release air in small increments.
- Recheck pressure after disconnecting and reconnecting only when necessary, because attaching a pump can slightly change the measured pressure on small air chambers.
- Measure sag if the manufacturer uses sag as the setup method.
- Test at low speed before making another change.
Higher pressure generally provides more support and reduces sag; lower pressure generally increases sag and allows easier movement. Neither is automatically better. Do not exceed the pressure limit to compensate for an undersized or unsuitable shock.
Warning: Air shocks contain high-pressure gas. Do not disassemble a pressurized shock. If the unit loses pressure rapidly, leaks oil, does not extend normally, or makes abnormal internal noises, stop using it and have it serviced or replaced according to the manufacturer’s instructions.
How to Balance Front and Rear Suspension Settings
Do not automatically make the front stiffer or run higher front air pressure than the rear. Electric scooters use different suspension geometry, spring rates, travel, leverage ratios, and rider-weight distribution, so a universal front/rear bias can produce a worse setup.
Start with the manufacturer’s recommended front and rear settings. Then evaluate how the scooter behaves as a complete chassis.
- If the front bottoms too easily, verify preload or air pressure and the condition of the front suspension.
- If the rear kicks upward after bumps, check rebound damping if it is adjustable.
- If one end feels harsh while the other moves normally, compare sag and damping rather than simply increasing stiffness at the softer end.
- If the scooter has two shocks on one axle or swingarm, keep paired left/right settings equal unless instructed otherwise.
The goal is predictable suspension movement while braking, accelerating, cornering, and crossing rough pavement. Front and rear settings do not need identical numbers; they need to work together.
How to Test Your Suspension After Adjusting It?
Test the suspension methodically after every adjustment. Before riding, confirm that adjustment collars, lock rings, valve caps, and any fasteners you touched are secure. Check the brakes, tires, wheels, steering, and folding mechanism as part of the pre-ride inspection.
Test Ride Basics
Begin at low speed in a traffic-free area. Do not make the first test a high-speed run.
- Compress the suspension while stationary and check for smooth movement.
- Listen for new clicking, grinding, clunking, or squeaking.
- Ride slowly over a familiar mild bump.
- Brake and accelerate gently to assess chassis movement.
- Ride through a gentle turn and check that steering still feels normal.
- If everything is stable, repeat the route at normal riding speed.
- Change only one setting before testing again.
Record the terrain, rider load, preload or pressure, damping setting, and your observation. A short note such as “rear bounces twice after bump” is more useful than simply writing “bad.”
Observe Ride Changes
Look for specific symptoms rather than judging suspension by whether it feels generally “soft” or “hard.”
| Symptom | Possible setup issue | What to check |
|---|---|---|
| Suspension bottoms frequently | Too much sag, insufficient support, unsuitable spring, or hard impacts beyond the system’s capability | Preload, air pressure, spring suitability, rider/load limit |
| Scooter bounces repeatedly after bumps | Rebound may be too fast if adjustable | Rebound setting and shock condition |
| Suspension stays compressed over repeated bumps | Rebound may be too slow | Rebound setting |
| Ride feels harsh over small bumps | Too little sag, excessive damping, high air pressure, or excessive preload | Baseline setup, sag, pressure, damping |
| Clunking or excessive play | Loose or worn component | Mounting hardware, bushings, bearings, linkage |
| Oil on shock body | Possible damper/seal problem | Stop riding and inspect/service |
| Recurring steering wobble | May involve tires, wheels, bearings, stem/headset, suspension, or structural play | Stop high-speed riding and inspect the whole front-end system |
Common Scooter Suspension Mistakes
Most adjustment problems come from changing too much at once or treating one scooter’s settings as universal.
- Adjusting before identifying the hardware. Know whether you are changing coil preload, air pressure, rebound damping, compression damping, or another function.
- Using generic PSI recommendations. Air-shock pressure must come from the applicable shock or scooter guidance.
- Confusing preload with spring rate. More preload changes initial spring compression and sag but does not change the spring’s intrinsic rate.
- Assuming clockwise always means more damping. Check the markings and manual.
- Changing several settings at once. You will not know which change helped or hurt.
- Forcing an adjuster at its limit. Stop when it reaches the normal end of its adjustment range.
- Over-tightening fasteners. Use manufacturer torque specifications where specified.
- Ignoring paired shocks. Left and right shocks on the same end usually need matching settings.
- Testing immediately at high speed. Validate changes gradually.
- Tuning around damaged parts. Leaks, bent hardware, worn bushings, bearing play, and cracks need repair rather than more adjustment.
When Suspension Needs Professional Help
Stop adjusting and seek professional inspection when the suspension shows symptoms that normal user tuning cannot safely correct.
Examples include:
- Oil leaking from a hydraulic shock.
- An air shock that repeatedly loses pressure.
- A shock that remains compressed or does not return normally.
- Cracked, bent, or damaged suspension mounts.
- Excessive play in a fork, swingarm, linkage, or shock bushing.
- Grinding, clunking, or persistent internal noise.
- A preload collar, damping adjuster, or air valve that is damaged or seized.
- Recurring steering wobble or instability after tires, wheels, suspension, stem/headset, and related hardware have been checked.
- A scooter that bottoms excessively even when adjusted within the manufacturer’s permitted range.
If a service procedure requires disassembling a pressurized shock or rebuilding hydraulic internals, use an authorized or qualified suspension technician unless the manufacturer explicitly provides a user-service procedure.
How to Maintain Scooter Suspension
Routine inspection helps you catch suspension problems before they become severe. The exact service interval varies by model, mileage, environment, and suspension design, so follow the scooter manufacturer’s maintenance schedule instead of relying on one generic interval.
- Inspect shocks, forks, linkages, and mounting points for looseness, cracks, leaks, corrosion, or unusual wear.
- Keep exposed shock shafts and suspension areas clean with methods approved by the manufacturer.
- Avoid directing high-pressure washing equipment at shock seals, bearings, or electrical components.
- Check suspension fasteners at the intervals specified by the scooter manufacturer and use the specified torque.
- For air shocks, monitor pressure and sag according to the shock manufacturer’s instructions.
- Inspect bushings and bearings if you notice play, knocking, or rough movement.
- Recheck your suspension baseline after changing rider load, carrying substantial cargo, replacing a shock, or changing suspension components.
Before every ride, also make a quick visual check of the tires, wheels, handlebars, stem, brakes, and frame. Suspension cannot compensate for a loose steering component or damaged tire.
Frequently Asked Questions
What Happens if Your Suspension Is Too Soft?
A setup with too much sag or insufficient support may bottom out easily, move excessively during braking or acceleration, and feel vague on rough surfaces. Check preload or air pressure within the manufacturer’s allowed range. If correct adjustment cannot provide enough support, the spring or shock may be unsuitable for the rider and load.
How to Stop Death Wobble on Electric Scooter?
Do not treat recurring high-speed wobble as a suspension-setting problem alone. Stop high-speed riding and inspect tire pressure and condition, wheels, bearings, stem/headset, folding hardware, suspension mounts, and other sources of play or damage. If the cause is not obvious and fully corrected, have the scooter professionally inspected before riding fast again.
Are Scooters Good for Autistic Kids?
A non-motorized scooter may be suitable for some autistic children depending on balance, coordination, sensory needs, judgment, supervision, and the scooter’s age and weight limits. Electric scooters are a different safety category: the American Academy of Pediatrics advises that children under 16 should not operate or ride motorized or e-scooters. For any child, use appropriate protective equipment and close supervision.
How Do You Adjust Shocks for a Smoother Ride?
Start from the manufacturer’s baseline. If the scooter has too little sag or feels unnecessarily harsh, a small reduction in preload or air pressure may help if it remains within the permitted range. If adjustable damping is contributing to harshness, make one small change in the direction specified by the shock manual, then test again.
Does Increasing Preload Make the Spring Stiffer?
It increases the spring’s initial compression and usually reduces sag, which can make the suspension feel more supported. It does not change the coil spring’s actual spring rate. If the spring rate is wrong for the rider, changing preload alone may not solve the problem.
What PSI Should an Electric Scooter Air Shock Use?
There is no universal electric-scooter air-shock PSI. Use the pressure chart, sag procedure, and maximum-pressure limit for your exact scooter and shock. Air shocks from different manufacturers can require very different pressures even for riders of similar weight.
How Do I Know if Rebound Damping Is Wrong?
If the suspension rebounds too quickly, the scooter may bounce or kick after a bump. If rebound is too slow, the suspension may not fully recover before the next bump and can feel increasingly harsh over repeated impacts. Change the adjuster one step at a time using the direction shown in your manual.
Conclusion
Adjusting electric scooter suspension is a process of matching the suspension to the scooter, rider load, and terrain without exceeding the hardware’s design limits. Begin with the manufacturer’s baseline, distinguish preload from damping, use only the specified air-pressure range, and change one setting at a time.
A good setup should move smoothly, provide enough support to avoid unnecessary bottoming, recover predictably after bumps, and remain stable during normal braking and cornering. Do not chase an arbitrary “soft” or “hard” setting. If you find leaks, damaged parts, excessive play, recurring wobble, or a shock that cannot be set correctly within its approved range, stop adjusting and have the scooter inspected.
Sources
- Apollo Scooters Support — Pro Suspension Adjustment — model-specific spring, damper, rear-suspension, and tool guidance.
- Apollo Scooters Support — Speed Wobble Troubleshooting — tire, suspension, stem, bearing, and stability inspection guidance.
- DNM Suspension — Air Shock User Manual — air-pressure, sag, rebound, pressure-limit, and shock-maintenance guidance.
- Segway — E3 Series Important Information — suspension inspection and fastener-maintenance guidance.
- U.S. Consumer Product Safety Commission — e-scooter pre-ride inspection, stopping-distance, and helmet-safety guidance.
- American Academy of Pediatrics / HealthyChildren.org — child and adolescent e-scooter safety guidance.
