
Last Updated on August 25, 2026 by Caleb Warren
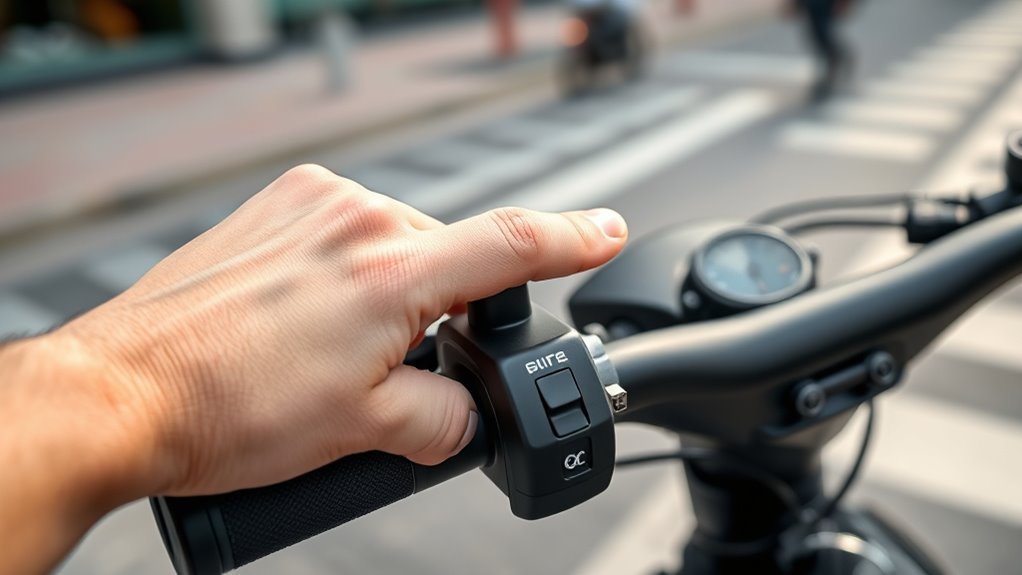
An electric scooter throttle is the primary handlebar control that commands the motor controller how much electrical power to deliver from the battery pack to the hub motor. Whether configured as a thumb paddle, twist grip, or index-finger trigger, activating the throttle varies an electrical voltage signal—typically generated by a contactless Hall Effect sensor—that governs your acceleration and cruising speed. When working correctly, a throttle delivers smooth, linear power modulation; when misaligned, dirty, or electrically degraded, it causes dead zones, lagging acceleration, or dangerous throttle sticking.
Quick Answer
An electric scooter throttle uses a 5V linear Hall Effect sensor and small neodymium magnets to convert mechanical movement into a variable 0.8V to 4.2V analog signal. The motor controller reads this voltage to regulate current to the motor. If your throttle is unresponsive or sticky, the issue is typically caused by internal dirt buildup, a damaged return spring, loose 3-pin wiring, or a stuck electronic brake cutoff switch.
Key Takeaways
- Hall Effect Standard: Over 95% of modern electric scooters use contactless magnetic Hall Effect sensors rather than mechanical potentiometers.
- Voltage Range: A functioning 3-wire throttle receives ~5.0V DC and returns an output signal ranging from ~0.8V (idle) to ~4.2V (full throttle).
- Ergonomic Styles: Thumb throttles minimize hand fatigue and accidental inputs; trigger throttles offer sharp response for performance scooters; twist throttles provide familiar motorcycle-style control.
- Common False Failure: A sticky brake lever sensor can trigger the controller’s safety cutoff, mimicking a completely dead throttle.
- Chemical Safety: Never spray standard petroleum solvent (like regular WD-40) into throttle assemblies; use contact cleaner or 99% isopropyl alcohol and dedicated silicone lubricant.
Disclosure: As an Amazon Associate I earn from qualifying purchases. Some links on this page are affiliate links, at no extra cost to you.
How Does an Electric Scooter Throttle Work?
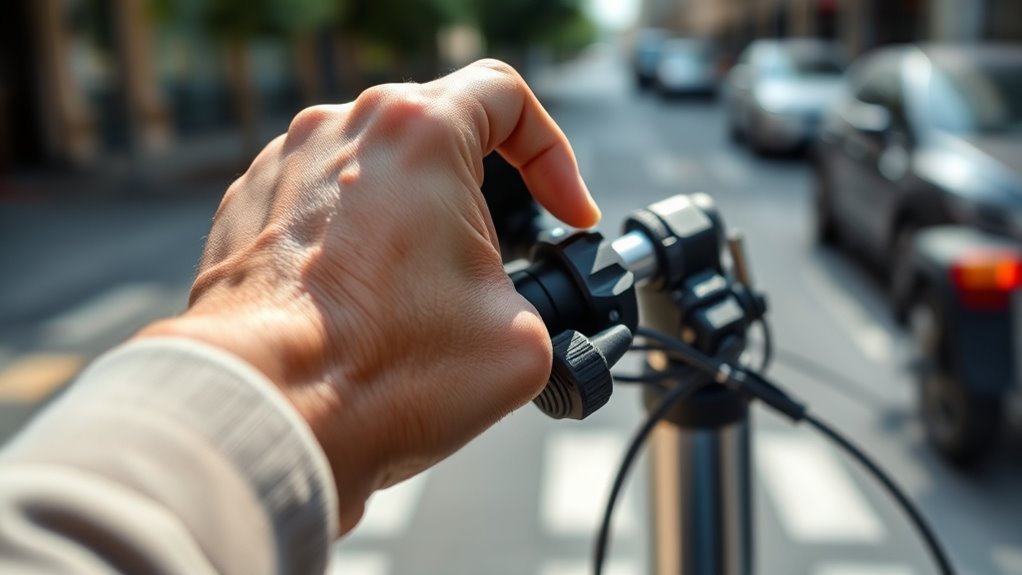
At the core of almost every electric scooter throttle is a linear Hall Effect sensor (most commonly the 49E series) paired with one or two small permanent magnets. When you depress a thumb paddle, rotate a twist grip, or pull a trigger lever, you physically move the magnet closer to or further from the stationary sensor chip.
The sensor relies on the principle of the Hall Effect: as the magnetic flux passing through the semiconductor material changes, the sensor alters its output voltage. A standardized throttle harness uses three wires:
- Positive Supply (+5V DC): Typically the Red wire, providing steady reference power from the controller.
- Ground (0V / GND): Typically the Black wire, completing the direct DC circuit.
- Signal Out (Variable Analog Voltage): Typically the Green or White wire, delivering the speed command back to the controller.
When the throttle is at rest (idle position), the sensor outputs a baseline voltage of approximately 0.8V to 1.0V. As you apply input, the magnetic field intensifies, and the output voltage climbs in direct proportion to your movement, peaking at roughly 3.8V to 4.2V at full extension. The motor controller measures this variable voltage, processes it through its microcontroller firmware, and adjusts the Pulse Width Modulation (PWM) duty cycle to feed the appropriate phase current into the brushless DC (BLDC) motor.
Note: The controller maintains intentional “deadbands” below 0.8V and above 4.2V. If the signal wire shorts to 5V or drops to 0V (such as during a severed ground wire), the controller detects an out-of-range fault and immediately cuts power to prevent runaway acceleration.
What Are the Main Types of Scooter Throttles?
The physical design of your throttle directly influences rider fatigue, throttle modulation precision, and overall steering stability over rough terrain.
| Throttle Type | Primary Mechanism | Key Advantages | Common Drawbacks |
|---|---|---|---|
| Thumb Throttle | Spring-loaded lever pressed downward with the thumb | Maintains full four-finger grip on handlebar; lowest risk of accidental input | Can cause thumb joint fatigue on continuous multi-mile rides |
| Twist Throttle (Full / Half) | Rotating handlebar grip (motorcycle style) | Natural wrist motion; excellent for fine speed modulation on smooth roads | Bumping potholes can cause accidental wrist twisting and power surges |
| Trigger Throttle (Index Finger) | Lever pulled backward toward the grip using the index finger | Highly responsive; often integrated with display units (e.g., QS-S4, EY3) | Compromises hand grip strength over rough terrain; index finger cramps |
| Push-Button Throttle | Binary or stepped mechanical button | Extremely simple, compact, and weatherproof | Lacks progressive speed modulation; jerky on/off power delivery |
How to Choose the Right Throttle Type
Selecting the optimal throttle requires balancing electrical compatibility with your physical ergonomics and riding environment.
Throttle Type Compatibility
Before purchasing an aftermarket throttle, you must verify three electrical specifications:
- Operating Voltage: While scooters have battery packs ranging from 36V to 72V+, the throttle circuit almost universally operates on a stepped-down 5V DC supply from the controller or LCD display unit. Ensure you do not wire battery-level voltage directly to a 5V Hall sensor.
- Connector Pinout: Common connectors include 3-pin or 5-pin Julet waterproof connectors, 3-pin JST-SM connectors, or proprietary multi-pin harnesses combining the LCD display and throttle signals. Verify pin alignment before applying power to prevent burning out the Hall sensor IC.
- Display Unit Integration: On many performance scooters (such as models equipped with Minimotors EY3 or generic QS-S4 displays), the trigger throttle is physically integrated onto the display circuit board. Switching to an independent thumb or half-twist throttle requires either a dedicated throttle-input port on the controller or an adapter harness.
Comfort and Control
Your riding terrain should dictate the throttle format. For daily urban commuting on mixed pavements, thumb throttles allow you to wrap all four fingers securely around the handlebar grip, providing the safest handling over unexpected potholes or rail tracks. Half-twist throttles (where only the inner half of the grip rotates while the outer end remains stationary) offer the fatigue-free comfort of a motorcycle grip without the hazard of accidental activation when pulling the scooter over curbs.
How Throttle Response Affects Safety
Throttle performance is intrinsically linked to rider stability. Because electric motors generate maximum torque instantly from zero RPM, erratic throttle signals can quickly lead to loss of traction or rider ejection.
Warning: A sticking or mechanically jammed throttle will maintain motor power regardless of whether you release your hand. In an emergency, immediately pull both mechanical brake levers—the integrated electronic brake cutoff sensors will override the throttle and cut motor current.
Delayed Acceleration Risks
Throttle latency (a delay between pressing the lever and receiving motor power) often leads riders to press the lever further than intended. When the controller finally registers the command, it delivers a disproportionate surge of current. This lag is frequently caused by excessive controller input filtering, loose wiring connectors causing high resistance, or failing Hall sensor magnets.
Sudden Surge Dangers
Uncommanded acceleration surges occur when internal short circuits, water ingress across connector pins, or cracked magnet rings feed unstable voltage spikes into the signal line. Under standards like UL 2272, certified electric mobility controllers are required to incorporate fault detection that disables the drive system if the signal exceeds safe voltage parameters.
Smooth Control Importance
Linear throttle modulation reduces mechanical stress on the wheel hub bearings and prevents high-amperage battery spikes that accelerate thermal degradation. The table below illustrates how different input conditions impact rider stability:
| Signal Condition | Controller Voltage Input | Vehicle Response | Safety Impact |
|---|---|---|---|
| Linear / Smooth | 0.8V to 4.2V gradual sweep | Proportional torque delivery | Optimal balance and traction |
| Deadzone / Lagging | 0.8V resting, jumps abruptly to 3.0V+ | Delayed launch followed by lurch | High risk of rear wheel slip |
| Short / Floating Ground | Floating voltage (>4.5V) | Immediate safety cutoff or surge | Loss of propulsion in traffic |
What Are the Most Common Throttle Problems?
When an electric scooter fails to accelerate, the fault typically traces back to one of four specific failure modes:
- Mechanical Friction and Spring Fatigue: Road grit, mud, or moisture enters the rotating pivot joint, creating friction that overpowers the internal torsion return spring. This causes the throttle to physically stick in the open position.
- Dislodged or Cracked Sensor Magnets: The tiny neodymium magnets inside the throttle lever can shift out of their molded plastic slots due to handlebar vibration, preventing the Hall sensor from detecting field variation.
- Electronic Brake Sensor (E-Brake) Interference: Most scooters feature cut-off sensors (reed switches or Hall sensors) inside the brake levers. If a brake lever fails to return completely to its resting position, the controller suppresses all throttle input. Common display error codes include E-02, E-08, or Error 05 (depending on the scooter brand).
- Broken Wiring Harness or Pin Corrosion: The continuous turning of the handlebars can fatigue and sever the internal copper strands within the 3-wire throttle lead, causing intermittent power loss when turning in specific directions.
How to Fix a Sticky or Unresponsive Throttle
At a Glance
| Time Required | 20–35 minutes |
| Difficulty | Beginner to Intermediate |
| Tools Needed | Metric Hex Keys (2.5mm–4mm), Digital Multimeter, 99% Isopropyl Alcohol, Dielectric Grease |
| Cost | $0 (Cleaning) to $15–$40 (Replacement part) |
Follow this systematic diagnostic procedure to isolate and repair throttle malfunctions:
- Isolate Brake Cut-Off Sensors: Unplug the wiring leads connected to your left and right brake levers. If the scooter immediately accelerates normally, adjust your brake lever return springs or realign the brake microswitches.
- Inspect Mechanical Clearance: Ensure the throttle body is not pushed tightly against the handlebar rubber grip. Leave a 2mm to 3mm gap so the rotating mechanism does not bind against the grip edge.
- Clean Internal Pivot Points: Disassemble the outer plastic housing using precision hex keys. Flush out grit and dirt using 99% Isopropyl Alcohol or dedicated quick-drying electronic contact cleaner. Inspect the internal stainless-steel torsion spring to ensure both hooked ends sit firmly in their retention notches.
- Test Electrical Continuity and Voltage with a Multimeter:
- Set your digital multimeter to measure DC Volts (20V range).
- With the scooter powered on, back-probe the Red (+) and Black (-) throttle pins. You should read a steady 4.8V to 5.2V DC. If voltage is 0V, inspect the main harness and controller output.
- Connect the negative meter probe to the Black (GND) wire and the positive probe to the Green/White (Signal) wire.
- Gently depress the throttle: the reading must rise smoothly from approximately 0.8V to ~4.2V without sudden dropouts or voltage spikes.
Pro Tip: If your multimeter reads steady 5V supply power but the signal wire remains flat at 0V or 5V throughout the mechanical stroke, the Hall sensor chip (SS49E) has failed internally or the magnet has lost adhesion. Replacing the complete throttle assembly is the most reliable long-term solution.
How to Maintain Your Scooter Throttle
Routine preventative maintenance ensures reliable throttle return and prevents unexpected electronic cutouts:
- Post-Ride Dust Removal: After riding through dusty trails or rainy conditions, wipe down the pivot gap with a dry microfiber cloth. Compressed air (low pressure) can be used to blow out loose sand particles before they migrate into the sensor track.
- Apply Non-Conductive Lubrication: Use a dry PTFE spray or 100% pure silicone spray on mechanical sliding surfaces. Never use general-purpose penetrating oils, as their petroleum distillates can dissolve ABS plastics, swell rubber seals, and attract road grit.
- Check Cable Strain Relief: Ensure the wiring harness entering the throttle housing has adequate slack when the handlebars are turned to their full lock positions left and right. Tight cables pull on internal solder joints, leading to intermittent signal failures.
- Waterproofing Connectors: Apply a tiny bead of dielectric grease inside external Julet or JST connectors to seal out atmospheric moisture and prevent terminal pin oxidation.
When Should You Upgrade the Throttle?
Replacing your stock throttle with a high-grade aftermarket unit is recommended under several scenarios:
- Chronic Hand Fatigue: Long-distance commuters often experience joint strain from stiff trigger throttles. Transitioning to an ergonomic thumb paddle or half-twist grip drastically improves ride comfort.
- Excessive Deadband / Dead Zone: Low-quality stock throttles often feature large dead zones where the first 25% of lever travel produces no motor response. Premium units provide tighter magnetic tolerances for instantaneous engagement.
- Cracked Housing or Damaged Weather Seals: If your throttle housing is cracked from an impact or UV degradation, moisture will quickly compromise the sensor circuit board. Replace it promptly to avoid sudden power loss.
- Display and Controller Upgrades: Upgrading to higher-voltage controllers often requires compatible display-throttle units to unlock advanced P-settings (such as start-strength profiles and electronic braking levels).
Frequently Asked Questions
How do you properly use the throttle on an electric scooter?
Most modern scooters use a “kick-to-start” safety mechanism by default (often configured via P-setting P0). Kick off with one foot to reach approximately 2–3 mph (3–5 km/h) before gently depressing the throttle. Modulate the lever with smooth, gradual inputs rather than abrupt presses to prevent front-wheel slip and conserve battery range.
Is 30 mph considered fast for an electric scooter?
Yes. Standard commuter scooters are factory-limited to 15–20 mph (25–32 km/h). Traveling at 30 mph (48 km/h) requires dual-motor power, hydraulic disc brakes, pneumatic tires, and full protective gear (full-face helmet, gloves, and pads) due to significantly increased stopping distances and road hazard sensitivity.
How much does it cost to repair or replace an electric scooter throttle?
A DIY replacement throttle assembly typically costs between $15 and $45 for standalone thumb or twist units, and $35 to $85 for integrated LCD/trigger assemblies (e.g., Minimotors EY3 or QS-S4). Professional repair at a local micromobility shop generally costs $50 to $100 in labor.
Is it legal to have a throttle on an electric bike?
Under the standardized 3-Class legal framework in the United States, Class 2 e-bikes are legally permitted to have a throttle that propels the bicycle up to 20 mph without pedaling. Class 1 and Class 3 e-bikes are strictly pedal-assist only (no throttle). In Europe and the UK (under EN15194 / EPAC regulations), pure throttles that operate above walking speed (6 km/h) classify the vehicle as a moped/speed pedelec rather than a standard bicycle.
Conclusion
Your electric scooter throttle is the critical communication bridge between your riding intent and the vehicle’s powertrain. Understanding how its internal Hall Effect sensor and 5V electrical circuit operate makes diagnosing dead zones, sudden surges, and mechanical sticking straightforward. By maintaining clean pivot joints, verifying electrical continuity with a multimeter, and avoiding harmful petroleum-based lubricants, you ensure consistent power delivery and dependable safety on every commute.
Sources
- U.S. Consumer Product Safety Commission (CPSC) — Micromobility Device Safety Guidelines and Electrical Standards.
- Underwriters Laboratories (UL) — UL 2272 Standard for Electrical Systems for Personal E-Mobility Devices.
- National Institute of Standards and Technology (NIST) — Principles of Linear Hall Effect Sensing and Semiconductor Measurements.
- PeopleForBikes E-Bike Management & Policy — State-by-State 3-Class E-Bike Model Legislation Standards.
