
Last Updated on September 10, 2026 by Daniel Globe
Hiking is an activity that connects people with nature while adding both physical challenge and a mental reset. For many outdoor enthusiasts, a hiking staff is more than gear: it provides an extra contact point on uneven ground, helps test footing at stream crossings, and can improve balance on climbs and descents. Building your own is also a rewarding woodworking project that produces a trail tool shaped around the way you actually hike.
Quick Answer
To make a hiking staff, start with a strong, straight, well-seasoned hardwood such as hickory, ash, or oak. Size it so your elbow is near a 90° bend on level ground, shape and sand the shaft, add a comfortable grip, wrist strap and rubber tip, then apply an outdoor-appropriate finish and let it cure fully.
Key Takeaways
- A straight, defect-free piece of wood matters as much as the species. Hickory, ash, and oak are all practical hardwood choices.
- For normal hiking, a grip height that leaves your elbow close to a 90° bend is a reliable starting point.
- Fresh-cut wood must be seasoned before final fitting and finishing; drying time varies with species, diameter, airflow, humidity, and temperature.
- A secure rubber tip or ferrule, comfortable grip, and properly fitted wrist strap make a plain shaft much more useful on the trail.
- Inspect the finished staff for cracks, rot, loose hardware, or other damage before relying on it, especially on steep terrain.
At a Glance
| Time Required | About 2–4 hours of active work with a seasoned blank. Fresh-cut wood can require many months of drying, and some oil finishes need several weeks to reach full cure. |
| Difficulty | Beginner to intermediate |
| Tools Needed | Saw, carving knife or chisel, rasp or file, medium-to-fine sandpaper, drill, clamp or vise, safety glasses, gloves, plus a rubber tip/ferrule and finish |
| Cost | Low if you already own basic hand tools and have legally sourced wood; higher for purchased hardwood, premium grips, ferrules, leather wraps, or premade synthetic shafts |
Crafting a hiking staff blends woodworking, design, and function, which makes it an engaging project for beginners and experienced crafters alike. People have used sticks and staffs for support on rough terrain for centuries, and while modern materials have changed outdoor gear, a custom wooden staff remains simple to build. The important part is treating it as a functional trail tool rather than just a decorative stick.
Disclosure: As an Amazon Associate I earn from qualifying purchases. Some links on this page are affiliate links, at no extra cost to you.
What a Good Hiking Staff Should Do
- A handcrafted hiking staff should be a practical, personalized tool for your outdoor adventures.
- The material should balance weight, durability, stiffness, and comfort for your usual terrain.
- Customization can add character, but carvings, holes, and accessories should never weaken the shaft.
- Good tools and careful shaping produce a smoother, stronger, more professional-feeling result.
- Functional additions such as a wrist strap, replaceable tip, compass, or properly installed camera mount can add trail usability without turning the staff into an overloaded gadget.
Note: A recreational hiking staff is not a substitute for a medically fitted cane, crutch, or other mobility aid. REI specifically cautions against using trekking poles or hiking staffs in place of an appropriate medical cane when medical walking support is needed.
Choosing the Right Materials for Your Hiking Staff
Traditional Wood Materials
Hickory, ash, and oak are all practical woods for a hiking staff because they can combine stiffness, toughness, and wear resistance. Data in the USDA Forest Products Laboratory Wood Handbook show that many hickory species have particularly high bending strength, while ash and oak also have useful mechanical properties.
Species is only part of the decision. A straight-grained ash shaft with no cracks can be safer than a badly knotted or checked piece of hickory. Look for a blank with continuous grain, no soft or rotten areas, no deep checks, no insect galleries, and as few large knots as possible. Avoid wood with an obvious crack running across or diagonally through the shaft.
Synthetic Materials
Carbon fiber and aluminum are popular in commercial trekking poles because they provide high strength at relatively low weight. Current REI guidance on trekking-pole materials notes that aluminum is relatively durable and tends to bend before breaking, while carbon-composite shafts are lighter and can reduce vibration but are generally more vulnerable to breakage after damaging impacts.
For a home project, the safest approach is to begin with a premade aluminum or carbon-composite tube designed for load-bearing use rather than trying to manufacture a composite shaft from raw fiber. Cutting or sanding cured carbon-fiber composite can produce very fine conductive dust and microfibers. Monash University safety guidance recommends eye protection, gloves, respiratory protection, ventilation or extraction, and careful cleanup when machining carbon-fiber composite.
Pro Tip: The easiest material for a first build is a straight, already-seasoned hardwood blank. If you want to collect a branch, use wood from your own property or get explicit permission. On public land, check the exact land manager’s regulations first. National Park Service rules generally restrict removing natural materials, including wood, and National Forest collection rules vary by location and permit.
Seasoning Fresh Wood Before You Build
If your branch is freshly cut, do not assume it will be ready after a fixed number of weeks. Green wood contains substantial moisture and can shrink, check, split, or warp as it dries. Penn State Extension notes that the familiar “one year per inch” rule is only a rough saying: drying speed depends on wood species, thickness, weather, airflow, relative humidity, and storage conditions.
Let fresh wood dry in a shaded, well-ventilated location rather than baking it in strong sun or placing it beside a heater. Sealing exposed end grain with an appropriate end sealer or wax can slow moisture loss from the ends and reduce checking. Final sanding, hardware fitting, and finishing are best done after the wood has become dimensionally stable.
Selecting the Right Material
Match the material to your hiking style and terrain. Rugged ground or heavier loads call for a shaft that resists bending and has no structural defects. Leisurely walks on maintained trails allow more flexibility in weight and design. A single hiking staff is generally most useful for balance and an extra point of contact; hikers carrying substantial packs or wanting support on both sides may prefer a pair of trekking poles.
Designing and Customizing Your Hiking Staff
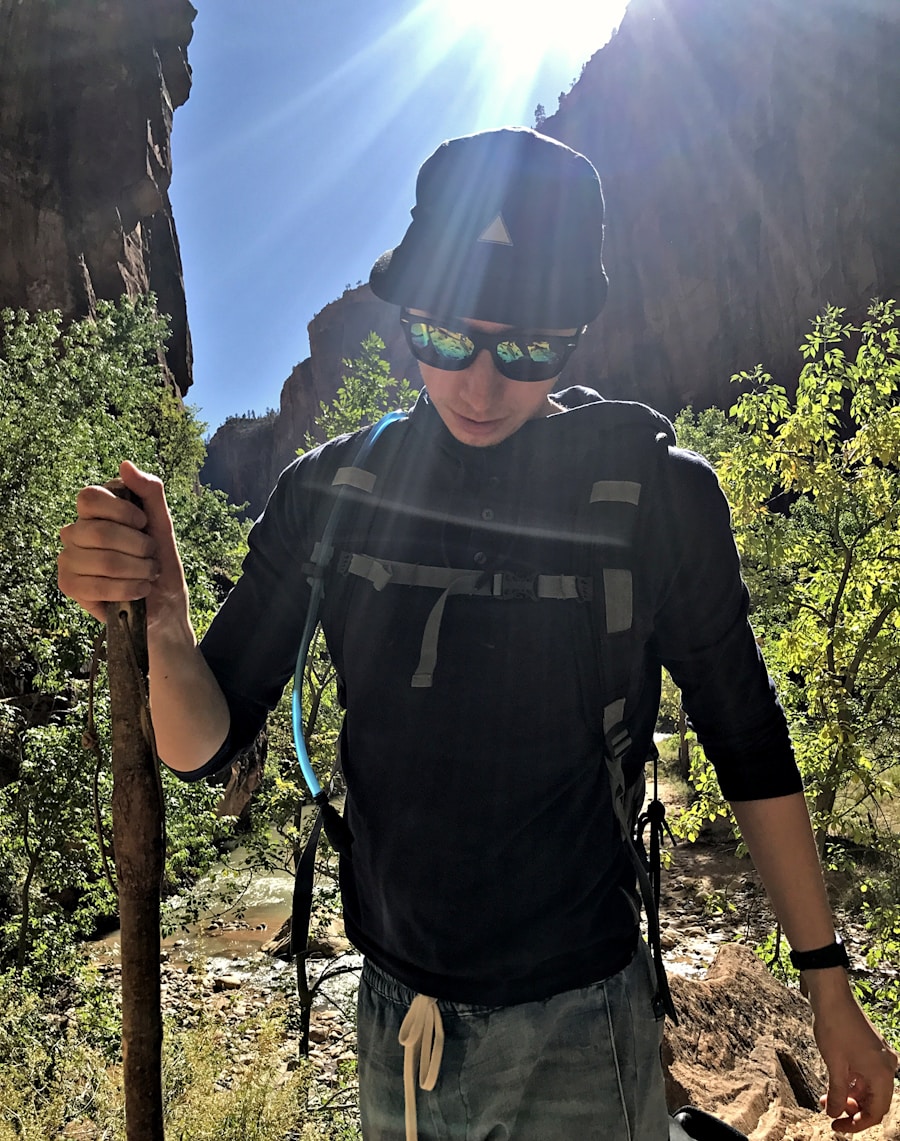
Once you’ve chosen your material, decide where your main grip should sit. For general hiking on level ground, stand upright in the shoes you normally hike in, place the staff tip beside your foot, and hold the shaft where your elbow forms roughly a 90-degree angle. This matches the sizing approach recommended by both REI and major pole manufacturers.
A traditional tall wooden staff can extend well above the main grip. That extra length can provide a second hand position on steep ground or when crossing a stream, so you do not necessarily need to cut the entire staff off at grip height. What matters is that the normal grip does not force your shoulder upward or make you hunch over.
Customization can include carved patterns, painted designs, trail names, dates, or meaningful symbols. Keep decorative cuts shallow. Deep spirals, large notches, or holes through a narrow part of the shaft remove structural material and can create stress concentrations.
For the grip, cork, leather, wrapped cord, foam, and textured wood are all workable options. The best grip is one you can hold without squeezing hard. Shape it gradually, test it in your hand often, and round every edge that contacts your palm or fingers.
Tools and Supplies for Crafting Your Hiking Staff
| Tool / Material | Purpose |
| Hiking Staff Material | Straight, seasoned wood or a purpose-made aluminum, carbon-fiber, or fiberglass shaft |
| Saw | Cuts the blank to final length |
| Carving Tools | Chisels, gouges, rasps, files, and knives for shaping the shaft and grip |
| Sanding Equipment | Medium- and fine-grit sandpaper or sanding blocks for removing tool marks and splinters |
| Drill | Makes a small wrist-strap or accessory hole when required |
| Functional Hardware | Rubber tip or ferrule, wrist strap, grip material, and optional removable basket |
| Decorative Elements | Leather wraps, shallow carvings, paint, or carefully installed metal accents |
| Protective Finish | A suitable penetrating oil, exterior finish, or other coating chosen for the wood and expected exposure |
Essential woodworking tools include a saw for cutting to length, a sharp carving knife or chisel for shaping, rasps or files for controlled material removal, and sandpaper for smoothing. A drill is useful if you plan to install a wrist strap or carefully mounted hardware.
Sharp tools are generally easier to control than dull ones because they require less force. Secure the workpiece with a clamp or vise whenever possible rather than trying to hold a long staff with one hand while cutting with the other.
Warning: Carving tools, saws, rasps, and drills can cause serious injuries. Secure the staff before cutting, work away from your body, wear eye protection, and follow the tool manufacturer’s safety instructions. Cut-resistant gloves can help during some hand-tool operations, but keep gloves away from rotating machinery where they could become caught.
How to Make a Hiking Staff Step by Step
1. Inspect and Prepare the Blank
Start with a straight, sound piece of seasoned hardwood. Remove dirt and examine the full shaft in good light. Reject any blank with rot, a major split, severe insect damage, or a crack that crosses the shaft. Small surface imperfections can often be shaped away, but structural defects are not worth gambling on.
2. Mark Your Grip Height and Final Length
Stand naturally on level ground with the lower end of the staff beside your foot. Mark the primary grip position where your elbow sits near 90 degrees. Decide whether you want the staff to end just above that grip or continue higher as a traditional staff with a second hand position.
3. Cut and Rough-Shape the Staff
Cut the blank slightly proud of your final marks so you have room for cleanup. Remove protruding branch stubs and sharp edges. Taper only as much as needed for balance and comfort; do not aggressively thin the middle of the shaft simply to reduce weight.
If bark remains, remove any loose sections and decide whether you want a fully stripped or partially natural appearance. Make sure no hidden soft spots or insect damage are exposed as you work.
4. Shape the Grip
Use a rasp, file, knife, or chisel to create a comfortable hand area. Work slowly and test the grip repeatedly. Round transitions instead of cutting abrupt shoulders into the shaft. If you are adding a leather, cork, foam, or cord wrap, leave enough room for the finished grip diameter.
5. Sand the Shaft Smooth
Sand away tool marks and splinters, moving from a medium grit to a finer grit. The goal is smoothness, not polishing the wood so aggressively that finish cannot penetrate. Pay extra attention to the grip and any carved details.
6. Add the Wrist Strap and Grip
If you want a wrist strap, drill only the hole required for your chosen hardware and keep it away from cracks, knots, and narrow sections. Avoid large cross-drilled holes. Thread and secure the strap according to its hardware design, then install or wrap the grip.
A strap should help retain the staff without forcing you to clench the handle. Practice releasing the staff quickly; you do not want an overly tight loop trapping your hand during a fall.
7. Fit a Rubber Tip or Ferrule
A rubber tip or ferrule protects the end grain and improves traction on many hard surfaces. Measure the bottom diameter before buying the tip. Sand the bottom evenly until the ferrule or rubber foot fits snugly; do not whittle one side heavily and leave an off-center, weakened tip.
Some fittings rely on friction, while others are designed for adhesive or a mechanical fastener. Follow the fitting manufacturer’s instructions. Replace the tip once the rubber becomes badly worn, hardened, cracked, or loose.
8. Finish the Wood
Remove sanding dust before finishing. Penetrating oils such as tung or linseed-based finishes can enhance the grain and are relatively easy to renew, while exterior film-forming finishes can provide different levels of moisture and UV protection. The USDA Wood Handbook explains that outdoor finish choice is a balance of appearance, moisture protection, sunlight resistance, and maintenance.
Follow the actual label for application, recoat time, temperature, ventilation, and cure time. “Dry to the touch,” “ready to recoat,” and “fully cured” are different stages. Pure tung oil, for example, can take several weeks to reach a complete cure.
Warning: Rags and paper towels containing linseed oil, tung oil, Danish oil, oil-based stain, or similar drying oils can heat up as the finish oxidizes and may ignite if crumpled together. Never leave oily rags in a pile or ordinary trash container. Follow the product label and local fire-safety/disposal rules; OSHA specifically recognizes the autoignition hazard associated with linseed-oil products.
9. Let the Finish Cure and Inspect the Staff
Do not rush from the workshop straight to a difficult trail. Let the finish cure according to its product instructions. Once cured, inspect the full length of the staff again. Check the strap, grip, ferrule, and all drilled or carved areas.
Test the staff first on flat ground, then on gentle slopes. Apply moderate pressure from several normal hiking angles. If you hear cracking, see a split opening, notice the ferrule shifting, or feel unusual flex at one point, stop using it until the problem is corrected or the staff is replaced.
Adding Functional Features to Your Hiking Staff
Beyond appearance, a few functional additions can make a real difference on the trail. A rubber tip or ferrule at the bottom improves grip on many surfaces and protects the wood from repeated impacts. Some hikers also use removable tips or baskets for specific conditions such as mud or snow.
An adjustable height mechanism can be useful if the staff will be shared or used across terrain where different lengths are desirable. However, reliable telescoping locks are engineered components. For a DIY build, use a purpose-built adjustable shaft or locking assembly rather than improvising a joint that could slip while loaded.
A wrist strap adds retention on uneven ground. A small compass can be mounted near the handle, and a properly installed threaded camera mount can turn a suitable staff into a simple monopod.
A hollow storage compartment sounds useful, but boring a deep cavity into a wooden staff removes load-bearing material. An external pouch or strap-on accessory is the safer way to carry snacks or first-aid supplies without weakening the shaft.
Finishing and Protecting Your Hiking Staff
Enhancing Appearance and Protection
A proper finish improves appearance and slows the effects of moisture, dirt, sunlight, and handling. For wooden staffs, natural drying oils such as tung oil or linseed-based products are popular because they penetrate the wood and make the grain more visible.
Penetrating Protection
Penetrating finishes do not build the same thick surface film as a conventional varnish, which makes worn areas easier to renew. They are not maintenance-free, however, and simple oil finishes generally provide less wear and moisture protection than more robust exterior coating systems.
For aluminum or carbon-composite shafts, avoid applying random wood finishes. Clean and protect the shaft according to the material or component manufacturer’s instructions.
Achieving a Durable Finish
Apply only as much finish as the product instructions call for, wipe away excess when directed, and provide adequate ventilation. Let each application reach the recommended recoat stage before adding more. Then allow the final finish to reach its stated cure time before prolonged exposure to wet trails or heavy handling.
A compatible clear exterior coating can provide additional surface protection, but clear finishes themselves also weather under UV exposure. No finish makes wood permanently waterproof, so regular inspection and maintenance still matter.
In one controlled downhill study, using hiking poles reduced several measured knee-joint forces by about 12–25%. That evidence applies to paired hiking poles under the study conditions, not automatically to one homemade hiking staff.
Using Your Handcrafted Hiking Staff on the Trail
With your staff complete, start on flat ground and develop a natural rhythm before taking it onto difficult terrain. The staff should feel balanced and should not force your wrist, elbow, shoulder, or back into an awkward position.
A single staff can provide an extra balance point, help probe uncertain footing, and offer support when stepping over rocks or crossing shallow water. Plant the tip on firm ground before transferring pressure to it, especially on wet rock, loose gravel, mud, or snow.
Do not assume a staff makes a dangerous stream crossing safe. Fast current, deep water, slippery submerged rocks, and unstable banks can overpower both you and the staff.
Research on paired hiking poles has found reductions in certain knee loads during controlled downhill walking, but a single wooden staff has not been shown to provide exactly the same effect. For steep descents, backpacking under substantial loads, or hikers who want bilateral support, two properly fitted trekking poles may offer more consistent assistance than one staff. REI’s hiking-pole guidance likewise distinguishes a single staff from trekking poles used in pairs.
As you become comfortable with it, the staff may also serve as a rhythm aid on easier stretches or an extra anchor point during climbs. Switch hands periodically if prolonged one-sided use begins to fatigue your arm or shoulder.
Maintenance and Care for Your Handcrafted Hiking Staff
Regular maintenance can keep a wooden hiking staff useful for years. After muddy or wet hikes, wipe off dirt and let the staff dry at normal room conditions before storage. Do not leave it wet in a vehicle, sealed gear bag, or other place where moisture can remain trapped against the wood.
Before each trip, check for cracks, splinters, loosened grip material, strap wear, and a damaged or loose ferrule. Pay particular attention to the lower shaft, drilled holes, deep carvings, and knots because these are common stress points.
If the finish becomes worn or the wood begins absorbing water rapidly, clean and lightly prepare the surface as required by your chosen finish, then apply a maintenance coat according to the product instructions.
For synthetic materials, distinguish cosmetic wear from structural damage. Light surface dirt can be cleaned, but do not simply sand away cracks, crushed fibers, delamination, severe gouges, or a kinked aluminum section. A damaged load-bearing composite or metal shaft should be retired or replaced according to the manufacturer’s guidance rather than cosmetically polished and trusted again.
Note: Retire a wooden staff if a crack grows across the shaft, rot makes an area soft, a major knot begins separating, or the staff develops a localized weak spot that flexes or creaks under ordinary trail pressure. A decorative repair is not a substitute for structural integrity.
If you’re making a hiking staff for trips that also include fishing, you may also be interested in learning about the top travel fishing rods for compact outdoor travel.
Love travel? Join Our Facebook Community
Frequently Asked Questions
What materials are commonly used to make a hiking staff?
Straight-grained hardwoods such as hickory, ash, and oak are practical choices for homemade wooden staffs. Commercial staffs and trekking poles also use aluminum, carbon-composite, and fiberglass shafts. Whatever material you choose, inspect it for structural defects before relying on it.
What are the benefits of using a hiking staff?
A hiking staff gives you another contact point for balance, can help probe uncertain footing, and can improve stability on uneven ground. Research showing measurable reductions in knee loading has primarily studied paired hiking poles, so the same reduction should not automatically be claimed for a single staff.
How long should a hiking staff be?
For normal hiking, place the tip beside your foot and position the main grip so your elbow is close to a 90-degree bend. A traditional staff can extend higher than that grip to provide another hand position, so its total length does not have to stop at grip height.
Should I dry a fresh branch before making a hiking staff?
Yes, especially before final sizing, hardware installation, and finishing. Green wood shrinks as it loses moisture and can check, split, or warp. Drying time varies widely with species, thickness, airflow, temperature, and humidity, so a fixed calendar rule is less reliable than letting the wood become stable before final assembly.
Can I collect a fallen branch from a park or public trail?
Do not assume you can. Rules depend on the land manager and location. National Park Service regulations generally restrict removal of natural materials, including wood, while National Forest rules may require permits or limit what can be collected. Check the exact park, forest, state, or local rules before removing any branch.
Are there any special features to consider when making a hiking staff?
Useful options include a wrist strap, comfortable grip, replaceable rubber tip, removable snow or mud basket, compass, or properly mounted camera fitting. Avoid deep storage cavities, oversized drilled holes, or other modifications that remove too much structural material from the shaft.
What are some tips for customizing a hiking staff?
Try shallow carved patterns, painted trail symbols, a leather or cord grip, a compass near the handle, or an external pouch for small items. Keep decorative cuts shallow and avoid modifications that create a narrow or heavily drilled weak point.
Sources
- REI Expert Advice — How to Choose Trekking Poles and Hiking Staffs — sizing, staff-versus-pole guidance, shaft materials, grips, and general use
- USDA Forest Products Laboratory — Wood Handbook — hardwood mechanical properties, moisture behavior, wood drying, and finishing principles
- Penn State Extension — Air Drying Lumber from Your Own Forest — drying variables, equilibrium moisture content, end checking, and limitations of the one-year-per-inch rule
- National Park Service — Management Policies, Use of Parks — regulations governing collection of natural products on National Park Service land
- PubMed — Knee Joint Forces During Downhill Walking With Hiking Poles — controlled evidence on reductions in selected knee loads when using paired hiking poles
- OSHA — Linseed Oil Autoignition / Spontaneous Combustion Hazard — safety basis for handling rags used with drying-oil finishes
