
Last Updated on July 27, 2026 by Daniel Globe
Proper hiking-boot lacing should hold your heel securely without crushing your toes or creating painful pressure across the top of your foot. The goal is not to pull every section as tight as possible. Instead, adjust lace tension by zone so your heel stays planted, your forefoot feels comfortable, and your toes have room during climbs and descents.
Quick Answer
To lace hiking boots properly, start at the toe and remove slack gradually as you work upward. Keep the forefoot comfortably snug, secure the heel around the ankle-flex area, and tie the top firmly without causing numbness or pressure. Use specialized lacing patterns only where you need extra heel hold or pressure relief.
Key Takeaways
- Hiking boots should feel snug and secure, not painfully tight.
- A surgeon’s knot can help control excessive heel movement.
- Window lacing can reduce pressure across a sore or high instep.
- Toe-relief lacing is a temporary solution for painful toe pressure, not a cure for boots that are too small.
- Dry, well-fitting hiking socks and properly fitted boots are as important as the lacing pattern for blister prevention.
- Recheck lace tension after your feet warm up or swell during a long hike.
At a Glance
| Time Required | About 3–5 minutes for initial adjustment |
| Difficulty | Easy |
| Tools Needed | Hiking boots with intact laces and the hiking socks you normally wear |
| Cost | $0 unless worn laces need replacement |
Check the Fit Before You Change the Lacing
Lacing can fine-tune a good boot fit, but it cannot turn the wrong boot into the right one. Current REI hiking-footwear guidance recommends a fit that is snug without being tight and still gives your toes room to move.
Before experimenting with lace patterns, put on the same type and thickness of socks you intend to hike in. Stand and walk in the boots. Your heel should stay reasonably secure, your toes should not hit the front on an incline, and you should not feel sharp pressure across the instep.
A useful length check is to remove the insole, stand on it, and look for roughly a thumb’s width between your longest toe and the front. Fit varies by foot and boot model, so this is a starting point rather than an absolute sizing rule.
Warning: Do not keep tightening the laces to fix boots that are obviously too large, too short, too narrow, or the wrong shape for your foot. Persistent numbness, sharp pain, repeated toe impact, or severe heel movement usually points to a fit problem rather than a lacing problem.
How to Lace Hiking Boots Step by Step
Products Worth Considering
![Stepace Round Shoelaces [2 Pairs] Heavy Duty Boot Shoe Laces for Hiking Work Boots Coffee Khaki-140(Dots)](https://m.media-amazon.com/images/I/51CdlMxDimL._SL500_.jpg)
The Package Includes -2 pairs of Stepace round laces (4 laces)

Compatibility: These Endoto shoelaces are designed to be compatible with Merrell shoes. Please refer to the size guide in the product images to confirm the best length for your needs.
![Miscly Round Boot Laces [1 Pair] Heavy Duty and Durable Shoelaces for Boots, Work Boots & Hiking Shoes (Black/Brown, 45 inches (114 cm))](https://m.media-amazon.com/images/I/51T1QSPEzJL._SL500_.jpg)
HEAVY DUTY: Reinforced with dual inner nylon cords, the same cords originally used in parachutes. Ensuring unparalleled strength and durability. 3/16in diameter
1. Seat Your Heel
Put on your hiking socks and slide your foot fully into the boot. Tap the heel lightly on the floor or pull the heel back into the heel cup before you begin tightening. This helps you start with the foot positioned where it will sit while walking.
2. Snug the Forefoot
Starting at the lowest eyelets, remove obvious slack one crossing at a time. The forefoot should feel held in place, but your toes should still move freely. Avoid pulling the lowest section so tight that your foot feels squeezed from the sides.
3. Secure the Instep and Heel
Continue upward toward the point where the foot bends at the ankle. This zone often controls heel movement. Apply enough tension to keep the heel from sliding excessively, but stop if you feel pinching or pressure across the top of the foot.
4. Lace the Upper Hooks
Continue through the upper hooks or eyelets. The cuff should feel supportive without digging into the front of your ankle. Different boots allow different upper and lower tension, so use the boot’s hardware rather than trying to make every section equally tight.
5. Tie a Secure Knot and Test the Fit
Tie your normal bow and use a double knot if your laces tend to loosen. Walk on level ground and, if possible, test a safe incline. Your heel should remain controlled and your toes should not strike the front of the boot on the way down.
Pro Tip: After 15–30 minutes of hiking, stop and reassess the fit. Feet can warm and swell during activity, so a lacing pattern that felt perfect at the trailhead may need a small adjustment later.
Understanding Different Lacing Techniques
Standard crisscross lacing works well when a hiking boot already fits your foot correctly. Specialized patterns are most useful when you need to change tension in one particular zone instead of tightening the whole boot.
Surgeon’s Knot for Heel Slip
A surgeon’s knot can help hold tension near the ankle-flex area when your heel moves more than you want. REI’s hiking-boot lacing guide recommends this method for excessive heel slip.
- Remove slack through the lower part of the boot.
- At the hooks near the point where the top of your foot begins to flex, cross the two lace ends.
- Wrap the lace ends around each other twice instead of once.
- Pull the knot snug and run each lace directly to the next hook.
- Repeat at the next pair of hooks if needed, then finish lacing normally.
The extra wrap creates friction that helps preserve the tension below the knot.
Window Lacing for Top-of-Foot Pressure
If a particular crossing presses painfully on the top of your foot, window lacing—also called box lacing—creates an open area over that pressure point.
- Unlace the boot to just below the sore area.
- Instead of crossing the laces over the pressure point, run each lace straight upward on the same side to the next eyelet or hook.
- Resume normal crisscross lacing above the open “window.”
This technique is especially useful when the boot otherwise fits well but one crossing creates pressure over the instep.
Toe-Relief Lacing for Painful Toes
For temporary toe pressure, REI describes a toe-relief method that skips the lowest set of attachment points so the front of the boot feels less constricted. Completely unlace the boot, restart above the first set of eyelets or hooks, and lace normally from there.
This is best treated as a temporary trail-side adjustment. If your toes regularly hurt or hit the front of your boots, the boot’s size or shape needs to be reassessed.
Lacing for a High Instep or Wide Forefoot
People with a high instep or wider forefoot often benefit from less tension through the lower or middle zone. A short window-lacing section can reduce pressure without sacrificing all of the heel hold above it.
Do not skip so many eyelets that the foot begins sliding from side to side. The goal is pressure relief, not a loose boot.
Choosing the Right Lacing System for Your Boots
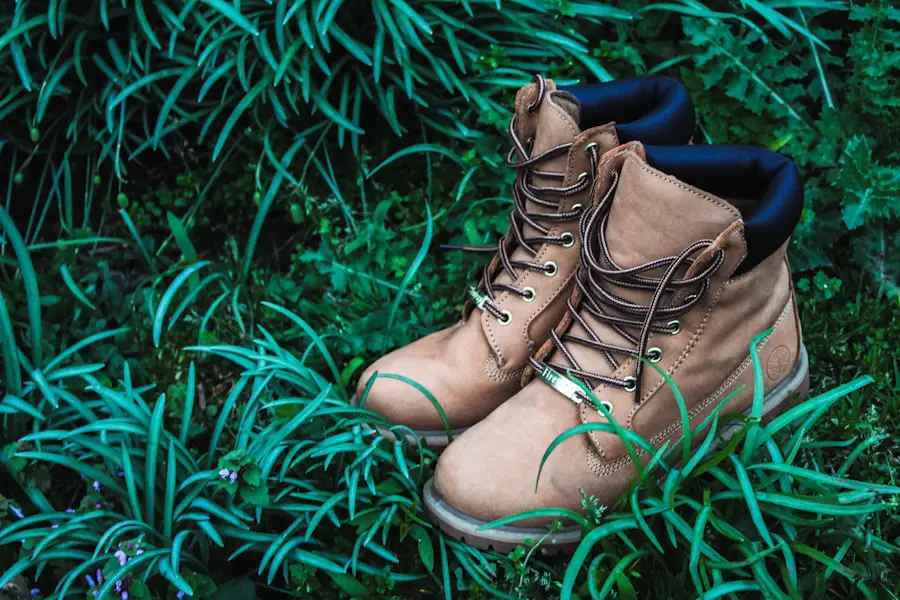
Traditional hiking-boot laces provide a wide range of tension adjustment. Round, oval, and flat laces can behave differently in a boot’s eyelets and hooks, so replacement laces should generally match the original lace shape and length.
Some boots use locking eyelets or two-zone systems that allow the lower foot and upper ankle area to be tightened separately. For example, LOWA describes two-zone lacing and locking hardware on some of its hiking boots. The exact system varies by model, so follow the footwear manufacturer’s instructions when specialized hardware is present.
Quick-lace systems use a cord and locking mechanism instead of a conventional bow. They can make adjustment fast, but the same fit rules apply: the foot should be secure without painful pressure, and the locking mechanism should be seated as the manufacturer intended.
Note: Lacing hardware changes how you make adjustments, but it does not change the basic fit requirement. A boot that is too short, too narrow, or the wrong volume should be refitted rather than aggressively tightened.
Products Worth Considering

No Tie Lacing System: Never waste time lacing up your boots again. With our Lock Laces Camo Boot Laces, you can turn all of your boots into adjustable slip-ons.

No Tie Lacing System: Never waste time lacing up your boots again. With our Black Boot Laces Lock Laces, you can turn all of your boots into adjustable slip-ons.
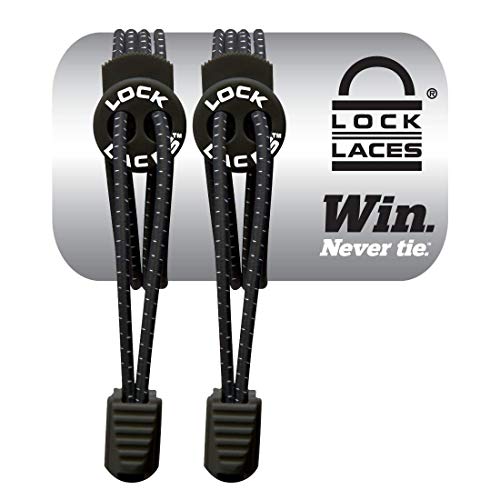
No-tie Lacing System: Turn any pair of lace-up tennis shoes into slip on sneakers. Lock Laces are the original, no tie shoelaces with over 8 million pairs sold worldwide
Tips for Achieving a Secure Fit
A secure hiking-boot fit comes from controlled tension, not maximum tension. Work from the bottom upward so slack does not collect in one section. Once the boot feels secure, stand, walk, flex your ankle, and test how the heel and toes behave.
| Fit Problem | Lacing Adjustment to Try |
| Heel slips upward | Snug the instep and try a surgeon’s knot near the ankle-flex zone. |
| Pressure on top of foot | Use window lacing over the pressure point. |
| Forefoot feels squeezed | Reduce tension through the lower eyelets while keeping the heel zone secure. |
| Toes hurt during a hike | Try temporary toe-relief lacing. Persistent toe impact requires a fit check. |
| Laces loosen repeatedly | Remove slack carefully, use the boot’s locking hardware if present, and finish with a secure double knot. |
Your toes should still be able to wiggle. Numbness, tingling, throbbing, or a deep lace mark are signs that at least one section is too tight.
How to Prevent Blisters and Hot Spots
Blisters develop when repeated shear and friction stress the skin. Lacing matters because excessive heel or foot movement can increase rubbing, but footwear fit, moisture, sock fit, trail duration, and individual skin response also matter.
The National Park Service hiking-safety guidance recommends sturdy footwear and thick wool or synthetic-material socks that manage moisture on longer hikes. Carrying a dry spare pair is useful when socks become soaked with sweat or water.
In a 2022 study of 203 long-distance hikers, finishing the day in wet socks was associated with a 1.94-times greater risk of foot blisters, while the natural-versus-synthetic fiber proportion itself was not associated with blister occurrence.
That evidence supports a practical rule: focus on keeping socks reasonably dry and changing wet socks rather than assuming one fiber automatically prevents blisters.
At the first sign of a hot spot—a warm, tender, or irritated area—stop and address it before repeated steps make it worse. A protective dressing or tape can reduce further rubbing. A systematic review of friction-blister prevention found that the overall evidence for many common prevention strategies was limited, although paper tape had moderate evidence suggesting potential benefit.
Break in stiff new hiking boots gradually with shorter walks before committing to a long trip. However, breaking in a boot cannot solve persistent problems caused by the wrong size or shape.
Products Worth Considering
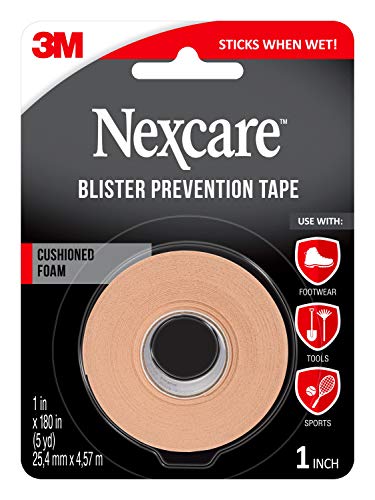
CUSHIONED PROTECTION: 1 roll of 1 in x 5 yds Nexcare Blister Prevention Tape with cushioned foam design to protect blisters and help prevent new ones

Premium Protection. KT Health Blister Prevention Tape is crafted from high-quality synthetic non-woven fabric, specifically designed to prevent blisters, chafing, and hot spots during athletic training and outdoor activities.

Blister Prevention Tape: Blister bandages for feet can protect against friction and discomfort, simply attach blister bandages to any area prone to abrasion to prevent your skin from rubbing against the upper without worrying about painful blisters
Adjusting Lacing for Different Terrains and Conditions
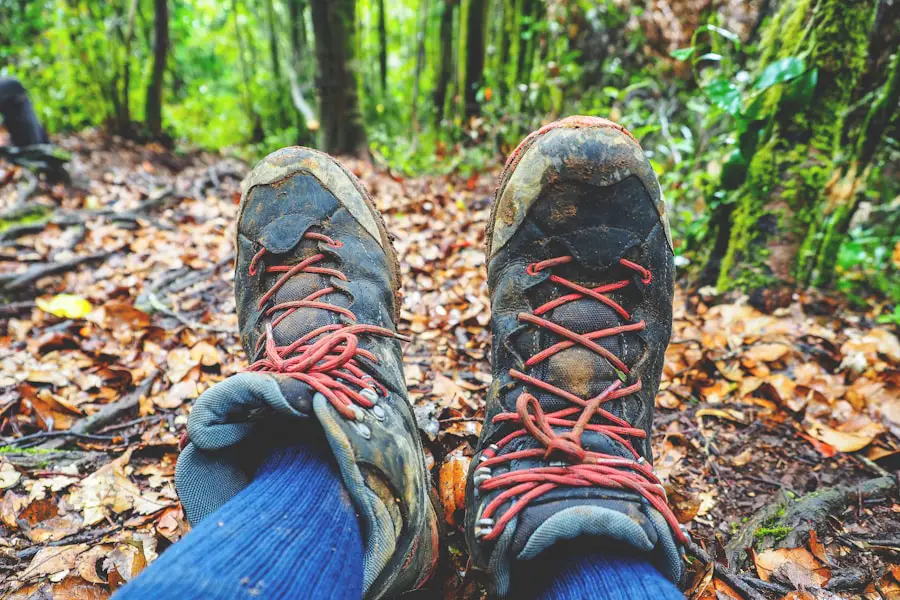
For Uphill Hiking
On climbs, ankle flexion increases. If the upper cuff digs into the front of your ankle, slightly reducing tension in the top section may improve movement while the instep and heel remain secure.
For Downhill Hiking
Descents tend to push the foot forward. Before a long descent, check that your heel is seated and that the instep is secure enough to limit forward sliding. Your toes still need room; cranking down the toe box is not a good substitute for a correctly sized boot.
For Flat Trails
You may prefer slightly less upper-cuff tension when ankle movement is not demanding, but the boot should never be so loose that your heel lifts substantially or your foot slides sideways.
For Wet Conditions
Focus on appropriate footwear, socks, and overall foot moisture rather than trying to waterproof the laces themselves. Change soaked socks when practical and check that muddy or wet lacing hardware still moves freely.
For Cold Weather and Thicker Socks
Do not simply add thick socks to a boot that no longer has enough internal room. Extra sock thickness can increase pressure and reduce comfort. Test the complete sock-and-boot combination before a cold-weather hike and adjust lace tension accordingly.
Troubleshooting Common Lacing Issues
My Heel Still Slips
First remove slack from the lower laces and try a surgeon’s knot near the ankle-flex area. If the heel still moves substantially after the boot is firmly but comfortably laced, the boot may have too much internal volume for your foot.
My Toes Go Numb
Loosen the forefoot and instep immediately. Numbness or tingling is not a sign of a properly supportive fit. If loosening the laces does not solve the problem, the boot may be too narrow or otherwise incompatible with your foot.
The Top of My Foot Hurts
Try window lacing over the painful area so a lace crossing does not press directly on the pressure point. Also inspect the tongue for folds or bunching.
My Toes Hit the Front on Descents
Reseat the heel and secure the instep before tightening the upper section. If your toes still strike the front, especially in correctly tied boots, reassess the boot length and overall fit rather than continuing to tighten it.
My Laces Keep Coming Undone
Check whether the laces are worn, unusually slick, or mismatched to the boot’s hardware. Tie a secure bow and use a double knot when needed. Keep long loose loops short enough that they are unlikely to snag on trail debris or the opposite boot.
The Fit Feels Different Later in the Hike
This is common because feet can warm and swell during activity. Stop during a break, release excessive pressure, and retighten only the sections that have become loose.
Maintaining and Caring for Laces and Eyelets
Inspect boot laces regularly for fraying, flattened sections, damaged aglets, or cuts where they pass through metal hooks. Replace a lace before it becomes weak enough to break unexpectedly.
When replacing laces, match the original length and, when practical, the original round, oval, or flat shape. A lace that is too short may prevent proper use of the top hooks, while an unnecessarily long lace can leave large loops that are more likely to snag.
After muddy hikes, loosen or remove the laces as needed and brush dirt away from eyelets, hooks, and the tongue. Follow the boot manufacturer’s cleaning instructions, particularly with leather footwear or waterproof membranes.
Inspect metal hooks and eyelets for sharp edges or bending that could damage the lace. Specialized locking hardware should move as designed; forcing a damaged hook can make the problem worse.
If you’re preparing for a hiking trip, lace and test the boots before the actual trail day. Walk in them with your intended socks, use stairs or a safe incline if available, and correct pressure points before committing to a long outing.
Frequently Asked Questions
What are the benefits of lacing hiking boots properly?
Proper lacing helps control heel movement, distribute pressure more comfortably, and keep the foot from sliding excessively inside the boot. It can improve comfort and fit, but it cannot compensate for hiking boots that are the wrong size or shape.
How do I choose the right lacing technique for my hiking boots?
Match the technique to the problem. Use standard crisscross lacing when the boot fits well, a surgeon’s knot for excess heel movement, window lacing for pressure across the top of the foot, and temporary toe-relief lacing when the toe area becomes painfully tight.
What are some common lacing techniques for hiking boots?
Common useful methods include normal crisscross lacing, the surgeon’s knot for heel control, window or box lacing for instep pressure, and toe-relief lacing for temporary pressure relief at the front of the boot.
How do I lace hiking boots to prevent heel slippage?
Seat the heel in the heel cup, remove slack from the lower laces, and secure the area near the ankle flex point. A surgeon’s knot uses an extra wrap between the lace ends to help hold tension. If the heel still moves excessively, the boot may have too much internal volume.
Are there specific lacing techniques for wide or narrow feet?
For a wider forefoot or high instep, reducing tension or using a short window-lacing section can create pressure relief. A narrow or low-volume foot may benefit from firmer instep tension or a surgeon’s knot, but major fit differences require a boot built for the foot rather than extreme lace tension.
How often should I re-lace my hiking boots?
Check the fit before every hike and readjust whenever the boots loosen or your feet swell. You do not need to remove and reinstall the laces before every outing, but inspect them regularly and replace them when they become badly frayed, cut, or weakened.
How tight should hiking-boot laces be?
They should be tight enough to control unwanted sliding but not so tight that your toes become numb, your instep throbs, or the boot leaves painful lace pressure. Aim for a secure heel and midfoot with comfortable toe movement.
Should I lace hiking boots differently for downhill hiking?
Before a long descent, make sure your heel is seated and the instep is secure enough to limit forward sliding. Do not compensate by crushing the toes with excessive forefoot tension. If your toes repeatedly strike the front, reassess the boot’s fit.
Sources
- REI Co-op — How to Lace Hiking Boots — surgeon’s knots, window lacing, toe-relief lacing, and replacement-lace guidance.
- REI Co-op — How to Choose Hiking Boots and Shoes — hiking-boot fit, toe room, sock selection, heel fit, and break-in guidance.
- U.S. National Park Service — Hike Smart — appropriate hiking footwear, moisture-managing socks, spare socks, and blister supplies.
- Chicharro-Luna et al., Journal of Tissue Viability, 2022 — study of sock moisture, fiber composition, and foot blisters in hikers.
- Worthing, Percy & Joslin, Wilderness & Environmental Medicine, 2017 — systematic review of friction-blister prevention strategies in outdoor activities.
