Last Updated on July 27, 2026 by Daniel Globe
Knowing how to pack a hiking backpack is about more than fitting everything inside. Your pack needs to match the trip, fit your torso, carry the right safety gear, and keep heavy items stable while the things you need quickly stay within reach. A little planning before you leave can make the hike more comfortable and give you more options when weather, delays, or minor problems appear.
Quick Answer
Pack the essentials first: navigation, sun protection, extra clothing, light, first aid, fire, repair tools, extra food, water and treatment supplies, and emergency shelter. Put bulky light gear low, dense heavy gear in the center close to your back, and frequently used items at the top or in exterior pockets.
Key Takeaways
- Choose a pack that fits your torso and hips and has enough capacity for the length, weather, and gear needs of your trip.
- Carry the hiking Ten Essentials, even on day hikes, and add trip-specific gear for weather, terrain, wildlife, and remoteness.
- Wear moisture-managing layers and footwear that fits well and provides suitable traction for the trail.
- Plan enough food and water, and treat water from uncertain natural sources before drinking it.
- Keep dense items in the pack’s core close to your back, balance the load from side to side, and keep rain gear, snacks, navigation, and first aid easy to reach.
At a Glance
| Time Required | About 20–45 minutes to lay out, check, and load gear before a typical trip |
| Difficulty | Easy, with extra planning needed for overnight or remote trips |
| Tools Needed | Properly fitted backpack, trip checklist, navigation tools, water containers/treatment, first aid, clothing, food, and trip-specific gear |
| Cost | $0 if you already own the required gear; otherwise the cost varies widely by trip and equipment |
Disclosure: As an Amazon Associate I earn from qualifying purchases. Some links on this page are affiliate links, at no extra cost to you.
Choose the Right Hiking Backpack Size and Fit
Selecting the right backpack is the first step. Capacity should match how long you will be out, how bulky your gear is, the season, and whether you are carrying shared equipment for other people.
For a simple day hike, many hikers can use a compact daypack in roughly the 15- to 30-liter range, although longer, colder, or technical day trips may require more room. For backpacking, REI’s current backpack-sizing guidance gives broader starting points of about 30–50 liters for 1–3 nights, 50–80 liters for 3–5 nights, and 70 liters or more for extended trips. These are guidelines rather than rules; compact gear can reduce the capacity you need.
Fit matters just as much as volume. Backpack size is normally based on torso length rather than overall height. The hip belt should wrap securely around the top of your hip bones, while the shoulder straps should follow your shoulders without large gaps. Load lifters and the sternum strap can then be adjusted to stabilize the pack.
Pro Tip: Try the backpack with realistic weight inside before committing to a long hike. A pack that feels fine when empty can create pressure points once food, water, and overnight gear are added.
Useful features include water-bottle pockets, a hydration-reservoir sleeve, hip-belt pockets, compression straps, a supportive back panel, and attachment points for trekking poles or other bulky equipment. Choose features that solve a real need instead of automatically choosing the pack with the most pockets.
Packing Essentials: Clothing and Footwear
Layering gives you more control when temperature, wind, rain, and activity level change during the day. A simple three-layer system uses a moisture-managing base layer, an insulating midlayer, and a weather-resistant outer shell.
- Base layer: Synthetic fabrics or merino wool help move moisture away from the skin.
- Insulation: Fleece, synthetic insulation, or down can add warmth when you stop or temperatures drop.
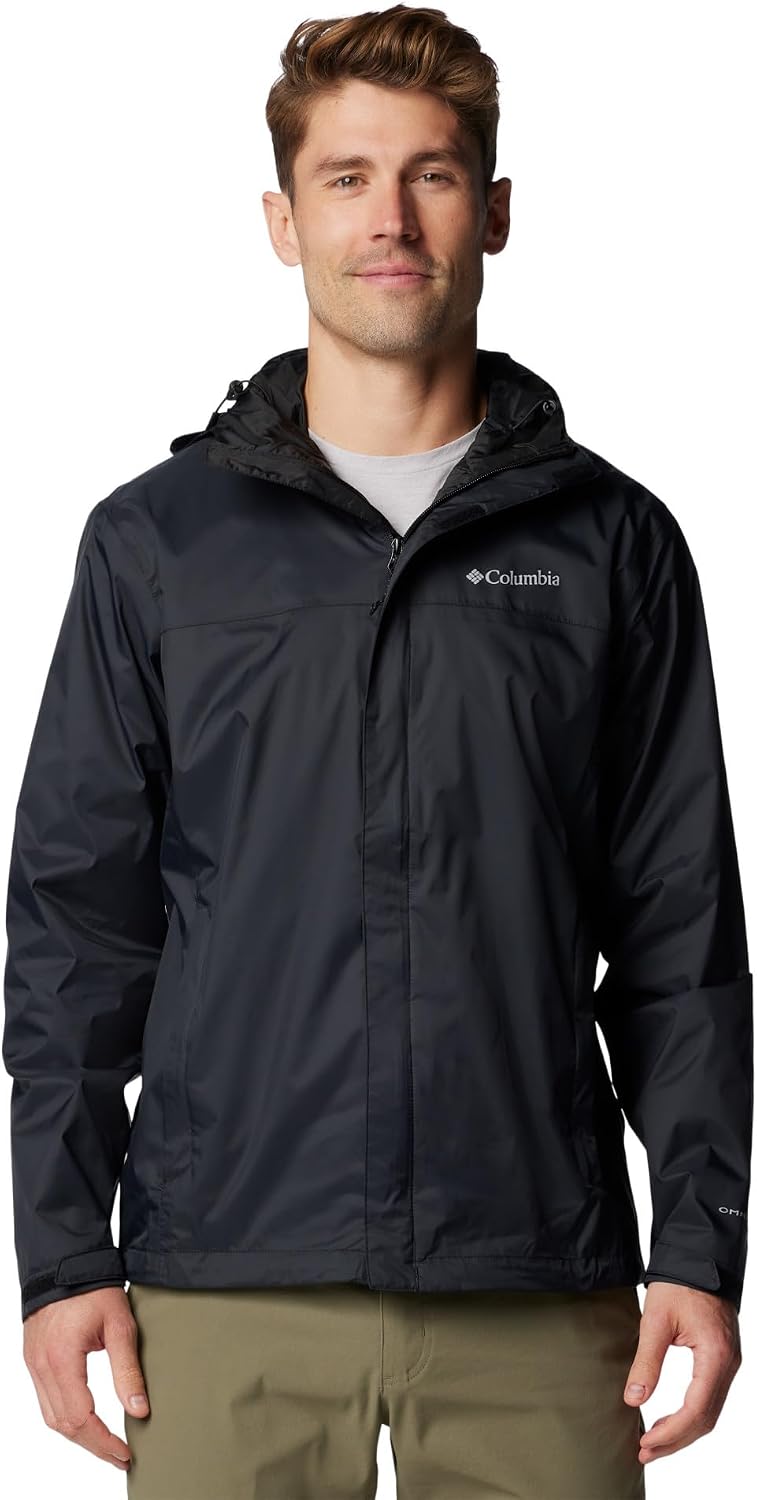
- Outer shell: A rain jacket or other protective shell helps block precipitation and wind.
Pack an extra layer for conditions that are colder or wetter than the forecast suggests. The National Park Service Ten Essentials specifically recommends extra clothing suitable for unexpected weather changes.
Your footwear should fit well, provide suitable traction, and match the trail and load. Trail-running shoes may work well on many maintained trails, while supportive hiking shoes or boots can be useful when carrying heavier loads or traveling over rough, loose, wet, or rocky terrain.
Wear footwear on shorter walks before a major trip so you can identify fit or rubbing problems. Pack wool or synthetic socks rather than relying on moisture-holding everyday socks, and bring a spare pair on longer hikes.
Food and Water: Staying Fueled and Hydrated
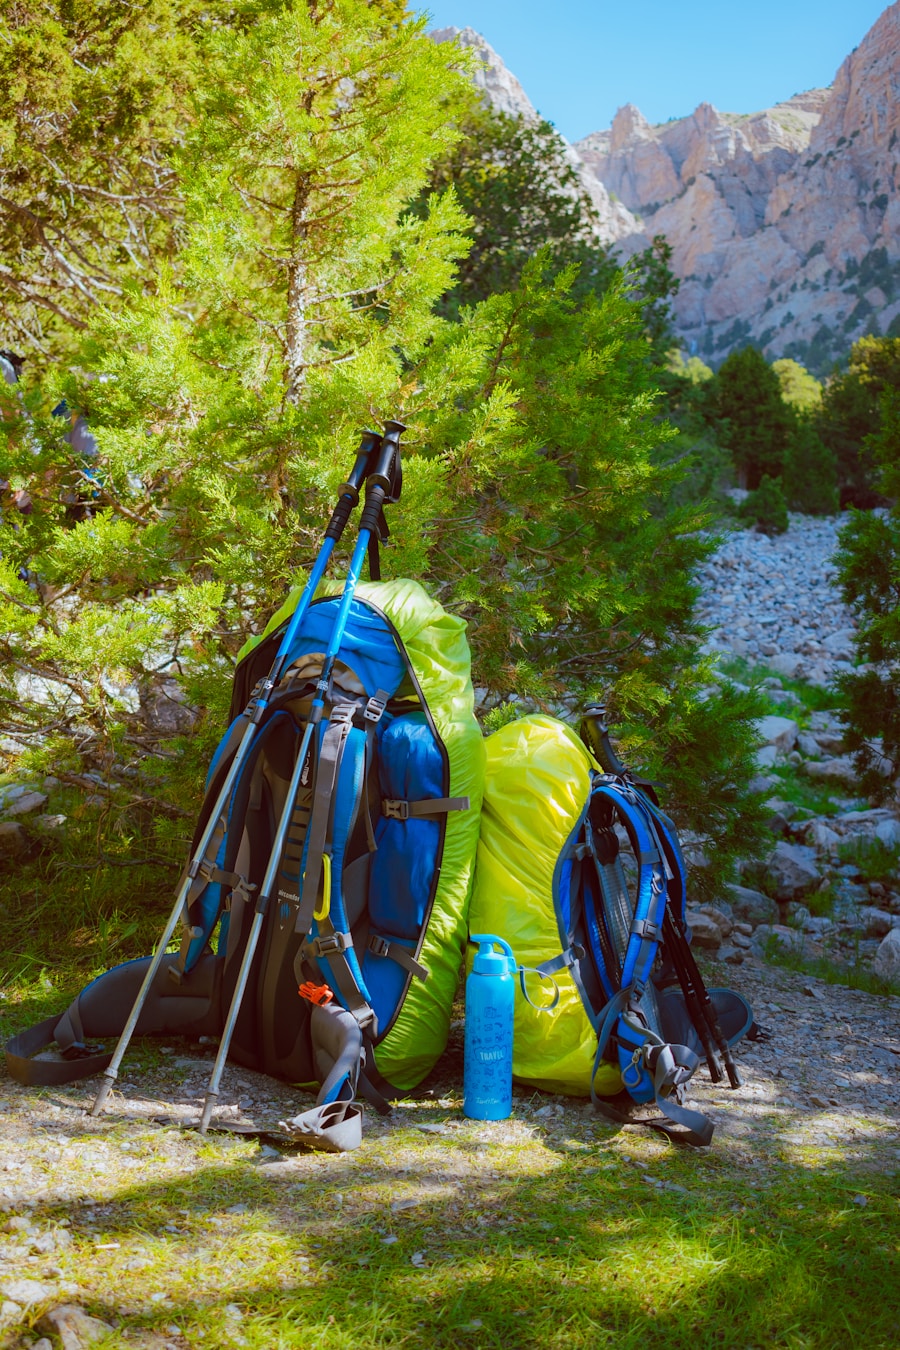
Food should provide useful energy without adding unnecessary bulk. Trail mix, nuts, nut-butter packets, energy bars, dried fruit, jerky, tortillas, and other shelf-stable foods are easy to eat while moving. For overnight trips, dehydrated meals can reduce food weight and often require only hot water.
Carry some extra food beyond your exact meal plan in case the hike takes longer than expected. This is especially important when weather, route-finding, injury, or transportation could delay your return.
Water needs change with heat, humidity, altitude, pace, body size, and exertion. As a planning baseline, Great Smoky Mountains National Park currently advises at least 1 liter of water for every two hours of hiking. Hot or strenuous conditions can require more, so check the specific park or land-management agency’s guidance before leaving.
A useful starting point is about 1 liter of water for every two hours of hiking, then adjust for heat, exertion, altitude, route length, and your individual needs.
If you expect to collect water from a lake, stream, or other uncertain source, carry an appropriate treatment method and know how to use it. The CDC says boiling is the most reliable method for killing germs. When boiling is not practical, filtering and then disinfecting the filtered water provides broader protection than assuming every portable filter removes every pathogen.
Warning: Clear mountain water is not automatically safe to drink. Filters, chemical treatments, and purifiers have different capabilities, so follow the treatment manufacturer’s directions and current public-health guidance.
Safety and First Aid: What to Include in Your Pack
A first-aid kit should match the length and remoteness of your trip, the number of hikers, and any personal medical needs. The quantities below are a practical starter example for a small personal kit, not a universal prescription.
| Item | Starter Quantity |
| Adhesive bandages | 10 |
| Gauze pads | 4 |
| Adhesive tape | 1 roll |
| Antiseptic wipes | 6 |
| Tweezers | 1 |
| Scissors | 1 pair |
| Instant cold pack | 1 |
| Emergency blanket | 1 |
You may also want blister treatment, disposable gloves, any personal medications, and pain medicine that you normally use and can safely take according to its label or your clinician’s instructions. Check expiration dates before longer trips.
The Hiking Ten Essentials
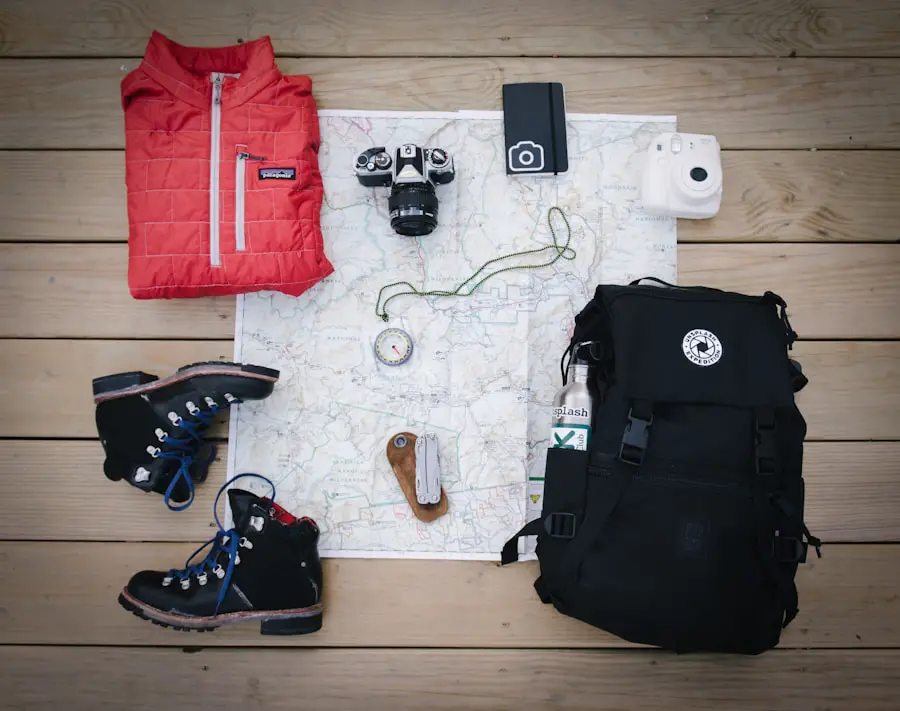
The National Park Service recommends ten essential systems that can help with unexpected delays, changing weather, minor injuries, or emergencies:
- Navigation: Map, compass, GPS device or offline map.
- Sun protection: Sunglasses, sunscreen, hat, and protective clothing as needed.
- Extra clothing: Insulating and weather-protective layers.
- Illumination: Headlamp or flashlight plus spare power.
- First aid: A kit adapted to your group and trip.
- Fire: A lighter, matches, or fire starter where legal and appropriate.
- Repair kit and tools: Items such as tape, cord, a knife, or a multi-tool.
- Extra food: More than your minimum planned meals.
- Hydration: Water plus a treatment method when natural water may be used.
- Emergency shelter: A tent, tarp, bivy, or emergency blanket appropriate for the trip.
A whistle is another lightweight signaling tool. A headlamp keeps both hands free, while a compact multi-tool may help with gear repairs and food preparation. Check any local restrictions before carrying or using cutting tools or starting a fire.
Navigation and Communication: Tools for a Successful Hike
Carry a map that covers the full route and know how to use it with a compass. A topographic map can show trails, terrain, elevation changes, water features, and landmarks that help you stay oriented.
Smartphones and GPS devices are useful, but do not confuse cellular service with GPS positioning. A phone can often determine its location without cellular coverage, yet a mapping app may not have the map data you need unless you downloaded it before the trip. Battery failure is another concern.
Note: Before entering an area with weak service, download the route and surrounding maps for offline use, charge your device, and carry a physical map and compass as a backup.
Remote trips may justify a satellite messenger or personal locator beacon. A 406 MHz PLB is designed specifically to transmit a distress alert through the international search-and-rescue satellite system. NOAA recommends registering 406 MHz beacons so rescuers have useful ownership and emergency information if one is activated.
Before leaving, tell a trusted person your route, trailhead, expected return time, vehicle information when useful, and what they should do if you do not check in. This simple trip plan gives rescuers a better starting point if something goes wrong.
Shelter and Sleeping Gear: Must-Haves for Overnight Trips
For overnight hiking, shelter should protect you from the weather expected on that route. A backpacking tent, tarp, or bivy can work depending on the season, terrain, insects, precipitation, and your experience.
Choose a sleeping bag or quilt with a temperature rating appropriate for the conditions you may actually encounter, not simply the daytime forecast. Down insulation offers an excellent warmth-to-weight ratio, but it must be protected from moisture. Synthetic insulation is generally less sensitive to damp conditions, though it is often bulkier for comparable warmth.
A sleeping pad adds comfort and, more importantly in cold conditions, insulation between you and the ground. Keep the sleeping bag and spare dry clothing protected inside a waterproof dry bag or waterproof pack liner. A normal compression sack saves space but should not automatically be assumed waterproof.
Additional Gear to Consider for Your Hiking Pack
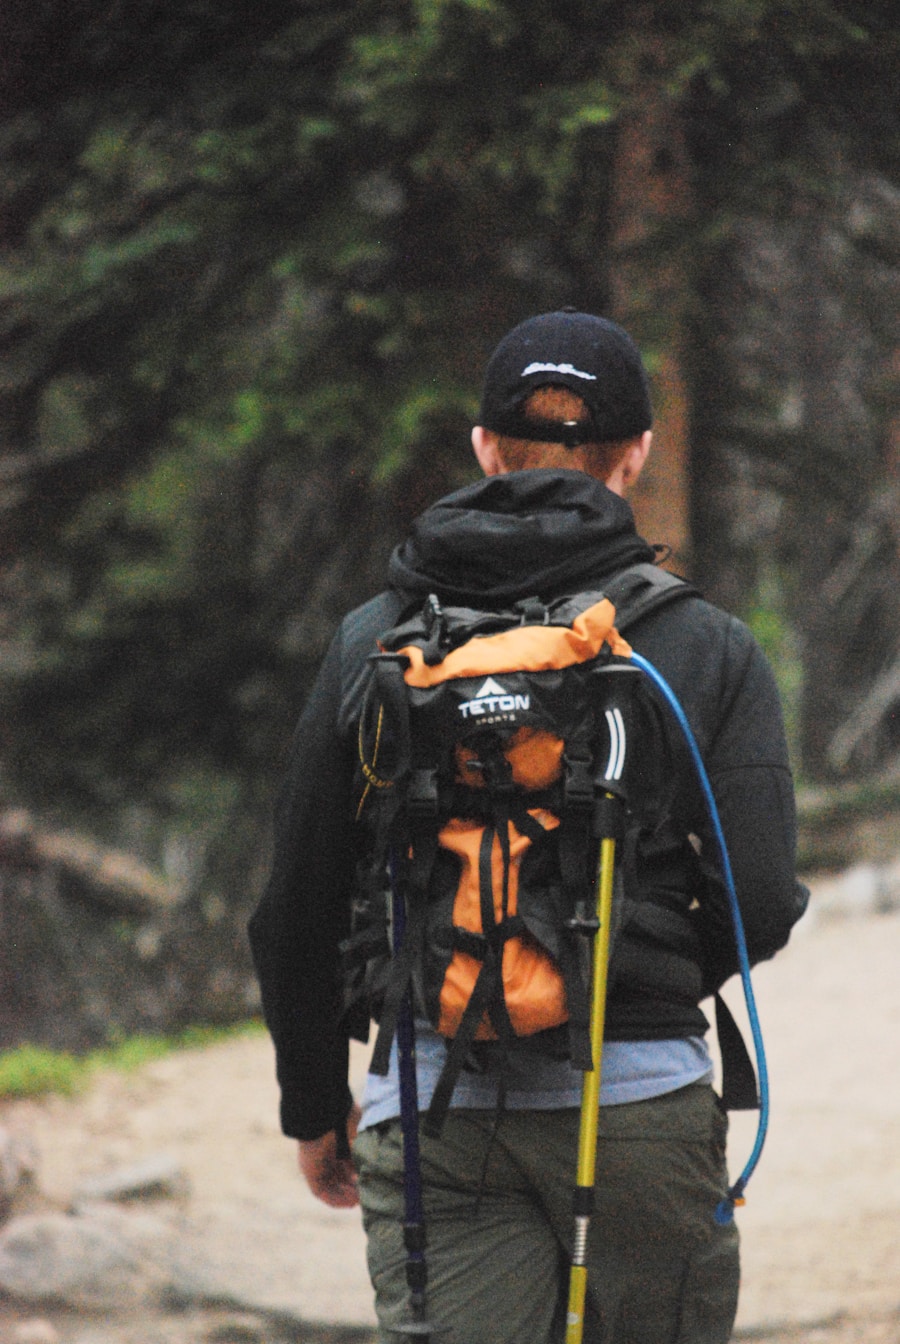
Trekking poles can improve stability on loose, steep, or uneven terrain and may make long descents feel easier on tired legs. They are also useful for testing footing at stream edges or on muddy ground.
For overnight trips, a lightweight stove and suitable fuel make it easier to prepare hot food and boil water. Follow all local fire restrictions, fuel rules, and campsite regulations. In dry conditions, open flames may be prohibited even when carrying a stove or fire-starting supplies is otherwise normal.
A lightweight sitting pad or compact chair can make longer camp breaks more comfortable. Binoculars are optional rather than essential, but wildlife watchers may appreciate a compact pair that does not add much bulk. The existing guide to compact binoculars for hiking covers several portable options.
Other trip-specific items may include insect repellent, a bear-resistant food container where required, traction devices for snow or ice, gaiters, a repair patch for inflatable sleeping pads, or extra batteries.
Packing Techniques: How to Maximize Space and Comfort
Lay out all of your equipment before loading the backpack. This makes it easier to spot missing essentials, remove duplicate items, and decide what must stay accessible during the hike.
1. Pack Bulky, Lightweight Gear at the Bottom
Sleeping gear and other soft items that you usually will not need until camp can go low in the pack. A sleeping bag, camp clothes, or other compressible gear creates a stable base without putting dense weight too low.
2. Put Dense, Heavy Gear in the Core
Place dense items such as food, a cook kit, or a bear canister in the middle of the pack and close to your back. Keeping the core load centered near your spine helps create a more stable center of gravity. Balance left and right sides so the pack does not pull you sideways.
3. Keep Trail Essentials Near the Top
Rain gear, a warm layer, first aid, and your water-treatment system should be reachable without unpacking everything. Weather can change quickly, so burying your rain jacket beneath your sleeping bag is rarely convenient.
4. Use Exterior Pockets for Frequently Needed Items
Keep your map, compass, snacks, sunscreen, sunglasses, water, lip balm, and other frequently used items in pockets you can reach easily. Store anything that could leak away from food and sleeping gear.
5. Secure the Load
Fill large empty spaces so the contents do not shift. Tighten the pack’s compression straps after loading, but do not crush fragile equipment. Minimize loose gear dangling from the outside because it can swing, snag branches, or affect balance.
REI’s backpack-loading guidance uses the same basic bottom, core, top, and accessory-pocket system for creating a balanced load.
Pro Tip: After packing, walk around for several minutes, climb stairs if available, and adjust the hip belt, shoulder straps, load lifters, and sternum strap. Fix pressure points at home instead of discovering them several miles from the trailhead.
Check Weather, Trail Conditions, and Your Pack Before Leaving
The contents of a hiking backpack should change with the route. Before leaving home, check the land manager’s current trail conditions, closures, permit requirements, wildlife-food rules, water availability, and weather forecast.
Thunderstorms deserve special attention on exposed routes. The National Weather Service warns that there is no safe place outdoors when thunderstorms are in the area. If you hear thunder, move toward a substantial building or hard-topped vehicle rather than continuing toward an exposed summit.
Warning: Do not let a complete gear list create false confidence. Turn around when weather, wildfire, flooding, snow, heat, injury, route conditions, or daylight make continuing unsafe.
Final Hiking Backpack Checklist
- Backpack fits your torso and hip size.
- Map, compass, offline map, and route information are packed.
- Water quantity matches the route, with treatment supplies when needed.
- Food includes a small emergency reserve.
- Rain protection and an extra insulating layer are packed.
- Sun protection is accessible.
- Headlamp works and spare power is available.
- First-aid supplies and personal medications are current.
- Emergency shelter is packed.
- Repair tools and appropriate fire-starting equipment are included.
- Overnight sleeping gear is protected from moisture.
- Required food-storage equipment is packed for wildlife areas.
- Phone, satellite messenger, or PLB is charged or ready to use.
- A trusted person has your route and expected return time.
Frequently Asked Questions
What should I consider when packing my hiking pack?
Consider trip length, weather, terrain, water availability, remoteness, emergency needs, and the fit of the loaded backpack. Pack the safety essentials first, then add trip-specific equipment. Keep frequently used gear accessible and balance heavy items close to your back.
What are the essential items to pack in my hiking backpack?
Start with the Ten Essentials: navigation, sun protection, extra clothing, illumination, first aid, fire, repair tools, extra food, hydration and water treatment, and emergency shelter. Then add items required for the specific trail, weather, wildlife, and overnight plans.
How should I distribute the weight in my hiking pack?
Put bulky lightweight items near the bottom, dense heavy items in the middle close to your spine, and trail essentials near the top. Balance the weight from side to side and tighten compression straps so the load does not shift while you walk.
What are some tips for organizing my hiking pack?
Use dry bags, stuff sacks, or packing cubes to group related gear. Keep rain protection, first aid, water treatment, snacks, navigation, and sun protection where you can reach them quickly. Protect sleeping gear and spare clothing from moisture with a waterproof liner or dry bag.
How should I adjust my hiking pack for a comfortable fit?
Start with the hip belt positioned securely around the top of your hip bones, then adjust the shoulder straps, load lifters, and sternum strap. The pack should stay close to your body without painful pressure points or excessive movement. Test it with realistic weight before the trip.
How much water should I carry while hiking?
A practical starting point is about 1 liter for every two hours of hiking, but heat, altitude, humidity, exertion, body size, and water availability can raise your needs. Research the specific route and carry treatment equipment if you plan to use natural water sources.
Do I need a satellite communicator or personal locator beacon?
Not every hike requires one, but remote routes with little or no cellular coverage may justify satellite communication or a registered 406 MHz personal locator beacon. These devices do not replace trip planning, navigation skills, or telling someone when you expect to return.
Sources
- National Park Service — Ten Essentials — navigation, clothing, illumination, first aid, fire, food, hydration, repair gear, and emergency shelter.
- Great Smoky Mountains National Park — Hiking — current Ten Essentials overview and water-planning guidance.
- CDC — Water Treatment While Hiking, Camping, or Traveling — safe treatment of water from uncertain sources.
- NOAA SARSAT — 406 MHz Emergency Distress Beacons — personal locator beacon operation and registration.
- National Weather Service — Lightning Safety — thunderstorm and outdoor lightning precautions.
- REI Expert Advice — How to Choose a Backpack — pack capacity, fit, torso sizing, and backpack features.