
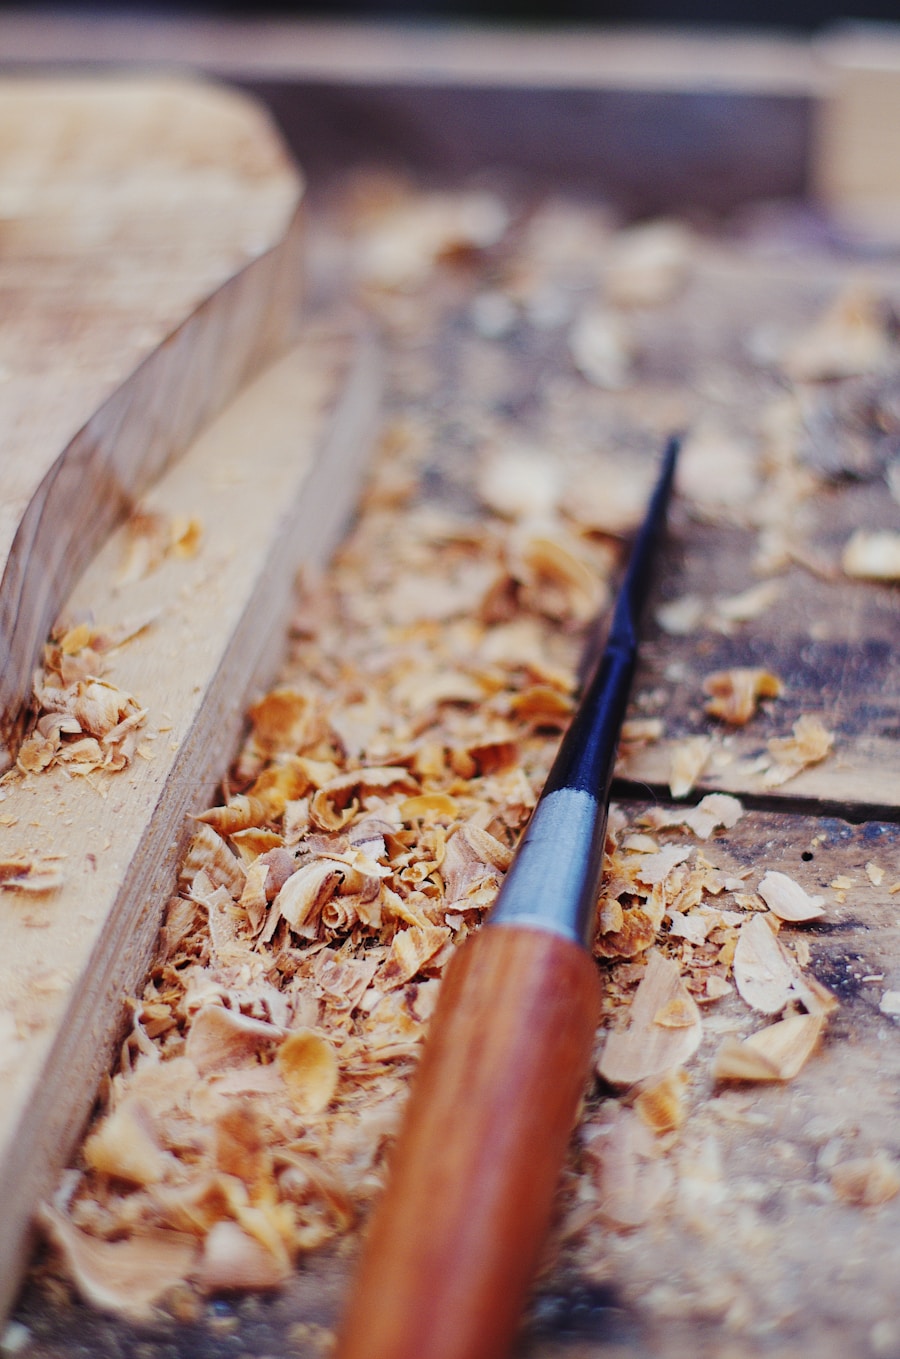
Last Updated on July 28, 2026 by Daniel Globe
A hand-carved hiking stick can be both useful trail gear and a personal woodworking project. The best results start before the first cut: choose sound wood, collect it legally, dry green wood slowly, and plan the grip and decoration before shaping. A careful build gives you a smoother, more durable stick that is easier to inspect and maintain.
Quick Answer
To carve a hiking stick, start with a straight, sound branch you can legally collect. Dry green wood slowly, seal the cut ends to limit checking, remove the bark, shape the grip and decoration with controlled cuts, sand progressively, apply a durable finish, and fit a rubber tip for traction.
Carving your own stick also gives you room to add symbols, trail memories, wood-burned details, or a grip shaped for your hand. The key is to treat the stick as functional gear first and decoration second: cracks, rot, weak knots, or poor grain can matter more than appearance.
At a Glance
| Time Required | Green wood may need weeks to months to air-dry, depending on species, diameter, weather, and storage; active carving and finishing usually takes several hours over multiple sessions |
| Difficulty | Beginner for a simple stick; intermediate for relief, chip carving, or power-carved details |
| Tools Needed | Handsaw or pruning saw, sharp carving knife, pencil, sandpaper, stable work support, wood finish, rubber tip, eye protection, and suitable hand protection |
| Cost | Low if you already own basic hand tools; otherwise the total varies with the knife, safety gear, finish, and decorative hardware you choose |
Key Takeaways
- A hiking stick can improve stability on rough ground, but it is optional trail gear rather than a substitute for safe hiking practices or a medically rated mobility aid.
- Choose straight, sound wood with minimal knots, cracks, decay, insect damage, or sharply changing grain.
- Drying time is not a fixed six- or twelve-month rule; species, thickness, airflow, humidity, and temperature all affect it.
- Carve away from your body with sharp, controlled tools and secure the work whenever possible.
- Finish the stick for outdoor exposure, inspect it before hikes, and replace it if a structural crack or soft rot develops.
Disclosure: As an Amazon Associate I earn from qualifying purchases. Some links on this page are affiliate links, at no extra cost to you.
Selecting the Right Wood for Your Hiking Stick
Durable Hardwoods
Oak, maple, and hickory are common choices because many species in these groups offer a useful combination of strength, hardness, and wear resistance. Hickory is especially well known for toughness and shock resistance, while oak and hard maple can make strong, durable staffs. Wood properties vary by species and even from piece to piece, so species name alone does not guarantee a safe stick. The USDA Forest Products Laboratory Wood Handbook notes that knots, slope of grain, moisture, and other growth features can change mechanical performance.
Lightweight and Easier-to-Carve Options
Some carvers prefer cedar, pine, or other softer woods because they are easier to shape and can produce a lighter staff. The tradeoff is lower dent and wear resistance than many dense hardwoods. Some cedar species also have useful natural decay resistance, but no unfinished wood should be treated as waterproof. If strength and long service life are your main priorities, choose a sound, straight-grained piece before choosing by weight or appearance.
Choose the Right Length and Diameter
For a traditional single hiking staff, shoulder height is a practical starting point, but comfort matters more than a universal measurement. Start long, stand on level ground with your hiking footwear on, and test where your hand naturally falls. Trim only after you have tested the grip. A branch around 1 inch in diameter can work for many adults, but there is no universal safe diameter because wood species, defects, grain direction, and the user’s load all matter.
Note: A handmade hiking stick is not a certified cane, crutch, or fall-arrest device. If you need a mobility aid for medical weight-bearing or balance support, use equipment designed and rated for that purpose.
Source Wood Legally and Responsibly
Do not assume that a fallen branch is free to take. On National Park Service land, removing natural items is generally prohibited unless a specific rule or superintendent’s compendium allows it. The NPS recommends checking local regulations and leaving natural items where you find them when collection is not expressly allowed. The safest sources are your own property, wood from a landowner who has given permission, approved pruning waste, or purchased blanks.
If you cut a branch from a living tree on property where you have permission, make a clean pruning cut and avoid taking more material than you need. Late-autumn or winter harvesting is sometimes convenient because many deciduous trees are dormant, but there is no universal rule that winter-cut wood will dry without defects.
Note: Look for a branch slightly longer than your final target, reasonably straight, and free of rot, deep cracks, major knots, insect galleries, or badly twisted grain. Extra length gives you room to trim away end checks after drying.
How to Dry a Branch Before Carving
Freshly cut wood contains a large amount of water. As it dries, it shrinks and can check, split, or warp. The USDA Forest Products Laboratory guidance on wood drying explains that wood moves toward equilibrium with the surrounding temperature and humidity, so drying time depends on the piece and its environment rather than a single calendar rule.
- Trim obvious side branches. Leave the main staff a little long so damaged ends can be cut back later.
- Seal the cut ends. A wax-style end-grain sealer can slow rapid moisture loss at the ends. USDA Forest Products Laboratory research has found end coatings can reduce end-checking during air drying.
- Store it off the ground. Put the stick in a dry, shaded, ventilated place where air can move around it. Keep it away from direct sun, heaters, and standing water.
- Support it straight. Lay it on evenly spaced supports or store it so it is not forced into a bend while drying.
- Wait for stability, not a date. A moisture meter is the best practical way to track drying. Without one, allow generous time and watch for continuing weight change, new checking, or movement before final carving and finishing.
Thin branches often dry faster than boards or thick blanks, but dense species and humid conditions can slow the process. A fixed “six to twelve months” promise is therefore too precise for every hiking stick.
Tools and Materials Needed for Carving
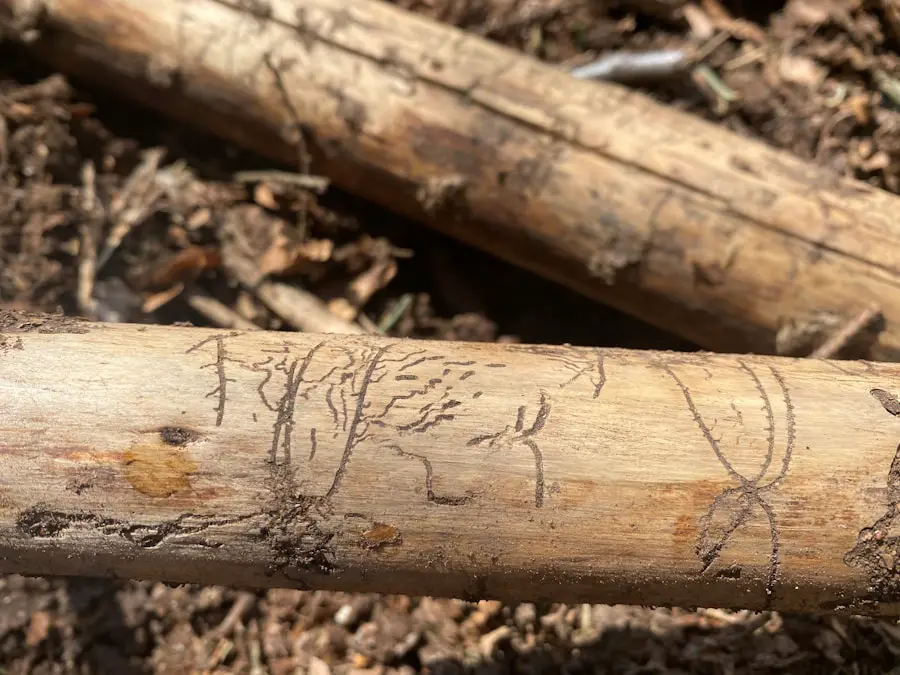
Before starting, gather the tools you actually need for the design. A simple hiking stick can be made with a handsaw, a sharp carving or whittling knife, a pencil, sandpaper, and a finish. Gouges or chisels are optional for deeper patterns, and a rotary carving tool is useful only if you already know how to control it safely.
Use a sturdy bench, clamp, vise, or other stable support so the stick cannot roll while you work. Eye protection is especially important when using chisels, rotary tools, or powered sanders. Suitable cut-resistant hand protection can help protect the hand holding the work, but it should not reduce your grip or control.
If you power-sand or power-carve, control airborne wood dust with effective collection or ventilation and use respiratory protection appropriate to the tool and exposure. The NIOSH Pocket Guide entry for wood dust lists inhalation and eye/skin contact as exposure routes and notes respiratory and irritation hazards.
Pro Tip: Buy the rubber tip after you have finished shaping and sanding the base. Measure the finished diameter first so the cane or crutch tip fits tightly instead of relying on the branch’s original size.
How to Carve a Hiking Stick Step by Step
1. Inspect and Mark the Stick
Check the dried branch from end to end. Reject wood that feels soft, punky, hollow, badly split, or structurally questionable. Mark the top, the grip area, the final length, and any decorative zones with pencil. Keep important carvings away from deep knots or cracks.
2. Remove Bark and Rough Projections
For a fully carved stick, remove the bark with shallow cuts so you can inspect the wood beneath it. Work around knots instead of trying to slice through them in one pass. Bark can be left as a decorative feature on some sticks, but exposed wood is easier to inspect, sand, and finish consistently.
3. Shape the Grip
Round sharp ridges and shape the handle until it feels comfortable in your normal hiking grip. Remove small amounts at a time. Do not carve a deep waist into the grip or shaft just for appearance; aggressive thinning can create a weak point.
4. Add Decorative Carving
Sketch symbols, animal motifs, trail dates, geometric patterns, or lettering in pencil before cutting. Use controlled cuts and build depth gradually. Stop frequently and turn the stick so you can see how the design follows the grain.
5. Trim to Final Length
After the grip feels right, stand on level ground with your hiking footwear on and test the stick. Trim the bottom in small increments. Leaving it too long at first is much easier to correct than cutting it short.
6. Sand Through Progressively Finer Grits
Start with a coarse or medium grit only where knife marks or rough areas need leveling, then move to finer grits. Sand the grip carefully so there are no splinters or sharp carving edges where your hand rests. Remove all sanding dust before applying finish.
7. Apply the Finish
Choose a finish according to the look and level of weather protection you want. Penetrating oils such as tung or linseed oil can deepen the grain, while varnish or polyurethane forms a more film-like protective surface. The USDA Forest Products Laboratory’s finishing guidance emphasizes that outdoor finishes should be chosen for protection from water, sunlight, and weathering as well as appearance.
Warning: Rags used with linseed oil and other oil-based finishes can self-heat and ignite if they are balled up or thrown into ordinary trash. Follow the finish label and local disposal rules. Keep used rags spread flat outdoors away from buildings until fully dry, or use the safe storage/disposal method required by the product and your local fire authority.
8. Add the Rubber Tip and Optional Wrist Strap
Fit a rubber cane or crutch tip snugly over the base to improve traction and protect the wood from direct ground contact. A wrist strap is optional. If you add one, install it securely and practice using it in easy terrain before relying on it on steeper ground.
Beginner Carving Techniques
| Technique | Description | Difficulty |
|---|---|---|
| Whittling | Using controlled knife cuts to shape the grip, smooth transitions, and create simple details. | Easy |
| Chip Carving | Removing small chips to form repeated geometric or decorative patterns. | Intermediate |
| Relief Carving | Cutting away the background so a figure or pattern appears raised from the surface. | Intermediate |
| Power Carving | Using rotary tools or powered cutters for fast stock removal or detailed shaping, with added eye, dust, and tool-control precautions. | Advanced |
For beginners, the safest path is to master shallow, controlled knife cuts before trying deep relief work or power carving. Sketch first, remove small amounts of wood, and take breaks before your hand gets tired. Fatigue makes it harder to control the blade and easier to cut past a line.
Adding Personal Touches to Your Hiking Stick
One of the most enjoyable parts of crafting a hiking stick is adding details that reflect your identity and experiences. A favorite animal, a meaningful quote, contour-like lines, trail dates, or geographical motifs can be carved, painted, or wood-burned into the surface.
Keep decoration clear of structural defects and avoid cutting so deeply that you reduce the shaft to a thin neck. Practical additions can include a rubber tip, a comfortable grip, or a small wrist strap. Tokens or charms can mark memorable hikes, but secure them so they do not swing into your hand, snag brush, or create a sharp edge.
Sanding and Finishing Your Hiking Stick
Once carving is complete, sanding removes tool marks and prepares the surface for finish. Work from rougher paper only where needed to progressively finer grits, and pay special attention to the grip, the top, and the transition around knots. Sand with the grain where practical and stop if you expose a crack that appears deeper than a surface check.
Natural drying oils such as linseed or tung oil can enhance grain, while varnish or polyurethane can create a tougher surface film. No finish makes wood maintenance-free. Apply the product exactly as directed, allow the full curing time on the label, and do not take the stick into wet conditions before the finish is ready.
Note: Test the finish on an offcut or inconspicuous area first. Oils and varnishes can darken the wood or change the contrast of carved details.
Using and Maintaining Your Carved Hiking Stick
On uneven terrain, place the stick where it gives you a stable third point of contact before shifting your weight. On steep descents, avoid reaching so far forward that the stick pulls you off balance. Trekking-pole research suggests poles can improve stability and reduce some lower-extremity loading in certain conditions, but benefits vary with terrain, technique, load, and the person using them.
A wooden staff can also help probe shallow mud or check uncertain footing, but it should never be used to judge whether fast-moving or deep water is safe to cross. Trail and water conditions can change quickly, and a stick is not a substitute for route judgment.
Inspect the staff before and after demanding hikes. Look for new cracks, splinters, loosened decorations, soft spots, worn finish, and a loose or split rubber tip. Sand minor surface roughness and touch up the finish when needed. Replace the stick if a crack crosses a large part of the shaft, the wood becomes soft from decay, or the grain has separated around a heavily loaded area.
Troubleshooting Common Problems
- Small end checks after drying: Trim past the damaged area if enough extra length remains, then re-sand and finish.
- Stick warped while drying: A slight curve may still be comfortable, but do not force a badly warped or cracked stick straight and then depend on it for support.
- Grip develops splinters: Sand the affected area smooth, inspect for a deeper crack, and reapply finish.
- Rubber tip keeps slipping off: Re-measure the finished base and replace the tip with the correct inside diameter rather than gluing on a loose fit.
- Finish turns rough or cloudy: Let the stick dry fully, follow the finish manufacturer’s recoat instructions, and avoid trapping moisture under a new coat.
Store the stick in a cool, dry location with airflow. Avoid leaving it for long periods in direct sun, a wet vehicle, or against a damp wall, where repeated moisture and temperature changes can encourage movement or finish failure.
Safety Tips for Carving a Hiking Stick
Warning: Carving knives and chisels can cause serious cuts. Keep the work stable, keep your free hand out of the blade path, and cut away from your body. OSHA knife-safety guidance also recommends keeping cutting tools sharp and in good condition because dull edges are more likely to slip.
Keep the workspace bright, uncluttered, and stable. Do not carve with the stick balanced on your leg or while walking around. Make small cuts instead of forcing the blade. Store knives with the edge covered or in a designated holder when you stop working.
Wear eye protection when chips can fly, and use appropriate hand protection for the task. If you use rotary tools, sanders, or other power equipment, follow the manufacturer’s guarding, speed, hearing-protection, and dust-control instructions. Never wear loose gloves, jewelry, or clothing around rotating tools where they could catch.
If you’re carving a hiking stick for your next outdoor adventure, you may also be interested in this guide to packing a hiking backpack for longer trips. Having the right hiking gear still matters even when you carry a sturdy staff. For a broader packing list, see this essential hiking gear guide.
Frequently Asked Questions
What is a hiking stick?
A hiking stick is a single staff used for extra contact with the ground while walking on trails or uneven terrain. It is related to, but not identical to, a pair of purpose-built adjustable trekking poles.
Why should I carve my own hiking stick?
Carving your own lets you shape the grip, length, finish, and decoration to your preferences while making a functional woodworking project. The tradeoff is that a handmade stick has no standardized load rating, so inspect it carefully before use.
What materials do I need to carve a hiking stick?
For a basic project, use a sound branch or wood blank, a saw, a sharp carving knife, pencil, sandpaper, stable work support, a suitable wood finish, and a rubber tip. Add chisels, gouges, or rotary tools only when the design requires them and you can use them safely.
How do I choose a suitable stick for carving?
Choose a reasonably straight piece that is slightly longer than your intended finished length and free of rot, deep cracks, insect damage, major knots, or badly twisted grain. Around 1 inch in diameter is a common starting point, but there is no universal safe diameter for every wood species or user.
How long should a hiking-stick branch dry before carving?
There is no single drying time. Species, diameter, airflow, humidity, temperature, and whether the ends are sealed all affect the rate. Green wood may need weeks to months. A moisture meter gives a better indication of stability than relying on a fixed six- or twelve-month rule.
Can I collect a branch from a park or public trail?
Do not assume you can. Rules differ by land manager, and National Park Service rules generally prohibit removing natural items unless a specific exception allows it. Check the exact area’s rules or ask the managing agency before collecting wood.
What are some popular designs for carving hiking sticks?
Popular designs include animal shapes, leaves, trail symbols, geometric chip-carved patterns, dates, lettering, and textured hand grips. Keep deep decorative cuts away from weak knots or narrow sections of the shaft.
Are there any safety precautions I should take while carving a hiking stick?
Yes. Secure the work, use sharp tools in good condition, cut away from your body, keep your free hand out of the blade path, and wear eye protection when chips or dust can fly. Use dust control and follow the tool manufacturer’s instructions when power carving or sanding.
How do I finish and maintain a carved hiking stick?
Sand the stick smooth, remove dust, and apply an oil, varnish, polyurethane, or other finish suitable for the exposure you expect. Let it cure fully, fit a rubber tip, and inspect the stick regularly for cracks, splinters, rot, a loose tip, and worn finish.
Sources
- USDA Forest Service, Forest Products Laboratory: Wood Handbook — wood properties, moisture behavior, drying, and finishing principles
- National Park Service: Leave What You Find — rules and guidance on removing natural items from National Park Service lands
- OSHA: Knife and Sharp-Utensil Safety — keeping knives sharp, cutting away from the body, and safe storage practices
- NIOSH Pocket Guide: Wood Dust — wood-dust exposure routes and respiratory, eye, and skin hazards
- City of Piedmont Fire Department: Oily Rag Safe Disposal — 2026 fire-safety guidance for linseed oil, varnish, polyurethane, and other oil-based finish rags
- PubMed: Review of Trekking Pole Effects During Hiking — evidence on stability, lower-extremity loading, and tradeoffs of pole use

