
Last Updated on September 10, 2026 by Daniel Globe
Walking sticks, also called trekking poles or hiking poles, can make hiking feel more controlled on steep, loose, muddy, or uneven ground. The biggest gains come from choosing poles that fit you, setting them to the right length, and using a relaxed, natural technique. Used correctly, they can add stability and shift some work from your legs to your upper body without replacing good foot placement or trail judgment.
Quick Answer
For normal hiking, adjust trekking poles so your elbows bend about 90 degrees when the tips rest beside your feet. Use the opposite pole with the opposite foot, keep your grip relaxed, shorten poles about 5–10 cm for long climbs, and lengthen them about 5–10 cm for long descents.
Key Takeaways
- Start with an approximately 90-degree bend at the elbow when the pole tip is beside your foot.
- Shorten trekking poles for sustained uphill sections and lengthen them for sustained downhill sections.
- Walk naturally with the right pole moving with the left foot and the left pole moving with the right foot.
- Use the wrist straps correctly so you do not have to squeeze the grips throughout the hike.
- Inspect locks, shafts, tips, and straps before each hike and dry wet poles thoroughly afterward.
- Walking sticks can improve stability, but they do not make unsafe terrain, dangerous water crossings, or poor footing safe.
At a Glance
| Time Required | About 5–10 minutes to fit and practice before hiking |
| Difficulty | Easy to learn; technique improves with practice |
| Tools Needed | One hiking staff or, preferably for varied terrain, a pair of properly sized trekking poles |
| Cost | No additional cost if you already own suitable poles; new-pole prices vary by material and features |
Disclosure: As an Amazon Associate I earn from qualifying purchases. Some links on this page are affiliate links, at no extra cost to you.
Choosing the Right Walking Sticks for Hiking
A pair of trekking poles is usually the most versatile option for hiking because the poles can support both sides of your body. A single hiking staff can still be useful for light loads, flatter trails, probing uncertain footing, or hikers who prefer to keep one hand free.
Material affects weight, durability, feel, and price. Aluminum shafts are generally durable and tend to bend before they fail. Carbon-composite poles can be lighter and may transmit less vibration, but they can be more vulnerable to sudden breakage if badly damaged or heavily side-loaded. Dedicated shock-absorbing poles use a mechanical damping or spring system; carbon construction by itself should not be treated as the same thing as a shock absorber.
REI’s trekking-pole selection guidance also recommends considering adjustability, foldability, locking mechanisms, pole weight, grip material, and the type of hiking you plan to do.
Grip comfort matters on long outings. Cork can manage moisture well and gradually conform to the hand, while foam is soft and works well for extended grip sections. The best choice is the one that lets you keep your hands relaxed without creating hot spots.
Set the Correct Pole Length
For normal level or rolling terrain, stand upright with the pole tip on the ground beside your foot. Adjust the shaft until your elbow forms approximately a 90-degree angle while you hold the grip comfortably. This is a better baseline than relying only on whether the handle reaches your wrist because grip shape and body proportions vary.
Fixed-length poles should be selected using the manufacturer’s sizing chart. Adjustable poles offer more flexibility because you can change their length for sustained climbs, descents, and side-hill travel.
Use the Wrist Straps Correctly
With a conventional trekking-pole strap, bring your hand up through the bottom of the loop and then lower it onto the grip. Adjust the strap so the heel of your hand can rest against it without cutting into your wrist. This lets the strap carry part of the load and reduces the need to squeeze the handle continuously.
Pro Tip: Keep your fingers relaxed around the grip. A death grip wastes energy and can leave your hands and forearms sore long before your legs are tired.
Proper Technique for Using Walking Sticks
Coordinated Movement
On ordinary trail, use an alternating rhythm: move the left pole with the right foot and the right pole with the left foot. Let your arms swing naturally instead of consciously stabbing the pole into the ground. The pole generally contacts the ground near the opposite foot and angles slightly backward as you move past it.
If you lose the rhythm, lift the poles for a few steps and continue walking normally. Then begin planting them again when the opposite-arm, opposite-leg pattern feels natural.
Proper Posture
Stay tall through your torso and keep your shoulders relaxed. Your elbows should remain softly bent rather than locked, and your wrists should stay close to neutral. Avoid reaching so far ahead that your shoulders rise or your upper body folds over the poles.
Walking sticks work best as an extension of your natural gait. They should help you balance and transfer force rather than become something you hang your body weight from with every step.
Techniques for Uphill and Downhill Walking
For a sustained climb, shorten both poles by about 5–10 cm (2–4 inches) from your normal setting. Plant them securely and press down and back as you step upward. On very steep steps, you can plant both poles together for extra stability before taking one or two steps.
For a sustained descent, lengthen the poles by about 5–10 cm. Plant them in front of you before committing to a large downward step so they can add support and help you stay more upright. Do not reach so far downhill that the poles pull your shoulders forward or tempt you to lean heavily on an uncertain pole placement.
REI’s current technique guidance recommends the same basic approach: shorten poles on long climbs, lengthen them on long descents, and use asymmetrical lengths where needed on traverses.
Adjusting Walking Sticks for Different Terrains
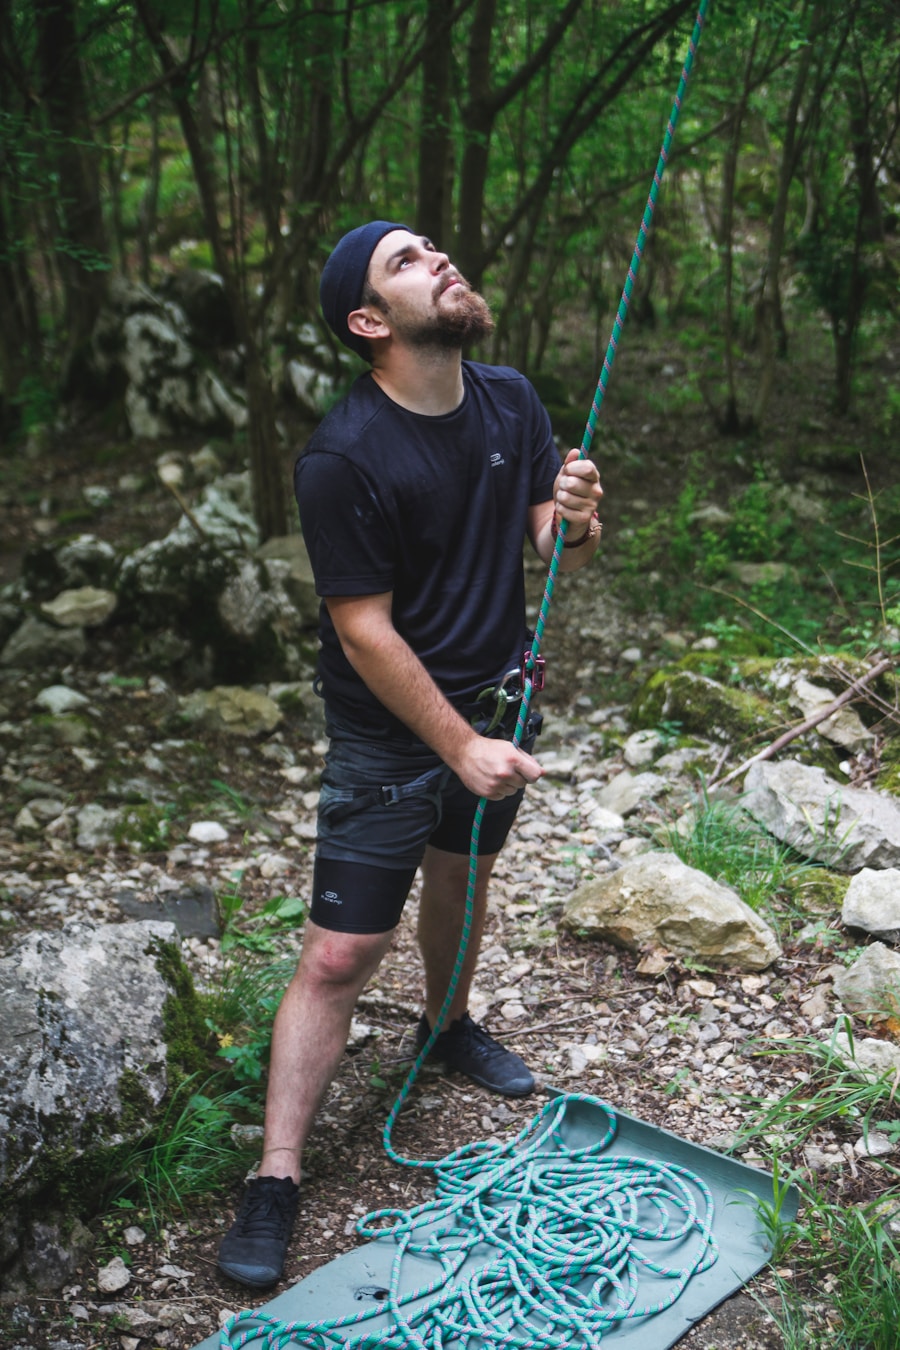
The slope of the trail matters more than whether the ground is simply rocky or smooth. Use your normal 90-degree-elbow setting for most flat and rolling terrain, then make small changes when a long climb or descent makes your normal setting uncomfortable.
| Terrain | Recommended Adjustment |
| Flat or rolling trail | Use your normal setting with about a 90-degree elbow bend. |
| Long uphill | Shorten both poles about 5–10 cm. |
| Long downhill | Lengthen both poles about 5–10 cm. |
| Side-hill traverse | Shorten the uphill-side pole and lengthen the downhill-side pole as needed. |
| Large steps or obstacles | Use secure individual placements or double-plant both poles when extra stability is useful. |
Tip selection also affects traction. Carbide or steel tips are common for natural trails, rock, compact dirt, and icy surfaces. Rubber walking tips are useful on pavement and other hard surfaces and can reduce noise and surface damage. Small trekking baskets help keep the pole from sinking deeply into soft ground; larger baskets are useful for snow and some muddy conditions.
Note: Never extend a telescoping section beyond its manufacturer’s marked maximum. A pole that is too far out of its safe adjustment range can be substantially weaker.
Benefits of Using Walking Sticks While Hiking
| Benefit | How Walking Sticks Can Help |
| 1. Improved Stability | Add extra contact points on loose, uneven, or steep ground. |
| 2. Reduced Impact on Joints | Can shift part of the load to the arms, especially during descents. |
| 3. Increased Endurance | May distribute muscular work more broadly, although the physiological effect varies by terrain and technique. |
| 4. Enhanced Balance | Provide additional contact points while negotiating awkward footing. |
| 5. Better Posture | Correctly adjusted poles can encourage a more upright position during descents. |
| 6. Aid in Uphill and Downhill Climbing | Allow the upper body to contribute while climbing and provide another support point while descending. |
| 7. Additional Support on Uneven Terrain | Help test footing and stabilize movement across rocks, roots, mud, and shallow water where crossing is otherwise safe. |
The best-supported biomechanical benefit is reduced loading on the lower limbs in certain situations. In a small laboratory study of eight men walking down a 25-degree slope, researchers reported roughly 12–25% reductions in several measures that included ground reaction force, knee moment, and tibiofemoral compressive and shear forces when hiking poles were used.
A small downhill laboratory study found approximately 12–25% reductions in several knee-loading measures with hiking poles—but that result should not be interpreted as a universal 25% reduction for every hiker or trail.
You can review the original research through PubMed’s record for the downhill knee-load study.
Poles also recruit the arms and shoulders. That does not mean they always make hiking easier in a metabolic sense. Studies have found that energy expenditure and perceived effort can change differently depending on slope, load, pace, and pole technique. One field study found greater physiological responses during pole-assisted hiking without a matching increase in perceived exertion.
Common Mistakes to Avoid When Using Walking Sticks
Most problems come from pole setup or from trying to force a technique instead of walking naturally.
- Using the wrong length: Poles that are much too long can lift your shoulders, while poles that are too short can encourage excessive bending.
- Reversing slope adjustments: Shorten poles for sustained climbs and lengthen them for sustained descents.
- Gripping too tightly: Let a properly adjusted strap and relaxed hand share the load.
- Planting poles too far ahead: Overreaching reduces leverage and can pull your upper body out of balance.
- Forcing perfect alternation: Opposite-arm/opposite-leg rhythm is useful, but double planting is appropriate on some steep steps and obstacles.
- Ignoring the locks: A slipping telescoping section can collapse when you load it.
- Depending on the poles instead of your feet: Always choose secure foot placements first. Pole tips can skid, sink, or become trapped between rocks.
Warning: A trekking pole is not a guaranteed weight-bearing anchor. Test each placement before leaning heavily on it, particularly on loose rock, mud, snow, wet roots, or unstable streambeds.
Maintaining and Caring for Walking Sticks
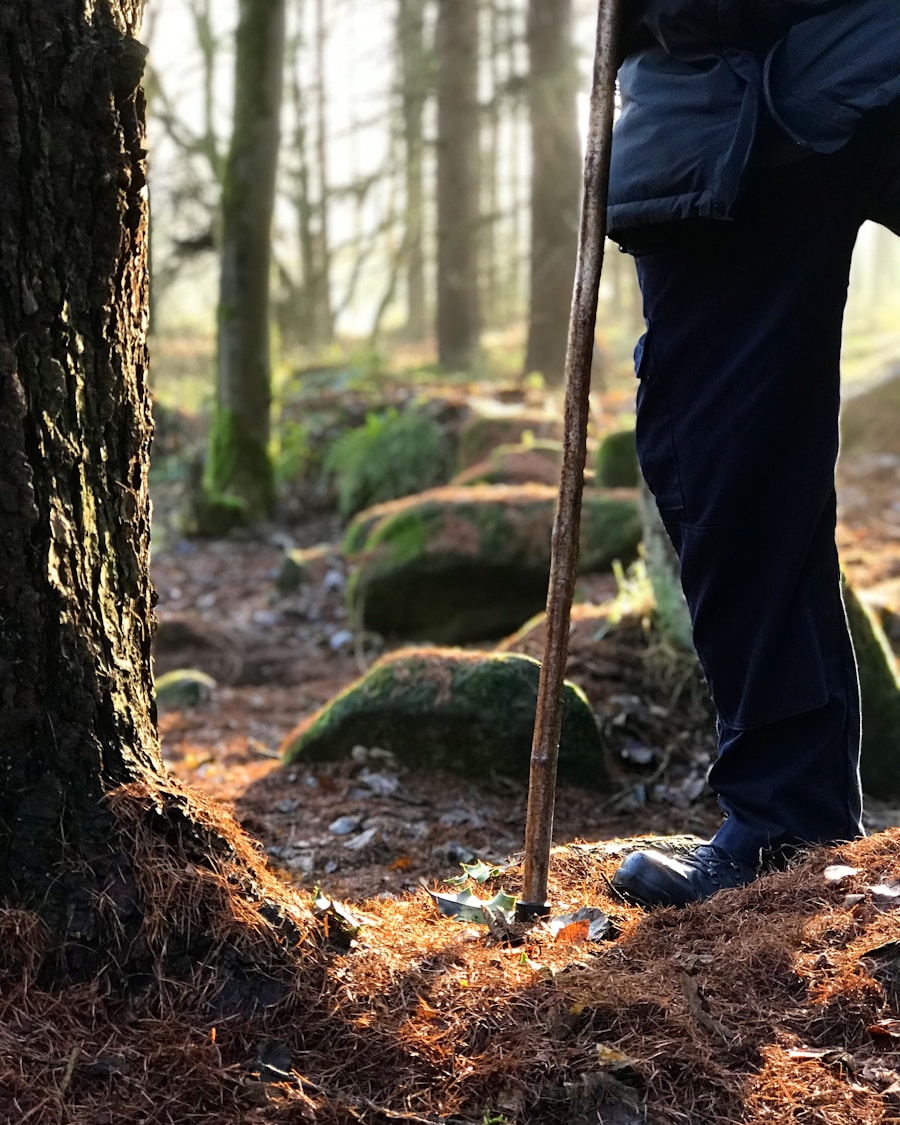
Inspect your walking sticks before each outing. Look for cracks, deep dents, frayed straps, loose grips, badly worn tips, bent shafts, and locking mechanisms that slip under pressure. Do not keep using a pole that is cracked or cannot remain securely locked.
After a dry hike, wipe dirt from the shafts and locking areas. After rain, stream splashes, or a muddy trip, follow your manufacturer’s instructions for opening the poles and letting the sections dry thoroughly before storage.
LEKI’s pole-care guidance recommends separating wet telescoping sections so they can dry and warns against applying oils, fats, or lubricants to its telescoping poles. Other brands can use different mechanisms, so the product manual should take priority.
Replace worn tips, baskets, straps, or other serviceable parts when necessary. For a traditional wooden walking stick, keep the wood clean and dry and use an appropriate wood finish or conditioner if the maker recommends one.
Incorporating Walking Sticks into Your Hiking Routine
Beginners should practice on a short, familiar trail before depending on poles on steep terrain. Start with the neutral length, walk normally, and concentrate on a light grip and opposite-arm/opposite-leg rhythm.
Next, practice shortening the poles for a climb and lengthening them for a descent. Make the adjustment only when the slope is long enough to justify stopping; constantly changing pole length for every small rise can become more distracting than helpful.
With practice, pole use becomes automatic. Many hikers also find that the repeated arm-and-leg rhythm helps them settle into a steady pace. On sections where poles add little value, collapse them or attach them securely to your pack rather than carrying them loosely.
Safety Tips for Using Walking Sticks on the Trail
Walking sticks add support, but they do not replace basic hiking safety. Check the weather and trail conditions, carry the appropriate essentials, stay within your ability, and pay attention to loose rock, roots, drop-offs, other hikers, and changing conditions.
On narrow or highly technical sections, decide whether two poles, one pole, or temporarily stowing the poles gives you the best control. Avoid swinging pole tips near other hikers, and take extra care when a tip could catch between rocks or roots.
Using Walking Sticks for Stream Crossings
A trekking pole or sturdy hiking staff can be particularly useful during a stream crossing that you have already determined is safe. The U.S. National Park Service recommends using a pole to create another point of contact and maintaining two contacts with the bottom whenever possible.
However, no pole makes dangerous moving water safe. The National Park Service river-crossing guidance advises hikers to assess depth, current, downstream hazards, crossing location, and escape options before entering the water. It also recommends turning around when a crossing is too high, cold, deep, or swift.
Warning: Never attempt a hazardous water crossing simply because you have trekking poles. Conditions that overwhelm your footing can overwhelm a pole placement just as easily.
Know the Limits of Trekking Poles
If you are using poles because of an injury, significant balance problem, persistent joint pain, or a medical mobility need, seek advice from an appropriate healthcare professional or physical therapist. Recreational trekking poles are not automatically a substitute for a properly fitted cane, crutch, or other prescribed mobility aid.
If you’re planning a hiking trip and looking to improve your experience with walking sticks, you may also want to read this guide to the best time to travel to Utah. Matching your gear and technique to the season can make Utah’s varied trails more comfortable and manageable.
Frequently Asked Questions
What are the benefits of using walking sticks while hiking?
Walking sticks can improve stability, provide additional support on uneven ground, and transfer some load to the upper body. Research has also found reduced knee-loading measures during specific downhill conditions, although the amount of reduction varies with terrain, technique, and the individual.
How do you choose the right walking sticks for hiking?
Choose poles that can reach your correct neutral length and consider shaft material, grip comfort, weight, adjustability, locking mechanism, packed size, and available tips or baskets. Adjustable poles are especially useful on routes with long climbs and descents.
How should walking sticks be adjusted for hiking?
On normal terrain, set the poles so your elbows bend approximately 90 degrees with the tips beside your feet. For sustained climbs, shorten them about 5–10 cm. For sustained descents, lengthen them about 5–10 cm.
What is the proper technique for using walking sticks while hiking?
Keep a relaxed grip and walk naturally. In normal rhythm, move the left pole with the right foot and the right pole with the left foot. Plant the pole securely without reaching too far forward, and use double planting when a steep step or obstacle calls for extra stability.
How can walking sticks be maintained for optimal performance?
Check the locks, shafts, straps, grips, baskets, and tips before hiking. Remove dirt after use and dry wet poles thoroughly before storage. Follow the manufacturer’s instructions for disassembly, replacement parts, and lubrication because locking systems differ between brands.
Is one walking stick or two trekking poles better?
Two trekking poles generally provide more balanced support on steep or uneven hiking terrain. A single hiking staff can still work well on easier ground, for probing footing, or when you prefer to keep one hand free.
Sources
- REI Co-op — How to Use Trekking Poles and Hiking Staffs — pole length, slope adjustment, rhythm, straps, and obstacle technique.
- REI Co-op — How to Choose Trekking Poles and Hiking Staffs — materials, sizing, locking systems, tips, baskets, and pole types.
- PubMed — Knee Joint Forces During Downhill Walking With Hiking Poles — biomechanics behind the reported 12–25% reductions in several downhill knee-loading measures.
- PubMed — Trekking Poles Increase Physiological Responses to Hiking Without Increased Perceived Exertion — physiological effects of pole-assisted hiking.
- U.S. National Park Service — Safe River Crossings — water assessment, hiking-pole use, contact points, and retreat guidance.
- LEKI — Care and Maintenance of Poles — cleaning, drying, storage, and maintenance guidance.

