
Last Updated on July 27, 2026 by Daniel Globe
Making your own hiking stick can give you a trail tool that fits your height, grip, and hiking style while also turning a simple piece of wood into something personal. A good homemade stick should be straight, sound, comfortable to hold, correctly sized, protected from moisture, and fitted with a secure tip. The project is simple, but the details matter if you want the finished stick to be comfortable and dependable.
Quick Answer
To make a hiking stick, start with a strong, straight piece of legally obtained wood. Size it so your elbow is near a 90-degree bend on level ground, trim and sand it smooth, shape a comfortable grip, add a secure rubber tip, apply a suitable wood finish, then test it on short walks before relying on it on rough trails.
Key Takeaways
- Use straight, solid wood with no deep cracks, rot, insect damage, or weak knots.
- Fit the stick by checking for roughly a 90-degree elbow bend with the tip beside your foot on level ground.
- Sand the grip area carefully and add a secure ferrule or rubber tip for traction and end protection.
- Choose a finish for outdoor wood protection, and follow the product label for curing and safe rag disposal.
- Test the finished stick on easy terrain and retire it if you find a crack, loose tip, or other structural problem.
At a Glance
| Time Required | A few hours of hands-on work, plus any wood-drying and finish-curing time |
| Difficulty | Beginner to intermediate |
| Tools Needed | Tape measure, saw, sandpaper, optional carving knife or rasp, drill if adding a strap, brush or cloth for finish, eye protection, and dust protection |
| Cost | Low if you already own basic hand tools; most added cost comes from sandpaper, finish, grip material, and the tip |
Warning: Do not cut branches or collect dead wood unless you know it is legal and you have permission. Rules vary by property. For example, the National Park Service notes that collecting natural materials is generally restricted and that wood gathering is allowed only in specifically authorized situations. Use purchased wood, wood from your own property, or material you have clear permission to take.
Disclosure: As an Amazon Associate I earn from qualifying purchases. Some links on this page are affiliate links, at no extra cost to you.
What You Need Before You Start
A homemade hiking stick is easiest to build from a single sound piece of wood. Look for a straight blank that feels comfortable in your hand and is thick enough to resist noticeable flex under normal use. Avoid pieces with rot, deep checks, large cracks, soft spots, or weak knots. If the wood is freshly cut, let it dry thoroughly before the final sanding and finishing stage because wood changes dimensions as its moisture content changes.
- Wood: a straight, sound hardwood branch, dowel, or staff blank
- Cutting tools: a hand saw or pruning saw; a rasp or carving knife is optional
- Sanding supplies: coarse, medium, and fine sandpaper
- Grip materials: bare shaped wood, leather, cord, or paracord
- Tip: a snug rubber ferrule or purpose-made walking-stick tip
- Finish: an exterior-suitable clear finish or penetrating oil used according to its label
- Safety gear: eye protection and appropriate dust protection when cutting or sanding
Note: A handmade hiking stick is not the same as a medical cane or mobility aid. Do not assume a branch or homemade staff is designed to support your full body weight.
Choosing the Right Material for Your Hiking Stick
The material affects weight, strength, feel, and how much work is required to shape the stick. For a true do-it-yourself hiking stick, wood is usually the most practical choice because it can be cut, shaped, sanded, drilled, and refinished with basic hand tools.
Hardwoods such as hickory, ash, maple, and oak are common choices because they can provide a useful mix of stiffness and durability when the grain is sound and the piece is large enough for the load. Species alone does not guarantee strength, however. Grain direction, knots, cracks, decay, diameter, and moisture condition all matter. A straight piece of ordinary hardwood with clean grain can be a better choice than a visually impressive branch with structural defects.
Aluminum and carbon-fiber shafts are common in commercial trekking poles, but they behave differently from wood and are less convenient for a basic home build. Current REI trekking-pole guidance notes that aluminum tends to bend under high stress rather than being completely resistant to bending, while carbon-composite poles are lighter and good at reducing vibration but can be more vulnerable to breakage or splintering under high stress. That makes the original claim that aluminum is simply “resistant to bending and breaking” too absolute.
Pro Tip: Before putting hours into sanding and decorating a branch, press the tip firmly against the ground and load it gradually with your hands. Stop if you see a crack open, hear cracking, or feel unusual flex.
Selecting the Perfect Length for Your Hiking Stick
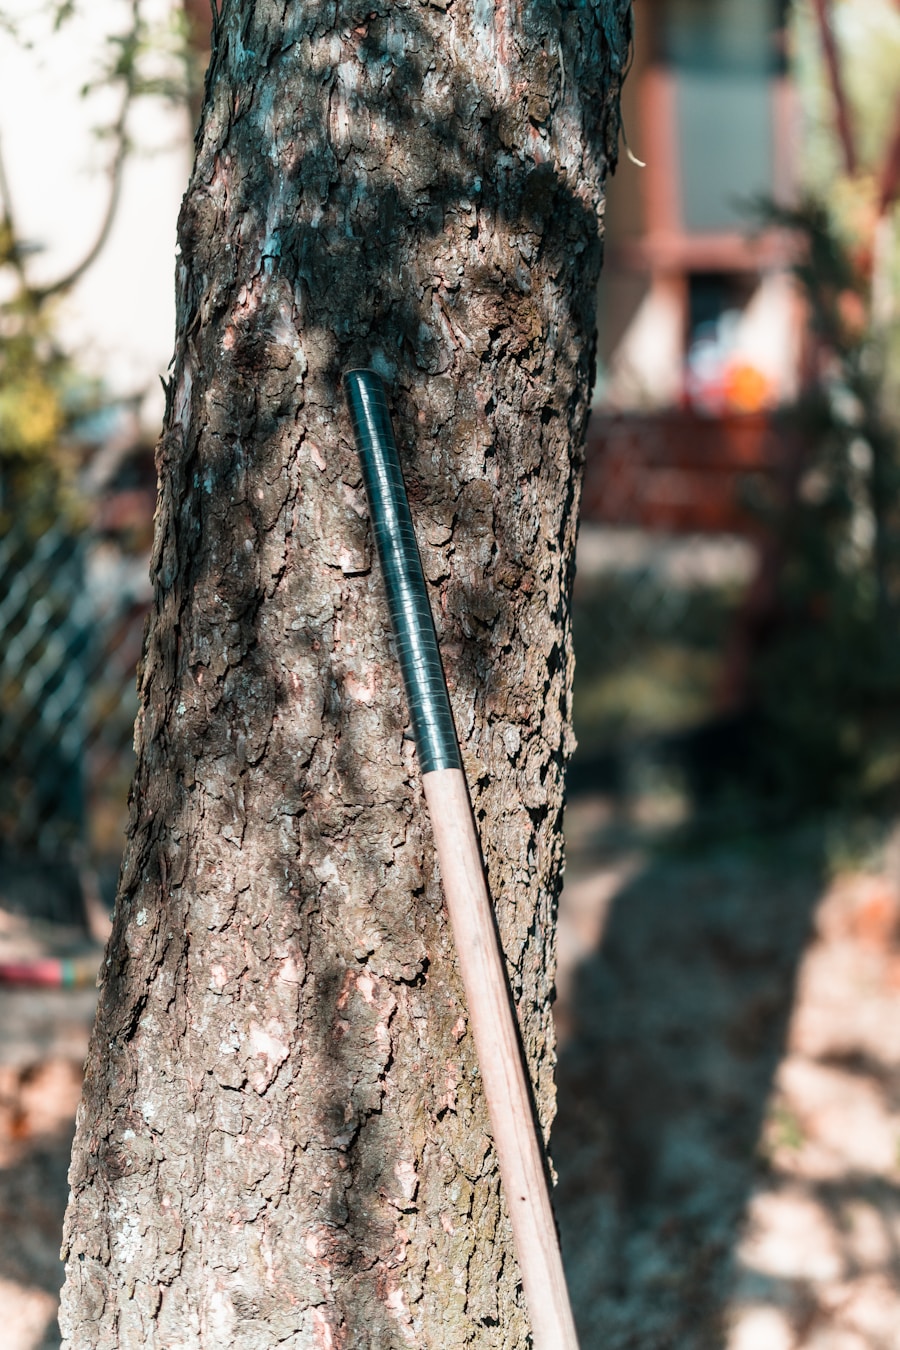
Length has a major effect on comfort and leverage. The original wrist-height rule is a rough shortcut, but a clearer fitting method is to stand upright on level ground, place the tip near your foot, hold the grip where you expect to use it, and look for roughly a 90-degree bend at the elbow. That is the standard starting point described in trekking-pole fitting guidance.
For an adjustable trekking pole, terrain-specific changes are easy: REI recommends shortening poles by about 5–10 cm for long uphill sections and lengthening them by about 5–10 cm for long descents. A fixed wooden stick cannot make those adjustments, so choose a neutral length that feels natural on level and rolling terrain rather than sizing it only for one steep slope.
If you want a traditional staff that reaches higher than a normal trekking-pole grip, you can leave extra length above your primary hand position. The important point is that the place where you actually grip the staff should let your shoulder stay relaxed instead of forcing it upward.
Prepare and Dry the Wood
Start by removing dirt, loose bark, tiny branch stubs, and anything that could catch your hand. You do not always have to strip every bit of bark, but loose bark can trap moisture or hide defects. If you keep bark for appearance, inspect the wood closely and make sure it is firmly attached.
Fresh or green wood should dry before the final shaping and finish. There is no single reliable drying time for every hiking stick because species, diameter, starting moisture, temperature, humidity, and airflow all affect the process. Dry the blank in a protected, ventilated place and wait until it is stable rather than relying on a fixed number of days.
Sanding and Shaping Your Hiking Stick for Comfort and Durability
Once the wood is stable, shape it for a smooth grip and safe handling. Start with coarser sandpaper only where you need to remove rough tool marks or high spots, then move through medium and fine grits until the surface feels smooth. Do not leave splinters or sharp ridges in the grip area.
Keep the shaft thickest where strength is most important. Light tapering toward the lower end can reduce bulk, but aggressive thinning can weaken the stick. Instead of carving the bottom to a sharp point, leave enough wood to accept a rubber ferrule or other durable tip. The goal is controlled contact with the ground, not a spear-like end.
Pay special attention to the handle. Round over hard edges and test the grip for several minutes before finishing. A handle that feels comfortable for ten seconds may still create a pressure point or blister during a long hike.
Add a Grip, Wrist Strap, and Ground Tip
A bare wooden grip can work well if it is shaped and sanded carefully. You can also wrap the handle with leather, cord, or paracord for added texture. Keep the wrap tight and smooth so it does not roll under your hand. If you add a wrist strap, drill only through a thick, structurally sound part of the handle and make sure the hole does not create a weak point near a crack or knot.
Fit the lower end with a snug rubber ferrule or walking-stick tip. A rubber tip can improve contact on hard surfaces and protect the wood from direct wear. Purpose-made rubber tips are also used on commercial poles to reduce marking and trail scarring on rock and hard surfaces; Black Diamond specifically describes its rubber pole tips as non-marking and suitable for hard surfaces or rocky trails.
Check the ferrule frequently. If it twists, splits, wears through, or becomes loose, replace it before the next hike.
Adding Personal Touches and Customizations to Your Hiking Stick
| Customization Option | Details |
|---|---|
| Engraving | Add a short name, date, trail name, symbol, or other meaningful detail without cutting deeply into the shaft. |
| Painting | Use a coating compatible with the finish system you plan to apply. |
| Carving | Keep decorative cuts shallow and away from cracks, knots, and narrow load-bearing areas. |
| Attachment | Add only light accessories that do not interfere with your grip, swing, balance, or trail contact. |
Personalizing your hiking stick can turn a simple tool into a reminder of specific trips and experiences. Carved symbols, painted details, cord wraps, and small tokens can all work, but decoration should stay secondary to strength and comfort.
Keep the gripping surface smooth enough to avoid hot spots. Do not hang heavy charms where they can swing into your hand, catch on brush, or change the balance of the stick. Custom details are most useful when they remain secure and do not weaken the shaft.
Applying a Protective Finish to Your Hiking Stick
A finish can improve appearance, make the surface easier to clean, and slow weathering. The USDA Forest Service Wood Handbook explains that outdoor wood finishes are selected largely for protection from water, sunlight, and weathering as well as appearance.
Film-forming products such as exterior varnish or polyurethane can provide a more continuous surface coating. Penetrating oils, including linseed-oil products, can enrich the grain and provide some protection but should not be described as the same kind of waterproof barrier as a film finish. Whatever product you choose, follow the manufacturer’s preparation, ventilation, coat, drying, and curing directions.
Warning: Linseed-oil-soaked rags can create a spontaneous-combustion hazard. OSHA specifically notes the autoignition/spontaneous-combustion hazard associated with linseed oil and the need for safe handling and disposal instructions. Follow the finish label and local fire-safety rules; never leave oily rags wadded in a pile.
Testing and Adjusting Your Hiking Stick for Optimal Performance
After the finish has fully cured, test the stick on short walks before taking it onto steep, remote, or technical terrain. Start on a flat surface, then try mild slopes and uneven ground. Pay attention to the grip, tip traction, shaft flex, and whether the stick plants naturally with your walking rhythm.
If the grip feels too large, slippery, or rough, reshape or rewrap it. If the stick feels awkwardly long, shorten it gradually; it is easy to remove more wood later but impossible to put length back. If you see a crack opening under load, retire the stick rather than trying to hide a structural problem under cord or finish.
Trekking poles can improve stability, but their effect on knee loading depends on terrain and technique. A small controlled downhill study found 12–25% reductions in several knee-force measures with poles, so “reduces knee strain” should be treated as a context-dependent benefit rather than a universal promise.
The downhill study is available through PubMed. Other research on level walking has not shown the same knee-load reduction, which is why the safest wording is that poles may reduce lower-limb loading in some hiking conditions rather than always reducing knee strain.
How to Use a Hiking Stick on the Trail
Plant the stick where it can give you useful balance without forcing your arm far forward. Keep a firm but relaxed grip and avoid leaning your full weight onto a homemade staff. On flat ground, many hikers naturally plant the stick opposite the forward foot. On climbs, place it slightly ahead and use it for balance and rhythm rather than pulling hard on it.
On descents, place the tip before stepping down so you can check footing and add another point of contact. Avoid wedging the stick deeply between rocks, where a sudden sideways load can split wood or trap the tip.
Troubleshooting Common Hiking Stick Problems
- The stick feels too long: shorten it in small increments, then retest the grip height.
- The grip causes blisters: smooth high spots, reduce bulky wrapping, or reshape the handle.
- The rubber tip slips or rotates: replace it with a properly sized ferrule rather than gluing a badly fitting tip in place.
- The shaft has a crack: stop using it for trail support. Decorative wrapping is not a reliable structural repair.
- The finish stays tacky: stop handling it and follow the finish manufacturer’s cure instructions; excess penetrating oil may need to be wiped according to the product directions.
- The stick warps while drying: do not force it into heavy trail use; reassess the straightness and structural condition after the wood stabilizes.
Tips for Maintaining and Caring for Your Handcrafted Hiking Stick
After each hike, wipe away mud and moisture and inspect the stick before storing it. Check the grip wrap, strap attachment, lower tip, and any knots or old checks in the wood. Small signs of wear are easier to deal with before they become failures on the trail.
Store the stick in a dry, ventilated place away from prolonged direct sun and standing water. If it becomes soaked, let it dry naturally before putting it in a closed closet or gear bin. Refinish exposed wood when the surface becomes worn, dull, rough, or water begins soaking in more readily.
Most importantly, inspect for structural damage. A handcrafted stick can last for years with care, but no amount of sanding or finish can make cracked or decayed wood dependable again.
If you’re planning a hiking trip and looking to make your own hiking sticks, you may also be interested in learning about the benefits of using a portable white noise machine for travel. This handy device can help drown out unwanted noise and create a peaceful environment for relaxation during your outdoor adventures. Check out this article on portable white noise machines for travel to find out more.
Love travel? Join Our Facebook Community
Frequently Asked Questions
What are hiking sticks?
A hiking stick is a single staff used for balance, probing footing, and light support on the trail. Trekking poles are usually used as a pair and are commonly adjustable. The terms are sometimes used loosely, but a handmade wooden staff is not identical to a pair of commercial trekking poles.
Why are hiking sticks used?
They can add a point of contact on uneven ground, help a hiker test mud or water depth, and improve balance on climbs and descents. Research on paired poles also suggests they can reduce some lower-limb loads during downhill walking, but the effect is not universal in every terrain or walking condition.
How do you make hiking sticks?
Choose a sound, legally obtained wood blank, let green wood dry, trim it to a comfortable length, sand and shape the handle, add a secure tip and optional grip or wrist strap, apply a suitable finish, allow it to cure, and test the stick on easy terrain before longer hikes.
What are the benefits of using hiking sticks?
The main practical benefit is added stability. A stick can also help you probe uncertain footing and keep a steady rhythm. Claims about reducing knee strain should be qualified because research results vary with slope, technique, and whether one staff or a pair of trekking poles is used.
How should hiking sticks be used?
Use a relaxed grip, plant the tip where it improves balance, and keep the stick moving in a rhythm that matches your walking pace. On descents, plant it before stepping down. Do not jam a wooden stick between rocks or rely on a homemade staff to carry your full body weight.
What is the best length for a homemade hiking stick?
For the main grip position, start with a length that puts your elbow near a 90-degree bend when the tip is on level ground beside your foot. If you prefer a taller traditional staff, leave extra shaft above that grip point rather than forcing your hand higher.
Can I pick up a branch in a park and turn it into a hiking stick?
Not automatically. Public-land rules differ, and some parks prohibit removing live or dead natural materials except in narrowly defined situations. Check the rules for the exact property before collecting anything. Purchased wood or wood from private property with permission is the safer choice.
Sources
- REI Co-op: How to Choose Trekking Poles and Hiking Staffs — pole sizing, uphill/downhill adjustments, materials, grips, and tips.
- National Park Service: Rules for Natural Items — restrictions on collecting natural materials and wood on National Park Service land.
- USDA Forest Service: Chapter 16, Finishing Wood — outdoor wood-finishing goals and protection from water, sunlight, and weathering.
- PubMed: Knee Joint Forces During Downhill Walking With Hiking Poles — controlled study on downhill knee-force changes with poles.
- OSHA: Hazard Communication Interpretation on Linseed Oil — spontaneous-combustion and safe-handling concerns for linseed-oil products.
- Black Diamond: Rubber Tech Tips — rubber-tip use on hard surfaces and rocky trails to reduce marking and scarring.

