
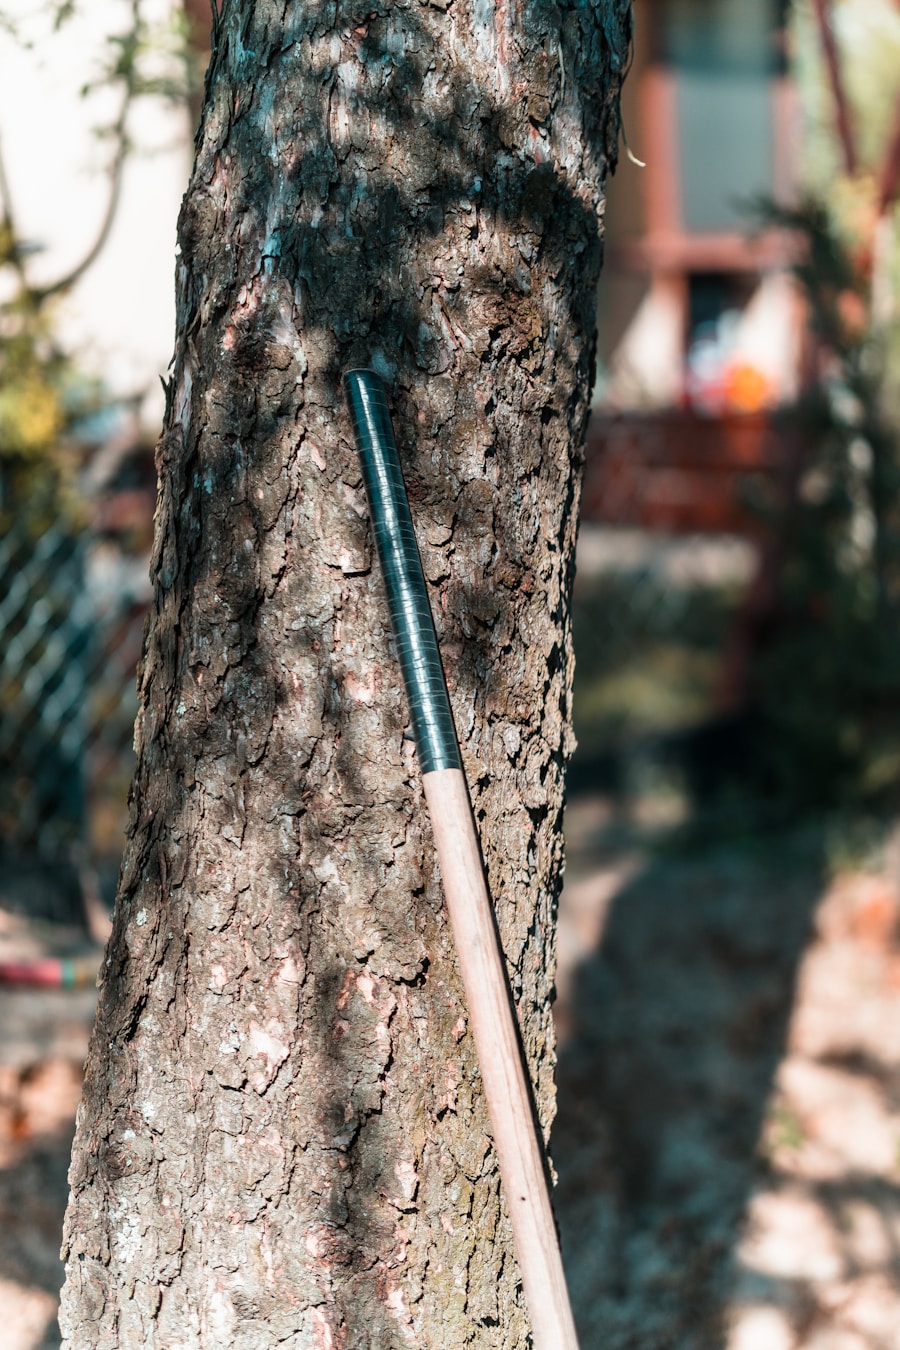
Last Updated on September 10, 2026 by Daniel Globe
Making your own wooden hiking stick is a practical beginner woodworking project that gives you a trail tool sized to your body and shaped to your hand. The best results come from choosing straight, sound wood, letting green wood dry before finishing it, sizing the grip correctly, smoothing every surface, and protecting the bottom end from wear.
Quick Answer
To make a hiking stick, start with a straight, sound piece of hickory, ash, oak, maple, or another suitable wood. Dry it if necessary, trim it so your elbow bends about 90 degrees at your normal grip, sand it smooth, shape the handle, add a protective tip, then apply a durable exterior-friendly finish.
Key Takeaways
- Choose straight, sound wood without rot, deep cracks, major splits, or weak forks. Hickory and ash are excellent choices when strength and toughness matter.
- For a practical starting length, hold the stick beside your foot and aim for roughly a 90-degree bend at your elbow instead of relying on a fixed height formula.
- If the branch is green, allow it to dry before final finishing so normal moisture loss is less likely to cause unwanted dimensional changes.
- Sand progressively, shape a comfortable grip, and add a rubber tip or ferrule to protect the lower end.
- Decorate the stick as desired, then protect it with an appropriate finish and inspect it for damage before every hike.
At a Glance
| Time Required | About 2–4 hours of hands-on work, plus drying and finish-curing time if needed |
| Difficulty | Beginner to intermediate |
| Tools Needed | Saw, sandpaper, knife or scraper, optional rasp, drill, clamps, eye protection, and dust protection |
| Cost | Roughly $10–$40 if you need to buy wood, sandpaper, finish, a tip, or strap; less if you already own the materials |
Disclosure: As an Amazon Associate I earn from qualifying purchases. Some links on this page are affiliate links, at no extra cost to you.
Choose the Best Wood for Your Hiking Stick
Selecting the wood is the first major decision. Wood species differ in weight, stiffness, hardness, flexibility, shock resistance, decay resistance, and working characteristics. The USDA Forest Products Laboratory explains that these properties vary significantly by species, so choosing wood by its actual characteristics is more useful than relying only on the broad labels “hardwood” and “softwood.” See the USDA Wood Handbook chapter on commercially important woods.
Hickory is an excellent option for a rugged hiking stick because of its strength and shock resistance. Ash has also traditionally been valued for handles and other applications that benefit from a useful combination of strength and resilience. Oak is strong and widely available, while maple can provide a strong shaft with attractive grain.
Lighter woods such as pine or cedar may appeal to hikers who care more about low weight than maximum impact resistance. Some cedar species also have naturally durable heartwood, but individual species and pieces vary. A lightweight stick should still be inspected carefully before you trust it with significant force on uneven terrain.
Source the Wood Responsibly
Do not assume that a fallen branch on a hiking trail is free to take. Rules differ between private property, state land, national forests, parks, and other public lands. The National Park Service advises visitors to leave natural objects where they find them, and federal park regulations restrict the removal of many natural resources. Review the NPS Leave What You Find guidance and the rules for the specific land you are visiting.
Note: The simplest responsible options are purchased hardwood, reclaimed wood you know is structurally sound, storm-fallen wood from your own property, or material collected with the landowner’s permission.
Inspect the Stick Before You Start
Choose the straightest piece you can find and inspect its full length. Avoid wood with rot, soft or punky areas, deep checks, long cracks, severe insect damage, or a weak fork in a load-bearing section. Small surface knots can often be shaped and sanded, but a large knot or split in the middle of the shaft can create a weak point.
Flex the unworked stick gently before investing time in it. You are looking for a sound piece that feels solid rather than brittle, spongy, or visibly fractured.
Prepare, Debark, and Dry the Wood
If you are working with a natural branch, remove loose bark with a scraper or sharp knife while keeping the cutting edge directed away from your body. You can leave some bark for appearance if it is firmly attached, but loose bark can hide damage and may continue to flake off as the stick dries.
Freshly cut or green wood contains substantial moisture. As it dries, its dimensions and shape can change. The USDA Forest Products Laboratory’s drying guidance explains that proper drying, handling, and storage help reduce problems caused by moisture-related dimensional changes.
There is no universal drying time for every hiking-stick branch because species, diameter, starting moisture, humidity, temperature, and airflow all matter. If the wood is green, store it where air can circulate around it and protect it from persistent moisture and extreme heat. Continue with final finishing only after the wood has had time to become reasonably stable.
Warning: Saws, carving knives, drills, and sanding tools can cause serious injuries. Clamp the work securely, keep cutting tools moving away from your body, wear eye protection, and follow the tool manufacturer’s guarding and operating instructions. Sanding also creates airborne wood dust, which OSHA identifies as a respiratory and skin hazard.
Measure and Cut the Hiking Stick to the Right Length
Once the wood is ready to work, determine the grip height before making the final cut. A fixed wooden hiking stick does not have a universal length that works for every person or every style of use.
For a practical starting point, stand upright in your normal hiking footwear. Place the bottom of the stick on level ground beside your foot and grip it naturally. Aim for approximately a 90-degree bend at your elbow. This matches the general sizing approach used for trekking poles and hiking staffs in REI’s trekking-pole and hiking-staff guidance.
This is more reliable than simply subtracting 10–15 inches from your body height. Arm length, preferred grip location, footwear, terrain, and hiking style can all change the best finished length.
Pro Tip: Leave the stick slightly long at first. Test the grip and walking motion on level ground, then trim small amounts from the bottom until the height feels natural. You can always shorten the stick; you cannot put length back after cutting.
Use a hand saw or another suitable woodworking saw to make a clean, square cut. Support the work securely so it cannot roll while cutting. After the cut, remove sharp corners and inspect the end for cracks or splintering before continuing.
Sand and Shape the Hiking Stick for Comfort and Grip
After cutting the hiking stick to size, smooth the shaft and handle so splinters and sharp edges cannot dig into your hand. A simple sanding sequence is to start around 80-grit where substantial smoothing is needed, then progress through medium paper such as 120- or 150-grit before finishing around 180- to 220-grit.
Sand with the grain when possible. Spend extra time around trimmed branch stubs, knots, the top of the handle, and any area your hand will contact.
You can also shape the grip for comfort. A slight contour may fit the palm better than a perfectly round shaft. Finger grooves are optional; make them shallow enough that they do not force your hand into an uncomfortable position.
Remove sanding dust before finishing. If you use a powered sander, control dust at the source where practical and avoid breathing the airborne particles. OSHA’s wood-dust guidance explains why sanding and cutting dust should be controlled.
Add a Protective Tip or Ferrule
The bottom of a wooden hiking stick takes repeated impacts and abrasion. A replaceable rubber tip or properly fitted ferrule can protect the end grain and make the stick easier to use on many hard surfaces.
- Square and smooth the bottom. Remove splinters and make sure the end is not cracked.
- Measure the lower shaft. Choose a rubber walking-stick or cane tip whose inside diameter fits snugly over the wood.
- Shape only as much as necessary. Sand the lower end evenly if a minor reduction is required for the tip to fit.
- Seat the tip fully. Follow the tip manufacturer’s installation method if adhesive, screws, or another fastener is specified.
- Test it before hiking. Push and twist the stick against the ground to make sure the tip does not rotate or pull off unexpectedly.
Rubber is especially useful on pavement, rock, and other hard surfaces. Traction still varies with the surface, mud, ice, water, and the condition of the tip, so never assume the stick cannot slip.
Add Personal Touches and Decorations
| Personal Touches and Decorations | Benefits |
|---|---|
| Carving initials or name | Personalizes the hiking stick |
| Attaching small trinkets | Adds a unique touch when securely attached |
| Painting nature scenes | Enhances the aesthetic appeal |
| Wrapping with colorful paracord | Adds texture and can provide a more secure grip |
Personalization can turn a simple hiking stick into a reminder of your favorite trips. You might carve your initials, a simple trail symbol, or the name of a mountain or route that matters to you.
Painting and wood burning are other options. When using paint, make sure it is compatible with the finish you plan to apply over or around it. Allow paint and other coatings to dry or cure according to their manufacturer’s instructions before taking the stick outside.
Paracord or fabric can also be wrapped around the grip for extra texture. Secure the ends so the wrapping cannot loosen while you walk. Paracord can be useful for many simple non-load-bearing tasks, but decorative cord on a hiking stick should never be assumed safe for climbing, rappelling, rescue, fall arrest, or other life-safety applications.
Stain or Seal Your Hiking Stick for Protection
A finish can improve the appearance of the wood and help protect its surface from moisture, sunlight, dirt, and weathering. The USDA Forest Products Laboratory notes that protection from water, sunlight, and weathering is an important consideration when choosing finishes for outdoor wood. Its detailed guidance is available in Chapter 16 of the Wood Handbook.
A stain is mainly used to change or enrich color unless it is specifically formulated as a protective exterior finish. If you want to preserve the natural grain, you may prefer a clear exterior-compatible coating or penetrating finish. Follow the product directions for surface preparation, number of coats, drying time, curing time, temperature, and ventilation.
Note: A finish can improve resistance to moisture and weathering, but it does not make a wooden hiking stick permanently waterproof. Repeated abrasion, sunlight, rain, and trail use eventually wear finishes down.
Warning: Many stains, varnishes, oils, paints, and solvents require good ventilation and careful handling. Read the product label and safety instructions, keep finishes away from ignition sources, and allow the coating to cure fully before regular use.
Attach a Wrist Strap or Lanyard
A wrist strap or lanyard is optional, but it can make the hiking stick easier to carry and less likely to be dropped. It is especially convenient when you briefly need your fingers for a zipper, water bottle, camera, or other small task.
You can buy a ready-made walking-stick strap or make one from nylon webbing or paracord. One simple method is to drill a properly sized hole near the upper grip and thread the strap through it. Keep the hole far enough from the end of the wood that you do not create a thin, fragile section.
Check that the attachment is secure and that the strap is large enough to use comfortably without forcing your wrist into an awkward angle.
Note: A wrist loop can become inconvenient around dense brush, scrambling terrain, moving water, or obstacles where you may need to release the stick immediately. Use the strap only when it suits the terrain and situation.
Test the Hiking Stick Before Taking It on a Trail
Before relying on your new stick outdoors, inspect and test it in a controlled area. Confirm that the handle feels comfortable, the tip stays firmly attached, and no new cracks have appeared during sanding, drilling, or finishing.
Walk with it on level ground and apply moderate downward pressure from several normal walking angles. Stop using it if you hear cracking, notice a split spreading, feel the shaft flex unexpectedly, or see the tip coming loose.
A homemade hiking staff is recreational trail equipment. It is not automatically equivalent to a medically rated cane, crutch, or mobility aid. Anyone who needs a device to support a medical mobility requirement should use equipment recommended for that purpose.
Maintain and Care for Your Custom Hiking Stick
Regular inspections help extend the useful life of a wooden hiking stick. Look for cracks, splintering, rot, a loose strap, worn finish, or damage around the bottom tip after demanding hikes.
If you notice a small rough area, sand it smooth before it develops into a larger splinter. If the protective coating is worn through, clean and dry the wood and reapply a compatible finish according to its directions.
After a hike, wipe away dirt and surface moisture with a damp cloth, then allow the stick to dry. Avoid soaking it in water because prolonged moisture exposure can affect the wood and finish. Mud packed around the rubber tip should also be removed so you can inspect the wood underneath.
Store the hiking stick in a dry, ventilated location rather than leaving it for long periods in standing water, damp soil, direct weather, or an extremely hot vehicle.
Use Your Custom Hiking Stick on the Trail
Once the stick is finished, treat it as an extension of your balance rather than something you must lean on with every step. Place the tip where it has secure contact and avoid reaching so far ahead that your shoulder or back is pulled out of a comfortable position.
On Level Ground
Let your arm swing naturally and plant the stick in a comfortable rhythm. Many hikers prefer using a single staff opposite the leg taking the next step, but the best rhythm is one that feels controlled and does not force an awkward gait.
When Climbing
Plant the stick where it can provide stable support without forcing you to reach excessively uphill. A fixed wooden stick cannot be shortened the way an adjustable trekking pole can, so you can slide your hand slightly lower on the shaft when that feels more natural.
When Descending
Place the stick on secure ground before committing your weight to a difficult step. Keep your body balanced rather than reaching the stick far downhill. Adjustable trekking poles are commonly lengthened for long descents; with a fixed staff, changing your hand position can provide some of the same practical flexibility. REI recommends roughly 5–10 cm of adjustment for long climbs or descents when adjustable poles are used.
On Side Slopes and Uneven Ground
Use the stick on the side where it gives you the most useful support, and switch hands when needed. A fixed staff can also be used to probe uncertain footing, but do not rely on it alone to determine whether loose soil, mud, snow, or a submerged surface can support your weight.
If you’re planning a hiking adventure, you may also want to consider investing in a pair of compact binoculars to enhance your outdoor experience. These handy tools can help you spot wildlife, admire scenic views, and inspect distant landmarks. Lightweight models are easy to pack and can be a useful addition when wildlife watching or sightseeing is part of the trip.
Love travel? Join Our Facebook Community
Frequently Asked Questions
What is a hiking stick?
A hiking stick, walking stick, or hiking staff is a single pole used to provide another point of contact with the ground while walking. It can help with balance, probing uncertain footing, and maintaining stability on uneven terrain.
Why use a hiking stick?
A hiking stick can give you an additional contact point on loose, rocky, muddy, or uneven ground. It can also help with balance during climbs and descents. A single homemade staff should not be assumed to provide the same performance as a matched pair of trekking poles or a medically rated mobility aid.
How do you make a hiking stick?
Choose straight, structurally sound wood, remove loose bark, allow green wood to dry, size the stick to a comfortable grip height, cut and sand it, shape the handle, install a protective bottom tip, add optional decorations or a strap, apply an appropriate finish, and inspect the completed stick before trail use.
What materials are needed to make a hiking stick?
You need a straight piece of suitable wood, sandpaper, and a protective finish. Common tools include a saw, knife or scraper, rasp, clamps, and possibly a drill. A rubber tip, wrist strap, grip wrap, paint, or carving tools are optional additions.
How long should a hiking stick be?
There is no single correct length for everyone. As a starting point, stand in your hiking footwear with the tip beside your foot and choose a normal grip position that leaves your elbow bent about 90 degrees. Test the stick before making the final cut.
Do I need to dry a branch before making a hiking stick?
If the branch is freshly cut or still green, drying it before the final finish is a good practice. Wood changes moisture content and dimensions as it dries, and proper drying reduces the chance of unwanted movement after the stick is completed.
Should a wooden hiking stick have a rubber tip?
A rubber tip is not mandatory, but it protects the bottom end and can improve usability on pavement, rock, and other hard surfaces. Choose one that fits tightly and replace it when it becomes cracked, loose, or badly worn.
Are there safety considerations when using a hiking stick?
Yes. Inspect the shaft, handle, strap, and tip before hiking. Do not use a stick with rot, deep cracks, spreading splits, or a loose tip. Place the tip on stable ground before relying on it, keep it clear of nearby hikers, and remember that mud, wet rock, ice, and loose soil can cause the tip to slip.
Sources
- USDA Forest Products Laboratory — Wood Handbook — wood properties, moisture behavior, drying, and finishing.
- USDA Forest Products Laboratory — Drying and Control of Moisture Content — how wood changes as it dries and why moisture control matters.
- USDA Forest Products Laboratory — Finishing Wood — protection from moisture, sunlight, and weathering.
- Occupational Safety and Health Administration — Wood Dust — woodworking dust hazards and exposure controls.
- National Park Service — Leave What You Find — responsible treatment of natural objects on public lands.
- REI Expert Advice — Trekking Poles and Hiking Staffs — grip height, pole length, and terrain adjustments.

