
Last Updated on July 27, 2026 by Daniel Globe
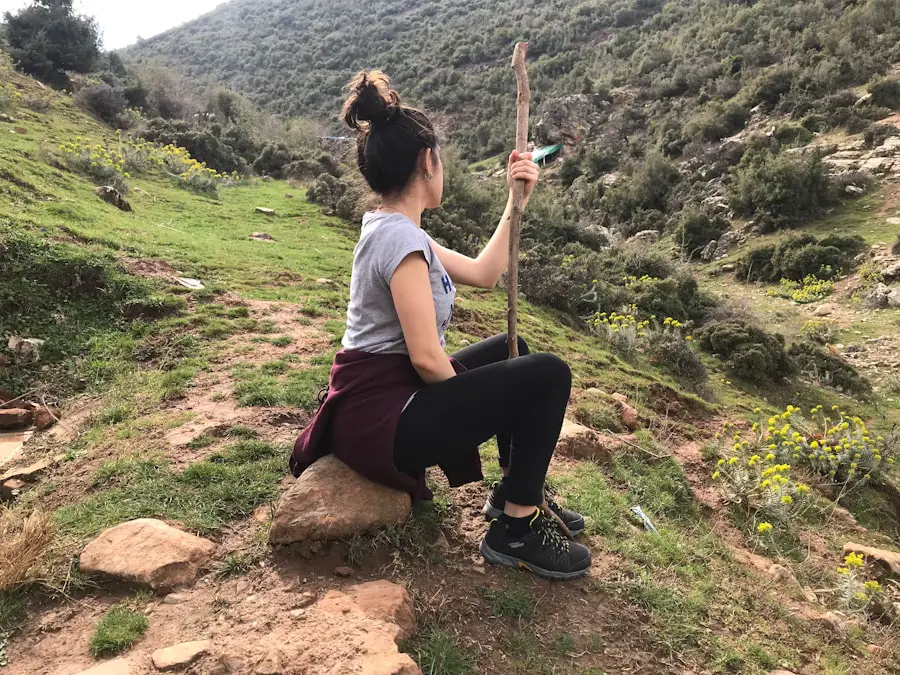
Choosing the right hiking stick or trekking pole length makes the pole easier and more comfortable to use. The best starting point is not a fixed “hip height” or wrist measurement. Instead, fit the pole to your arm position while you are actually holding it. Once you have that baseline, an adjustable pole can be shortened or lengthened for different terrain.
Quick Answer
On flat ground, set a hiking stick or trekking pole so your elbow bends about 90 degrees while you hold the grip and the tip rests beside your foot. For long climbs, shorten adjustable poles by about 5–10 cm. For long descents, lengthen them by about 5–10 cm.
Key Takeaways
- Use the 90-degree elbow rule as your main fit test on level ground.
- Shorten adjustable poles on sustained climbs and lengthen them on sustained descents.
- Your height is useful for choosing a size range, but your actual arm position is the better final check.
- Body weight may affect how sturdy a pole you want, but it does not mean you need a longer pole.
- A pole that is too long can lift your shoulders; one that is too short can make you hunch or reach downward.
At a Glance
| Time Required | About 2–5 minutes |
| Difficulty | Easy |
| Tools Needed | Hiking shoes and the pole or poles you plan to use; no measuring tape is required for the basic fit test |
| Cost | $0 to size an existing pole; purchase price varies by pole design and materials |
Disclosure: As an Amazon Associate I earn from qualifying purchases. Some links on this page are affiliate links, at no extra cost to you.
Factors to Consider When Selecting Hiking Stick Length
Your height is a useful starting point, especially when choosing a fixed-length pole. However, the most useful fit check is your elbow position. Stand upright on level ground, grip the pole normally, and place the tip near your foot. Your elbow should form roughly a right angle.
This is the same general method recommended in REI’s trekking-pole sizing guidance. It works better than relying only on a rule such as “the pole should reach your wrist” because arm and torso proportions vary.
The terrain also matters. A baseline length that feels comfortable on a flat trail may need to change when the grade becomes steep. Adjustable trekking poles make this easier because they allow you to fine-tune the length without buying a different pole.
Your body weight does not determine the correct pole length. A heavier backpack or a heavier user may place more demand on the shaft and locking system, so durability can matter, but the fit should still be based mainly on your height, arm position, terrain, and comfort.
Quick Trekking Pole Length Chart
For fixed-length trekking poles, the following chart is a practical starting point based on REI’s published sizing guidance. Always check the manufacturer’s chart for the specific pole you are buying.
| Your Height | Suggested Fixed Pole Length |
| Under 5 ft 1 in | 100 cm / 39 in |
| 5 ft 1 in–5 ft 7 in | 110 cm / 43 in |
| 5 ft 8 in–5 ft 11 in | 120 cm / 47 in |
| 6 ft and taller | 130 cm / 51 in as a starting point |
Note: A height chart is only a starting point. If you are between sizes or have unusually long or short arms for your height, use the 90-degree elbow test to confirm the fit.
How to Measure the Correct Hiking Stick Length
You do not need a complicated formula to find a good starting length. Put on the footwear you normally hike in and follow these steps:
- Stand on level ground. Keep your normal upright hiking posture instead of leaning over the pole.
- Place the pole tip beside your foot. The pole should be vertical or close to vertical.
- Grip the handle normally. Do not measure with your arm hanging straight down at your side.
- Check your elbow. Your elbow should bend to roughly 90 degrees, with your forearm close to level.
- Fine-tune for comfort. A small variation is normal. Your shoulders should stay relaxed rather than lifting toward your ears.
- Secure the locks. On an adjustable pole, tighten the locking system according to the manufacturer’s instructions before putting significant weight on it.
Pro Tip: On a three-section trekking pole, leave enough adjustment range available that you can shorten the pole for long climbs and lengthen it for long descents. Never extend a section beyond its marked maximum or stop line.
One Hiking Staff vs. Two Trekking Poles
A single hiking staff can provide an extra contact point and may be convenient on relatively easy terrain. A pair of trekking poles gives you support on both sides and is often preferred for backpacking, sustained climbs, descents, and uneven trails.
The basic length rule is similar for either option: start with a relaxed arm and an elbow angle near 90 degrees on flat ground. With one staff, personal preference may play a slightly larger role because you may switch hands or place the staff farther ahead on uneven ground.
Benefits of Using the Correct Hiking Stick Length
| Benefit | What Proper Sizing Can Do |
|---|---|
| Reduced Lower-Limb Loading | Trekking poles can redistribute some forces away from the lower extremities, especially during downhill walking. Correct sizing helps you use the poles without forcing an awkward arm position. |
| Improved Balance | Poles provide additional contact points with the ground, which can help with stability on rocks, loose surfaces, and uneven trails. |
| More Comfortable Posture | A suitable pole length lets you keep your shoulders relaxed and reduces the need to hunch or reach excessively. |
| Better Control on Slopes | Shortening on climbs and lengthening on descents can make pole placement more natural and useful. |
| Possible Effort Benefits | Poles do not always reduce total energy use, but research on steep uphill walking has found small efficiency benefits and lower perceived exertion in some conditions. |
One of the strongest reasons hikers use trekking poles is to redistribute load. In a controlled study of downhill walking, researchers found reductions in several measured knee-joint loads when subjects used hiking poles. Other research involving loaded downhill hiking has also found reductions in lower-extremity joint loading.
In one controlled downhill study of eight men, hiking poles reduced several measured knee-joint loads by roughly 12–25% compared with walking without poles.
These findings do not mean poles prevent every knee problem or injury. The effect depends on terrain, technique, load, and the individual hiker. A 2020 review in Wilderness & Environmental Medicine concluded that poles can reduce lower-extremity loading but can also increase cardiovascular demand during unloaded walking.
That is why it is better to think of trekking poles as a tool for support, stability, and load redistribution rather than as a guaranteed way to hike faster or use less energy.
Consequences of Using the Wrong Hiking Stick Length
An incorrectly sized pole often shows up first as poor posture or discomfort rather than as an obvious equipment problem.
Signs Your Hiking Stick Is Too Long
- Your shoulders rise or shrug when you plant the pole.
- Your elbow remains sharply bent even when the pole tip is close to your foot.
- You feel tension in your shoulders, neck, or upper arms.
- The pole feels awkward to swing forward on level ground.
Signs Your Hiking Stick Is Too Short
- You lean or hunch forward to reach the grip.
- Your arm is nearly straight when the pole is planted beside you.
- You struggle to place the pole comfortably ahead of you on descents.
- You feel as though the pole offers little useful support despite good technique.
A poor fit can also change your normal arm swing and make you compensate with your shoulders or torso. That can make a long hike less comfortable and may reduce the practical benefit of carrying poles in the first place.
Warning: Trekking poles and hiking staffs are outdoor-support equipment, not a substitute for a medically prescribed cane, walker, crutch, or other mobility aid. If you need a walking aid because of an injury or medical condition, use equipment recommended for that purpose.
Adjusting Hiking Stick Length for Different Terrains
One of the main advantages of adjustable trekking poles is that you can change their effective length as the trail changes. According to REI’s pole-adjustment guidance, the 90-degree setting is suitable for most general hiking, while longer sustained slopes can justify a small adjustment.
Flat and Rolling Terrain
Use your normal baseline setting. With the pole tip near your foot, your elbow should remain close to 90 degrees. There is usually no need to make constant adjustments for every small rise and dip.
Long Uphill Sections
Shorten each pole by about 5–10 cm. A shorter pole can make it easier to plant the tip higher on the slope without lifting your shoulder. The steeper the climb, the more useful a small reduction can become.
Long Downhill Sections
Lengthen each pole by about 5–10 cm. The extra reach helps you place the poles farther down the slope while keeping a more upright body position.
Side-Hill Traverses
When you spend a long time crossing a slope sideways, the uphill-side pole can be shortened while the downhill-side pole is lengthened. This keeps both hands in a more natural position despite the uneven ground height.
Rocky Ground and Stream Crossings
Use whatever adjustment lets you plant each pole securely without reaching or lifting your shoulders. In deeper stream crossings, a somewhat longer setting may improve reach, but always test that the pole tip is firmly planted before shifting weight onto it.
Note: The 5–10 cm change is a useful starting point, not an absolute requirement. Comfort, slope angle, pole design, and your body proportions can justify a smaller or larger adjustment within the pole’s safe range.
Adjustable vs. Fixed-Length Hiking Poles
Both designs can work well, but they suit different priorities.
Adjustable Poles
Telescoping or adjustable trekking poles are useful when your route includes long climbs, descents, traverses, or frequent changes in terrain. They also make sizing easier because you can experiment with small changes until your shoulders and elbows feel natural.
Before hiking, confirm that every locking mechanism is secure. Do not extend a shaft section beyond its printed maximum-extension mark because the pole needs enough overlap between sections to remain structurally secure.
Fixed-Length Poles
Fixed poles are simpler and can be lighter, but you cannot change their length for hills. Use a manufacturer’s size chart as a starting point, then confirm that the chosen length places your elbow near 90 degrees on flat ground.
If you are exactly between two fixed sizes, the best choice can depend on your proportions and where you use the poles most. Trying both sizes before buying is more reliable than choosing only from your total height.
Tips for Testing Hiking Stick Length Before Purchase
Before committing to a particular pole length, test the fit in a way that resembles actual hiking.
- Wear your hiking shoes. This gives you the same stance height you will have on the trail.
- Set the baseline angle. Start with the elbow at roughly 90 degrees.
- Walk naturally. Take several steps instead of judging the pole while standing still.
- Simulate an incline. Shorten the pole slightly and check whether you can plant it without lifting your shoulder.
- Simulate a descent. Lengthen it slightly and confirm that you can reach downhill without leaning excessively forward.
- Check the grip and strap. Your hand should feel relaxed rather than forced into an unusual wrist angle.
- Check the locks. Adjustable poles should remain secure when you load them normally.
If you are purchasing online, check both the usable adjustment range and the manufacturer’s sizing recommendations before ordering. A return policy is useful because two hikers of the same height may still prefer slightly different settings.
Common Hiking Stick Sizing Mistakes
Measuring to Your Wrist With Your Arm Hanging Down
This shortcut can produce a misleading result. Instead, grip the pole in the position you will actually use and check the elbow angle.
Using One Length for Every Slope
Your flat-ground setting is a baseline, not a rule that can never change. Long climbs and descents are exactly where adjustable poles are most useful.
Choosing Length Based on Body Weight
Body weight may influence how much durability or stiffness you want from a pole, but it does not tell you where the grip should sit relative to your elbow.
Extending Adjustable Poles Too Far
Stay within every manufacturer’s marked adjustment limits. A longer setting is not better if it requires extending a shaft section beyond its safe range.
Ignoring Shoulder Position
Your shoulders should remain relaxed during normal pole plants. If they are being pushed upward, shorten the poles. If you are bending forward just to reach them, try a longer setting.
Finding the Perfect Hiking Stick Length for You
Finding the right hiking stick length starts with a simple fit test: stand on level ground, grip the pole normally, and aim for an elbow bend of about 90 degrees. From there, use your own comfort and the terrain to fine-tune the setting.
For adjustable poles, shortening by roughly 5–10 cm on long climbs and lengthening by roughly 5–10 cm on long descents is a practical starting point. Fixed-length poles require more care at purchase, so check the manufacturer’s chart and test the pole whenever possible.
A properly fitted trekking pole can provide useful support, improve stability, and redistribute some lower-limb loading. However, it does not guarantee faster hiking, lower energy use, or injury prevention. Good technique, secure pole placement, appropriate footwear, and careful route decisions still matter.
When determining how tall a hiking stick should be, your height and terrain are useful factors, but your actual elbow position is the best final check. For more tips on choosing travel gear for trips that may include hiking, see this guide to the best carry-on luggage for international travel.
Love travel? Join Our Facebook Community For More Tips.
Frequently Asked Questions
What is the ideal height for a hiking stick?
On flat ground, the ideal starting height is one that lets you hold the grip with your elbow bent about 90 degrees and your shoulders relaxed. The handle often ends up around waist level, but the elbow-angle test is more reliable than simply aiming for hip height.
How do I determine the right height for my hiking stick?
Stand upright on level ground in your hiking shoes. Place the pole tip beside your foot and grip the handle normally. Adjust the pole until your elbow forms roughly a right angle. Then walk a few steps and fine-tune the length for comfort.
Can the ideal hiking stick height vary between people of the same height?
Yes. Arm length, torso proportions, posture, grip design, terrain, and personal preference can all affect the most comfortable setting. Height charts are useful for selecting a range, but the 90-degree elbow check should confirm the final fit.
What are the benefits of using a hiking stick at the right height?
Correct sizing helps keep your shoulders and arms in a comfortable position while letting the pole provide useful support. Trekking poles can improve stability and can reduce some lower-extremity loading in certain hiking conditions, particularly downhill.
Are adjustable hiking sticks available for different heights?
Yes. Many trekking poles telescope through a range of lengths, making them suitable for different users and terrain. Check that the pole’s minimum and maximum settings include your normal 90-degree baseline while leaving enough adjustment for hills.
Should trekking poles be longer when going downhill?
For sustained descents, yes. A common starting adjustment is to lengthen each pole about 5–10 cm from your flat-ground setting. This gives you more downhill reach and can help you stay more upright.
Should trekking poles be shorter when going uphill?
For a long climb, shortening each pole by about 5–10 cm is a useful starting point. This helps prevent the uphill pole plant from pushing your shoulder upward.
How can I tell if my trekking poles are too long?
Common signs include raised or shrugged shoulders, excessive elbow bend, awkward pole swings, and shoulder or neck tension. Shorten the poles slightly and check whether your shoulders relax.
Sources
- REI — How to Choose Trekking Poles and Hiking Staffs — supports the 90-degree elbow rule, fixed-length sizing chart, and uphill/downhill adjustments.
- REI — How to Use Trekking Poles and Hiking Staffs — supports practical pole-length, strap, terrain, and obstacle-use guidance.
- PubMed — Knee Joint Forces During Downhill Walking With Hiking Poles — supports the discussion of reduced knee loading during controlled downhill walking.
- PubMed — Are Trekking Poles Helping or Hindering Your Hiking Experience? A Review — supports the balanced discussion of lower-extremity loading, stability, and cardiovascular demand.
- PubMed — Do Poles Save Energy During Steep Uphill Walking? — supports the qualified discussion of uphill efficiency and perceived exertion.
