
Last Updated on September 10, 2026 by Daniel Globe
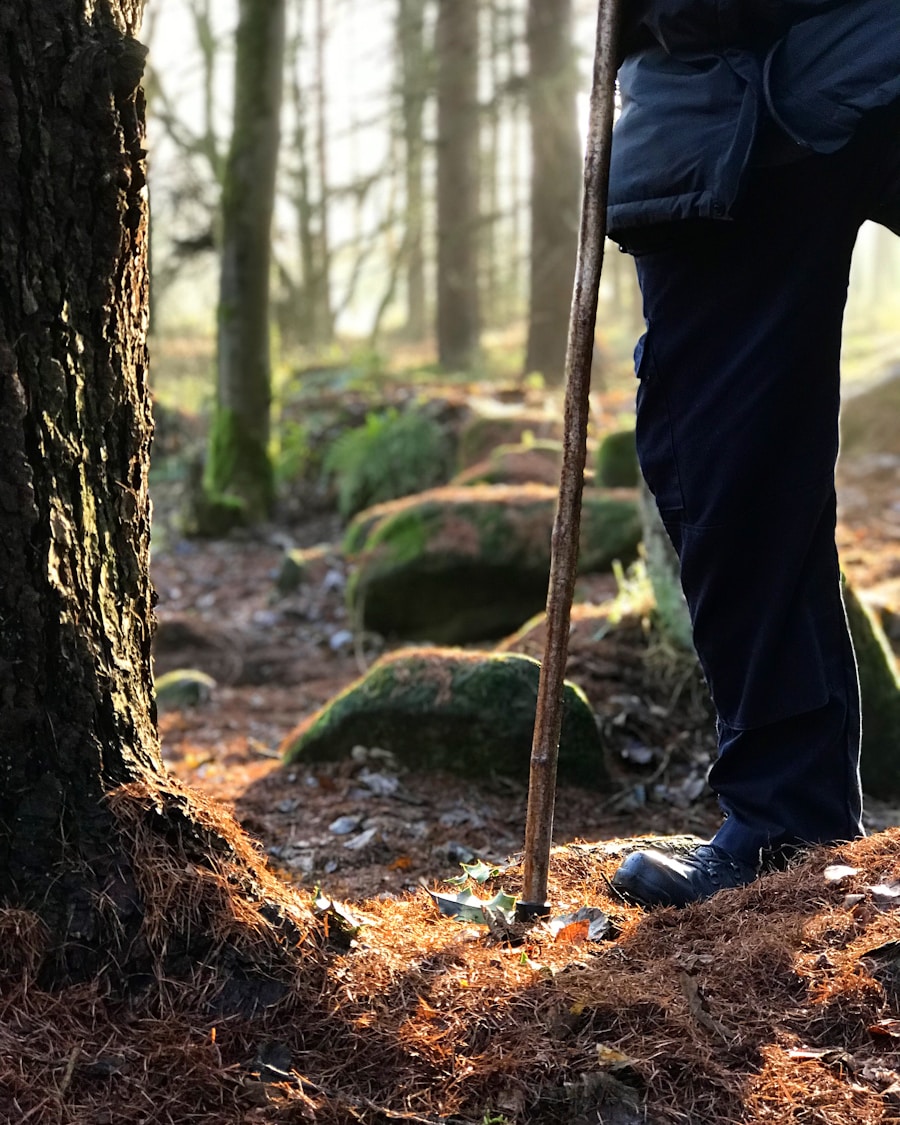
Walking sticks, more commonly called trekking poles when used as a pair, can add stability, help you manage steep climbs and descents, and shift some work from your legs to your upper body. The biggest benefits come from choosing the right poles, setting them to the correct length, and learning when to plant, shorten, lengthen, or stow them.
Quick Answer
To use walking sticks for hiking, start with the poles adjusted so your elbows bend about 90 degrees on level ground. Plant the opposite pole with the opposite foot, keep a relaxed grip, shorten the poles on long climbs, and lengthen them on long descents. Always test each pole placement before putting significant weight on it.
Key Takeaways
- Trekking poles can improve stability and may reduce some lower-extremity loading, especially during descents and loaded hiking.
- A good starting length places your elbow at about a 90-degree angle while the pole tip rests near your foot.
- Shorten adjustable poles roughly 5–10 cm for sustained climbs and lengthen them about 5–10 cm for sustained descents.
- On normal terrain, use a natural rhythm: left pole with right foot, then right pole with left foot.
- Do not assume a pole will hold your weight until its tip is firmly planted on stable ground.
- Check the locks, shafts, straps, tips, and baskets before a hike and clean and dry the poles before storing them.
At a Glance
| Time Required | About 5–10 minutes to fit the poles, plus 15–30 minutes of easy-trail practice |
| Difficulty | Easy to learn; technique becomes more important on steep or uneven terrain |
| Tools Needed | One hiking staff or, preferably for balanced support, a pair of trekking poles; optional rubber tips and terrain-specific baskets |
| Cost | No additional cost if you already own suitable poles; replacement tips and baskets are optional accessories |
Disclosure: As an Amazon Associate I earn from qualifying purchases. Some links on this page are affiliate links, at no extra cost to you.
Benefits of Hiking with Walking Sticks
Trekking poles give you additional points of contact with the ground. That can be especially useful on loose rock, roots, mud, snow, uneven steps, steep grades, and trails where balance changes quickly.
There is also evidence that poles can reduce some of the forces placed on the lower body. In a laboratory study of downhill walking, researchers found significant reductions in several knee-loading measurements when hiking poles were used. Another study involving downhill hiking with backpack loads also found reductions in lower-extremity joint forces, moments, and power when poles were used.
These findings do not mean that poles remove stress from the knees in every situation. Research on level walking has produced mixed results. A broader review published in Wilderness & Environmental Medicine concluded that trekking poles can reduce some lower-extremity loading and may improve balance and stability, while also increasing cardiovascular demand in some circumstances. See the review of trekking-pole biomechanics and physiology for the broader evidence.
In one small laboratory study, selected knee-loading measures during downhill walking were approximately 12–25% lower with hiking poles. That result is useful evidence, but it should not be treated as a guaranteed reduction for every hiker or every trail.
Note: Trekking poles are hiking equipment, not a substitute for a medical cane, walker, brace, or other prescribed mobility aid. If you have significant joint pain, a recent injury, balance problems, or a condition affecting safe walking, ask an appropriate healthcare professional what support is suitable for you.
Choosing the Right Walking Sticks for Your Hike
The best trekking poles fit your body, the terrain, and the way you hike. Length and lock security matter more than extra features. Weight, shaft material, grips, straps, baskets, and tips then help fine-tune comfort and durability.
One Walking Stick or Two Trekking Poles?
A pair of trekking poles provides balanced left-right support and is generally the more versatile option for hiking with a backpack, tackling long descents, or traveling over uneven terrain. A single hiking staff can still be useful on relatively easy trails when you want one hand free.
If you use only one pole, switch hands when practical so one side does not do all the work. A single pole should not be expected to provide the same four-point rhythm and balanced support as a pair.
Choosing the Right Pole Length
For general hiking on level ground, place the pole tip near your foot and hold the grip normally. Adjust the pole until your elbow forms approximately a 90-degree angle. This is the standard starting position recommended in REI’s trekking-pole technique guidance.
- Level ground: Start with about a 90-degree bend at the elbow.
- Long uphill sections: Shorten adjustable poles by roughly 5–10 cm (2–4 inches).
- Long downhill sections: Lengthen them by roughly 5–10 cm (2–4 inches).
- Sidehill traverses: Shorten the uphill pole and lengthen the downhill pole if doing so keeps your shoulders and torso more level.
These adjustments are starting points, not rigid rules. Fine-tune them for your arm length, slope, grip design, backpack, and comfort.
Pro Tip: If your shoulders keep lifting toward your ears, the poles are probably too long for that section of trail. If you have to bend excessively at the waist to make useful contact, they may be too short.
Material Matters
Aluminum and carbon-composite shafts each have advantages. Aluminum is generally durable and economical. Under heavy stress it may bend rather than fail suddenly. Carbon-composite poles are typically lighter and good at reducing vibration, but they can be more vulnerable to cracking, splintering, or breakage under severe stress. These tradeoffs are described in REI’s trekking-pole selection guide.
For rocky backcountry travel where a pole may become wedged between stones, durability may matter more than saving a few ounces. For long-distance hiking where every ounce counts, a lighter pole may be more attractive.
Locks and Adjustability
Adjustable trekking poles are useful because they let you change length for climbs, descents, and traverses. Common systems include external lever locks, twist locks, push-button mechanisms, and combinations of those designs.
Whatever system you use, test every lock before starting. Locking mechanisms can loosen over time. A pole that suddenly collapses while you are leaning on it can cause a loss of balance.
Comfortable Grips and Wrist Straps
Cork, foam, and rubber grips feel different in the hand. Cork handles sweat well and gradually conform to the user’s hand. Foam feels soft and absorbs moisture. Rubber can insulate well in cold conditions but may be less comfortable for sweaty hands in warm weather.
When using conventional wrist straps, place your hand up through the bottom of the loop, then bring it down onto the grip. Adjust the strap so it supports the heel of your hand without squeezing the wrist. This lets you keep a lighter grip instead of clenching the handle for miles.
Tips and Baskets
Carbide or steel tips provide traction on many natural surfaces. Rubber walking tips are useful on pavement and other hard surfaces and can reduce damage on sensitive surfaces. Tip protectors also keep sharp pole tips from damaging other gear when the poles are packed away.
Baskets help stop the pole from sinking too deeply. Small trekking baskets suit many normal trails, while larger baskets can be useful in mud or snow.
Proper Technique for Using Walking Sticks
Good trekking-pole technique should feel like an extension of normal walking rather than a separate chore. Keep your shoulders relaxed, elbows comfortably bent, and grip light enough that your hands do not fatigue.
Use an Opposite-Arm, Opposite-Leg Rhythm
On normal terrain, plant the left pole as the right foot moves forward, then the right pole with the left foot. This alternating rhythm is similar to the natural arm swing used while walking.
Plant the pole near the point where it can support your next step without forcing you to reach far ahead. On flat or gently rolling ground, the pole can angle slightly backward as you push through the stride.
Using Walking Sticks Uphill
For a sustained climb, shorten adjustable poles roughly 5–10 cm from your normal setting. Keep your torso reasonably upright instead of reaching far ahead and pulling yourself toward an excessively long pole.
On steep steps, you can plant both poles higher on the trail, confirm that both tips are secure, then step up. This double-plant technique sacrifices some walking rhythm but provides extra stability when you need it.
Using Walking Sticks Downhill
For a long descent, lengthening adjustable poles approximately 5–10 cm can make it easier to contact the ground without bending excessively forward. Plant the pole before committing to the next step and let your arms share some of the work.
Avoid reaching so far ahead that the pole becomes a rigid brake. Keep your steps controlled and place each tip where it cannot easily skate off loose stones, roots, or slick rock.
Using Poles on a Sidehill Traverse
When one side of the trail is consistently higher, shorten the uphill pole and lengthen the downhill pole as needed. This keeps you from hiking with one shoulder raised for a long period.
On short traverses, many hikers simply move their hands up or down extended grips instead of stopping to change the pole length.
Crossing Rocks, Logs, Mud, and Water
On rocks or large steps, plant the poles on solid surfaces before shifting your weight. If a pole wedges between rocks, avoid twisting it forcefully because that can damage the shaft.
When stepping over a log, place the poles where they provide support without trapping them behind the obstacle. In deep mud or soft snow, suitable baskets can reduce how far the tips sink.
For a stream crossing, poles can provide extra contact points, but they do not make dangerous moving water safe. Test each placement before moving a foot and turn back when the depth, current, footing, weather, or crossing consequences exceed your ability.
Warning: Never commit your full weight to a pole until you know the tip is secure. On boulder fields or other terrain where a trapped pole could interfere with your ability to use your hands during a fall, consider taking your hands out of the wrist straps.
Common Trekking-Pole Mistakes to Avoid
- Setting the poles too long: Constantly raised shoulders can cause unnecessary fatigue.
- Setting them too short: Reaching downward can encourage excessive bending and reduce useful support.
- Gripping too tightly: Let a correctly adjusted strap support part of the load instead of white-knuckling the handle.
- Planting far in front: Overreaching can interrupt your stride and make the pole act more like a brake.
- Trusting loose ground: A tip placed on a movable rock or unstable edge can slip suddenly.
- Ignoring the locks: Check lever tension, twist locks, and folding connections before depending on them.
- Forcing a trapped pole: Stop and free a wedged tip rather than twisting or levering the shaft aggressively.
- Using the wrong basket or tip: Match accessories to pavement, normal trail surfaces, mud, or snow as appropriate.
- Assuming poles compensate for poor footwear or excessive risk: They are supplemental equipment, not a replacement for sound judgment.
Tips for Maintaining and Caring for Your Walking Sticks
| Tip | What to Do |
|---|---|
| Inspect the shafts | Look for dents, deep scratches, cracks, splintering, or bends before relying on the poles. |
| Check the locks | Confirm that every adjustable or folding section locks securely and does not slip under normal downward pressure. |
| Clean after muddy hikes | Wipe dirt from the shafts, tips, baskets, grips, and exposed locking components. Follow the manufacturer’s instructions before dismantling internal mechanisms. |
| Dry completely | Allow wet shafts and straps to dry before long-term storage to limit odors, mildew, and deterioration. |
| Inspect tips and baskets | Replace badly worn tips and damaged or missing baskets when they can no longer perform their intended job. |
| Store securely | Collapse adjustable poles when appropriate and store them clean and dry, with sharp tips positioned so they cannot damage other equipment. |
After a hike, pay particular attention to mud and grit around telescoping sections and locking mechanisms. Dirt can interfere with smooth adjustment, while moisture left on straps or inside stored equipment can create odors and deterioration.
Do not lubricate locking mechanisms unless the pole manufacturer specifically recommends it. Different lock designs use different materials and friction systems, so a product that helps one mechanism may cause another to slip.
Safety Precautions While Hiking with Walking Sticks
Walking sticks improve your options, but they should not give you false confidence. Continue watching the trail ahead instead of staring only at your pole tips. Loose rocks, exposed roots, sudden drop-offs, weather, snow, water, and other hikers still require your attention.
Before leaving the trailhead, press down on each pole to confirm that all sections are fully seated and locked. Secure unused poles to your backpack rather than carrying them loosely with sharp tips swinging behind you. The American Hiking Society also recommends safely stowing poles when they are not being used.
When hiking in a group, keep enough space between yourself and the person behind you that a backward pole swing cannot strike them. Slow down when passing other hikers and keep the tips under control.
The National Park Service hiking-safety guidance also emphasizes planning ahead, knowing your limits, checking local conditions, and carrying appropriate equipment. Trekking poles supplement those precautions; they do not replace them.
Warning: A trekking pole is only as secure as the surface underneath its tip. Loose rock, unstable snow, mud, rotten wood, ice, and streambeds can all make an apparently solid plant fail without warning.
Using Walking Sticks for Better Hiking Efficiency and Endurance
Trekking poles can make hiking feel more controlled by involving the arms and helping distribute work across more of the body. That does not mean they automatically make every hiker faster or allow everyone to walk farther.
Research shows an important tradeoff. Pole use can increase upper-body activity and cardiovascular demand, particularly at a given walking speed, even when the hiker does not perceive a proportional increase in effort. Other research involving backpack loads has found reduced perceived exertion or reduced activity in some lower-extremity muscles under certain conditions.
For most recreational hikers, the practical goal is therefore efficiency and control, not chasing a guaranteed speed increase.
- Keep a repeatable opposite-arm/opposite-leg rhythm on easy terrain.
- Use shorter steps when the grade becomes steep or footing deteriorates.
- Double-plant both poles temporarily when extra stability matters more than rhythm.
- Relax your hands and shoulders rather than gripping harder as you become tired.
- Adjust the poles when the grade changes for a long period instead of forcing one setting to work everywhere.
- Practice on easy trails before depending on the technique in difficult terrain.
Using Walking Sticks for Balance and Stability on Challenging Terrain
Challenging terrain is where trekking poles often provide their most obvious practical advantage: they give you additional contact points that can be placed before you move a foot.
On loose gravel, plant the pole on the most stable surface available and test it gently before weighting it. On slick rock, avoid assuming that a metal tip will grip every surface. On muddy terrain, baskets may prevent excessive sinking, but the pole can still slide sideways.
When crossing a sequence of rocks or uneven steps, think in terms of stable contact rather than speed. Secure one or both poles, move one foot, regain balance, then set up the next movement.
This technique can reduce rushed steps and help you maintain a more controlled posture, but poles cannot eliminate fall risk. If the terrain requires climbing skills, specialized traction, an ice axe, a handline, or other equipment, trekking poles are not substitutes for those tools.
Incorporating Walking Sticks into Your Overall Hiking Gear and Strategy
Trekking poles work best when they complement the rest of your hiking setup. They cannot compensate for poor footwear, an overloaded backpack, inadequate water, unsuitable clothing, or a route beyond your ability.
Before a hike, ask four simple questions:
- Will the route involve sustained climbs or descents?
- Is the surface rocky, muddy, snowy, or otherwise uneven?
- Will I carry enough pack weight that additional balance may be useful?
- Will there be sections where I need both hands free?
If you will use the poles only on part of the route, folding or telescoping designs make them easier to stow. Attach collapsed poles securely to your pack so the tips do not point toward another hiker and the shafts cannot catch vegetation or obstacles.
If you are planning a hiking trip as part of a broader visit—whether to Montreal, Puerto Vallarta, or another destination—check the exact trail conditions instead of relying only on the destination’s general weather. Elevation, recent rain or snow, seasonal closures, and local terrain can matter more to pole choice than the city’s forecast.
Pro Tip: Practice adjusting, folding, and stowing your poles at home. On the trail, you should be able to change their length or secure them to your pack without struggling with an unfamiliar lock.
Frequently Asked Questions
What are walking sticks used for in hiking?
Walking sticks or trekking poles provide extra contact points with the ground. They can improve stability on uneven terrain, assist with climbing and descending, and shift part of the work to the upper body. Research suggests they can reduce some lower-extremity loading in certain conditions, particularly during descents.
How do you choose the right walking sticks for hiking?
Choose poles that adjust to a comfortable length and lock securely. Then consider shaft material, packed size, weight, grip comfort, straps, baskets, and replaceable tips. A pair is generally the most versatile choice for hiking, while a single staff can work well on easier terrain.
How high should trekking poles be?
On level ground, a good starting point is a pole length that creates about a 90-degree bend in your elbow when the tip is beside your foot. Adjust from there for comfort and terrain.
How do you adjust walking sticks for uphill and downhill hiking?
For sustained climbs, shorten adjustable trekking poles approximately 5–10 cm (2–4 inches). For sustained descents, lengthen them by roughly the same amount. On a sidehill traverse, the uphill pole can be shorter than the downhill pole.
What is the proper technique for using walking sticks while hiking?
Keep a relaxed grip and natural arm swing. On normal terrain, plant the left pole with the right foot and the right pole with the left foot. Plant each tip securely before depending on it, and use a double-pole plant when a steep step requires extra stability.
How do you use trekking-pole wrist straps correctly?
Put your hand upward through the bottom of the strap loop, then bring your hand down over the strap and hold the grip. Adjust the loop so it supports the heel of your hand without squeezing your wrist. On very uneven terrain where a trapped pole could interfere with a fall response, consider taking your hands out of the straps.
Should you use one or two walking sticks for hiking?
Two trekking poles provide more balanced support and are usually preferable on uneven terrain, long climbs, descents, and backpacking trips. One staff can still be useful on easy terrain or when you want to keep one hand free.
Can walking sticks be used on all types of hiking terrain?
They can be useful on many surfaces, including ordinary trails, loose rock, mud, snow, climbs, and descents, but the correct tips, baskets, and technique vary. Trekking poles do not make hazardous water, exposed scrambling, severe ice, avalanche terrain, or other technical conditions safe.
Do trekking poles really help your knees?
They can. Studies of downhill walking have measured reductions in several knee and lower-extremity loading variables when poles were used. However, research on level walking is mixed, so it is more accurate to say poles may reduce knee loading in certain conditions rather than guaranteeing knee protection.
Sources
- Wilderness Medicine review of trekking-pole biomechanics and physiology — summarizes evidence on loading, stability, cardiovascular demand, and backpacking.
- Knee joint forces during downhill walking with hiking poles — supports the discussion of downhill knee loading.
- Effects of hiking downhill using trekking poles while carrying external loads — supports lower-extremity loading findings during loaded descents.
- REI: How to Use Trekking Poles and Hiking Staffs — supports pole length, grade adjustments, straps, tips, baskets, and technique.
- National Park Service: Staying Safe on Trails — supports general hiking preparation and safety guidance.
- Washington Trails Association: How to Use Trekking Poles — supports strap and unstable-terrain safety guidance.

