
Last Updated on September 11, 2026 by Daniel Globe
Tall hiking sticks are not automatically better than short ones. The right length depends on your height, the slope, and how the grip feels in your hand. Start with your elbow bent about 90 degrees on level ground, then shorten adjustable poles for long climbs and lengthen them for descents. A secure, comfortable setup matters more than choosing the longest pole available.
Quick Answer
No. A taller hiking stick is not automatically better. Set trekking poles so your elbow forms about a 90-degree angle on level ground. Shorten them 5–10 cm for long climbs, lengthen them 5–10 cm for descents, and adjust one side on traverses. Fit, terrain, and secure locks matter more than maximum length.
Key Takeaways
- Use a roughly 90-degree elbow bend as the starting fit on level ground.
- Shorten poles by about 5–10 cm for sustained climbs and lengthen them by about 5–10 cm for sustained descents.
- A person who is 5 feet 5 inches tall will commonly use a 110 cm fixed-length pole, not a 29–34 inch pole.
- Trekking poles and hiking staffs are trail tools, not substitutes for a properly fitted medical cane or walker.
- Test the locks, straps, grip, and tip placement before relying on the poles on uneven ground.
At a Glance
| Time Required | About 5 minutes for the first fitting; a few seconds for trail adjustments |
| Difficulty | Easy |
| Tools Needed | Hiking shoes, adjustable poles or staff, and an optional tape measure |
| Cost | $0 if you already own the poles |
Disclosure: As an Amazon Associate I earn from qualifying purchases. Some links on this page are affiliate links, at no extra cost to you.
Find the Right Hiking Stick Length
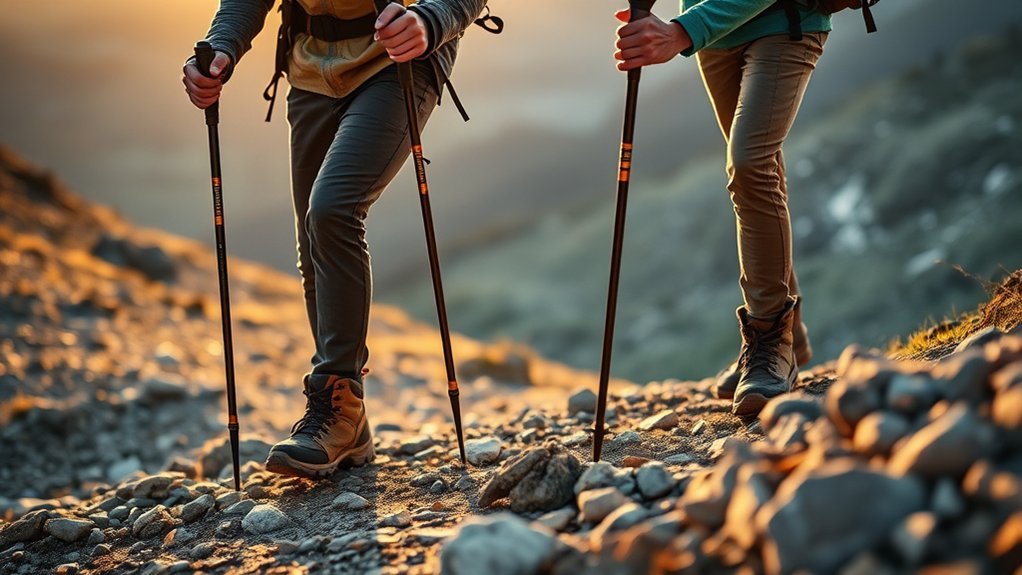
Stand upright in your hiking shoes, relax your shoulders, and place the pole tip beside your foot. Hold the grip normally. Your forearm should be close to level, creating about a 90-degree bend at the elbow. This is the standard starting point recommended in the REI trekking-pole sizing guide and by pole manufacturers such as Black Diamond.
The 90-degree check is a baseline, not a rigid rule. Arm length, grip shape, boots, trail slope, and personal comfort can change the best setting by a few centimeters. Your shoulders should stay relaxed rather than lifted toward your backpack straps.
Trekking Poles vs. a Hiking Staff
Trekking poles are normally used as a pair. They are useful on varied terrain and when carrying a pack because they provide support on both sides. A hiking staff is one pole, often with a larger grip, and is most useful on relatively flat terrain or when carrying little weight. Both can use the same 90-degree elbow check, but neither is designed to replace a medical cane, crutch, or walker.
Five-Step Fit Check
- Wear the shoes or boots you normally hike in.
- Stand on level ground with your shoulders relaxed.
- Place the pole tip beside your foot, not far ahead of you.
- Adjust the shaft until your elbow is close to 90 degrees.
- Lock every section, press down firmly, and confirm that nothing slips.
Pro Tip: On a three-section pole, set the lower section according to the manufacturer’s markings, then use the upper adjustment for quick changes on the trail. Never extend a section past its stop or maximum-length mark.
When a Longer Hiking Stick Setting Helps
A longer setting is most useful when your hands need to reach lower ground. That normally happens on sustained descents, on the downhill side of a traverse, or when you are testing the depth or firmness of a step. Longer does not mean fully extended; it means slightly longer than your level-ground setting.
| Situation | Adjustment | Why It Helps |
|---|---|---|
| Long descent | Lengthen both poles about 5–10 cm | Helps you stay more upright and reach lower ground |
| Sidehill traverse | Lengthen the downhill pole | Keeps your shoulders and torso more level |
| Step-down or stream edge | Use a modestly longer reach | Lets you test the next foothold before committing weight |
| Hiker over 6 feet tall | Choose a model reaching at least 130 cm/51 in | Provides enough range for a proper level-ground fit |
The best pole is not the tallest one. It is the one that keeps your shoulders relaxed, your grip secure, and your body balanced for the slope in front of you.
When Shorter Hiking Sticks Work Better
A shorter setting is usually better on sustained climbs because it lets you plant the tips closer to your feet without lifting your shoulders. It can also make a pole easier to place on tight switchbacks, rock steps, and narrow trails.
Tight Turns
On tight turns, keep the pole plants compact and close to your body. A slightly shorter setting may feel easier to move from side to side, but you may not need to stop and change the shafts for every switchback. Many poles have an extended foam or cork grip below the main handle; sliding your hand lower on that grip can give you temporary uphill control without changing the locks.
Uphill Control
For a long climb, shorten both poles by about 5–10 cm (2–4 inches). The steeper the slope, the more shortening may help. The poles should support your rhythm without forcing your shoulders upward. The REI pole-use guide gives the same uphill and downhill adjustment range.
| Adjustment | Benefit | When to Use |
|---|---|---|
| 5–10 cm shorter | Closer, more secure pole plants | Sustained climbs |
| Hands lower on extended grips | Fast temporary adjustment | Short rises and switchbacks |
| Shorter uphill-side pole | More level posture | Long traverses |
How to Measure a Hiking Staff
The most reliable method is to fit the actual staff or pole while wearing hiking shoes. A tape measure can help before you buy, but the final check should be your posture with the tip on the ground and your hand on the real grip.
Wrist-to-Floor Method
Stand naturally with your arms resting at your sides and measure from the wrist crease to the floor. This can give you a rough idea of where a grip may sit, but it is not the main sizing standard for trekking poles. Grip thickness, tip length, shoes, and arm proportions can all change the result. Confirm the fit by holding the pole and checking for a relaxed 90-degree elbow bend.
Elbow Height Check
For a more useful pre-purchase measurement, bend your elbow to 90 degrees with your forearm level. Close your hand as though you are holding a grip, then measure from the floor to the top of your fist. Black Diamond describes this method in its official product FAQ. Round to the nearest available fixed-pole size, then test the actual pole before using it on a trail.
Height-Based Sizing Guide
The following chart is a starting guide for fixed-length trekking poles. Adjustable poles should still be fitted with the 90-degree elbow check. Manufacturer charts may vary, so check the chart for the exact model you plan to buy. The LEKI pole-length advisor, for example, treats its recommendation as non-binding because technique and body proportions differ.
| Hiker Height | Suggested Fixed Pole | Approximate Inches |
|---|---|---|
| Under 5 ft 1 in (under 155 cm) | 100 cm | 39 in |
| 5 ft 1 in–5 ft 7 in (155–170 cm) | 110 cm | 43 in |
| 5 ft 8 in–5 ft 11 in (173–180 cm) | 120 cm | 47 in |
| 6 ft and taller (183 cm+) | 130 cm | 51 in |
Note: These are trekking-pole lengths, not cane lengths. A 29–34 inch walking aid may be appropriate for some people when professionally fitted, but it is usually too short to match standard trekking-pole geometry.
Match Stick Length to Terrain
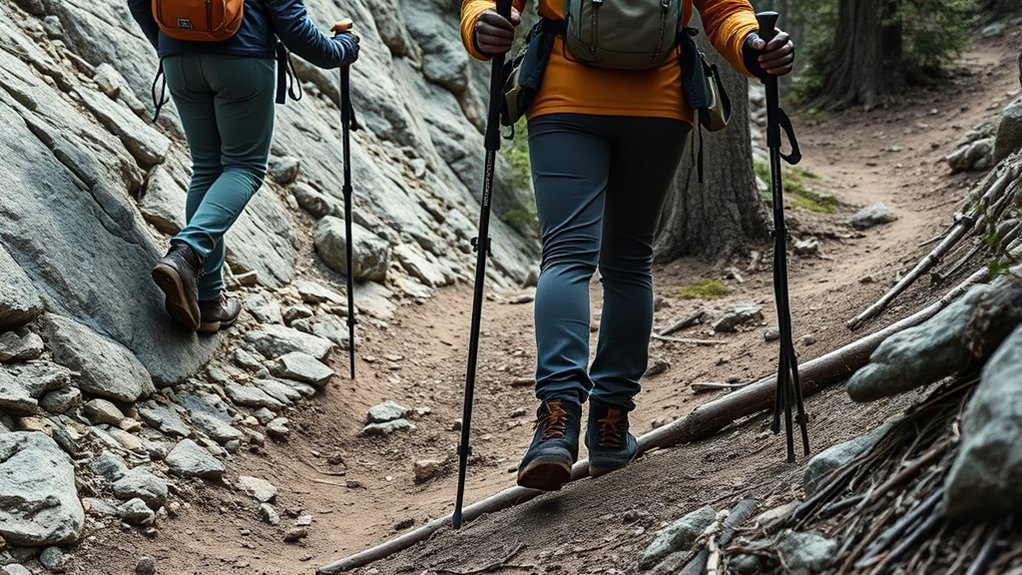
Start with the level-ground setting, then make small changes for long sections of trail. You do not need to stop for every small rise or dip. Use grip extensions for short changes and adjust the shafts when the slope will continue.
| Terrain | Pole Setting |
|---|---|
| Level ground | Set the grip so the elbow is about 90 degrees. |
| Long uphill | Shorten both poles by roughly 5–10 cm. |
| Long downhill | Lengthen both poles by roughly 5–10 cm. |
| Sidehill traverse | Shorten the uphill pole and lengthen the downhill pole. |
| Short rock step | Change hand position on an extended grip before changing shaft length. |
Adjust Your Stick for Comfort
A comfortable setup keeps your wrists close to neutral, your shoulders down, and your grip light. If you are squeezing the handles hard, lifting your shoulders, striking the tips against your heels, or reaching far ahead on every step, adjust the length or technique.
Grip and Strap Fit
Put your hand up through the bottom of the wrist strap, then bring it down over the strap and onto the grip. Adjust the loop so the strap supports the heel of your hand without cutting into your wrist. This lets you hold the grip more lightly. Some poles have left- and right-specific straps, so check their labels.
Lock and Shaft Checks
Open each lock, set the pole within its printed adjustment range, close the lock, and press down firmly. If a section slips, clean the shaft and adjust the lock tension according to the manufacturer’s directions. Lock systems can loosen over time, so check them before each hike and after a hard pole plant.
Warning: Do not extend a pole beyond its maximum mark or use a trekking pole as a full-weight medical support. A loose lock, damaged shaft, or wrongly sized mobility aid can fail when you need it most.
Common Hiking Stick Sizing Mistakes
- Buying by total height alone: Height charts are useful, but arm length and grip design still affect fit.
- Using cane measurements for trekking poles: A cane and a trekking pole serve different purposes and usually use different lengths.
- Keeping one setting for every slope: Adjustable poles work best when changed for long climbs, descents, and traverses.
- Raising the shoulders: If the grip pushes your shoulders upward, shorten the pole.
- Extending past the stop mark: This reduces safe overlap between shaft sections.
- Ignoring slipping locks: Test each pole before the trail becomes steep or exposed.
One Hiking Stick or Two Trekking Poles?
One staff leaves a hand free and can add confidence on mild terrain. Two trekking poles provide support on both sides and are usually more useful on uneven trails, descents, snow, or when carrying a backpack. The better choice depends on the route and your comfort, but a pair gives you more options for alternating plants and adapting to side slopes.
Materials, Grips, and Adjustability
Length comes first, but the pole also has to feel comfortable and stay secure. Aluminum shafts tend to bend before breaking and are often less expensive. Carbon-fiber poles are lighter and can damp vibration, but they may fail more suddenly if badly damaged. Cork, foam, and rubber grips feel different in heat, cold, and rain, so test them with the gloves you use.
Adjustable poles are the easiest choice for routes with long changes in elevation. Fixed-length and folding poles can be lighter and simpler, but they must match your body and may offer less terrain adjustment. Whatever style you choose, make sure its usable range includes your level-ground length as well as room for uphill and downhill changes.
Hiking Poles for Seniors and Joint Pain
Older hikers use the same basic 90-degree trekking-pole fit as other adults; there is no separate rule that makes 29–31 inches the normal trekking-pole length for seniors. However, someone who needs a device to bear substantial body weight or prevent falls should be assessed for a proper medical walking aid rather than relying on recreational poles.
Studies of downhill walking have found that trekking poles can reduce some forces, moments, and power around lower-limb joints. That may make walking feel more comfortable for some people, but it does not prove that poles treat the cause of hip pain or another joint condition.
Note: Stop and seek medical advice for severe pain, sudden swelling, inability to bear weight, a visibly deformed joint, or pain that keeps worsening. The Mayo Clinic hip-pain guidance lists these as reasons for prompt care.
Frequently Asked Questions
What is a good length for a hiking stick?
A good starting length places your elbow at about 90 degrees when the tip is beside your foot on level ground. For fixed trekking poles, common sizes run from about 100 cm/39 inches for shorter adults to 130 cm/51 inches for hikers 6 feet and taller.
What height should walking poles be for seniors?
Seniors should use the same basic trekking-pole fit: relaxed shoulders and about a 90-degree elbow bend on level ground. Age alone does not determine the length. Anyone who needs a device to bear substantial weight or manage a balance disorder should ask a clinician to fit an appropriate mobility aid.
Do hiking poles help hip pain?
They may improve balance and reduce some lower-limb loading during downhill walking, which can feel helpful to some hikers. They do not diagnose or treat the cause of hip pain. Persistent, severe, worsening, or injury-related pain should be evaluated by a healthcare professional.
How long should hiking poles be if you are 5 feet 5 inches tall?
A 110 cm fixed-length trekking pole, about 43 inches, is the common starting size for a person who is 5 feet 5 inches tall. With adjustable poles, set the grip so your elbow is about 90 degrees, then fine-tune for comfort and terrain.
Should your arms be straight when using hiking poles?
No. On level ground, your elbows should normally have a comfortable bend of about 90 degrees. Your elbows will open and close as you walk, but the poles should not force your arms to stay straight or your shoulders to rise.
Is one tall hiking staff better than two shorter poles?
Not necessarily. A single staff can be convenient on mild terrain, while a pair of trekking poles provides support on both sides and usually works better on uneven ground, long descents, or with a backpack. Each pole should still fit your body and the terrain.
Conclusion
The right hiking stick length is the one that supports a relaxed, balanced posture. Begin with a 90-degree elbow bend on level ground, shorten the poles for long climbs, and lengthen them for descents. Use a correct trekking-pole size rather than a cane-length chart, test every lock, and adjust when the trail changes. A well-fitted pole should work with your stride instead of forcing your body to adapt to it.
Sources
- REI: How to Choose Trekking Poles and Hiking Staffs — 90-degree fit, fixed-length sizing chart, pole types, and terrain adjustments.
- REI: How to Use Trekking Poles and Hiking Staffs — uphill, downhill, traverse, grip, strap, tip, and lock guidance.
- Black Diamond Product FAQ — manufacturer method for measuring pole length with the elbow at 90 degrees.
- LEKI Pole Length Advisor — manufacturer sizing tool and guidance on individual fit.
- Bohne and Abendroth, Journal of Sports Sciences — controlled study of lower-limb joint loading during downhill walking with trekking poles.
- Mayo Clinic: Hip Pain—When to See a Doctor — warning signs that need prompt medical attention.
