
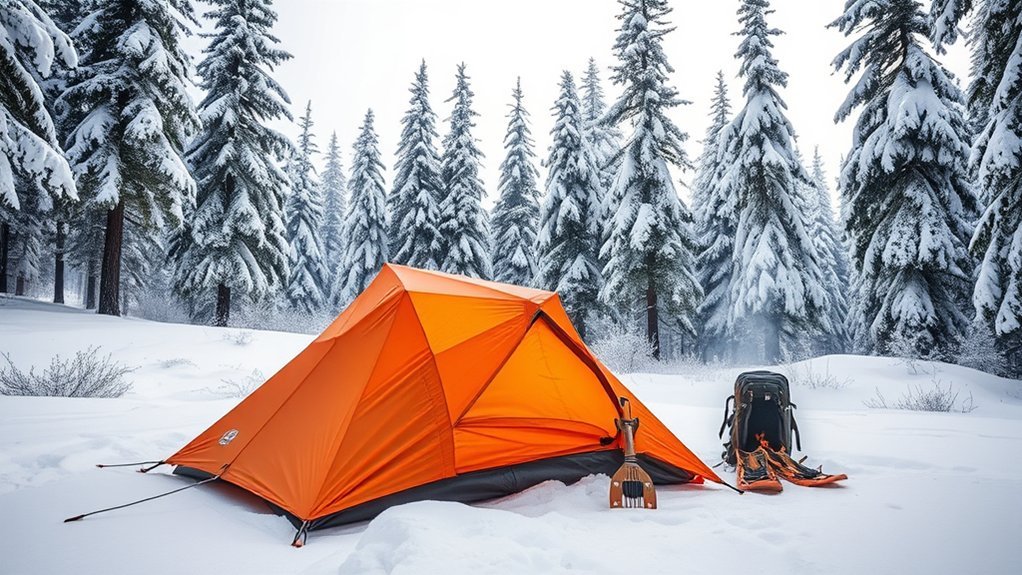
Last Updated on July 29, 2026 by Mason Reed
Winter tent camping offers quiet trails, snowy views, and a rewarding sense of self-reliance, but cold weather leaves little room for weak gear or rushed decisions. A safe trip starts with a conservative route, a weather-resistant shelter, a tested sleeping system, dry clothing, reliable food and water, and a clear plan for turning back when conditions worsen.
Quick Answer
To camp safely in winter, dress in moisture-managing layers, use a sleeping bag and insulated pad rated for the forecast, pitch a sturdy tent away from wind and overhead hazards, carry extra food and stove fuel, protect water from freezing, and leave before weather, cold injuries, or equipment problems become emergencies.
Key Takeaways
- Choose a short, low-risk first trip and test your tent, stove, clothing, and sleep system near home before relying on them in the backcountry.
- Your sleeping bag and pad—not the tent—provide most of your nighttime insulation.
- Stay dry by removing layers before you sweat and keeping a separate base layer and socks only for sleeping.
- Never use an ordinary camp stove, charcoal burner, lantern, or unvented heater inside a tent.
- Check weather alerts, wind chill, avalanche conditions, road access, and land-management rules before leaving.
- Turn around when weather deteriorates, essential gear fails, or anyone shows signs of hypothermia, frostbite, exhaustion, or poor judgment.
At a Glance
| Time Required | Several days of planning and gear testing, plus about 30–60 minutes to prepare and pitch a campsite in snow |
| Difficulty | Moderate to advanced; beginners should start at an established campground close to a vehicle |
| Tools Needed | Winter-capable tent, cold-rated sleeping bag, insulated pads, layers, stove and fuel, shovel, navigation, headlamp, first-aid kit, repair kit, and emergency communication |
| Cost | Varies widely; renting or borrowing a winter tent, sleeping bag, pad, snowshoes, and safety equipment can reduce the cost of a first trip |
Safety Note: Winter conditions vary by location and elevation. Follow current land-manager rules, weather alerts, avalanche forecasts, road restrictions, and equipment instructions. General camping advice is not a substitute for avalanche education, wilderness first-aid training, or local ranger guidance.
Disclosure: As an Amazon Associate I earn from qualifying purchases. Some links on this page are affiliate links, at no extra cost to you.
Plan a Safe Winter Camping Trip
Winter travel takes longer than summer travel. Snow can hide trails, shorten your stride, block roads, cover signs, and make simple chores such as pitching a tent or melting water slow and tiring. The National Park Service winter backcountry guidance recommends careful route planning, cold-condition gear testing, extra food, navigation equipment, emergency signaling equipment, and additional time for travel, cooking, and camp setup.
For a first winter trip, choose an established campground or a short route that remains close to your vehicle or another dependable exit. Avoid remote terrain, exposed ridges, frozen waterways, steep slopes, and areas beneath avalanche paths until you have the required training and equipment.
Complete These Checks Before Leaving
- Confirm access: Check campground openings, permits, parking restrictions, road closures, chain requirements, trail conditions, and fire rules.
- Check several forecasts: Review the expected high, overnight low, wind, wind chill, snowfall, freezing rain, and timing of approaching fronts.
- Match the forecast elevation: A nearby town forecast may not represent a mountain campsite. Temperature decreases by roughly 3.5°F per 1,000 feet in a standard atmosphere, but actual conditions can differ because of storms, terrain, and inversions.
- Create a trip plan: Give a responsible person your route, campsite, vehicle description, group members, expected return time, and the time at which they should contact authorities.
- Set turnaround rules: Decide in advance which weather warnings, temperatures, equipment failures, injuries, or delays will end the trip.
- Test critical gear: Pitch the tent, light the stove, use the water-treatment system, inflate the pad, and sleep outside in controlled cold conditions before a remote trip.
- Carry navigation: Bring a paper map and compass in addition to a phone or GPS. Cold shortens battery life, so keep electronics insulated and carry backup power.
Pro Tip: Make your first winter campout a one-night test within a short walk of your vehicle. You can learn how your sleeping system, stove, boots, and gloves perform without turning a minor gear problem into a backcountry emergency.
Winter Tent Camping Gear Checklist
Pack for the lowest reasonable temperature, not only the most pleasant part of the forecast. Divide shared equipment among group members, but make sure each person retains enough clothing, food, navigation, and emergency gear to remain safe if the group becomes separated.
Shelter and Sleeping Gear
- Winter-capable tent with complete poles, guylines, repair sleeve, and manufacturer-recommended stakes
- Snow stakes, buried anchors, or sturdy bags that can be filled with snow
- Groundsheet when compatible with the tent
- Sleeping bag with a suitable tested comfort or limit rating
- Insulated air or self-inflating pad plus a closed-cell foam pad when needed
- Dry sleeping base layer, socks, hat, and gloves
- Small snow shovel
Clothing and Footwear
- Synthetic or wool base layers
- Fleece or synthetic midlayer
- Insulated jacket
- Waterproof and wind-resistant shell jacket and pants
- Insulated waterproof boots with room for warm socks
- Multiple pairs of wool or synthetic socks
- Liner gloves and insulated waterproof mittens or gloves
- Warm hat, balaclava, and neck gaiter
- Sunglasses or goggles and sunscreen
Cooking, Water, and Emergency Gear
- Cold-compatible stove, stable stove base, fuel bottle or canisters, and extra fuel
- Ignition source plus waterproof backup matches
- Pot, lid, utensils, insulated mug, and heat-resistant gloves
- Wide-mouth water bottles with insulated covers
- Backup water-treatment method
- High-calorie meals, trail snacks, and at least one extra day of food
- Headlamp and spare batteries
- First-aid kit and personal medications
- Knife or multi-tool, duct tape, cord, pad patches, and tent repair materials
- Whistle, emergency shelter, fire starter, and satellite messenger or personal locator beacon where appropriate
What to Wear for Winter Camping and Hiking
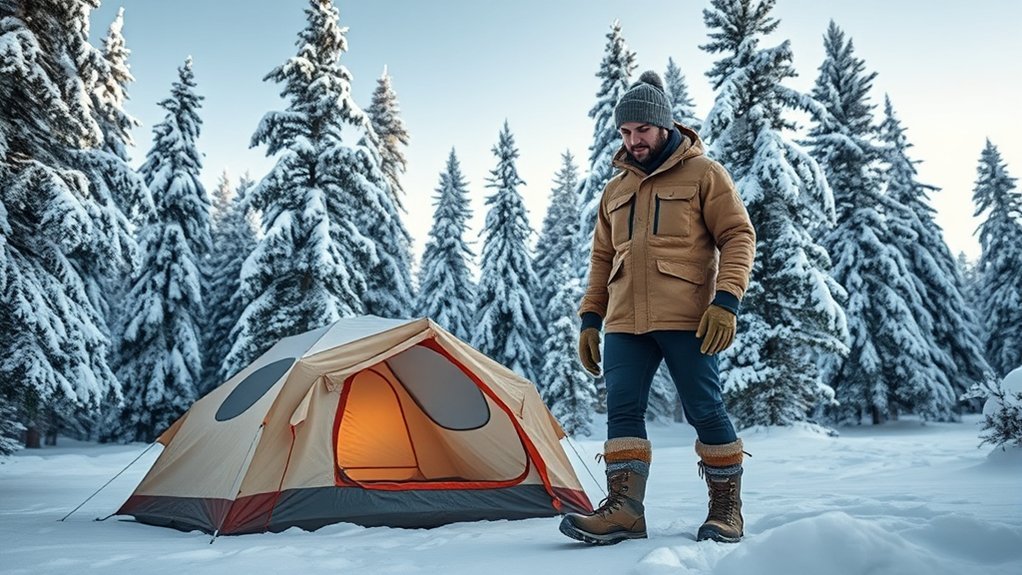
The goal of winter clothing is not to feel hot at all times. It is to remain warm enough without soaking your insulation in sweat. The National Park Service recommends wool or synthetic clothing instead of cotton because cotton absorbs moisture and loses much of its insulating value when wet.
Use a Four-Part Layering System
- Base layer: Wear a close-fitting synthetic or wool top and bottom that move moisture away from your skin.
- Midlayer: Add fleece, wool, or synthetic insulation that can be removed during hard travel.
- Insulating layer: Carry a down or synthetic jacket for stops and camp. Synthetic insulation is generally more forgiving in persistent damp conditions, while protected down offers excellent warmth for its weight.
- Shell layer: Use a wind-resistant and waterproof or highly water-resistant jacket and pants when snow, wind, or wet weather requires them.
Begin hiking slightly cool. Remove a hat, open vents, or take off a midlayer before sweat builds. Put insulation back on as soon as you stop. Wet clothing can cool quickly in wind and may become stiff or frozen overnight.
Protect Your Hands, Feet, Head, and Face
Use thin liner gloves beneath insulated mittens or gloves so you can operate zippers and stove controls without fully exposing your hands. Pack a spare pair in a waterproof bag. Wear a warm hat, neck gaiter, and face covering, but avoid breathing directly into clothing or your sleeping bag because the moisture can freeze.
Choose boots large enough for warm socks without compressing your feet. Tight boots and multiple squeezed-in sock layers can restrict circulation and make feet colder. Change into dry socks before bed and keep one pair reserved for sleeping.
Warning: Do not place soaked clothing inside your sleeping bag as a routine drying method. Moisture can move into the bag’s insulation and reduce warmth. Keep a completely dry sleep layer protected in a waterproof bag, and isolate wet gear from the sleeping system.
How to Choose a Winter Tent
A four-season tent is built to handle stronger wind, drifting snow, and greater snow loading than a typical warm-weather tent. It does not replace a properly rated sleeping bag and pad. Choose the shelter according to the expected weather, exposure, group size, and manufacturer’s intended use.
- Mild, sheltered conditions: A strong three-season tent may be suitable when heavy snow and severe wind are not expected.
- Exposed or storm-prone conditions: Use a four-season tent with a robust pole structure, multiple guy points, and less unsupported fabric.
- Snow camping: Confirm that the tent accepts snow anchors and can be pitched while wearing gloves.
- Ventilation: Use upper and lower vents as designed. Sealing the shelter tightly traps moisture and increases condensation.
A smaller tent may feel less drafty and has less interior air space, but tents are not safe substitutes for heated buildings. Never attempt to warm an ordinary tent with a cooking stove, charcoal, open flame, lantern, or unapproved heater.
Selecting a Winter Campsite
Choose a campsite that is legal, protected from the strongest wind, and outside obvious hazard zones. Follow local requirements first. Where no different rule applies, Leave No Trace guidance generally recommends camping at least 200 feet, or about 70 adult steps, from water.
Avoid These Campsite Hazards
- Standing dead trees, cracked trunks, broken tops, and hanging limbs
- Branches carrying heavy snow or ice
- Runout zones beneath steep, open, or avalanche-prone slopes
- Frozen lakes, streams, and snow bridges unless their safety has been established by qualified local guidance
- Low depressions that collect cold air or melting water
- Ridges, saddles, and open areas exposed to severe wind
- Areas where drifting snow could bury the tent entrance or block ventilation
Do not select standing dead trees as a firewood source. They can fall without warning and may provide wildlife habitat. Where gathering is permitted, collect only small, dead-and-down wood in accordance with local rules. Many locations prohibit collecting wood or restrict fires to established rings. Buying approved local firewood also helps prevent the spread of invasive pests.
How to Set Up a Winter Tent in Snow
- Check overhead and surrounding hazards. Look for dead trees, loaded branches, steep slopes, cornices, drainage routes, and wind exposure.
- Pack the snow. Wearing snowshoes or boots, compress an area large enough for the tent, vestibule, and safe movement around the shelter.
- Let soft snow settle when possible. Firm snow holds stakes and tent floors better than freshly disturbed powder.
- Position the tent for the wind. Follow the manufacturer’s pitch orientation. In many designs, the strongest or narrowest end should face the prevailing wind.
- Use suitable anchors. Snow stakes may work in firm snow. In soft snow, bury stakes, poles, or purpose-built anchors horizontally, compact the snow, and allow it to harden before tensioning.
- Attach every important guyline. Winter wind and snow place more stress on the shelter than calm summer weather.
- Maintain ventilation. Keep designed vents open and prevent drifting snow from sealing them.
- Recheck the shelter. Tighten loosened guylines and remove accumulating snow before it overloads the fly or poles.
Pro Tip: Mark buried anchors with bright cord. This makes them easier to find when breaking camp and reduces the chance of leaving stakes or bags under the snow.
How to Build a Warm Winter Sleeping System
Your sleeping system includes the bag, pad or pads, sleep clothing, shelter, and your own metabolism. A warm bag cannot compensate for an under-insulated pad because body weight compresses the insulation beneath you.
Choose the Sleeping Bag Carefully
Look for an adult sleeping bag tested under a recognized system such as ISO 23537-1:2022. The comfort rating is a better starting point for people who sleep cold, while the lower-limit rating represents a lower temperature at which a warm sleeper may remain comfortable. Neither number guarantees comfort for every person.
A practical approach is to select a bag with a comfort rating below the coldest expected temperature and keep an additional safety margin. Account for wind exposure, humidity, fatigue, food intake, bag age, and personal cold tolerance.
Insulate Yourself From the Ground
Use an ASTM-tested pad with an R-value appropriate for the forecast. For true winter camping, an R-value around 5 or higher is a useful starting point for many conditions, while colder snow camping may require more. A closed-cell foam pad beneath an insulated air pad adds warmth, protects against punctures, and provides backup insulation if the inflatable pad fails. Pad R-values are additive when the pads are stacked.
Ignore pad thickness as a measure of warmth. A thick uninsulated air mattress may circulate cold air and provide less protection than a thinner insulated pad.
Prepare for Bed
- Eat a meal and drink water before bed, but avoid depending on alcohol for warmth.
- Use the bathroom before entering the sleeping bag.
- Change into a completely dry base layer and dry socks.
- Loosen tight boot liners and clothing that could restrict circulation.
- Fluff the sleeping bag so its insulation can regain loft.
- Keep tomorrow’s clothing dry in a protected bag rather than stuffing wet garments into the sleeping bag.
- Keep essential batteries and electronics insulated from severe cold.
A tightly sealed water bottle filled with hot—not boiling—water can provide temporary warmth when the bottle manufacturer permits hot liquids. Check the cap for leaks and wrap the bottle in clothing before placing it near your torso or upper legs.
The tent blocks weather, but the sleeping bag and insulated pads do most of the work of keeping you warm through the night.
What to Eat and Drink on a Winter Camping Trip
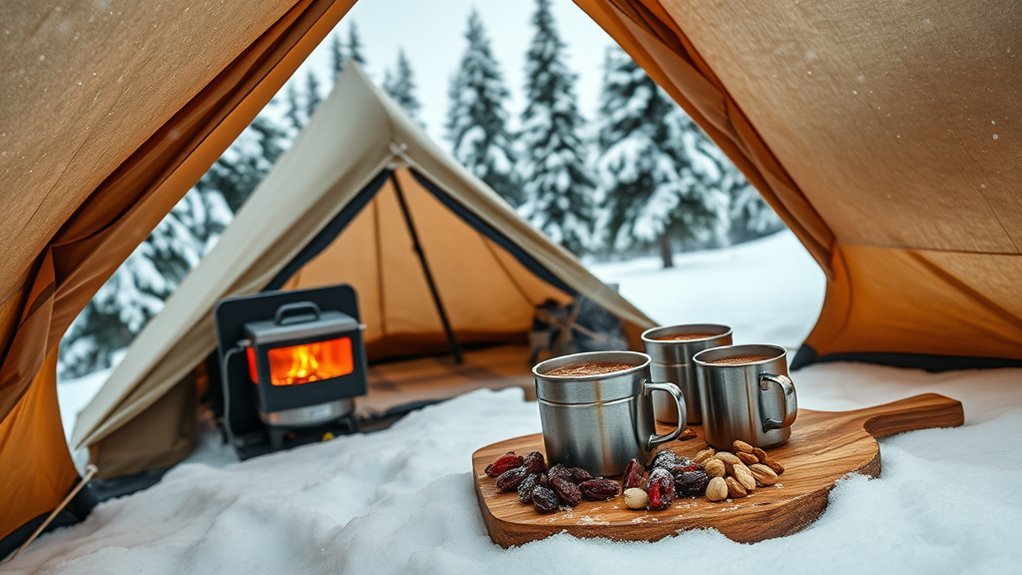
Cold travel, deep snow, camp chores, and shivering can increase energy use. Choose meals that are easy to prepare with gloves, require little cleanup, and remain edible in freezing weather.
Pack Simple, Energy-Dense Food
- Oatmeal, granola, nut butter, dried fruit, and powdered milk for breakfast
- Tortillas, hard cheese, tuna packets, nut butter, and cured foods for lunch
- Pasta, instant rice, couscous, dehydrated meals, or soup for dinner
- Nuts, chocolate, fig bars, energy bars, and trail mix for snacks
- One extra day of food for delays or equipment problems
Test snacks in a freezer before the trip. Some bars, candy, and cheese become too hard to bite safely. Keep daytime food in inside pockets when practical so it remains chewable.
Protect Water From Freezing
Drink regularly even when you do not feel thirsty. Carry wide-mouth bottles because narrow openings and hydration tubes freeze more easily. Store leakproof bottles upside down in insulated covers so ice is less likely to block the cap first, but remember that this only delays freezing.
Keep water filters from freezing according to their manufacturer’s instructions. Water trapped inside a hollow-fiber filter can expand and damage the fibers without visible signs. Carry a backup treatment method suitable for the location.
Melt Snow Safely
Use clean snow collected away from toilets, campsites, roads, wildlife activity, and contaminated surfaces. Start with a small amount of liquid water in the pot, add snow gradually, and keep the lid on to conserve fuel. Snow is mostly air, so producing a full bottle of water requires more snow and fuel than beginners often expect.
Do not assume that melting alone makes contaminated snow safe. Bring the water to an appropriate treatment temperature or apply another reliable treatment method for the organisms expected in the area.
Choose a Cold-Weather Cooking Stove
Most liquid-fuel stoves and some regulated or remote-canister stoves can work in winter. Performance varies by model, fuel blend, altitude, and temperature, so consult the manufacturer’s stated operating limits and test the complete system before the trip.
- Liquid-fuel stove: Often dependable below freezing and refillable, but it requires priming, maintenance, and careful fuel handling.
- Regulated canister stove: Convenient and compact, but some canisters lose pressure in deep cold. Use only manufacturer-approved cold-weather techniques.
- Wood-burning cooking stove: Dependent on dry fuel and local fire rules; it may be prohibited during restrictions or in sensitive areas.
- Backup: On remote trips, carry extra fuel, a repair kit, and a reliable backup method appropriate to the group and conditions.
Place the stove on a stable, nonflammable base so it cannot melt into the snow or tip. Keep fuel outside windscreens unless the stove manufacturer specifically permits that arrangement. Refuel only after the stove is fully extinguished and cool.
Warning: Never operate a camp stove, charcoal burner, lantern, grill, or ordinary fuel-burning heater inside a tent, vehicle, or enclosed shelter. The CDC warns that opening tent doors or vents is not enough to prevent fatal carbon-monoxide buildup. Cook outdoors in a stable, ventilated location while following the manufacturer’s clearances.
Weather Considerations and Preparation
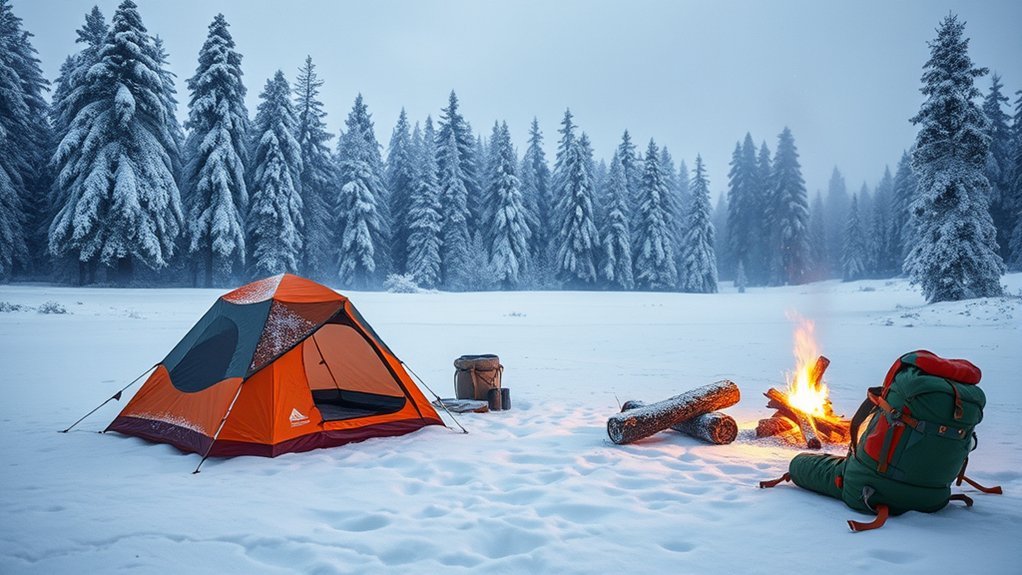
Winter weather can change faster than a group can pack camp or walk back to safety. Review the National Weather Service wind-chill guidance, local watches and warnings, hourly timing, mountain forecasts, and recent observations. Do not rely only on a weather-app icon.
Watch for These Changes
- Rapidly falling pressure or temperature
- Increasing wind or blowing snow
- Clouds lowering onto ridges
- Freezing rain or wet snow that can soak clothing
- Visibility dropping enough to hide the route
- New snow drifting against the tent
- Unexpected road or trail closures
Wind chill describes heat loss from exposed skin. It does not make equipment colder than the actual air temperature, but it can cool people much faster and increase frostbite risk. Cover exposed skin and reduce time outside when wind chill becomes dangerous.
Prepare the Vehicle
Check the battery, tires, fuel level, antifreeze, lights, and windshield washer fluid before departure. Carry the traction equipment required for the road, along with a shovel, ice scraper, warm clothing, food, water, flashlight, phone charger, and emergency signaling equipment. Do not drive around a closed gate or continue onto a road beyond your vehicle’s capability.
Recognize Hypothermia and Frostbite
Hypothermia Warning Signs
- Persistent or violent shivering
- Slurred speech
- Loss of coordination or repeated stumbling
- Confusion, poor decisions, or unusual behavior
- Drowsiness, weakness, or slowing responses
- Shivering that stops while the person remains cold
Move the person into shelter, remove wet clothing, insulate them from the ground, and warm the chest, neck, head, and groin gradually. Give warm sweet fluids only when the person is fully alert and able to swallow. Contact emergency services and begin evacuation. Severe hypothermia requires professional medical care.
Frostbite Warning Signs
- Numbness or loss of feeling
- White, gray, pale, waxy, or unusually firm skin
- Clumsy fingers or feet
- Blistering after rewarming
Protect the area from pressure and further cold. Do not rub it, walk on a frostbitten foot unless necessary for survival, or thaw tissue when there is a chance it will refreeze. Seek urgent medical care.
Warning: Confusion and poor judgment may be symptoms of hypothermia rather than stubbornness or fatigue. Treat an unexplained change in behavior as a medical warning and end the trip.
Avalanche and Snow-Travel Safety
Avalanche safety cannot be learned from a short checklist. Before entering avalanche terrain, obtain formal instruction, check the regional avalanche forecast, learn to recognize avalanche terrain, and practice companion rescue.
Every person traveling in avalanche terrain should carry a working transceiver, probe, and metal shovel and know how to use them. A phone, satellite messenger, or rescue service is not a substitute for immediate companion rescue. Avoid camping beneath avalanche paths, gullies, cornices, or steep slopes that can release snow into the site.
Snow-covered lakes, streams, and bridges can also fail without warning. Use established local guidance and avoid uncertain ice. Whiteouts can erase tracks and landmarks within minutes, making map, compass, and GPS skills essential.
Prevent Condensation Inside the Tent
Condensation forms when warm, moist air meets cold tent fabric. Some frost inside a winter tent is normal, but good habits keep it from soaking sleeping gear.
- Open the tent’s upper and lower vents as designed.
- Avoid breathing into the sleeping bag.
- Cook outside rather than adding combustion moisture to the tent.
- Keep wet boots and clothing in the vestibule without blocking ventilation.
- Brush snow from clothing before entering.
- Keep sleeping bags away from frosted tent walls.
- Shake or brush frost outside before it melts.
- Dry the shelter and sleeping gear whenever sun and weather permit.
Note: A tent that feels completely sealed may be warmer for a few minutes, but trapped moisture can wet insulation and make the entire sleep system colder later in the night.
Practice Leave No Trace in Winter
Snow does not make waste disappear. Pack out all trash, food scraps, hygiene products, and toilet paper where local rules require it. Follow land-manager instructions for human waste because frozen ground, deep snow, sensitive alpine terrain, and high-use corridors may require different methods.
Use established fire rings where fires are legal. Keep fires small, attend them continuously, and extinguish them until all material is cold. Never cut standing trees or strip bark and branches. Do not transport untreated firewood across long distances.
Before leaving, dismantle snow walls that could become hazards, fill unnecessary holes, retrieve every anchor, scatter clean snow over heavily disturbed areas when appropriate, and inspect the campsite for small items hidden beneath the snow.
Common Winter Camping Mistakes
- Starting with an ambitious route: A short test trip provides more useful experience than a difficult first expedition.
- Wearing too many layers while hiking: Sweat can chill you when activity stops.
- Relying on sleeping-bag temperature alone: The pad and dry clothing are equally important.
- Using an uninsulated air mattress: Thickness is not the same as thermal resistance.
- Bringing only one ignition source: Carry protected backup matches or another approved method.
- Underestimating stove fuel: Melting snow consumes substantial fuel.
- Allowing filters and batteries to freeze: Protect equipment according to its manufacturer’s instructions.
- Ignoring ventilation: Moisture accumulates even in severe cold.
- Depending on a campfire for survival: Fires may be prohibited, fuel may be wet, and wind may make them unsafe.
- Waiting too long to turn back: Leaving early is easier than evacuating after dark in worsening weather.
Frequently Asked Questions
How do I set up a winter tent in the snow?
Choose a legal site away from avalanche paths, dead trees, loaded branches, and drifting snow. Pack down a level platform, let soft snow settle, orient the tent according to its design, bury suitable anchors in soft snow, attach the guylines, and keep every ventilation opening clear.
What type of stove is best for winter camping?
For outdoor cooking, a liquid-fuel stove is often dependable below freezing, while some regulated or remote-canister stoves also perform well. Use only a model approved for the expected temperature and fuel. Test it before the trip, carry extra fuel, and never operate an ordinary cooking stove inside a tent.
Can I use a propane heater inside my tent?
Do not use an ordinary propane heater, stove, lantern, charcoal burner, or other fuel-burning device inside a standard tent. Carbon monoxide can accumulate even when a door or vent is open. Use a purpose-built hot-tent system only when the shelter and stove are specifically compatible and you have the training to install and operate the chimney and fire controls correctly.
How can I prevent condensation inside my tent?
Keep the tent’s designed vents open, brush snow from clothing, store wet gear away from sleeping bags, cook outside, avoid breathing into your bag, and brush interior frost outside before it melts. Some condensation is normal, but airflow prevents much of it from soaking your insulation.
What are the best practices for collecting firewood?
Check local regulations before collecting anything. Where gathering is allowed, use only small dead-and-down wood. Never cut live trees, standing dead trees, or attached branches. Keep fires in approved locations, extinguish them completely, and use locally purchased approved firewood when collection is prohibited.
How do I maintain warmth while sleeping in a tent?
Use a sleeping bag with an appropriate tested comfort rating, an insulated pad system suitable for the ground temperature, and dry sleeping clothes. Eat and hydrate before bed, protect the bag from condensation, and avoid compressing its insulation with excessive tight clothing.
How cold is too cold for a beginner?
There is no universal cutoff because wind, moisture, shelter, gear ratings, fitness, and experience matter. Beginners should start in mild, stable winter weather at an established site near a vehicle, using a sleep system already tested at or below the forecast temperature. Cancel the trip when conditions exceed the group’s gear or skills.
Conclusion
A successful winter tent camping trip depends less on toughness than on preparation. Choose a conservative route, test every critical item, manage sweat, protect a dry sleeping system, cook outside, monitor weather and wind chill, and avoid avalanche and overhead hazards. Keep an exit plan ready and use it early when conditions, equipment, or a group member’s health begins to deteriorate.
With the right skills and safety margins, winter camping can be comfortable, quiet, and memorable. The goal is not simply to endure the cold—it is to return with everyone warm, healthy, and ready for the next trip.
Sources
- National Park Service — Winter Backcountry Camping — winter planning, gear, navigation, food, water, avalanche equipment, and shelter ventilation
- National Park Service — Be Winter Ready for Your Adventure — layering, cotton avoidance, forecasts, and winter trip preparation
- Centers for Disease Control and Prevention — Carbon Monoxide Poisoning Associated With Camping Equipment — stove, heater, lantern, and charcoal hazards inside tents
- National Weather Service — Understanding Wind Chill — wind-chill effects and frostbite risk
- Leave No Trace — Skills & Ethics Guide — campsite distance, waste, wildlife, and low-impact camping practices
- International Organization for Standardization — ISO 23537-1:2022 — adult sleeping-bag thermal testing and labeling requirements
