
Last Updated on August 26, 2026 by Mason Reed
You should replace your tent rainfly when damage is too widespread or structural to repair reliably—for example, badly weakened fabric, large tears near attachment points, repeated leaks after the correct repairs, or extensive coating failure that is no longer practical to restore. A leaking fly does not automatically need replacement: worn DWR, isolated seam leaks, small holes, and even some deteriorating polyurethane coatings can often be repaired.
Quick Answer
Replace a tent rainfly when its fabric is brittle or badly weakened, major tears affect structural attachment points, the waterproof coating has failed across large areas and restoration is impractical, or leaks continue after proper seam and coating repairs. Do not replace it solely because water stops beading, a seam leaks, or the fly is several years old.
Key Takeaways
- Age alone is not a replacement rule. UV exposure, wet storage, abrasion, frequency of use, and coating type can matter more than calendar age.
- Diagnose the leak first. Failed DWR, leaking seams, holes, and deteriorating waterproof coatings require different fixes.
- Condensation is not the same as a leak. Moisture can form inside an otherwise waterproof tent.
- Repair minor, localized damage first. Small holes, isolated seam problems, and some coating deterioration are often serviceable.
- Replace structurally unreliable fabric. Brittle panels, badly damaged attachment points, extensive tears, or repeated repair failures are stronger reasons to retire the fly.
At a Glance
| Time Required | About 10–20 minutes for a visual inspection and basic water test; repairs require additional drying or curing time. |
| Difficulty | Easy for inspection; easy to moderate for patching, seam sealing, or recoating. |
| Tools Needed | Bright light, clean water or gentle spray, dry setup area, clean cloth, and coating-compatible repair products if a defect is found. |
| Cost | Inspection usually costs nothing. Repair and replacement costs vary by fabric, treatment, tent model, and whether the manufacturer sells the rainfly separately. |
Disclosure: As an Amazon Associate I earn from qualifying purchases. Some links on this page are affiliate links, at no extra cost to you.
Understanding the Importance of a Rainfly

While you might focus on your tent’s structure, the rainfly is a major part of its weather-protection system. It sheds rain and snow away from the inner tent and can also reduce direct UV exposure to the tent body. Rainflies are commonly made from nylon or polyester fabrics with waterproof treatments or coatings, but the exact construction varies by manufacturer.
Proper pitching and tensioning matter because they help water drain instead of pooling and keep the fly separated from the inner tent. Vent placement and airflow also affect condensation. Over time, UV exposure, abrasion, repeated packing, contaminated surfaces, heat, and damp storage can reduce fabric strength or damage waterproof treatments.
REI’s tent-care guidance recommends minimizing prolonged UV exposure and thoroughly drying a tent before long-term storage. Damp storage can encourage mildew and contribute to deterioration of polyurethane waterproof coatings.
Pro Tip: Do not wait for a storm to discover a rainfly problem. Pitch the tent at home before an important trip and inspect the fly, seams, attachment points, and waterproof performance while you still have time to repair or replace it.
Common Signs of Wear and Tear
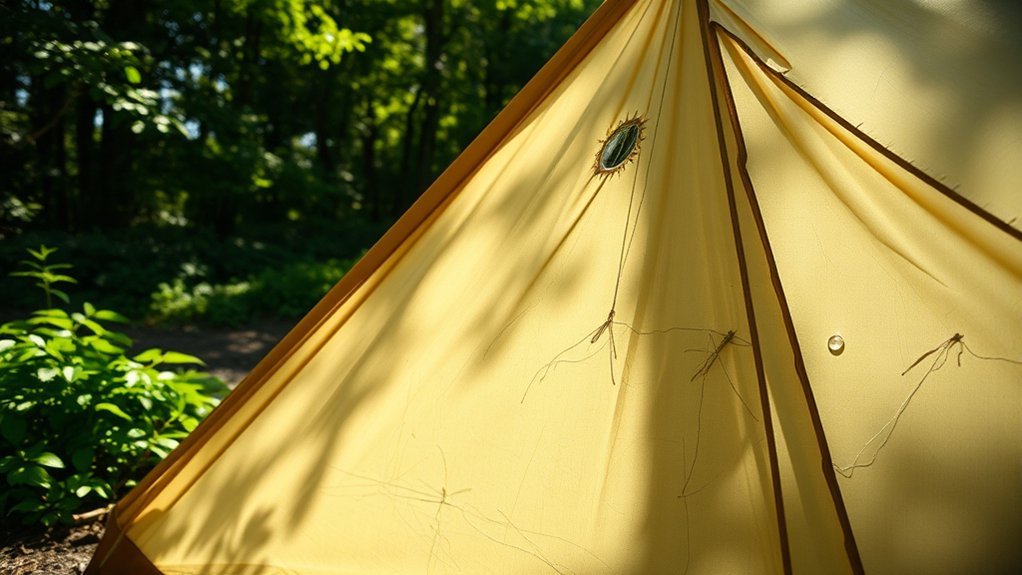
When inspecting your tent rainfly, look for visible damage such as tears, punctures, frayed attachment points, peeling seam tape, brittleness, or deteriorating coatings. Persistent water entry also deserves investigation, but first identify where the moisture is actually coming from. Many rainfly problems can be repaired if the fabric remains structurally sound.
Visible Damage and Tears
Visible damage is one of the easiest warning signs to assess. Look for rips, holes, worn patches, fraying around corners, and damage where clips, buckles, guylines, or pole connections load the fabric.
A small puncture in an otherwise strong panel is very different from a long tear beside a reinforced attachment point. Small isolated holes are often patchable. A large tear, several damaged stress points, or fabric that tears easily when handled suggests the material itself may no longer be dependable.
Also inspect the coated side of the fly. Flaking, peeling, unusual tackiness, or a persistent unpleasant odor can indicate deterioration of a polyurethane coating. These symptoms do not automatically make a rainfly unusable: REI and Kelty both describe restoration or recoating options for appropriate coated fabrics.
Persistent Water Leakage
Persistent water leakage deserves attention, but a wet tent does not automatically prove that the entire rainfly has failed. Water can enter through a puncture, worn seam tape, an improperly sealed seam, a damaged panel coating, poor pitching, or an opening around a door or vent.
First locate the entry point. If the leak follows a stitched line, inspect the seam tape or sealant. If a small hole is responsible, a patch may be enough. If a broad section of otherwise intact fabric wets through and the inner waterproof coating is visibly deteriorating, recoating or replacement may be appropriate.
Mold or mildew should also be addressed promptly, especially after wet storage. However, surface mildew does not automatically mean the rainfly is irreparable. Clean it using a method suitable for the manufacturer’s fabric, dry it completely, and then reassess the coating and fabric strength. REI provides specific tent-cleaning guidance for mildew, odors, and contaminated fabrics.
Warning: Do not depend on an untested repair for a trip where a shelter failure could expose you to cold, prolonged rain, strong wind, or remote conditions. Repair the fly with products compatible with its fabric and coating, allow the specified cure time, and test it before the trip.
Assessing Waterproofing Effectiveness
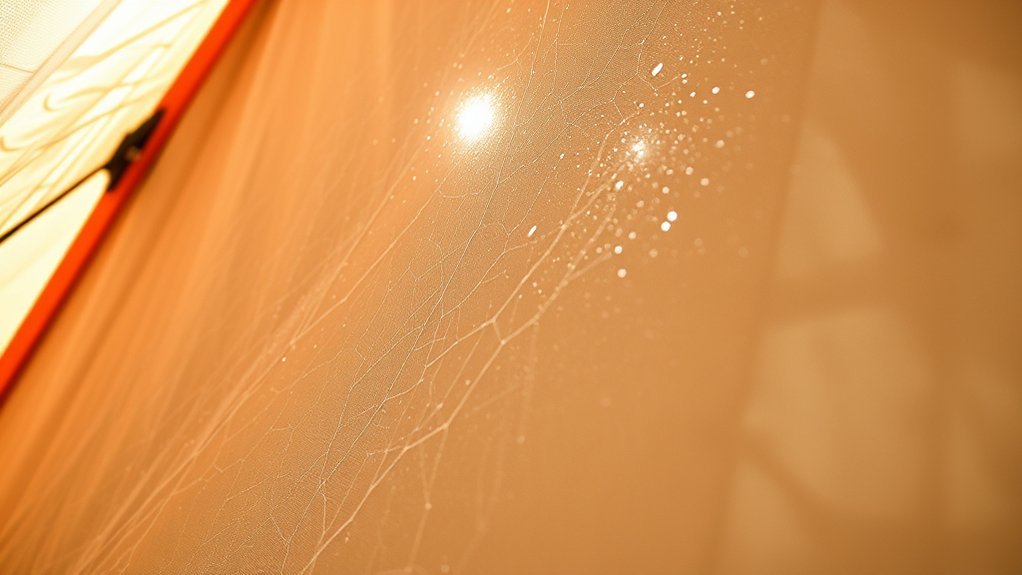
Before replacing a rainfly because it seems less waterproof, determine which part of the water-protection system is failing. According to REI’s waterproofing guidance, seam sealing, restoration of the urethane coating, and renewal of the exterior durable water repellent (DWR) are separate maintenance jobs.
| What you notice | Likely issue to investigate | Typical first response |
| Water no longer beads on the exterior | Dirty or worn DWR finish | Clean appropriately and refresh the DWR if recommended for the fabric. |
| Leak follows a stitched seam | Failed seam tape or sealant | Inspect and reseal with a product compatible with the fly’s coating. |
| Flaking or peeling on the coated side | Waterproof coating deterioration | Assess how widespread it is; recoating may be possible. |
| One localized drip | Puncture, seam defect, or local coating damage | Locate and repair the specific defect before replacing the fly. |
Do Not Confuse Condensation With Rain Leakage
Moisture on the inside of a rainfly can be condensation rather than rain penetrating the fabric. Warm, humid air from occupants and the environment can condense when it meets the cooler fly. REI notes that condensation can occur even inside a fully seam-sealed tent.
Clues favoring condensation include widespread droplets on the inner surface rather than one obvious entry point, moisture becoming worse in humid or cool conditions, and improvement when ventilation increases. A true leak is more likely to track from a specific seam, puncture, worn panel, vent, or opening while water is falling on that area.
Perform a Controlled Water Test
- Pitch the tent correctly on a dry day and install the rainfly according to the manufacturer’s instructions.
- Make sure the inside is dry before beginning.
- Use clean water and a gentle spray rather than a pressure washer or forceful nozzle.
- Wet one section at a time while another person checks the inside.
- Mark the location of any genuine drip or wet-through.
- Check the corresponding exterior panel, seam, attachment point, or opening.
- After a repair has fully cured, repeat the test before packing the tent.
Note: Poor water beading alone does not prove that the waterproof layer underneath has failed. The exterior DWR helps water bead and roll away, while the underlying coating and sealed seams provide additional protection.
Evaluating Fabric Condition
When evaluating the condition of your tent rainfly, look beyond surface appearance. Start by checking for unusual stickiness, peeling, or flakes on the coated surface. These may indicate deterioration of a polyurethane coating.
Next, inspect the actual fabric. Frayed edges, punctures, and small tears may be repairable, but widespread thinning, brittleness, or fabric that tears easily is more serious because waterproof treatments cannot restore lost structural strength.
Check mold or mildew rather than assuming it requires immediate replacement. Clean the rainfly safely, dry it thoroughly, and inspect it again. If the fabric remains strong and the waterproof layer can be restored, continued use may be reasonable. If prolonged damp storage has caused widespread delamination, severe odor, coating breakdown, or weakened fabric, replacement becomes more attractive.
Flex several areas gently with your hands. Healthy fabric should behave consistently across the fly. A panel that feels unusually stiff, brittle, paper-like, or dramatically weaker than protected sections deserves closer inspection.
Checking Seam Integrity
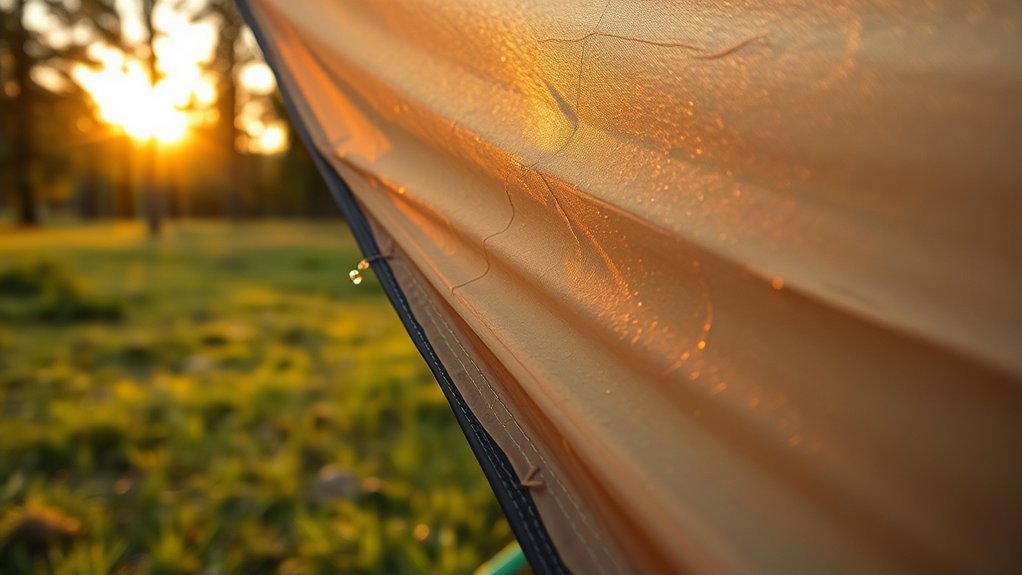
When checking your rainfly seams, inspect the stitching, seam tape, sealant, and nearby fabric. A seam problem is often repairable and should not automatically lead to rainfly replacement.
Visual Inspection Techniques
Look for fraying, split stitching, lifted seam tape, cracking sealant, missing stitches, or fabric distortion. Pay special attention to corners, pole interfaces, vestibule areas, guy-out points, and places where multiple panels meet.
A flashlight can help reveal physical gaps, tears, or lifted tape, but seeing light through stitching does not by itself prove that the seam leaks. Confirm suspected areas with a controlled water test.
If the seam tape is peeling only in isolated areas, repair may be straightforward. REI’s tent-repair guidance recommends removing loose sections as appropriate and applying a compatible seam sealer according to the product and fabric instructions.
Replace or Repair?
After your inspection, decide whether the damage is localized or widespread. Small tears, isolated punctures, and a few failing seams usually favor repair if the surrounding fabric remains strong.
Replacement becomes more sensible when several critical seams are failing at once, reinforced attachment areas have torn away, the base fabric has become weak or brittle, or previous repairs repeatedly fail.
Always identify the rainfly’s coating before applying a treatment. Silicone-treated fabric requires different seam-sealing products from polyurethane-coated fabric. If you are unsure, check the tent manual or contact the manufacturer rather than guessing.
The Impact of Environmental Factors
Environmental conditions greatly influence a rainfly’s lifespan and effectiveness. Prolonged UV exposure can weaken tent fabrics. REI recommends minimizing extended exposure to direct sunlight, while Big Agnes notes that wear, washing, and UV exposure can degrade waterproof treatments over time.
Humidity and storage practices also matter. A damp rainfly stored for a long period can develop mildew and may experience deterioration of polyurethane coatings. Heat can also be hard on stored outdoor equipment, which is why a cool, dry storage location is preferable.
Frequent use in wind, sand, abrasive campsites, strong sunlight, and prolonged storms can accelerate wear. There is therefore no single calendar age at which every rainfly becomes unsafe or ineffective.
After a wet trip, dry the fly completely as soon as practical. For long-term storage, keep it clean, completely dry, loosely stored, and away from prolonged heat or direct sunlight.
Age and Lifespan Considerations
The age of your rainfly can provide context, but age should not be used as an automatic replacement deadline. A lightly used fly stored clean and dry can age very differently from one left in strong sun or repeatedly packed damp.
Kelty states that polyurethane delamination on some older tent rainflies can begin around 8–10 years, depending on the tent’s care and storage. That manufacturer guidance is useful as an example of how aging coatings behave, but it should not be interpreted as a universal lifespan for every brand, coating, climate, or rainfly.
| Condition | Suggested Action |
| Minor cosmetic wear; no leaks or structural damage | Continue using it and inspect before important trips. |
| Water no longer beads well, but coating and seams remain sound | Clean and consider renewing the appropriate DWR treatment. |
| Localized seam failure, small holes, or limited coating deterioration | Repair first if the underlying fabric remains strong. |
| Widespread delamination, brittle fabric, major structural tears, or recurring leaks after correct repairs | Replacement is usually the more dependable choice. |
Repair vs. Replacement: Making the Decision
When deciding whether to repair or replace your tent rainfly, evaluate the extent of the damage, the strength of the underlying fabric, the availability of compatible repair materials, and whether a correct replacement fly is available.
Stickiness, tackiness, or peeling may indicate polyurethane deterioration, but these symptoms do not always mean the fly must immediately be discarded. Some manufacturers and outdoor-equipment specialists provide procedures for removing deteriorated coating and applying a compatible replacement treatment.
Likewise, visible tears and compromised seams vary in seriousness. A small panel puncture may be an easy repair. A long tear through a heavily loaded corner or guy-out point is harder to trust because the surrounding fabric must handle significant tension.
| Repair First | Strong Reason to Replace |
|
|
Cost also matters. Before buying a new tent, ask the manufacturer whether an exact replacement rainfly is still available and whether the damage may qualify for warranty or repair service. If a replacement fly is unavailable and the original is too degraded to restore reliably, replacing the complete tent may be the more practical option.
The best replacement rule is based on condition, not age: repair localized waterproofing problems while the fabric is strong, but replace a fly you can no longer trust structurally or keep watertight after correct repairs.
Choosing the Right Replacement Rainfly
Choosing the right replacement rainfly begins with tent compatibility. A rainfly is not simply a rectangular waterproof cover: its shape must work with the tent’s pole geometry, corners, clips, buckles, vestibules, vents, doors, and guy-out locations.
- Confirm the exact tent model and generation. Models with similar names can change dimensions or attachment hardware between production years.
- Check the manufacturer’s replacement parts first. An original-equipment rainfly is the safest route to correct coverage, tension, ventilation, and vestibule alignment.
- Match attachment hardware. Buckles, hooks, clips, corner straps, and pole interfaces must fit correctly.
- Check dimensions and geometry. A fly that is too loose can flap or collect water; one that is too tight may overstress seams and attachment points.
- Match the material system. Nylon and polyester are common, but coating systems vary. This affects repair products and maintenance.
- Compare manufacturer specifications rather than using one universal waterproof-rating cutoff. Hydrostatic-head ratings can be useful for comparing fabrics, but they do not replace correct fit, seam construction, vent design, and overall shelter engineering.
- Check vents and vestibules. The replacement should preserve the airflow and weather-protection features designed for the tent.
A rainfly from another tent brand may occasionally be usable as an improvised cover, but a generic or mismatched fly should not automatically be treated as an equivalent replacement. If weather protection is important, verify dimensions, attachment methods, coverage, ventilation, and pitching stability before relying on it.
When Should You Inspect the Rainfly?
There is no universal need for a quarterly inspection. A more practical schedule is to check the rainfly:
- before an important camping trip, especially after long storage;
- after prolonged rain, high wind, strong UV exposure, or abrasive conditions;
- when you notice new odors, stickiness, flaking, leaks, or poor water beading;
- during seasonal cleaning and drying; and
- before relying on an older tent after months or years without use.
An inspection only takes a few minutes and is much more useful when tied to actual use and exposure than to an arbitrary calendar interval.
How to Extend Rainfly Life
Good maintenance cannot prevent all aging, but it can reduce avoidable damage.
- Dry it completely before long-term storage. Moisture encourages mildew and can contribute to coating deterioration.
- Avoid prolonged direct sun when practical. UV exposure gradually weakens tent fabrics.
- Clean gently. Follow the tent manufacturer’s instructions and avoid aggressive cleaning methods that may harm coatings.
- Store it cool and dry. Avoid leaving the tent for long periods in very hot, damp places.
- Repair small damage early. A small puncture or lifting section of seam tape is easier to manage before it spreads.
- Use compatible treatments. Do not assume one seam sealer or waterproof coating works with every tent fabric.
Big Agnes notes that washing, ordinary wear, and UV exposure can degrade waterproof coatings over time, while REI emphasizes complete drying and suitable long-term storage. These simple habits can postpone the point at which replacement becomes necessary.
Frequently Asked Questions
Can I Use a Rainfly From a Different Tent Brand?
Possibly, but only if its dimensions, shape, attachment points, pole clearances, vents, and coverage work with your tent. A rainfly is normally designed around a specific tent geometry, so an exact manufacturer replacement is preferable when available. Test any non-original solution before relying on it in poor weather.
How Can I Properly Store a Rainfly When Not in Use?
Make sure it is completely dry, then keep it loosely stored in a cool, dry location away from prolonged sunlight and excessive heat. Avoid putting a damp fly into long-term storage because moisture can encourage mildew and contribute to deterioration of waterproof coatings.
What Materials Are Best for Tent Rainfly Replacements?
Nylon and polyester are both widely used. Instead of choosing solely by fabric name, prioritize a replacement designed for your exact tent and compare its coating system, strength, weight, attachment points, vents, and manufacturer specifications. Polyester is generally more resistant to UV exposure than nylon, but complete tent design matters more than one material characteristic.
How Often Should I Inspect My Rainfly?
Inspect it before important trips, after harsh weather or prolonged exposure, during routine cleaning, and whenever the tent has been stored for a long time. There is no universal quarterly replacement or inspection requirement; frequency should reflect how often and how hard the tent is used.
Can I Repair a Rainfly Instead of Replacing It?
Yes. Small holes, localized tears, leaking seams, peeling seam tape, worn DWR, and some coating deterioration can often be repaired. Replacement is more appropriate when the fabric itself has become weak or brittle, structural attachment points are badly damaged, deterioration is widespread, or properly completed repairs no longer keep the shelter dependable.
Does Water Stop Beading When a Rainfly Needs Replacement?
Not necessarily. Poor beading often points to a worn or dirty exterior DWR treatment. The underlying waterproof coating and seams may still be sound. Clean the fly according to its care instructions and refresh the appropriate DWR if recommended before deciding that replacement is necessary.
Does Condensation Mean My Rainfly Is Leaking?
No. Condensation can form when warm, moist air contacts the cooler rainfly, even when the shelter is waterproof. Widespread droplets on the inner fly often suggest condensation, while a true leak is more likely to originate from a specific seam, puncture, opening, or damaged panel during rainfall.
Should I Replace the Rainfly or the Entire Tent?
Replace only the rainfly when the tent body, poles, floor, zippers, and attachment system remain in good condition and an appropriate replacement fly is available. If several major parts of an older tent are deteriorating or no compatible fly can be sourced, replacing the complete tent may make more practical and financial sense.
Conclusion
Knowing when to replace your tent rainfly is less about reaching a certain age and more about deciding whether the shelter can still be made reliably waterproof and structurally sound. Frayed seams, small punctures, worn DWR, and localized coating problems are often repairable. In contrast, brittle fabric, badly damaged attachment points, extensive tears, widespread deterioration, or continuing leaks after proper repairs are stronger signs that replacement is the safer choice.
Inspect and test the rainfly before an important trip rather than discovering a failure during a storm. If replacement is necessary, start with the tent manufacturer so you can match the exact model, geometry, attachment system, ventilation, and material specifications.
Sources
- REI Co-op — Tent Care Basics — drying, long-term storage, UV exposure, polyurethane coating deterioration, and rainfly care.
- REI Co-op — How to Waterproof a Tent — seam sealing, urethane coating restoration, and DWR renewal.
- REI Co-op — Tent Repair — seam repair, coating-compatible sealers, leaks, and condensation.
- Big Agnes — Seasonal Tent Maintenance — UV exposure, waterproof coatings, cleaning, and seam maintenance.
- Kelty — Replace or Repair Rainfly — polyurethane delamination, age as a variable, and recoating older rainflies.
