
Last Updated on September 10, 2026 by Daniel Globe
A hydration backpack is a small pack or vest that carries water in a reservoir, bottle, or soft flask so you can drink while moving. It can be useful for running, cycling, hiking, and other outdoor activities where stopping for a bottle is inconvenient. The right choice depends on fit, fluid capacity, storage, weather, refill access, and how willing you are to clean the drinking system after use.
Quick Answer
A hydration backpack carries water in a bladder, bottle, or soft flask and lets you drink while moving. It is most useful for running, cycling, hiking, and hot-weather outings when frequent water access matters. Choose capacity, fit, storage, ventilation, and cleaning access based on your activity.
Key Takeaways
- Hydration packs make it easier to take small, frequent sips without reaching for a bottle.
- Capacity is not one-size-fits-all; consider trip length, heat, refill points, and your own fluid needs.
- A snug fit, stable load, and limited trapped air help reduce bouncing and sloshing.
- Reservoirs, tubes, and bite valves must be washed, rinsed, and dried fully to prevent odors, residue, and mold.
- A hydration backpack is convenient, but a bottle may be simpler for short outings and easier to refill and clean.
At a Glance
| Best For | Running, cycling, hiking, endurance events, and outings with limited bottle access |
| Common Hydration Options | Rear reservoirs, hard bottles, soft flasks, or a combination |
| Main Benefits | Hands-free drinking, balanced carry, and storage for food, layers, tools, or safety gear |
| Main Tradeoffs | Added weight, back heat, cleaning time, possible leaks, and less visible remaining water |
Disclosure: As an Amazon Associate I earn from qualifying purchases. Some links on this page are affiliate links, at no extra cost to you.
Understanding Hydration Backpacks

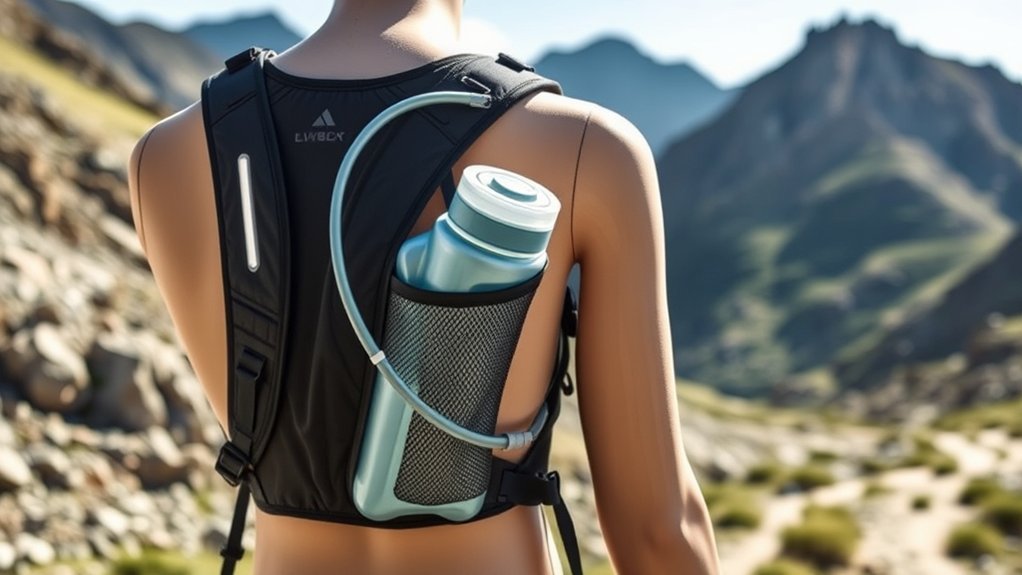
A hydration backpack is a wearable water-carrying system. Many models use a flexible reservoir inside the pack, a drinking tube routed over the shoulder, and a bite valve that opens when you squeeze or bite it. Other models carry a hard bottle high on the back, use soft flasks on the chest, or combine several systems.
Hydration capacity varies widely. Small running vests may carry one or two flasks, while larger hiking and endurance packs may accept reservoirs of 2 or 3 liters. Each liter of water adds about 2.2 pounds before you count the pack, food, clothing, or tools, so carrying the largest reservoir is not always the most comfortable choice.
The Centers for Disease Control and Prevention notes that fluid needs vary with age, activity, climate, and other factors. Use pack capacity as a planning tool, not as a fixed drinking target.
Reservoir, Bottle, or Soft Flask?
- Reservoir or bladder: Carries a larger volume close to the back and supports hands-free drinking through a tube. It takes more effort to inspect, refill, and clean.
- Hard bottle: Is easy to refill, monitor, and wash. Rear-mounted bottles may require shoulder mobility or a pack designed for easy access.
- Soft flask: Shrinks as you drink, which can reduce sloshing. Front-mounted flasks are easy to monitor but use chest-pocket space.
Benefits of Using Hydration Backpacks
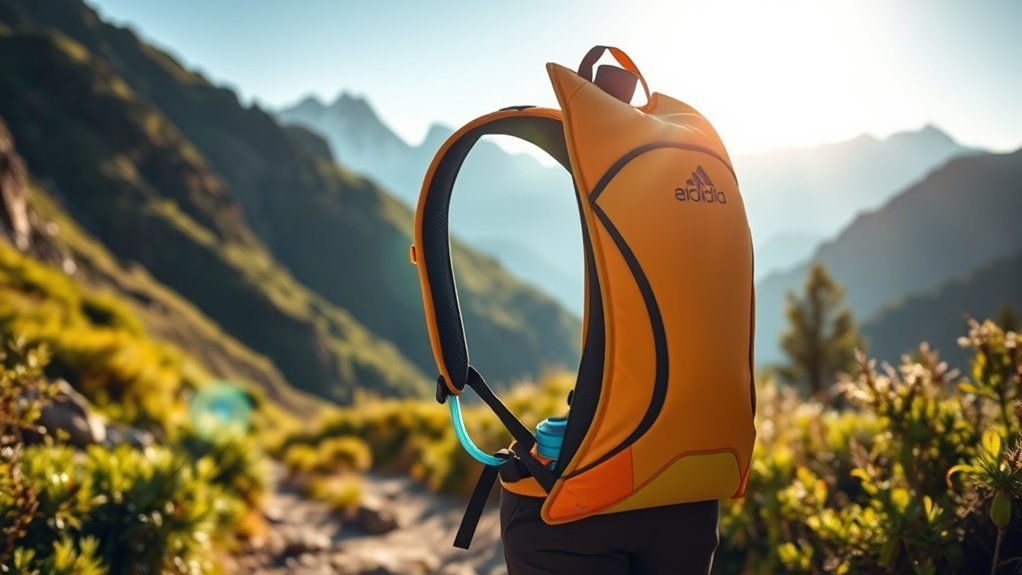
The main advantage of a hydration backpack is easy access to water while you remain in motion. A well-fitted pack can also spread weight across the shoulders, chest, and back while providing organized storage for essentials.
Hands-Free Hydration Convenience
A drinking tube places the bite valve near your mouth, so you can take small sips without stopping to remove a bottle. This can be helpful on a bike, during a run, or while using trekking poles. It does not replace heat planning, rest, or refill planning, but it removes one common barrier to drinking regularly.
Enhanced Storage Capacity
Hydration packs often include pockets for food, a phone, keys, a light layer, repair tools, or first-aid items. The useful amount of storage depends on the activity. A slim running vest may need only nutrition and a phone pocket, while a hiking pack may need space for rain gear, navigation, sun protection, and emergency supplies.
Improved Weight Distribution
Water carried close to the torso is usually more stable than a loose bottle in a large compartment. A sternum strap, side compression, and correctly adjusted shoulder straps can reduce shifting. Good distribution does not make the weight disappear, so avoid carrying more water and gear than the route requires.
One liter of water weighs about 2.2 pounds. Capacity matters, but fit and total carried weight matter just as much.
Drawbacks of Hydration Backpacks
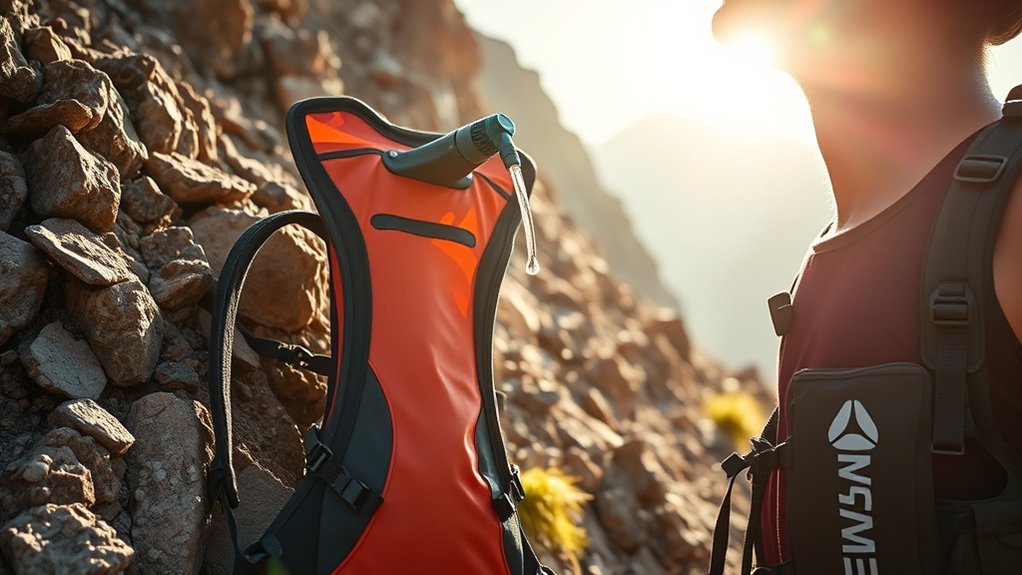
Hydration backpacks are convenient, but they require more setup and care than a basic bottle. The most common drawbacks are filled weight, heat against the back, cleaning demands, possible leaks, and difficulty seeing how much water remains.
Weight, Heat, and Movement
A full reservoir can make a small pack surprisingly heavy. Poor adjustment may cause bouncing, rubbing, or shoulder pressure. The pack also covers part of your back, which can feel warm during hard efforts. Breathable mesh and a secure fit help, but no pack eliminates heat or sweat.
Cleaning, Leaks, and Residue
Reservoirs, tubes, and valves can hold moisture and residue in hard-to-reach areas. They should be washed and dried after use, especially after drinks that contain sugar or flavoring. Caps, seals, quick-disconnect fittings, and bite valves also need periodic inspection for grit, wear, or damage.
Remaining Water Is Harder to See
A bottle lets you check the remaining volume at a glance. A rear reservoir may require you to remove the pack or estimate by weight. For long routes, track refill points and start with a realistic plan rather than assuming the reservoir will be enough.
Warning: A hydration pack does not prevent heat illness by itself. Slow down, rest, seek shade, and respond to symptoms such as dizziness, nausea, unusual weakness, confusion, or fainting. The NIOSH heat guidance also warns that drinking excessive amounts can be harmful; its occupational guidance says fluid intake generally should not exceed six cups per hour.
Key Features to Consider
Choose features that match the activity instead of buying only by reservoir size. Check the following before purchasing:
- Hydration style and capacity: Decide whether you prefer a reservoir, rear bottle, front flasks, or a mixed system. Match volume to trip length, weather, refill access, and personal needs.
- Fit and stability: Look for adjustable shoulder, sternum, and side straps. The pack should feel secure without limiting breathing.
- Torso and chest sizing: Use the manufacturer’s measurements. A pack labeled “small” or “universal” may still fit poorly on your body.
- Storage layout: Confirm that high-use items can be reached without removing the pack. Separate sharp tools from the reservoir.
- Ventilation and fabric: Breathable contact panels can improve comfort. Water-resistant fabric may handle light rain, but it does not make every compartment waterproof.
- Cleaning access: Wide openings, removable tubes, reversible reservoirs, and replaceable valves make maintenance easier.
- Safety details: Reflective trim, a whistle, secure key storage, and attachment points may be useful for remote or low-light outings.
Choosing the Right Hydration Pack for Your Needs
Start with the activity and route. Running usually favors a close, low-bounce vest. Cycling packs should remain stable in a forward-leaning position and leave helmet movement unrestricted. Hiking packs may need more cargo space and a supportive hip belt. Then compare hydration capacity, storage, fit, and maintenance.
Choose Capacity by Route, Not Guesswork
The ranges below are practical starting points, not medical drinking prescriptions. Hot weather, steep terrain, high effort, altitude, body size, and limited refill access can increase the amount you need to carry.
| Use Case | Practical Starting Point | What to Check |
|---|---|---|
| Short outing with easy refills | A bottle or one or two soft flasks | Temperature, effort, and refill reliability |
| Long run or ride | About 1 to 2 liters, with more only when the route requires it | Aid stations, resupply points, and total carried weight |
| Half-day hike or remote route | About 2 to 3 liters plus emergency and weather gear | Reliable water sources, treatment needs, heat, and turnaround time |
Fit Checklist
- Load the pack with the amount of water and gear you expect to carry.
- Position it high enough that it does not pull backward or interfere with a bike saddle or waist movement.
- Tighten the side or lower adjustments first, then set the shoulder and sternum straps.
- Take deep breaths to confirm the chest straps are secure but not restrictive.
- Jog, bend, reach, and rotate your shoulders to check for bounce, rubbing, or hose interference.
- Confirm you can reach the bite valve, pockets, and controls while moving safely.
Pro Tip: To reduce reservoir sloshing, fill it, seal it, turn it upside down, and gently draw air through the bite valve until only water remains. Then place the reservoir flat in its sleeve and tighten the pack’s compression system.
Storage, Weather, and Durability
Choose enough storage for the route’s actual safety needs, not only snacks. Keep sharp tools away from the reservoir, place dense items close to your back, and use waterproof bags for electronics or insulation when rain is possible. “Water-resistant” usually means the fabric can resist light moisture for a time; it does not guarantee dry contents in sustained rain or submersion.
How to Use a Hydration Backpack
- Inspect the system: Check the reservoir, cap, seams, tube connections, and bite valve for damage or trapped grit.
- Rinse before filling: Flush a new or stored reservoir and tube with clean water. Wash it first if there is any odor or residue.
- Fill and close: Add clean drinking water, remove excess air if desired, and fully close the cap or slider.
- Leak-test it: Hold the filled reservoir over a sink and squeeze it gently. Check every connection before placing it beside electronics or dry clothing.
- Load the pack: Put the reservoir in its sleeve, secure its hanger or loop, and route the hose without sharp bends.
- Adjust the fit: Tighten the pack until it is stable, then confirm that breathing and arm movement remain comfortable.
- Test before the route: Drink through the valve, walk or jog briefly, and correct leaks, bounce, or hose placement before leaving.
Note: Follow the reservoir manufacturer’s instructions for temperature limits, cleaning products, dishwasher use, and compatible drinks. Materials and care requirements differ.
Cleaning and Maintaining a Hydration Backpack
Clean the drinking system promptly after each outing. The CamelBak care guide recommends warm water, mild soap, a thorough rinse, complete draining, and full air drying before storage. HydraPak’s reservoir instructions also explain how to clean removable tubes and valves and dry compatible reservoirs inside out.
- Remove the reservoir, tube, and bite valve if the design allows.
- Wash the reservoir with warm water and mild dish soap.
- Push cleaning solution through the tube and valve.
- Use a reservoir or tube brush when residue remains.
- Rinse every part until no soap or cleaner remains.
- Prop the reservoir open and hang the tube so all parts dry completely.
- Store the pack and drinking system dry, with closures open enough to prevent trapped moisture.
Deep-clean the system when it develops odor, visible film, staining, or lingering taste. Replace a valve, tube, seal, or reservoir if it is cracked, permanently discolored, difficult to clean, or leaking.
Popular Hydration Pack Options From Orange Mud
Orange Mud sells several different hydration formats, so the model name alone does not reveal whether a pack uses a bottle, bladder, or flask. The current manufacturer specifications below were checked against Orange Mud’s product and comparison pages. Confirm current sizing and included components before buying because product configurations can change.
HydraQuiver Vest Pack 1 V3.0
The HydraQuiver Vest Pack 1 V3.0 is a bottle-based running vest, not a 2-liter bladder pack. It includes a 24-ounce rear bottle, has front pockets that can fit 500 or 600 mL soft flasks, and weighs 9.8 ounces without the bottle. Its rear shock cord and chest and shoulder pockets add storage for small essentials and a light layer.
Endurance Pack V3.0
The Endurance Pack V3.0 includes a 2-liter HydraPak reservoir and provides 6 liters of total pack volume. Orange Mud lists the pack at 8.9 ounces without the reservoir and 12.7 ounces with it. Front pockets can also hold soft flasks, and the pack is intended for running, triathlon, mountain biking, and gravel riding.
RFP Hydration Pack
The RFP Hydration Pack offers either a 1.5-liter reservoir or two 500 mL soft flasks, depending on the selected configuration. It has 6 liters of storage, weighs about 343 grams, includes a safety whistle, and comes in S/M and M/L chest-size ranges. It is designed for trail running, gravel cycling, and mountain biking.
Note: These examples show why you should check the included hydration hardware instead of assuming every “hydration pack” contains a large bladder. Orange Mud’s official comparison guide lists bottle, bladder, and soft-flask systems across its range.
Best Activities for Hydration Pack Use
Hydration packs are most useful when frequent, convenient access to water matters and carrying a handheld bottle would be awkward.
- Trail and road running: A close-fitting vest can carry water, food, a phone, and a light layer without occupying your hands.
- Mountain and gravel biking: A tube is easy to reach while riding, and the pack can hold tools, a pump, and repair supplies.
- Hiking: Larger reservoirs and cargo space can support longer routes, but the total load must remain comfortable.
- Triathlon and endurance events: A stable pack may reduce stops between aid stations when event rules allow it.
- Hot-weather work or recreation: Easy water access can support frequent drinking, but it must be combined with rest, shade, pacing, and heat awareness.
A hydration pack is less compelling for short walks, gym sessions, or routes with frequent fountains, where a simple bottle may be lighter, cheaper, and easier to clean.
Hydration Backpack vs. Water Bottle
| Factor | Hydration Backpack | Water Bottle |
|---|---|---|
| Drinking while moving | Very convenient with a tube or front flask | May require a hand or bottle cage |
| Cleaning | More parts and drying time | Usually faster and simpler |
| Water remaining | Harder to see in a rear reservoir | Easy to check |
| Storage | Can carry food, layers, tools, and safety items | Requires separate pockets or a bag |
| Best use | Longer or hands-busy activities | Short outings and easy-refill routes |
Frequently Asked Questions
How do I clean and maintain my hydration backpack?
Remove the reservoir and drinking components, wash them with warm water and mild soap, flush the tube and valve, rinse thoroughly, and let every part air dry completely. Inspect seals and connections for grit, cracking, or leaks. Follow the manufacturer’s instructions for deep cleaning and dishwasher use.
Can I use a hydration backpack for liquids other than water?
Sometimes, but check the reservoir manufacturer’s instructions first. Electrolyte or sugary drinks can leave taste and residue, so clean the reservoir, tube, and valve immediately after use. Avoid hot, carbonated, alcoholic, oily, or dairy-based liquids unless the manufacturer specifically approves them.
What size hydration pack is best for kids?
Choose by torso and chest fit, not by reservoir volume alone. The pack should stay stable without restricting breathing, and the filled weight should be comfortable for the child. Smaller bottles, flasks, or reservoirs may be easier to manage. An adult should supervise water planning, fit, and cleaning.
Are hydration backpacks waterproof?
Not necessarily. Many use water-resistant fabrics that can handle light moisture, but seams, zippers, and openings may leak in steady rain. Use dry bags or waterproof pouches for electronics, insulation, and other items that must stay dry.
How long can water be stored in a hydration bladder?
There is no universal “one-week” rule. For routine use, empty the reservoir after the outing, wash or rinse it as needed, and dry it completely before storage. Discard water that smells or tastes unusual, and never rely on an unclean reservoir as a long-term drinking-water container.
How do I stop water from sloshing in the reservoir?
Remove trapped air after filling, place the reservoir flat in its sleeve, and tighten the pack so the load stays close to your body. A baffled reservoir or soft flask can also reduce movement. Do not overtighten the pack until it restricts breathing.
Conclusion
A hydration backpack can make drinking and carrying essentials easier during running, cycling, hiking, and other active outings. Its value depends on choosing the right hydration format, realistic capacity, secure fit, and useful storage. Balance those benefits against added weight, back heat, cleaning, and leak risk. Test the loaded pack before a long route, plan refills, and dry the drinking system fully after every use.
Sources
- CDC: About Water and Healthier Drinks — fluid needs, activity, climate, and dehydration context
- NIOSH: Workplace Recommendations for Heat Stress — heat, hydration, rest, and excessive-intake guidance
- CamelBak Care and Cleaning — washing, rinsing, inspecting, and drying hydration reservoirs
- HydraPak: Cleaning Your Reservoir — reservoir, tube, and bite-valve maintenance
- Orange Mud Hydration Pack Comparison Guide — current hydration formats, pack volumes, and activity categories
- Orange Mud product specifications: HydraQuiver VP1, Endurance Pack V3.0, and RFP Hydration Pack

