
Last Updated on September 10, 2026 by Daniel Globe
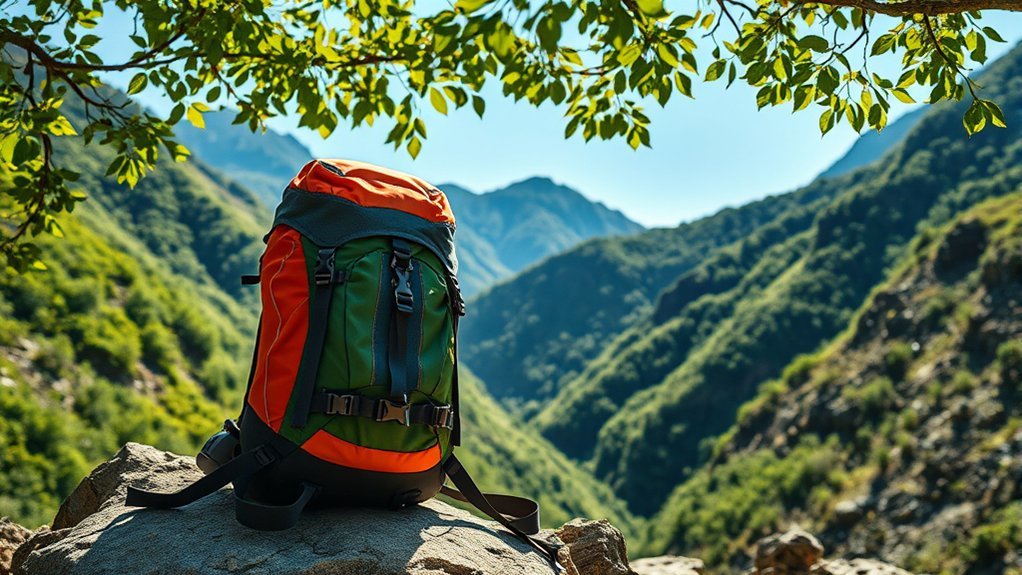
A hiking backpack is a trail-focused pack designed to carry water, clothing, food, emergency supplies, and overnight equipment more comfortably than a basic school or commuter bag. The right model depends on your activity, gear volume, body measurements, expected weather, and trip length—not simply the pack’s advertised capacity.
Quick Answer
A hiking backpack is a purpose-built pack with a supportive back panel or frame, adjustable shoulder straps, and—on larger models—a hipbelt that transfers much of the load to your hips. Choose its capacity by trip length and gear bulk, then prioritize torso fit, loaded comfort, weather protection, and easy access.
Key Takeaways
- Most day hikers need less capacity than overnight backpackers, but winter clothing, climbing gear, or family equipment may require a larger pack.
- Torso length and hipbelt fit matter more than your overall height.
- Internal-frame packs suit most hikers because they keep the load close to the body and stable on uneven trails.
- Test a pack with representative weight before buying or taking it on a long trip.
- Most hiking backpacks are water-resistant, not fully waterproof, so protect critical gear with a liner or dry bags.
At a Glance
| Typical Capacity | About 10–40 L for day hiking, 30–50 L for many weekend trips, 50–80 L for multiday trips, and 70 L or more for extended or bulky cold-weather loads |
| Fit Priority | Correct torso length, secure hipbelt coverage, comfortable shoulder harness, and stable load control |
| Best Test | Load the pack with gear or weighted items, adjust every strap, and walk around before deciding |
| Weather Protection | Water-resistant fabric plus a rain cover, pack liner, or individual dry bags when conditions require them |
Disclosure: As an Amazon Associate I earn from qualifying purchases. Some links on this page are affiliate links, at no extra cost to you.
Understanding the Purpose of a Hiking Backpack
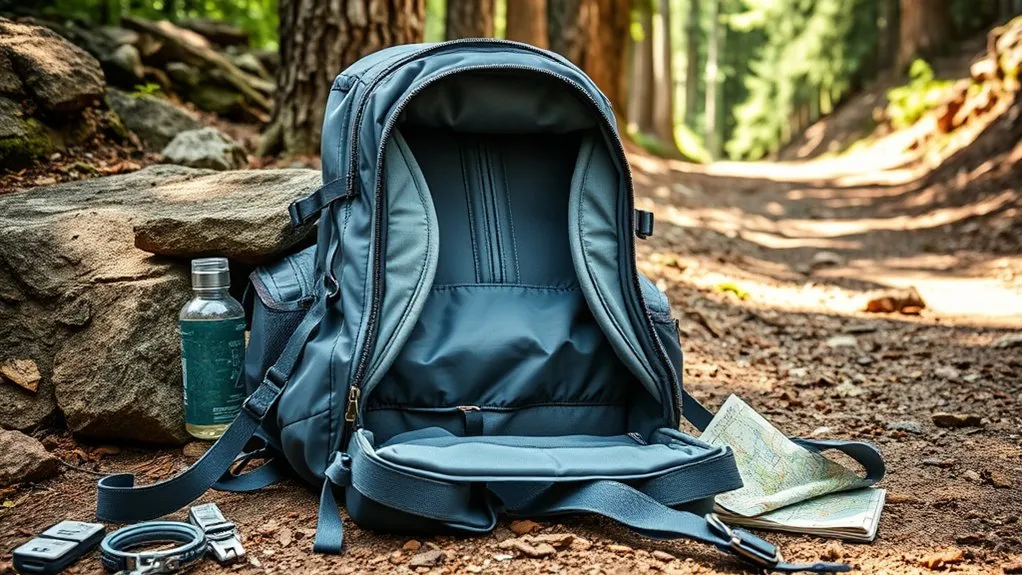
A hiking backpack is designed to keep trail equipment organized while holding the load close enough to your body for balance. Compared with an everyday backpack, it may include a shaped back panel, structured frame, padded hipbelt, sternum strap, load lifters, compression straps, hydration compatibility, tool loops, and weather-protection features.
Small hiking daypacks may use a light framesheet or flexible back panel. Larger backpacking packs normally use a stronger suspension system that connects the frame, shoulder harness, back panel, and hipbelt. When the pack fits correctly, the hipbelt carries much of the supported load while the shoulder straps stabilize it rather than holding all the weight.
Your pack also needs enough room for the equipment required by your route and conditions. The National Park Service Ten Essentials include navigation, sun protection, insulation, illumination, first aid, fire supplies, repair tools, food, water, and emergency shelter. A short hike can still require more equipment than expected when heat, cold, remoteness, or sudden weather enters the plan.
The best hiking backpack is not automatically the lightest or largest one. It is the pack that fits your body, supports your expected load, and holds the equipment your trip requires.
Key Features of Hiking Backpacks
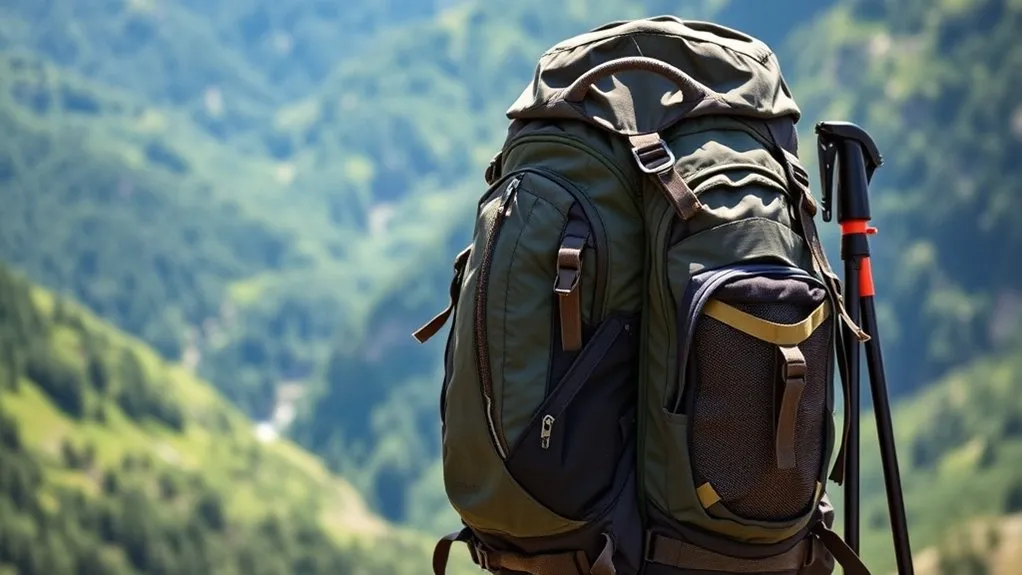
When comparing hiking backpacks, begin with fit and intended use. Pockets, colors, and accessories are helpful, but they cannot correct a poorly sized torso or a suspension system that is unsuitable for the load.
Fit and Comfort
Pack size is based mainly on torso length and hipbelt fit, not overall height. Two people of the same height can need different pack sizes because their torso and hip measurements differ. Adjustable harness systems provide more flexibility, but the pack still needs enough adjustment range for your body.
The padded section of the hipbelt should wrap securely around the upper part of your hip bones without reaching the end of its adjustment range. Shoulder straps should follow the curve of your shoulders without leaving a large gap or creating a concentrated pressure point. The sternum strap should improve stability without restricting breathing.
Pro Tip: Fit the backpack with representative weight inside it. An empty pack can feel comfortable even when its frame, hipbelt, or harness becomes unsuitable under a real trail load.
Storage Capacity Options
Capacity is measured in liters, but the number is only a starting point. Trip length, season, sleeping-system bulk, food, water availability, special equipment, and packing style all affect the space you need. According to current REI daypack guidance and its backpacking-pack guide, the following ranges are useful general references:
| Use | General Capacity | What Changes the Range |
|---|---|---|
| Short walks and light day hikes | About 10–20 L | Water needs, weather layers, camera gear, and remoteness |
| Full-day hiking | About 20–40 L | Cold-weather clothing, family gear, climbing equipment, or emergency supplies |
| One to three nights | About 30–50 L | Compact gear and warm weather may reduce the space needed |
| Three to five nights | About 50–80 L | Food volume, bear-resistant storage, winter gear, and resupply plans |
| Five or more nights | About 70 L or more | Trip style, group gear, climate, and opportunities to resupply |
Note: These ranges are planning guides, not strict rules. Lay out your complete gear list before choosing a pack. Buying extra capacity “just in case” can encourage overpacking, while choosing a pack that is too small may force unsafe equipment to the outside.
Suspension System Types
A backpack’s suspension system helps stabilize the load and distribute pressure. Depending on the model, it can include a rigid or flexible frame, back panel, shoulder harness, hipbelt, load lifters, and sternum strap.
- Framed suspension: Best for loads that need meaningful structure and transfer to the hips. The frame may use aluminum stays, a perimeter frame, a framesheet, or a combination of parts.
- Flexible suspension: Common in smaller daypacks carrying lighter equipment. It allows natural movement but offers less support when overloaded.
- Frameless construction: Saves weight and works for compact, carefully controlled loads. It becomes less comfortable when the gear is bulky, poorly packed, or too heavy for the design.
- Suspended-mesh back panel: Holds the pack body away from part of the back to improve airflow, although the curved space can affect how efficiently the main compartment packs.
Do not select a suspension system from the pack’s empty weight alone. Check the manufacturer’s intended use and recommended load range, then test the pack with the equipment you expect to carry.
Pack Access and Organization
Top-loading packs are simple and usually place fewer zippers in exposed areas. Panel-loading, clamshell, side-access, and bottom-access designs make buried equipment easier to reach but may add weight and complexity.
Useful storage features include stretch side pockets, hipbelt pockets, a front shove-it pocket, lid pockets, hydration sleeves, key clips, sleeping-bag compartments, and tool attachments. More pockets are not automatically better. Choose an arrangement that keeps frequently used items accessible without making it difficult to remember where your gear is stored.
Weather Protection and Hydration
Most hiking backpacks resist brief contact with moisture but are not fully waterproof. Water can eventually enter through seams, zippers, openings, and saturated fabric. A fitted rain cover protects much of the exterior, while a pack liner or individual dry bags provide better protection for sleeping gear, spare clothing, electronics, and other critical items.
Warning: Do not assume that “water-resistant” means the contents will remain dry during prolonged rain, river crossings, or accidental immersion. Protect essential insulation and emergency equipment inside waterproof liners or dry bags.
A hydration-compatible pack normally includes an internal reservoir sleeve, a hanging point, and a hose port. Check that a full reservoir does not distort the frame or press uncomfortably into your back. Bottles may be easier to inspect, refill, and use with drink mixes, so the better system depends on the route and your preferences.
Materials and Durability
Hiking backpacks commonly use nylon or polyester fabrics, often with reinforced material on the base and other high-wear areas. Durability depends on more than fabric thickness. Seam quality, zipper construction, buckle strength, frame attachment points, coating care, and the way the pack is loaded also affect its useful life.
Inspect how exposed straps and mesh pockets are positioned. Lightweight mesh saves weight and drains quickly, but it may snag more easily around brush and rock. Heavier fabrics may resist abrasion better but add weight. The best balance depends on whether you hike maintained trails, scramble over rock, carry climbing tools, or travel through dense vegetation.
Types of Hiking Backpacks
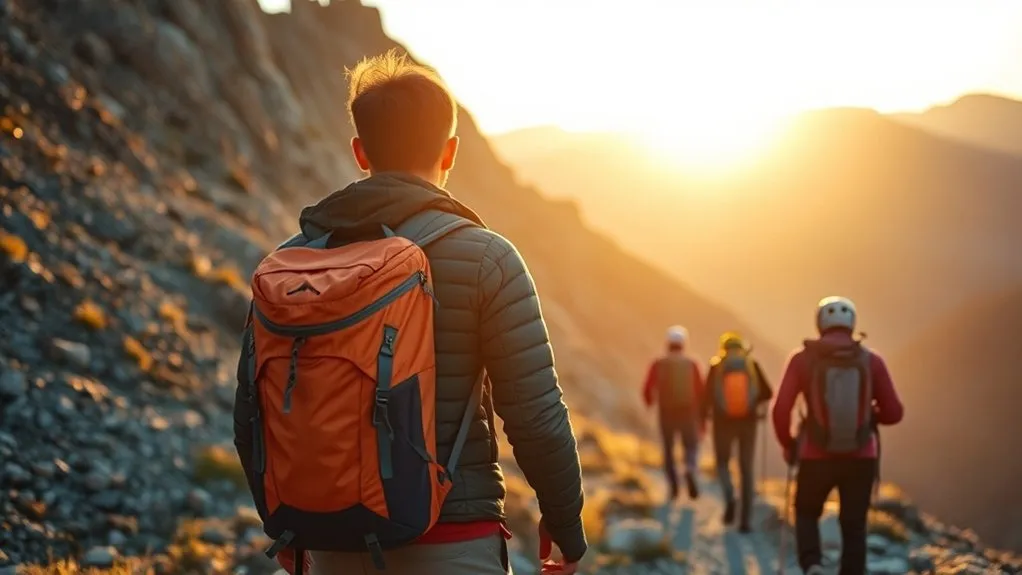
Hiking backpacks can be grouped by frame type, capacity, and activity. Internal-frame packs dominate modern hiking and backpacking, but external-frame and frameless models still serve particular needs.
External Frame Backpacks
An external-frame backpack places a visible support structure outside the pack bag. The frame creates space between the load and your back, offers strong ventilation, and provides convenient attachment points for bulky or irregular equipment.
| Feature | Advantage | Consideration |
|---|---|---|
| Load support | Can manage heavy or awkwardly shaped equipment | The load may sit farther from the body |
| Ventilation | Open space can improve airflow behind the back | The wider frame can feel cumbersome in tight terrain |
| Gear attachment | Easy to lash on bulky items | External gear can snag, shift, or affect balance |
| Trail use | Useful on open routes with unusual loads | Usually less body-hugging than an internal frame on technical terrain |
Internal Frame Backpacks
Internal-frame backpacks hide the structural parts inside or directly behind the back panel. This design holds the pack close to the body, which improves balance and load control on uneven or off-camber trails. It is the most versatile option for most modern hikers and backpackers.
Internal frames vary widely. A light daypack may use a flexible framesheet, while a multiday model may add metal stays or a full perimeter frame. The frame should be strong enough for the intended load without being so rigid that it prevents a comfortable fit.
Frameless and Ultralight Backpacks
Frameless packs remove most structural components to reduce weight. They work best when the entire gear system is compact and light. Some hikers fold a sleeping pad against the back panel to add shape, but that does not give the pack the same load-transfer ability as a purpose-built frame.
A frameless pack is not automatically more comfortable because it weighs less. If the contents form hard pressure points or exceed the design’s practical load range, the savings can be offset by poor support.
Activity-Specific Hiking Backpacks
- Day-hiking packs: Prioritize low weight, water access, simple organization, and enough space for weather layers and emergency gear.
- Backpacking packs: Add stronger suspension, larger capacity, compression, and storage for shelter, sleep systems, food, and cooking equipment.
- Climbing and mountaineering packs: Often use streamlined shapes, durable fabrics, helmet or rope carrying options, and attachments for technical tools.
- Trail-running packs and vests: Fit close to the torso to reduce bounce and provide quick access to hydration and food.
- Winter packs: Need room for bulky insulation and may include attachments for snowshoes, skis, ice tools, or avalanche-safety equipment.
How to Choose the Right Size
Choosing the right size involves both pack capacity and body fit. A pack can hold the correct amount of gear and still be uncomfortable if its torso range or hipbelt shape does not match you.
- Define the activity: List the hikes and trips the pack will handle most often. A pack chosen for your normal use is more practical than one built around a rare worst-case trip.
- Lay out the full gear list: Include water, food, weather layers, emergency supplies, shelter, sleep equipment, and any activity-specific tools.
- Measure your torso: Measure along the spine from the prominent vertebra near the base of the neck to the level of the top of the hip bones. Follow the pack manufacturer’s sizing diagram because measuring methods can vary slightly.
- Check hipbelt sizing: Confirm that the padded wings wrap far enough around the hips while leaving room to tighten or loosen the belt.
- Add representative weight: Place weighted items inside the pack so its frame and padding behave as they will on the trail.
- Adjust the pack: Start with the hipbelt, then tighten the shoulder harness, load lifters, and sternum strap.
- Walk and move: Climb stairs, lean forward, turn your torso, and check whether the load sways, slips, rubs, or creates concentrated pressure.
- Recheck capacity: Confirm that required gear fits without forcing heavy items far from your back or covering important attachment points.
The Osprey fitting sequence also begins with representative weight, torso adjustment, and the hipbelt before the shoulder harness and stabilizing straps.
Importance of a Good Fit
A good fit improves stability and reduces pressure on the shoulders and lower back. The goal is not to eliminate all contact or make the pack feel weightless. The goal is to spread the load without painful pressure points while keeping it controlled as you move.
| Fit Check | What Good Fit Looks Like | Possible Problem |
|---|---|---|
| Torso length | Harness follows the shoulders and the frame sits at the intended height | Large shoulder gap, neck contact, or excessive shoulder pressure |
| Hipbelt | Padded wings wrap the upper hip bones and remain secure | Belt slips downward, pinches, or reaches the end of its adjustment |
| Shoulder straps | Smooth contact without carrying the entire load | Numbness, sharp pressure, rubbing, or restricted arm movement |
| Load control | Pack follows your movement without excessive sway | Load pulls backward or shifts from side to side |
Comfort Considerations for Hiking Backpacks
Comfort comes from the interaction between the pack, your body, the load, and the way the contents are arranged. Thick padding alone does not guarantee comfort. Padding that is too soft can collapse under weight, while padding that is too firm may create pressure points for some body shapes.
Use this adjustment order whenever you put on a loaded framed pack:
- Loosen the main straps: Give the harness enough slack to place the pack correctly.
- Position and tighten the hipbelt: Center it over the upper hip bones so it can support the load.
- Snug the shoulder straps: Remove excess slack without pulling the pack so tightly that the hipbelt lifts.
- Adjust the load lifters: Bring the upper pack closer to your body without distorting the shoulder straps.
- Fasten the sternum strap: Use light tension to stabilize the harness while keeping your breathing unrestricted.
- Fine-tune while walking: Small changes are often needed after the load settles.
Warning: Stop and readjust the pack if you develop numbness, tingling, sharp pain, restricted breathing, or severe rubbing. Do not simply tighten every strap; the pack may be overloaded, packed poorly, or the wrong size for your body.
How to Pack a Hiking Backpack
Good packing keeps the load balanced and prevents hard objects from pressing into your back. Exact placement varies by pack and terrain, but the following arrangement works for many hiking and backpacking loads:
- Bottom: Place light, compressible items that are not needed while walking, such as a sleeping bag or camp clothing.
- Middle and close to the back: Place dense items such as food, a cooking kit, or a full water reservoir near the body and around the upper-middle portion of the pack.
- Middle and away from the back: Use soft items to fill gaps and keep hard objects from shifting or pressing through the back panel.
- Top: Store weather layers, first-aid supplies, water treatment, and other items that may be needed quickly.
- Hipbelt and exterior pockets: Carry snacks, navigation tools, sunscreen, gloves, and other small items needed while moving.
- Outside attachments: Limit external gear when possible. Secure every item tightly so it cannot swing, snag vegetation, or change the pack’s balance.
Balance the left and right sides, tighten compression straps after packing, and keep sharp or wet equipment isolated. A waterproof liner can protect the main contents, while smaller dry bags make it easier to separate sleeping gear, clothing, electronics, and food.
Safety Note: Pack choice does not replace trip preparation. Carry equipment appropriate for the route, check current conditions, and tell someone where you are going and when you expect to return.
Essential Accessories for Hiking Backpacks
Accessories should solve a specific problem rather than add clutter. Useful options include:
- Hydration reservoir: Provides hands-free drinking and places water close to the back, though it can be harder to check the remaining volume.
- Water bottles: Easy to inspect, refill, clean, and share. Confirm that the side pockets are reachable while wearing the pack.
- Hipbelt pockets: Keep snacks, lip balm, a small phone, or navigation items within reach.
- Compression straps: Reduce load movement and can secure poles or other long items when designed for that purpose.
- Rain cover: Shields much of the exterior from rain but may not protect the back panel or stop water entering around openings.
- Pack liner or dry bags: Protect critical gear inside the pack and remain useful in wind, brush, or technical terrain where a rain cover may snag.
- Detachable daypack or removable lid: Creates a smaller carrying option for side trips from camp.
- Repair items: Buckle replacements, cord, tape, and a small sewing kit can address minor failures until a proper repair is possible.
Confirm that any accessory is compatible with the pack. An oversized reservoir, poorly positioned bottle holder, or overloaded attachment point can interfere with comfort and balance.
Tips for Maintaining Your Hiking Backpack
Regular care helps preserve the fabric, coating, foam, zippers, and suspension. Always check the sewn-in care label and the manufacturer’s instructions before washing because materials and removable frame components differ.
- Empty every compartment: Remove food, dirt, sand, and small objects from pockets and seams.
- Clean light dirt promptly: Use a damp cloth or soft brush before mud and salt become embedded.
- Hand-wash when necessary: Use lukewarm water and a small amount of pH-neutral soap unless the manufacturer specifies another method.
- Avoid automatic washing by default: Machine agitation can damage coatings, foam, frames, and fasteners. Follow the care label if it gives different instructions.
- Rinse thoroughly: Remove soap from the harness, hipbelt, back panel, and other areas that contact skin.
- Air-dry completely: Open the zippers and dry the pack in a shaded, ventilated place away from heaters, open flames, and intense direct sunlight.
- Inspect components: Check seams, fabric, buckles, strap anchors, zippers, elastic, frame parts, and hydration openings.
- Store it dry: Keep the pack in a cool, dry location rather than a damp basement, hot vehicle, or compressed storage bag.
The Deuter backpack-care guide advises hand-washing with lukewarm water and pH-neutral soap, drying completely, and avoiding direct heat. It also notes that sustained rain can allow moisture through seams and zippers even when the main fabric has a water-resistant treatment.
Note: Reproofing products are not suitable for every fabric or contact surface. Use only a treatment approved by the pack manufacturer, and keep it away from shoulder straps or other skin-contact areas unless the instructions allow that use.
Hiking Backpack Buying Checklist
- Does the capacity match your complete gear list rather than an estimated trip length alone?
- Does the torso range include your measured torso length?
- Does the padded hipbelt wrap your hips without bottoming out?
- Is the suspension designed for your expected load?
- Can you reach water, snacks, navigation equipment, and weather layers?
- Does the pack remain stable when you walk, turn, bend, and climb stairs?
- Are the fabric and external pockets suitable for the terrain you use most?
- Can you protect critical gear from sustained rain?
- Are replacement buckles, warranty service, or repairs available?
- Have you tested the pack while loaded rather than judging it empty?
A pack that passes these checks is more useful than one chosen only for low weight, a long feature list, or a large advertised capacity.
Frequently Asked Questions
Can I use a hiking backpack for everyday activities?
Yes. A hiking backpack can work for commuting, errands, or the gym, especially when it has useful pockets and a comfortable harness. However, framed models may be heavier, taller, and more technical than needed for everyday use. Check whether the hipbelt can be removed or tucked away if you will use the pack in crowded spaces.
What materials are hiking backpacks commonly made from?
Most hiking backpacks use nylon, polyester, or a blend of synthetic fabrics. Reinforced material is often placed on the base and other high-wear areas. Mesh, foam, aluminum stays, plastic framesheets, coatings, buckles, and zippers may also form part of the complete pack.
Are hiking backpacks waterproof or water-resistant?
Most are water-resistant rather than fully waterproof. Rain can enter through seams, zippers, openings, and saturated fabric. Use a rain cover for exterior protection and a pack liner or dry bags for sleeping gear, clothing, electronics, and emergency supplies.
How much weight can a hiking backpack carry?
There is no safe universal number for every hiking backpack. Capacity depends on the frame, fabric, seams, hipbelt, pack size, fit, and manufacturer’s design. Follow the load guidance for the exact model and reduce the load if the pack sags, sways, slips, or causes pain or numbness.
Can I customize my hiking backpack with patches or accessories?
Yes, but customize it carefully. Sewing through coated fabric can create leak points, while strong adhesives may leave residue or damage a finish. Removable zipper pulls, hook-and-loop areas supplied by the manufacturer, and accessories attached to approved loops are lower-risk options. Check warranty terms before making permanent changes.
What is the difference between a hiking backpack and a regular backpack?
A hiking backpack is built around trail movement and outdoor equipment. It may provide stronger load support, torso sizing, a shaped hipbelt, ventilation, hydration compatibility, compression straps, tool attachments, and weather protection. A regular backpack usually prioritizes books, electronics, commuting, or simple daily organization.
How should a hiking backpack sit on my body?
On a framed pack, the hipbelt should sit securely over the upper hip bones, the shoulder straps should follow the shoulders without severe pressure, and the pack should remain close enough to avoid pulling backward. The sternum strap should stabilize the harness without restricting breathing.
Conclusion
A quality hiking backpack supports your gear while keeping the load stable and accessible. Start with the activity and complete gear list, choose a realistic capacity, measure your torso, and test the pack under weight. The right frame, hipbelt, harness, and organization should work together rather than forcing your shoulders or lower back to compensate.
Once you find a suitable pack, protect its contents from sustained rain, pack dense items close to your body, inspect it after demanding trips, and follow its care label. A well-chosen and properly adjusted backpack lets you spend less time managing discomfort and more time paying attention to the trail.
Sources
- REI Co-op: How to Choose a Backpack — backpack capacity, frame types, fit, ventilation, access, and features
- REI Co-op: How to Choose Daypacks — daypack definition, activity selection, capacity, and fit
- Osprey: How to Fit Your Backpack — loaded fitting and adjustment sequence
- Osprey: Backpack Suspension Systems — hipbelts, frames, harnesses, load lifters, and load transfer
- U.S. National Park Service: Ten Essentials — trail preparedness and emergency equipment
- Deuter: How to Clean a Backpack — washing, drying, storage, and water-resistance care

