

Last Updated on September 10, 2026 by Daniel Globe
A gear backpack is designed to carry outdoor or specialized equipment in a stable, organized, and comfortable way. Unlike a simple school bag or fashion backpack, it may include a supportive frame, padded hipbelt, adjustable harness, compression straps, hydration storage, and attachment points. The right model depends on your activity, body measurements, expected load, trip length, and weather.
Quick Answer
A gear backpack is an outdoor-focused backpack built to carry equipment securely and comfortably. It usually combines a supportive suspension, hipbelt, organized storage, compression straps, and attachment points. Choose one by trip length, gear volume, torso and hip fit, expected load, weather protection, and the access style you prefer.
Key Takeaways
- “Gear backpack” is a broad term that can include hiking, backpacking, climbing, camera, work, and other equipment-carrying packs.
- Fit matters more than capacity alone. Choose a pack using your torso length and hip measurement rather than your height.
- A supportive frame and hipbelt help transfer much of the load from your shoulders to your hips.
- Most ordinary gear backpacks are water-resistant, not fully waterproof, so sensitive items may need a liner or dry bag.
- Test the pack with realistic weight and reduce the load if you experience pain, numbness, poor balance, or restricted movement.
Disclosure: As an Amazon Associate I earn from qualifying purchases. Some links on this page are affiliate links, at no extra cost to you.
What Is a Gear Backpack?
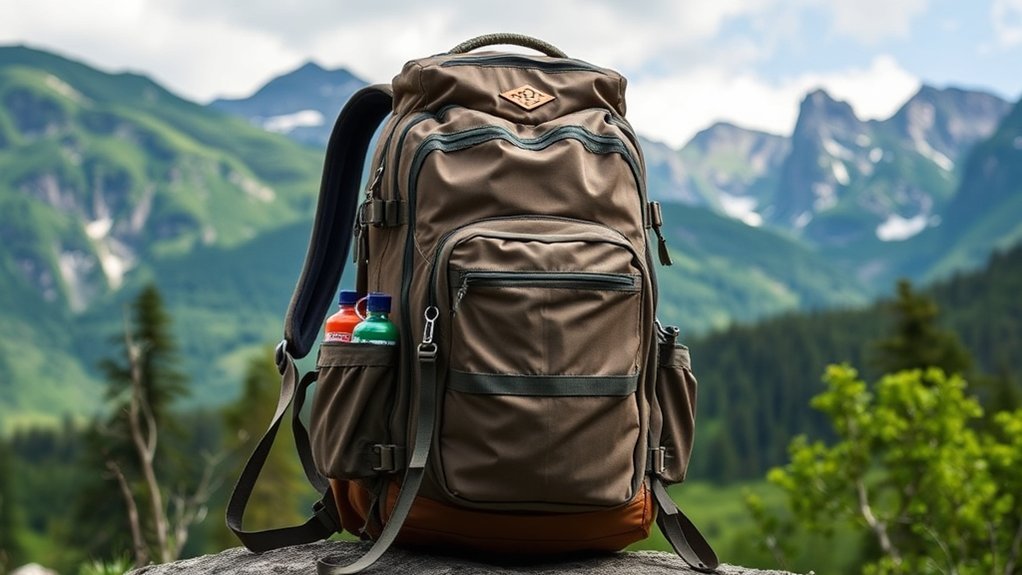
A gear backpack is a pack built to carry equipment rather than only a few personal items. The phrase is not one strict technical category. It may describe a hiking pack, multiday backpacking pack, climbing pack, camera bag, hunting pack, tool backpack, or another design made for a specific activity.
Outdoor models usually provide more load support and organization than a basic everyday backpack. Common features include a frame or frame sheet, padded shoulder harness, hipbelt, sternum strap, load lifters, compression straps, equipment loops, hydration compatibility, and several ways to reach the main compartment.
Backpacking packs are specifically designed to carry clothing, food, shelter, a sleep system, water, and other overnight equipment. According to REI’s backpack-selection guidance, most backpacking packs begin at about 45 liters and can extend to approximately 80 liters, although smaller and larger specialist models are available.
Common Types of Gear Backpacks
- Daypack: A compact pack for day hikes, commuting, sightseeing, or carrying a small amount of equipment.
- Internal-frame backpack: A pack with its supporting structure hidden inside the back panel. It holds the load close to your body and is the most common choice for backpacking.
- External-frame backpack: A pack mounted to a visible frame. It can work well for bulky or irregular loads and often provides generous airflow and attachment space.
- Frameless backpack: A lightweight pack intended for compact, carefully controlled loads. It can become uncomfortable when overloaded.
- Specialist gear pack: A design made around equipment such as cameras, climbing hardware, snow tools, hunting gear, medical supplies, or work tools.
Note: A large capacity does not automatically make a backpack better. Extra space often encourages overpacking, while a pack that is too small may force unstable equipment onto the outside.
Key Features of Gear Backpacks
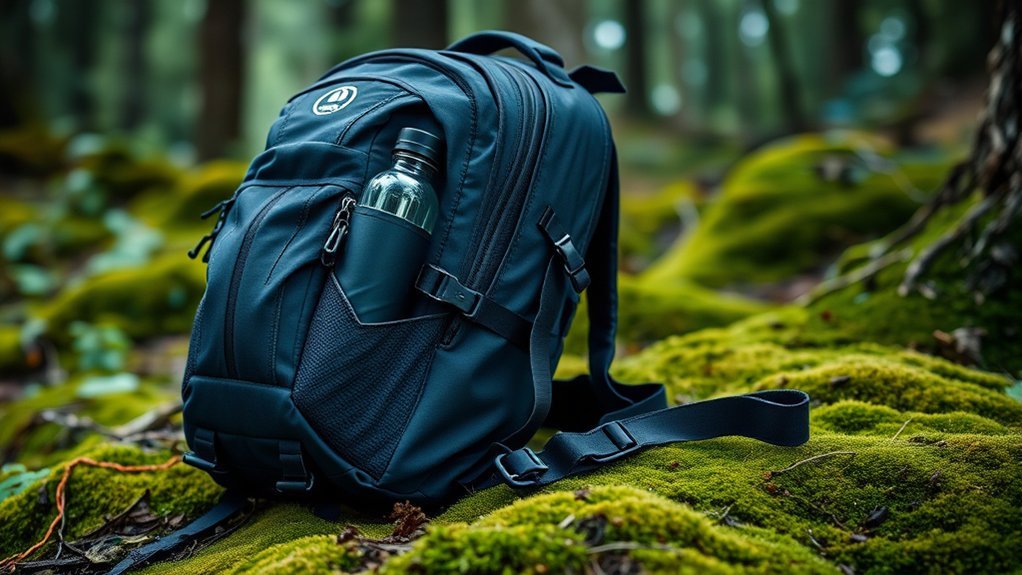
The most useful features depend on what you carry and how far you travel. A photographer may prioritize padded access, while a backpacker may need an effective hipbelt, stable frame, hydration sleeve, and space for a shelter and sleep system.
| Feature | Purpose | What to Check |
|---|---|---|
| Adjustable torso length | Matches the harness to your back length. | The adjustment range must include your measured torso length. |
| Hipbelt | Transfers much of the load from the shoulders to the hips. | Padding should wrap the upper hip bones without running out of adjustment. |
| Frame or frame sheet | Supports the load and helps the pack keep its shape. | Match the suspension to the heaviest load you realistically expect to carry. |
| Load lifters and sternum strap | Pull the pack closer and help stabilize the shoulder harness. | Straps should adjust without pinching your shoulders or restricting breathing. |
| Multiple pockets and access points | Organize equipment and provide quick access to essentials. | Check lid, front, side, hipbelt, bottom, and panel-access options. |
| Compression straps | Reduce unused volume and limit load movement. | Make sure the straps do not block pockets or important zippers. |
| Attachment points | Secure trekking poles, tools, a sleeping pad, or other bulky equipment. | Use only the attachments needed for your activity and keep the load balanced. |
| Hydration compartment | Holds a reservoir close to the back and routes the drinking hose. | Confirm reservoir size, hanger compatibility, hose ports, and refill access. |
| Ventilated back panel | Creates airflow between the pack and your back. | Suspended mesh improves ventilation but can move the load farther from your body. |
Frame and Suspension
The suspension includes the frame, back panel, hipbelt, shoulder straps, load lifters, and sternum strap. These parts work together to stabilize the backpack and distribute its weight. Internal-frame packs hold the load close to your body, while frameless packs save weight but require a lighter and more compact load.
Storage and Access
Top-loading packs are simple and can be easy to compress, but equipment near the bottom may be difficult to reach. Panel, side, or bottom access can make organization easier. Hipbelt pockets are useful for snacks, sunscreen, a small camera, or navigation tools that you want without removing the pack.
Materials and Weather Protection
Gear backpacks commonly use nylon, polyester, or blends. Ripstop is a reinforced weave intended to help limit the spread of small tears; it does not make every fabric equally durable. Also compare fabric denier, reinforced wear areas, stitching, zipper quality, buckles, coatings, and repair options.
A durable water-repellent treatment can help light moisture bead on the fabric, but it does not automatically make the entire pack waterproof. Seams, zippers, openings, and prolonged rain can still allow water inside.
Choose a backpack by torso and hip fit—not by your height or the capacity number alone.
Benefits of Using a Gear Backpack
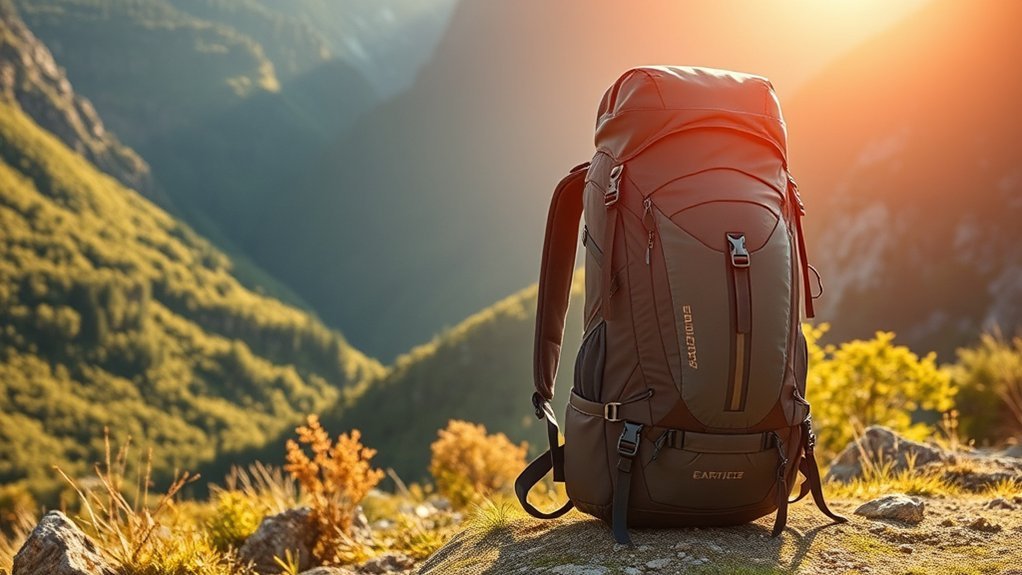
A well-fitted gear backpack can improve comfort, organization, and stability during outdoor travel. Its main benefits include:
- Better load distribution: A supportive suspension and correctly positioned hipbelt reduce the amount of weight hanging only from your shoulders.
- Improved balance: Compression straps, a close-fitting harness, and sensible packing help prevent equipment from shifting as you walk.
- Faster access: Multiple pockets and access panels let you reach water, food, rain gear, navigation tools, or a first-aid kit more quickly.
- Equipment versatility: Loops and straps can secure trekking poles, tent poles, sleeping pads, or activity-specific tools.
- Greater durability: Outdoor packs often use reinforced fabrics, dependable hardware, and construction designed for repeated trail use.
- Capacity choices: Packs are available for short day trips, weekend travel, multiday backpacking, winter use, and equipment-heavy expeditions.
Empty backpack weight varies widely. Some minimalist models weigh less than three pounds, while packs with larger frames, more padding, heavier fabrics, or expedition-level capacity weigh considerably more. Do not choose by empty weight alone. A slightly heavier pack may carry your actual load more comfortably than an ultralight model with an undersized suspension.
Gear Backpack Capacity Guide
Capacity is measured in liters, but trip length is only one part of the decision. Climate, equipment size, food storage requirements, water availability, family gear, photography equipment, and personal packing habits can all change the space you need.
| Approximate Capacity | Typical Use | Important Considerations |
|---|---|---|
| 10–30 liters | Everyday carry, short day hikes, trail running, cycling, or compact specialist equipment. | Make sure there is still room for water, weather layers, food, and emergency supplies. |
| 30–50 liters | One- to three-night trips with compact equipment. | Works best when the shelter, sleep system, and clothing pack down efficiently. |
| 50–80 liters | Three- to five-night backpacking trips or shorter trips with bulkier equipment. | A supportive frame and fitted hipbelt become increasingly important as load weight rises. |
| 70 liters or more | Extended trips, winter travel, family equipment, expeditions, or bulky specialist loads. | The extra room should not be treated as permission to carry unnecessary weight. |
These ranges follow the general trip categories in REI’s capacity guide, but they are not rigid rules. Lay out your complete equipment list before choosing a pack. Whenever possible, bring the equipment to a retailer and confirm that it fits without forcing essential items onto the outside.
When to Choose a Gear Backpack
A gear backpack is a strong choice when you need to carry equipment over uneven ground, keep both hands free, organize multiple categories of gear, or transfer a meaningful portion of the load to your hips. It is especially useful for:
- Day hiking and backpacking
- Camping and overland day excursions
- Climbing, mountaineering, and backcountry skiing
- Photography or field recording
- Trail maintenance, technical work, or emergency equipment
- Travel that includes substantial walking away from paved surfaces
A technical outdoor pack may be less convenient for ordinary office commuting or airline travel. Curved internal frames, thick hipbelts, external straps, and tall dimensions can make some hiking packs awkward in tight spaces. For a laptop, documents, or frequent airport use, a travel or commuter backpack may provide better protection and easier access.
How to Select the Right Gear Backpack
1. Match the Pack to Your Activity
List the equipment you must carry, including food, water, clothing, shelter, safety supplies, and activity-specific tools. Then estimate your heaviest likely load. Choose a pack designed for that activity and load rather than selecting the largest model available.
2. Measure Your Torso and Hips
Pack size is primarily based on torso length, not overall height. To measure your torso, locate the C7 vertebra at the base of your neck and the line across the top of your hip bones. Measure between those points while standing upright. Measure your hip circumference around the top of the hip bones rather than at your normal pants waist.
Because size ranges differ among brands and models, compare your measurements with the manufacturer’s chart. The detailed process is available in REI’s backpack fitting guide.
3. Test the Backpack With Weight
An empty pack can hide pressure points and suspension problems. Place a realistic amount of weight inside before judging the fit. Use soft items around the test weight so it does not shift or press sharply against your back.
- Set the adjustable torso length to match your measurement.
- Position the center of the hipbelt over the top of your hip bones and tighten it until snug, not painfully tight.
- Tighten the shoulder straps so they follow your shoulders without carrying most of the weight.
- Snug the load lifters to bring the upper pack closer to your body without creating shoulder pressure.
- Fasten the sternum strap at a comfortable chest height without restricting your breathing.
- Walk, bend, step up, and turn while checking for movement, pinching, rubbing, or imbalance.
Pro Tip: Test the pack with approximately the weight and equipment you expect to carry. A model that feels excellent when empty may sag, pull backward, or create pressure points once loaded.
4. Choose the Right Suspension
A frameless design may work for a light, compact load. For heavier or awkward equipment, look for a frame, supportive hipbelt, structured back panel, and load lifters. Check the manufacturer’s recommended load range when one is available.
Ventilated mesh back panels improve airflow, but they may create a curved interior or move the load slightly farther from your back. Decide whether ventilation, close load control, or simple interior packing matters most for your activity.
5. Compare Access and Organization
Consider when you will need each item. A top-loading pack can be simple and secure, while front, side, or U-shaped panel access makes buried equipment easier to retrieve. Check whether pockets remain usable after the compression straps are tightened.
6. Inspect Materials and Hardware
Check high-wear areas such as the bottom, front panel, shoulder-strap anchors, hipbelt wings, and external tool loops. Operate every zipper and buckle. Look for reinforced stitching, smooth strap adjustment, dependable compression hardware, and repair or replacement options.
7. Plan for Rain
A DWR finish helps fabric shed light moisture but should not be your only protection in sustained rain. A fitted rain cover protects much of the pack exterior, although water may still reach the back panel or run between the cover and your body. A waterproof pack liner or individual dry bags provide stronger protection for a sleep system, clothing, electronics, and other moisture-sensitive items.
Warning: Stop and adjust or reduce the load if the pack causes sharp pain, numbness, restricted breathing, severe rubbing, or poor balance. Body-weight percentages are general planning references, not guarantees that a load is safe for a particular person, route, or medical condition.
How Much Weight Should a Gear Backpack Carry?
There is no single safe weight for every backpack or every person. Pack construction, torso fit, fitness, experience, terrain, elevation, weather, trip duration, water availability, and health all affect what you can carry comfortably.
REI presents approximately 20% of body weight as a very general guideline for a loaded backpacking pack and about 10% for a day-hiking pack. Isle Royale National Park lists 30% as a rule of thumb while noting that fitness and absolute pack weight matter.
For practical planning, treat 20% as a conservative reference rather than a target. Many beginners will be more comfortable carrying less. Children, smaller hikers, people returning from an injury, and anyone with joint, back, balance, heart, or respiratory concerns may need a substantially lighter load and appropriate professional guidance.
Do not remove navigation, water, weather protection, first aid, or emergency equipment merely to reach a percentage. Reduce duplicate clothing, oversized containers, unnecessary gadgets, and excessive food packaging first.
How to Pack a Gear Backpack
Good organization improves balance and keeps important items accessible. The exact arrangement changes with the pack and terrain, but the following system works for many hiking and backpacking loads:
- Bottom: Place bulky, soft items that you will not need while walking, such as a sleeping bag, sleep clothing, or compact camp footwear.
- Core near your back: Center dense items such as food, a cook kit, water reservoir, or filled bear canister close to your spine.
- Core away from your back: Use clothing or shelter fabric to fill gaps and prevent hard equipment from shifting.
- Top: Keep rainwear, insulation, first aid, water treatment, and other items that may be needed before camp within reach.
- Accessory pockets: Store snacks, navigation tools, sunscreen, headlamp, water bottles, identification, and a rain cover.
This arrangement follows the load zones described in REI’s backpack-loading guide. Tighten compression straps after packing to limit movement, but do not crush fragile equipment or kink a hydration hose.
External attachment points are useful for trekking poles, tent poles, a sleeping pad, or technical tools. Keep external gear compact and balanced. Loose items can swing, catch branches, strike rocks, or shift your center of gravity.
Note: Pack contents must match the route and conditions. Review the National Park Service Ten Essentials, then add any equipment required for local weather, wildlife, water treatment, permits, or terrain.
Common Buying Mistakes
- Choosing by height: Two people of the same height can have different torso lengths and need different pack sizes.
- Buying excessive capacity: A larger pack adds bulk and makes it easier to bring unnecessary equipment.
- Testing the pack empty: Suspension problems often appear only after weight is added.
- Ignoring hipbelt size: A correct torso length cannot compensate for a hipbelt that does not wrap and tighten correctly.
- Assuming more padding is always better: Thick padding can add heat and weight without fixing poor geometry.
- Confusing water-resistant with waterproof: Fabric treatments do not seal every seam, zipper, and opening.
- Hanging too much gear outside: Exterior equipment can snag, swing, become wet, or disturb balance.
- Choosing features instead of fit: Extra pockets and accessories cannot correct an unsuitable harness.
Cleaning and Maintaining a Gear Backpack
Always check the manufacturer’s instructions first because frames, coatings, foams, and removable components differ among models.
- Empty every pocket and shake out sand, leaves, and food crumbs.
- Remove detachable harness parts or a removable frame only when the manufacturer permits it.
- Use lukewarm water, mild soap, and a soft sponge or brush on dirty areas.
- Rinse away all soap residue without aggressively scrubbing coated fabrics or zippers.
- Hang the pack open in a shaded, well-ventilated place until every section is dry.
- Inspect seams, webbing, buckles, cord locks, hydration ports, and zipper tracks before storage.
- Store the pack uncompressed in a cool, dry area away from direct sunlight and pests.
Osprey’s care instructions recommend warm water, mild detergent, thorough rinsing, and air-drying away from direct sunlight. Osprey also advises against machine-washing its packs because this may damage their fabric or structure.
Warning: Do not put a backpack in a washing machine or dryer unless its manufacturer explicitly states that the specific model is machine-safe. Heat and agitation can damage coatings, foam, frames, stitching, and laminated materials.
Frequently Asked Questions
How do I clean and maintain my gear backpack?
Empty the backpack, remove loose debris, and follow its care label. Most outdoor packs can be cleaned with lukewarm water, mild soap, and a soft sponge or brush. Rinse thoroughly and air-dry in the shade. Avoid machine-washing, machine-drying, bleach, and harsh chemicals unless the manufacturer specifically permits them.
Can a gear backpack be used for everyday activities?
Yes. A smaller gear backpack can work for commuting, errands, school, gym equipment, or travel. However, a technical hiking model may have a curved frame, bulky hipbelt, or external straps that are less convenient in offices, public transportation, and aircraft cabins.
What materials are commonly used for gear backpacks?
Nylon and polyester are common, sometimes with ripstop reinforcement, polyurethane or TPU coatings, and a durable water-repellent finish. Durability depends on more than the fiber name. Compare denier, coating, seam construction, reinforced wear areas, zippers, buckles, and the manufacturer’s repair support.
Are gear backpacks waterproof or water-resistant?
Most ordinary gear backpacks are water-resistant rather than fully waterproof. Fabric coatings and DWR treatments can shed light rain, but water may enter through seams, zippers, openings, or the back panel. Use a rain cover, waterproof liner, or dry bags when important equipment must remain dry.
How much weight can a gear backpack safely carry?
There is no universal safe weight. Approximately 20% of body weight is often used as a general backpacking reference, but the correct load also depends on fit, conditioning, terrain, weather, health, and pack construction. Carry less when possible and reduce or adjust the load if it causes pain, numbness, instability, or restricted movement.
What size gear backpack do I need?
For general planning, 10–30 liters suits many day trips, 30–50 liters can suit one to three nights, 50–80 liters is common for three to five nights, and 70 liters or more may be appropriate for extended, winter, family, or bulky-equipment trips. Your actual gear volume matters more than the trip length alone.
Is an internal-frame backpack always better?
No. Internal-frame packs are versatile and stable for many hiking loads, but frameless packs can work well for light equipment, and external frames can handle bulky or irregular loads. The best choice is the frame and suspension that comfortably supports your expected load and activity.
Sources
- REI: How to Choose a Backpack — backpack capacities, frame types, ventilation, features, and selection criteria.
- REI: How to Size and Fit a Backpack — torso measurement, hip sizing, and harness adjustment.
- REI: How to Pack a Backpack — bottom, core, top, pocket, and external-attachment load zones.
- REI: How Much Should Your Pack Weigh? — general pack-weight guidance and its limitations.
- National Park Service: The Ten Essentials — navigation, clothing, first aid, food, hydration, repair, and emergency equipment.
- Osprey: How to Clean Your Backpack — manufacturer cleaning, rinsing, drying, and machine-washing guidance.
Conclusion
A gear backpack is more than a large storage bag. Its suspension, fit, capacity, access points, materials, and weather protection determine how well it carries your equipment. Start with your actual gear and expected load, measure your torso and hips, and test the pack with weight before buying. The best choice is not necessarily the lightest or largest model—it is the pack that supports your load, fits your body, and suits the conditions in which you will use it.

