
Last Updated on August 26, 2026 by Caleb Warren
Seeing a “P” on an electric scooter does not always mean the same thing. A single P on the normal dashboard may mean Park or Parking mode, while codes such as P0, P1, P2, or P01 inside a setup screen usually refer to programmable or parameter settings. Because manufacturers use different displays, controllers, and firmware, the safest way to interpret any P code is to check the manual for your exact scooter before changing it.
Quick Answer
On an electric scooter, a single “P” can mean Park mode, while P0, P1, P2, and similar codes inside a settings menu usually mean programmable or parameter settings. The code numbers are not universal, so identify your scooter and display before changing speed, braking, battery, wheel, or motor-related values.
Key Takeaways
- P by itself may mean Parking mode on some scooters rather than programmable settings.
- P-number menus are model-specific; P1 can mean brightness on one scooter and something completely different on another.
- Settings for wheel size, battery voltage, motor poles, low-voltage cutoff, and communication should normally stay at the manufacturer’s values.
- Record every original value before making a change and test acceleration and braking at low speed afterward.
- Never copy a P-setting list from another scooter simply because the display looks similar.
At a Glance
| Time Required | About 5–10 minutes after locating the correct manual |
| Difficulty | Easy for display options; moderate for performance settings |
| Tools Needed | Scooter manual or manufacturer support page; phone camera for recording original values |
| Cost | Usually $0 |
Disclosure: As an Amazon Associate I earn from qualifying purchases. Some links on this page are affiliate links, at no extra cost to you.
What Does “P” Mean on an Electric Scooter?
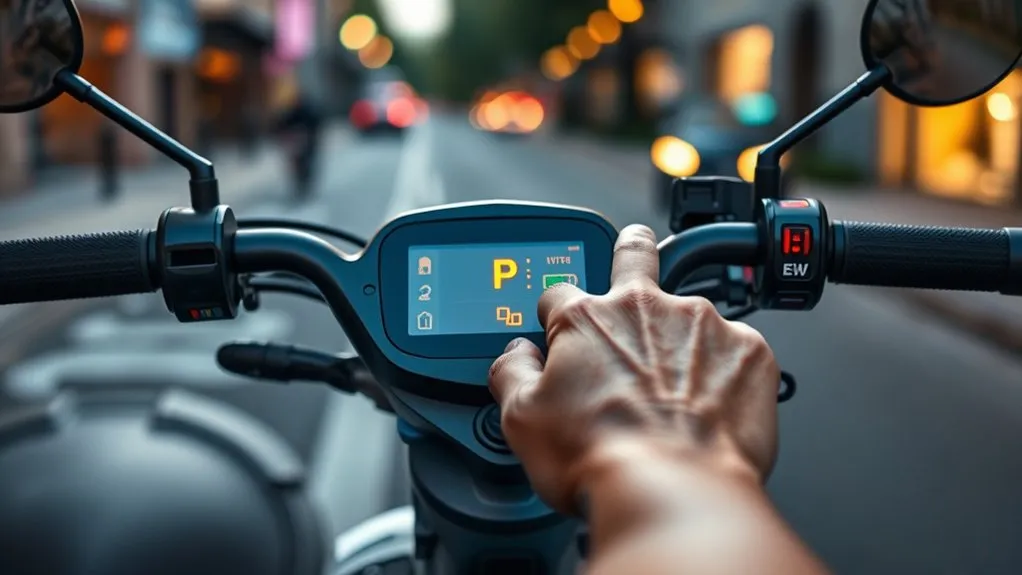
The meaning depends on where the P appears. If the scooter is on its normal riding screen and shows one large P, it may be indicating Park or Parking mode. For example, the official Segway MAX G3 manual describes a Parking mode in which “P” appears on the speedometer and acceleration is temporarily disabled.
If you deliberately enter a setup screen and see entries such as P1, P2, P8, P11, or P17, the P usually refers to a programmable or parameter setting. These settings can control things such as display brightness, units, start behavior, acceleration, electronic braking, power output, cruise control, wheel calibration, or battery-related values.
The important point is that P numbers are not an industry-wide standard. A setting called P1 on one scooter may perform a different function on another scooter, even when both displays look similar.
| What you see | Likely meaning | What to do |
|---|---|---|
| One large “P” on the normal dashboard | Often Park/Parking mode on models that use that symbol | Check the model manual for the correct exit procedure |
| P0, P1, P2, P01, etc. inside a setup menu | Programmable or parameter settings | Use only the P-setting chart for your exact scooter/display |
| E01, E02, E07, or another E-code | Usually an error/fault code rather than a P-setting | Use the manufacturer’s fault-code guide |
The safest rule is simple: never copy P-values from another scooter just because its display looks like yours.
How to Open the P Menu
There is no single button combination that works on every electric scooter. The procedure depends on the display and firmware. Before opening the menu, park the scooter, stop riding, and identify the exact model or display type.
Open The P Menu
Two common examples show why model identification matters:
- QS-S4-style example: Varla’s Eagle One instructions say to power on the scooter and hold Mode + Power for about 3 seconds. Power cycles through the P-settings and Mode changes a value.
- Minimotors EY3 example: Kaabo’s EY3 instructions say to power on the scooter and hold Mode for about 3 seconds, use Mode to move through settings, and use the circular multifunction button to adjust the selected value.
Other scooters may use a center display, TFT screen, app, touch interface, password, or completely different button sequence. If your controls do not match the manual, stop rather than experimenting with random combinations.
Pro Tip: Before changing the first value, take a clear photo of every original P-setting. If the scooter behaves differently afterward, you will have a reliable record to restore.
Save P Settings
Saving also varies by display. On the Varla Eagle One QS-S4 example, moving to the next setting saves the previous value, and the menu can be exited by allowing the display to time out or by long-pressing Mode and Power. Kaabo’s instructions for other displays use different controls.
Do not assume that simply turning the scooter off will always save or discard a change. Follow the exact procedure in the manufacturer documentation.
Common Scooter P Settings and What They Change
Although the numbers are not universal, the types of functions found in P-setting menus are fairly predictable. Understanding the function is more useful than memorizing a P number from another scooter.
| Setting type | What it changes | Risk level |
|---|---|---|
| Display brightness | LCD/backlight brightness | Low |
| Units | mph or km/h | Low |
| Auto-off time | How long the display waits before shutting down | Low |
| Start mode | Kick-start versus zero-start behavior | Medium |
| Acceleration | How aggressively power builds when you press the throttle | Medium to high |
| Power level | Maximum controller or motor-output percentage on supported models | Medium to high |
| Electronic/regenerative brake strength | How strongly motor braking assists when braking | High |
| Cruise control | Whether supported constant-speed operation is enabled | Medium |
| Wheel diameter | Speed and distance calibration | High — leave at documented value |
| Motor poles/magnets | Controller/display speed calculation | High — leave at documented value |
| Battery voltage | Voltage profile used by the display/controller | High — leave at documented value |
| Low-voltage shutdown/cutoff | Protection threshold related to the electrical system | High — do not guess |
Why P1 Does Not Always Mean the Same Thing
A useful example is the QS-S4-style menu documented for the Varla Eagle One. In that implementation, P1 is LCD brightness—not the speed limit. Fluidfreeride documents a very similar layout for the Apollo Explore.
| Example code | Varla Eagle One documented function |
|---|---|
| P1 | LCD brightness |
| P2 | Speedometer units |
| P3 | Battery voltage — manufacturer says not to adjust |
| P6 | Wheel diameter — manufacturer says not to adjust |
| P7 | Motor magnets — manufacturer says not to adjust |
| P8 | Power level |
| P9 | Start mode |
| P11 | Regenerative/electronic brake strength |
| P12 | Acceleration |
| P15 | Automatic voltage shutdown — manufacturer says not to adjust |
| P17 | Cruise control |
Note: This table is an example for a documented QS-S4 implementation. It is not a universal P-setting chart for every QS-S4, EY3, LT01, TFT, or other scooter display.
Which P Settings Match Each Throttle Type?
The throttle or dashboard helps identify the menu, but the scooter model and firmware still matter. Two displays from the same general family can have different values or available options.
EYE Throttle Settings
Kaabo’s published instructions for a Minimotors EY3-equipped scooter use a three-button arrangement. The rider powers on the scooter, holds Mode for about 3 seconds, uses Mode to cycle through the settings, and uses the circular multifunction button to adjust the selected value.
Do not transfer a QS-S4 code chart directly to an EY3 display. Settings such as cruise control, power, acceleration, battery-saving behavior, braking, units, brightness, or auto-off can appear under different P codes depending on the EY3 generation and scooter configuration.
QS-S4 Throttle Settings
A QS-S4-style throttle normally has Power and Mode buttons, but the code map must still come from the scooter manufacturer. On the documented Varla Eagle One implementation:
- P1 controls LCD brightness.
- P2 changes km/h or mph.
- P8 changes the available power level.
- P9 selects zero-start or kick-start behavior.
- P11 changes electronic/regenerative braking strength.
- P12 changes acceleration strength.
- P17 controls cruise-control availability.
That mapping is also similar to the Apollo Explore documentation, but you should still use the values specified for your exact scooter.
Which Scooter P Settings Beginners Shouldn’t Touch?
Beginners should avoid any setting that calibrates the scooter’s hardware or battery system. The number beside that function may vary, so identify the function name rather than assuming that P0, P1, P2, or P3 is automatically safe or unsafe.
| Setting | What can go wrong | Beginner action |
|---|---|---|
| Wheel diameter | Speed and distance readings can become inaccurate | Keep the documented value |
| Motor pole/magnet count | Speed calculation or controller/display behavior can be wrong | Keep the documented value |
| Battery voltage | Battery indication and electrical behavior may no longer match the scooter | Do not guess |
| Low-voltage cutoff/shutdown | Can interfere with battery/controller protection behavior | Leave at factory specification |
| Communication protocol | Display/controller communication can be affected | Never change without manufacturer instructions |
| Unknown or undocumented setting | Effect is uncertain | Leave unchanged |
Warning: Do not change battery voltage, low-voltage cutoff, wheel calibration, motor-pole/magnet count, or communication settings unless the manufacturer documentation for your exact scooter tells you to do so. Changes to acceleration, electronic braking, power, zero-start, or cruise control should also be tested carefully at low speed before normal riding.
How P Settings Affect Speed and Acceleration
Some scooters expose performance settings through the P menu, but the relevant code is not universally P1 or P2. Depending on the scooter, performance may be affected by a power percentage, acceleration level, ride mode, start mode, or a manufacturer-set speed limit.
These functions affect the ride in different ways:
- Acceleration strength changes how quickly motor output builds after you press the throttle.
- Power level can limit the amount of performance available on scooters that expose that setting.
- Kick-start versus zero-start determines whether the motor can engage from a standstill.
- Electronic braking changes how strongly the motor helps slow the scooter.
- Cruise control, where supported and legal, can maintain speed without continuous throttle input.
Higher acceleration or stronger electronic braking does not automatically mean a better setup. Aggressive acceleration can reduce control on loose or wet surfaces, while very strong electronic braking can feel abrupt. Fluidfreeride specifically cautions riders about setting electronic braking too high on its Apollo Explore guidance.
Also follow local traffic rules and manufacturer restrictions. The U.S. Consumer Product Safety Commission advises micromobility riders to follow local laws and manufacturer directions and to test the brakes before riding.
How to Fix Problems After Changing P Settings
If the scooter behaves differently after a P-setting change, stop changing additional values. Troubleshoot from the last known good configuration instead.
- Stop riding if braking, acceleration, or power delivery feels unsafe.
- Open the correct manufacturer manual for your exact scooter, display, and generation.
- Compare your current values with the documented defaults. Restore only the settings you changed.
- If the speedometer or odometer is wrong, check whether wheel diameter, motor pole/magnet count, or units were changed.
- If the battery display looks wrong, restore the documented battery-voltage setting.
- If the scooter launches too hard or will not start as expected, inspect the acceleration and start-mode settings.
- If braking suddenly feels stronger or weaker, restore the documented electronic-brake setting and test at very low speed.
- If an E-code appears, use the manufacturer’s error-code chart rather than changing random P-settings.
- After restoring settings, test the brakes and throttle in a clear, low-speed area before returning to normal riding.
Note: There is no universal “factory reset” procedure for electric-scooter P-settings. Some models have a reset function, while others require you to restore the documented default values manually.
Frequently Asked Questions
How Do I Turn off P Mode on My Scooter?
First determine what the P means. If it is Parking mode, use the exit procedure in your scooter manual. For example, Segway documents a brake/movement-based exit procedure for the MAX G3 under certain starting-speed settings. If you are inside a P-settings menu instead, exit using the menu controls or timeout procedure specified for your display.
What Does P Mean on an Electric Scooter?
A single P on the normal dashboard can mean Park/Parking mode on some scooters. P followed by a number inside a setup menu usually refers to a programmable or parameter setting. The exact meaning depends on the scooter and display.
How Do I Reset P Settings on an E-Scooter?
There is no universal reset sequence. Use your model’s manual to restore the documented default values or follow a manufacturer-provided reset procedure if your scooter has one. Do not copy factory values from another scooter.
How Do I Change P Settings?
Identify your scooter and display, record the original values, enter the menu using the manufacturer’s button sequence, change one documented setting at a time, save it correctly, and test the scooter at low speed afterward.
Can P Settings Make an Electric Scooter Faster?
Some scooters expose a power, acceleration, ride-mode, or speed-related setting, while others do not. The relevant P code varies by model. Do not assume that P1 is a speed limiter, and do not change manufacturer or legally required restrictions without confirming what is permitted for your scooter and riding location.
Why Won’t My Scooter Move When It Shows P?
On scooters that use P for Parking mode, the motor may be intentionally prevented from accelerating until Park mode is released. Check your model manual for the correct procedure instead of changing P-settings at random.
Why Does My P-Setting List Not Match a Guide Online?
P-setting numbers can change by brand, display type, controller, model year, and firmware. Even similar-looking QS-S4 or EY3 displays should not be assumed to share an identical map. Use the documentation supplied for your exact scooter.
Conclusion
The letter “P” on an electric scooter is only useful once you know its context. A single P may indicate Parking mode, while P-number codes inside a settings screen normally represent configurable parameters. Those code numbers are not universal, so avoid assuming that P1 controls speed, P2 controls acceleration, or any other code has the same job across brands.
For safe adjustments, identify the exact scooter and display, record the original values, follow the manufacturer’s P-setting chart, change one item at a time, and test acceleration and braking at low speed. Leave battery voltage, wheel calibration, motor-pole counts, cutoff thresholds, communication settings, and other undocumented values alone unless the manufacturer specifically instructs you to change them.
Sources
- Segway MAX G3 User Manual — documents Parking mode (P) behavior and the dashboard indication.
- Varla Eagle One P-Setting Instructions — documents QS-S4 menu access, saving behavior, and model-specific P-setting assignments.
- fluidfreeride Apollo Explore Advanced Settings Guide — documents brightness, units, battery voltage, electronic braking, acceleration, and cruise-control settings.
- Kaabo USA P-Settings Guide — documents different menu-entry procedures for EY3 and other scooter displays and warns against changing settings marked not to adjust.
- U.S. Consumer Product Safety Commission Micromobility Information Center — supports manufacturer-instruction, brake-testing, helmet, inspection, and local-law safety guidance.
