
Last Updated on September 10, 2026 by Daniel Globe
Getting lost on a hike is often preventable. Good navigation starts before you reach the trailhead: choose a route that matches your experience, check current conditions, carry more than one way to navigate, and leave your plans with someone at home. While hiking, confirm your position at junctions instead of waiting until you are unsure where you are.
Quick Answer
To avoid getting lost while hiking, research your route, carry a map and compass plus offline GPS, check your position at every major junction, follow the trail system’s official markers, and set a turnaround time. Tell someone your route and return time. If you become lost, stop, assess your position, and avoid wandering aimlessly.
Key Takeaways
- Choose a trail that matches your fitness, navigation skills, available daylight, and current conditions.
- Carry a paper map and compass even when you use a phone or dedicated GPS device.
- Download maps before the hike and check your position at trail junctions, stream crossings, and other decision points.
- Never assume a blaze color has a universal meaning; trail-marker systems vary by park and land manager.
- Leave a detailed trip plan with someone who is not hiking with you.
- If you become lost, stop and assess the situation before moving. Safely retrace your route only when you can confidently do so; otherwise seek help and stay put unless you face an immediate danger.
At a Glance
| Time Required | About 10–20 minutes of route and safety planning before a typical day hike |
| Difficulty | Easy to learn; map-and-compass skills require practice |
| Tools Needed | Current route map, baseplate compass, GPS or offline-map app, charged phone, and appropriate emergency gear |
| Cost | Potentially $0 if you already have suitable navigation gear; printed maps, power banks, satellite messengers, or locator beacons are optional added expenses |
Disclosure: As an Amazon Associate I earn from qualifying purchases. Some links on this page are affiliate links, at no extra cost to you.
Choose a Trail That Matches Your Ability
Selecting the right trail is one of the easiest ways to reduce navigation problems. Consider distance, elevation gain, terrain, route complexity, expected weather, water crossings, and how much daylight you have. A short trail with several unsigned junctions can require more navigation skill than a longer but clearly marked route.
Before leaving home, check the official website for the park, forest, or land manager rather than relying only on an old guidebook or user-generated trail report. Look for current closures, washed-out bridges, snow, wildfire restrictions, flooding, damaged signs, seasonal access restrictions, or other changes.
The National Park Service recommends researching your route and terrain before hiking and carrying the equipment appropriate to that trip. Its Hike Smart guidance also emphasizes checking conditions, preparing for changing weather, and carrying the Ten Essentials.
Set a turnaround time before you begin. A summit, waterfall, or viewpoint is optional; getting safely back to the trailhead is not. Turn around early enough to account for a slower return, route-finding delays, changing weather, and fading daylight.
Pro Tip: Before walking away from the trailhead, confirm that your map or GPS shows the correct route and save the trailhead as a waypoint. A two-minute check at the beginning can prevent a much larger navigation problem later.
Packing Essential Navigation Tools
Traditional Navigation Aids
A current topographic map helps you understand the shape of the terrain, elevation changes, streams, ridges, roads, and other features that can help confirm your location. The U.S. Geological Survey explains common topographic-map symbols and how natural and human-made features are represented.
A baseplate compass provides a navigation method that does not depend on a battery or cellular connection. Carrying a compass is useful only if you know how to orient a map, account for magnetic declination, take a bearing, and follow that bearing safely.
Modern Navigation Tools
A dedicated GPS receiver or smartphone mapping app can make navigation easier by showing your position along a route. Before leaving reliable internet service, download the map area for offline use and make sure the route itself is stored on the device.
Save useful waypoints such as the trailhead, major junctions, campsites, and planned turnaround points. Do not wait until you are lost to learn how your navigation app works.
Backup Navigation Methods
Electronic equipment can fail because of a dead battery, physical damage, software problems, or other issues. The National Park Service Ten Essentials includes navigation equipment such as a map, compass, and GPS system and recommends knowing how to use your equipment before going out.
A power bank can extend phone or GPS battery life, but it does not replace a paper map and compass. For more remote trips where cellular coverage may be unavailable, hikers may also consider an appropriate satellite communication device or personal locator beacon.
Note: Navigation gear is only one part of emergency preparedness. The NPS Ten Essentials also cover illumination, insulation, first aid, fire, repair tools, food, water, sun protection, and emergency shelter.
Staying Aware of Your Surroundings
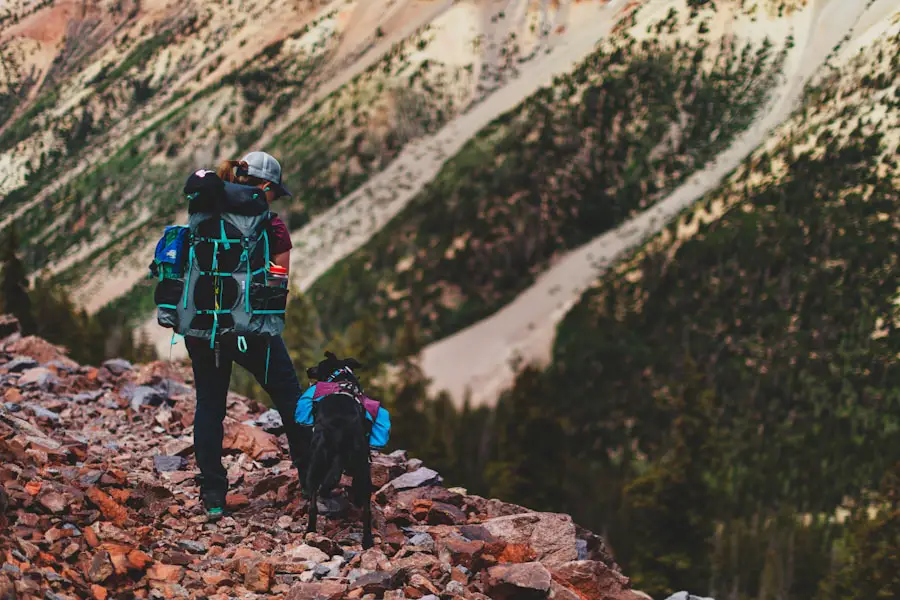
Good hikers do not simply follow a line on a phone. They continually compare the map with what they see around them. Notice obvious landmarks such as ridges, valleys, streams, bridges, road crossings, lakes, cliffs, and major changes in elevation.
Pay particular attention whenever the route gives you a choice. At a junction, stop long enough to verify the trail name, direction, and destination before continuing. After making the turn, look backward for a few seconds. The same intersection may look completely different when you approach it on the return trip.
Make mental checkpoints as you hike. You might note that you crossed a bridge, passed a junction, climbed a steep switchback, or entered an open meadow. Comparing those observations with your map helps you recognize a navigation mistake early.
Weather and trail conditions also deserve constant attention. If visibility drops, water rises, snow covers the trail, signs disappear, or a storm approaches, reassess the route before continuing. Changing conditions can turn an otherwise simple trail into a navigation challenge.
Wildlife and other trail users are part of your surroundings as well. Observe animals from a safe distance, never feed wildlife, and follow posted right-of-way rules and local trail regulations.
Staying found is easier than finding yourself after you are lost. Check your location whenever the route changes direction or gives you a choice.
Following Trail Markers and Signs
| Marker Type | Common Purpose | What to Check | Main Caution |
|---|---|---|---|
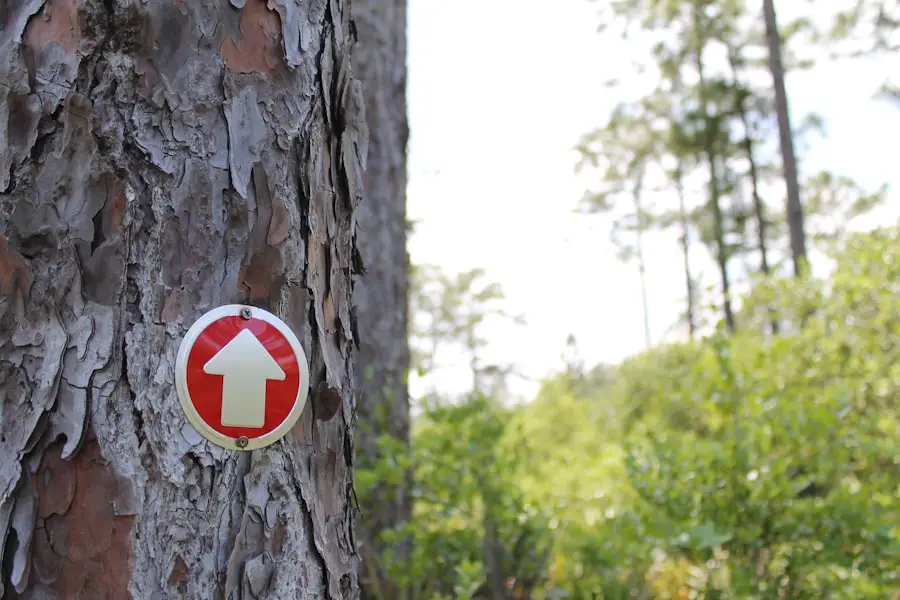
| Painted blaze | Identifies or confirms a route | Official trail legend or map | Colors are not universal |
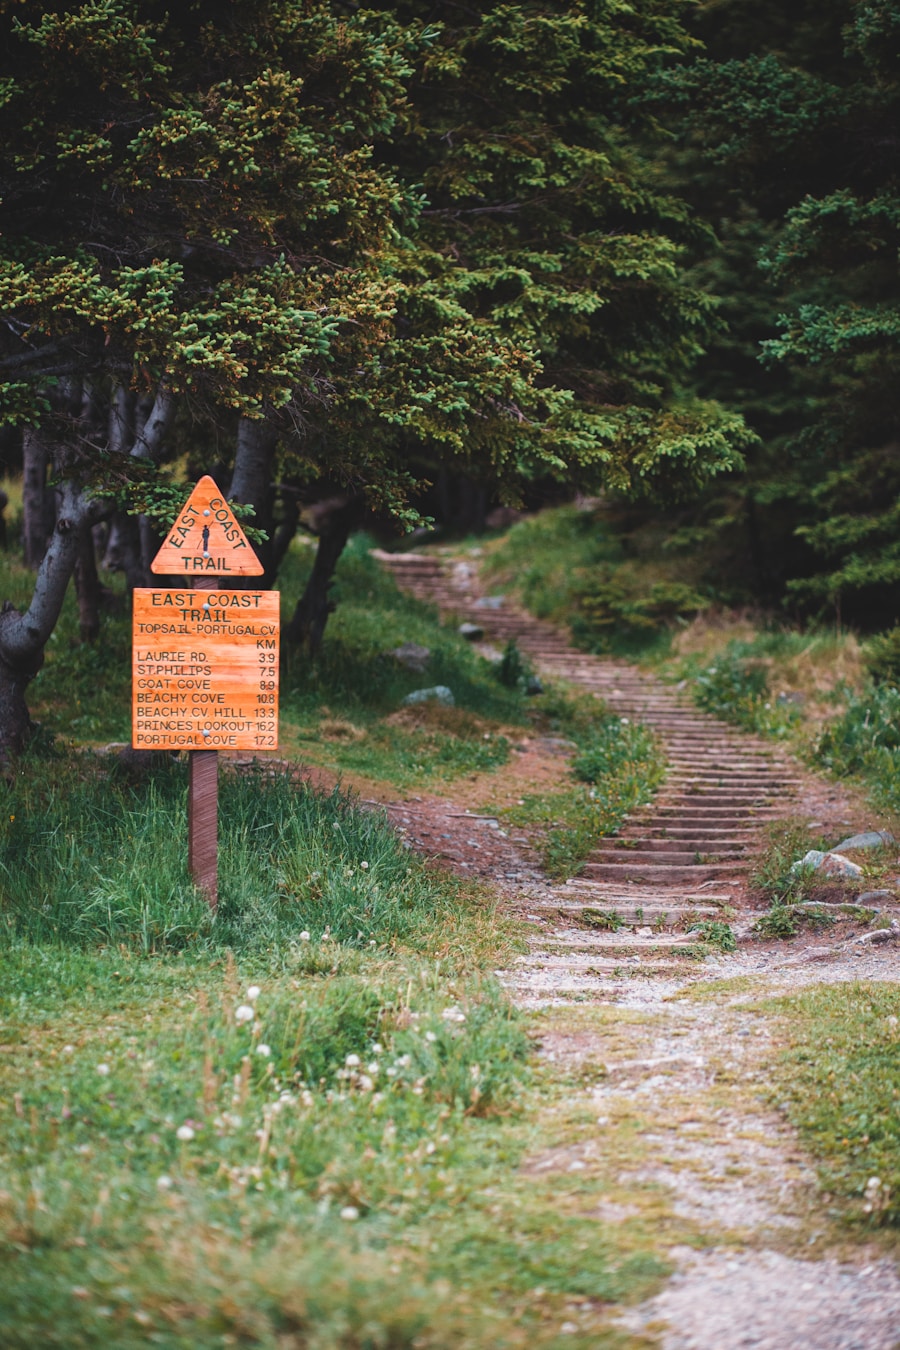
| Signpost | Names trails, destinations, mileage, or restrictions | Trail name and direction at every junction | Signs can be damaged, missing, or outdated |
| Cairn or route marker | May identify an official route where a tread is hard to see | Whether the land manager officially uses cairns | Unofficial rock piles can lead hikers off route |
Trail marking systems vary widely. A color that identifies one kind of trail in one park can mean something completely different elsewhere. For example, the National Park Service’s Big South Fork trail system uses blaze colors to distinguish authorized trail uses rather than to provide a universal hiking-difficulty scale.
For that reason, never assume that blue means easy, red means moderate, or any other color has a standard nationwide definition. Read the official map legend and trailhead information for the specific area you are visiting.
At intersections, compare the marker or sign with both your map and your intended direction. If the next marker fails to appear where expected, stop and reassess instead of continuing farther in the hope that the trail will become obvious again.
Warning: Do not follow footprints, unofficial ribbons, social trails, or random rock piles simply because they look like a route. When the marked route becomes uncertain, stop and verify your position before continuing.
Using a Map and Compass
A map and compass remain valuable because they work independently of cellular service and battery life. They are most useful when you practice with them before an emergency.
- Identify your location. Start from a known point such as the trailhead, signed junction, bridge, summit, lake, or other feature that appears on your map.
- Check magnetic declination. Magnetic north and true north are not the same in most locations. Declination varies by place and slowly changes over time. Check a current value through NOAA’s National Centers for Environmental Information and follow the instructions for your particular compass.
- Orient the map. After accounting for declination correctly, use the compass and recognizable terrain to align the map with the landscape around you.
- Take a bearing when needed. Use the compass edge to connect your known position and destination on the map, align the compass with map north as your compass instructions require, and read the bearing.
- Follow the bearing carefully. Pick a visible object in the correct direction, walk to it, then repeat rather than staring continuously at the compass while moving over uneven ground.
Keep magnetic compasses away from objects that can interfere with the needle, such as strong magnets and some metal or electronic equipment. Most importantly, practice orienting a map and taking bearings on a familiar trail or in an open park before depending on those skills in remote terrain.
Pro Tip: Practice navigation when you already know where you are. That gives you a safe way to compare your compass, map, GPS position, and visible landmarks until the process becomes familiar.
Utilizing GPS Technology
GPS technology is an excellent hiking tool when used correctly. A phone or handheld receiver can show your position, record your track, measure distance, and help confirm that you are still on the planned route.
Do not confuse GPS reception with cellular service. A GPS-capable device can determine its location without a normal cellular connection, but a mapping app may be unable to display the map or route if you did not download the required data beforehand.
Prepare Your GPS Before the Hike
- Download the complete map area for offline use.
- Save or import the correct route.
- Mark the trailhead and other useful waypoints.
- Fully charge the device.
- Carry an appropriate power bank on longer trips.
- Reduce unnecessary screen use to preserve battery life.
- Consider airplane mode where appropriate to reduce battery drain while retaining the navigation functions your device supports.
- Protect the device from water, cold, and impact.
Continue carrying a paper map and compass even when your electronic navigation is working normally. The National Park Service specifically warns hikers not to rely on cellular phones as their only emergency communication plan in places where service may be unreliable.
Emergency Communication in Remote Areas
For trips deep in the backcountry, a satellite messenger or personal locator beacon can add another layer of emergency communication. A personal locator beacon is not a substitute for navigation; its purpose is to send a distress alert when a genuine emergency requires search-and-rescue assistance.
NOAA’s SARSAT program explains 406 MHz personal locator beacons designed for remote wilderness use. U.S.-coded 406 MHz beacons must be registered with NOAA, and registration information should be kept current.
Note: A power bank or solar charger can help keep electronics operating, but extra battery capacity does not replace navigation skills, a map and compass, or a sensible emergency plan.
Communicating Your Plans with Others
Before starting a hike, leave your plans with a responsible person who is not going with you. The information should be specific enough that it gives rescuers a useful starting point if you do not return.
Your trip plan should include:
- The park, forest, or recreation area you are visiting.
- The exact trail or route you intend to follow.
- Your trailhead and vehicle location.
- Your planned destination and turnaround point.
- Your expected start and return times.
- Any alternate route you may reasonably use.
- The number of people in your group.
- A description of your vehicle when relevant.
- When your contact should report you overdue and whom they should call.
Check in with that person when you finish so they know you returned safely. The National Park Service recommends leaving trip details with a trusted friend or family member because that information can assist search-and-rescue teams.
Before heading onto the trail, also check with the managing park or agency for current closures, warnings, permit requirements, wildlife restrictions, fire conditions, or other local concerns. Local instructions should take priority over generic hiking advice.
Knowing When to Turn Back
Turning around is a normal part of good hiking judgment. Do not let a summit, mileage target, or planned destination pressure you into continuing when the safety margin has disappeared.
Consider turning back when:
- You are using daylight faster than planned.
- The weather is worsening.
- Visibility is becoming poor.
- The trail is covered by snow, flooding, or debris.
- You cannot confidently identify the route ahead.
- Someone in the group is exhausted, injured, unusually cold, overheated, or otherwise unable to continue safely.
- The terrain exceeds your experience or equipment.
- Your navigation device is failing and you lack a reliable way to continue.
If you notice that you have taken the wrong route, correcting the mistake early is usually much easier than continuing forward and hoping the route reconnects later.
Warning: Never let a navigation problem turn into a second emergency. If darkness, severe weather, injury, dangerous terrain, or another hazard makes movement unsafe, prioritize shelter, communication, and personal safety over reaching the original destination.
What to Do If You Think You Are Lost
Realizing you may be lost can trigger panic, which often leads to rushed decisions. Stop moving long enough to think clearly.
- Stop and calm down. Take a breath, drink some water if appropriate, and avoid walking in a random direction.
- Try to determine your location. Check your map, compass, GPS coordinates, recorded track, nearby landmarks, trail signs, and your last known position.
- Consider a safe retrace. If you can clearly identify the short route back to a known junction or landmark and conditions make doing so safe, carefully retrace your steps.
- Seek help if you cannot regain the route. Call 911 or the appropriate local emergency service when possible. A satellite device or properly used distress beacon may provide another option in remote areas.
- Give rescuers useful information. Share your coordinates if available, trail or park name, last known location, nearby landmarks, clothing description, group size, injuries, and equipment.
- Stay put once rescue is needed. Moving around can make you more difficult to locate. Change locations only when remaining where you are presents an immediate safety threat.
- Make yourself noticeable. Use a whistle, flashlight, bright clothing, or signal mirror when appropriate.
- Protect yourself from exposure. Add clothing, use emergency shelter, conserve food and water, and deal with injuries while awaiting help.
This sequence follows the principles in the National Park Service Outdoor Emergency Plan, which recommends first assessing the situation and attempting safe self-rescue before seeking assistance and staying in one location when you cannot safely retrace the route.
Note: Avoid blindly descending a drainage, following an unknown trail, or walking toward a distant road simply because it appears to lead toward civilization. Terrain that looks straightforward on a map can contain cliffs, waterfalls, dense vegetation, private property, or other hazards.
Keeping navigation electronics powered can also support route-finding on longer trips. If you are considering portable charging for backcountry use, this guide to the best solar charger for backpacking covers another gear option. A charger should be treated as supplemental equipment rather than as a replacement for a map, compass, offline route, or emergency plan.
Love travel? Join Our Facebook Community
Frequently Asked Questions
What are some tips for avoiding getting lost while hiking?
Research the route before leaving, download an offline map, carry a paper map and compass, stay on the intended trail, verify your location at every major junction, watch for official trail markers, set a turnaround time, and leave your route and expected return time with someone at home.
What should I do if I get lost while hiking?
Stop and stay calm. Use your map, compass, GPS, landmarks, and last known location to work out where you are. If you can confidently and safely retrace a short distance to your known route, do so. If you cannot, seek emergency assistance when possible and stay put unless your location presents an immediate danger.
What essential items should I bring to avoid getting lost?
Bring a current route map, a compass you know how to use, and a GPS device or phone with maps downloaded for offline use. A fully charged phone, backup battery, whistle, headlamp, food, water, extra clothing, first-aid supplies, and emergency shelter can help if a navigation mistake delays your return.
How can I improve my navigation skills for hiking?
Practice reading topographic maps, identifying terrain features, orienting a map, accounting for magnetic declination, taking compass bearings, and comparing those readings with your GPS position. Practice on familiar trails before relying on those skills in remote terrain. A hands-on navigation course can also help build confidence.
Does phone GPS work without cell service?
A GPS-capable phone can generally determine its position without normal cellular service. However, your navigation app may not have the map, route, or other data it needs unless you downloaded that information before leaving internet coverage. Always test offline mode before your hike and carry another navigation method.
Do trail blaze colors have universal meanings?
No. Trail blaze colors and symbols are determined by individual parks, trail organizations, and land managers. A blue blaze can mean one thing in one trail system and something completely different elsewhere. Check the official trail map, legend, or trailhead signs instead of assuming a color indicates difficulty or direction.
Sources
- U.S. National Park Service — Ten Essentials — navigation and emergency-preparedness equipment.
- U.S. National Park Service — Hike Smart — trip planning, communication, weather preparation, and hiking safety.
- U.S. National Park Service — Outdoor Emergency Plan — what to do when lost and what information rescuers need.
- NOAA National Centers for Environmental Information — Magnetic Declination — magnetic-versus-true-north guidance and current declination resources.
- U.S. Geological Survey — Topographic Map Symbols — interpreting terrain and map features.
- NOAA SARSAT — 406 MHz Emergency Distress Beacons — personal locator beacons and wilderness distress signaling.
