
Last Updated on September 10, 2026 by Daniel Globe
Slip-resistant hiking boots can make wet, muddy, rocky, and uneven trails easier to manage, but no hiking boot is truly slip-proof. Safe footing depends on the outsole compound, tread pattern, fit, trail surface, weather, and how worn the sole is. On hard-packed snow or ice, ordinary hiking tread may not be enough, so you should be ready to add purpose-built traction devices.
Quick Answer
Slip-resistant hiking boots can reduce sliding risk, but no boot is slip-proof. Look for an outsole compound and lug pattern matched to your terrain, a secure fit, and enough usable tread. For hard-packed snow or ice, add purpose-built traction devices; ordinary hiking tread alone may not provide safe grip.
Key Takeaways
- Choose hiking boots by terrain, not by a vague “slip-resistant” label alone.
- Outsole rubber, lug shape, lug spacing, and tread condition all affect traction.
- Waterproofing helps keep the upper from wetting out; it does not restore worn outsole grip.
- Clean mud and stones from the tread, air-dry boots away from direct heat, and replace or resole badly worn footwear when the design allows it.
- Use over-the-shoe traction devices on hard-packed snow and ice when conditions call for them.
At a Glance
| Time Required | About 10–20 minutes for a basic outsole inspection and cleaning; allow additional time for air-drying after washing. |
| Difficulty | Easy for routine inspection and care; choosing traction for snow, ice, or technical terrain requires more judgment. |
| Tools Needed | Soft or medium-stiff brush, clean water, cloth, and a footwear cleaner or waterproofing treatment only when approved for the boot material. |
| Cost | Often $0 if you already have a suitable brush and cloth; approved cleaners, waterproofing products, repairs, or traction devices add cost as needed. |
Disclosure: As an Amazon Associate I earn from qualifying purchases. Some links on this page are affiliate links, at no extra cost to you.
Choosing the Right Slip-Resistant Hiking Boots for Your Needs
Start with the terrain and conditions you expect to hike most often. A tread that works well in soft mud is not automatically the best choice for wet, smooth rock, and a hiking outsole that feels secure on dirt should not be treated as an ice-specific traction system.
For muddy trails, look for deeper, more widely spaced lugs that can bite into soft ground and shed debris. On rocky and uneven trails, multi-directional lugs and a defined heel area can improve braking and edge control. On smooth, wet rock, the rubber compound and the amount of outsole surface contacting the rock can matter as much as lug depth.
Fit is just as important as tread. Try boots with the hiking socks you plan to wear. The heel and midfoot should feel secure without painful pressure, while the toes need room to move and avoid striking the front of the boot on descents. Salomon’s current hiking-footwear guidance recommends a snug heel and midfoot with toe room and notes that feet can swell during a day of hiking. Salomon’s hiking footwear fit guide explains these fit considerations in more detail.
Pro Tip: Try hiking boots late in the day, when your feet are more likely to be slightly swollen, and wear the same thickness of socks you normally hike in. Walk on an incline or store ramp if one is available, checking for heel lift on climbs and toe contact on descents.
Understanding Traction and Grip
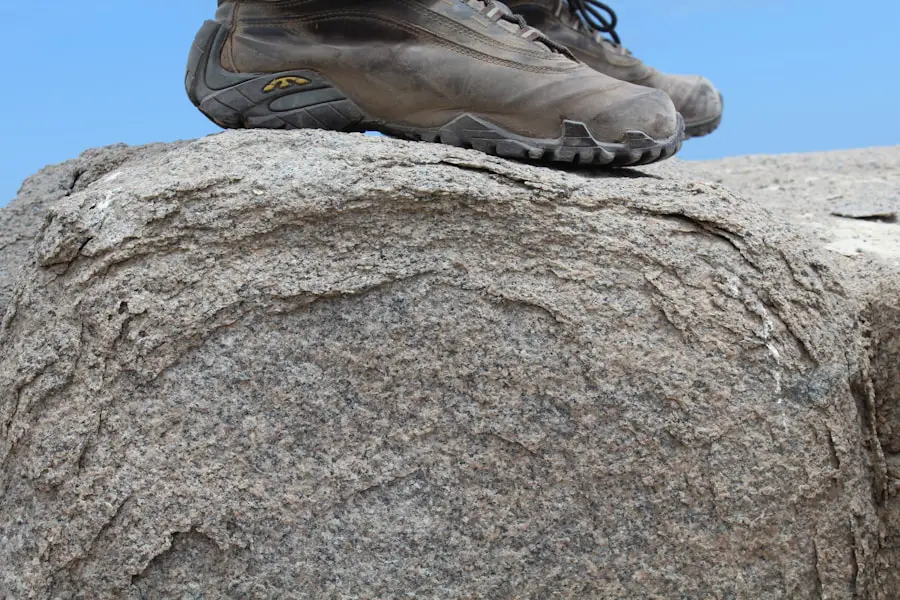
Traction is the footwear’s ability to resist unwanted sliding or loss of footing on a surface. In everyday hiking language, “grip” usually describes how securely the outsole feels attached to rock, soil, mud, or another surface. Both depend on more than one feature: rubber compound, tread geometry, surface texture, temperature, contamination such as water or mud, and the way the hiker loads the foot all play a role.
There are also formal laboratory methods for evaluating footwear slip performance. ASTM F2913-24 measures dynamic coefficient of friction between footwear and test surfaces under controlled conditions. ASTM F3445-24 sets minimum performance requirements when footwear is evaluated with the F2913 whole-shoe test. These standards are useful context, but even laboratory results do not guarantee the same performance on every trail surface or contaminant.
Outsole Compound Matters
“Vibram outsole” is not a single traction specification because Vibram makes multiple compounds and sole designs. A more precise example is Vibram Megagrip, which the manufacturer specifically describes as a rubber compound designed for grip on both wet and dry terrain. When comparing boots, look for the exact outsole compound and the conditions the manufacturer says it is designed for rather than relying on the brand name alone.
Lug Pattern Should Match the Surface
- Mud and soft soil: deeper, widely spaced lugs can dig in and clear mud more effectively.
- Loose or uneven terrain: multi-directional lugs can provide braking and lateral grip in more than one direction.
- Wet, smooth rock: a compound designed for wet grip and a tread pattern that maintains useful surface contact may perform better than very tall, widely spaced lugs.
- Hard-packed snow and ice: do not assume aggressive rubber lugs are enough. Over-the-shoe traction devices may be needed.
No hiking outsole is universally “non-slip.” Traction is always a match between the boot, the surface, the conditions, and the way the boot is used.
Slip-Resistant, Waterproof, and Winter-Ready Are Not the Same Thing
These labels describe different jobs. A waterproof membrane or water-repellent treatment helps manage water entering through the upper. Slip resistance describes outsole performance. Insulation helps with warmth. A winter-oriented boot may combine all three, but one feature does not automatically provide the others.
Note: Reapplying a compatible waterproofing treatment can help the upper resist wetting out, but it does not rebuild rounded lugs or restore worn outsole rubber. Traction problems caused by tread wear require outsole repair, resoling when the boot is designed for it, or replacement.
Tips for Maintaining the Traction of Your Hiking Boots
| Tip | What to Do |
| Clean Regularly | Remove caked mud, sand, and trail debris from the outsole so the tread can contact the ground as designed. |
| Use a Brush | Use a soft or medium-stiff brush to loosen dirt and stones. Follow the boot maker’s care instructions before using soap, cleaners, or treatments. |
| Inspect Soles | Look for rounded or flattened lugs, smooth high-wear areas, cracks, missing rubber, uneven wear, or separation between the outsole and upper. |
| Store Properly | Air-dry boots at room temperature and store them in a dry, ventilated place away from direct sunlight and strong heat. |
| Replace Worn Outsoles | If traction has clearly declined because the tread is worn, ask the manufacturer or a qualified cobbler whether that model can be resoled. Replace the boots if a safe repair is not practical. |
After muddy or wet hikes, remove loose debris before it dries hard in the tread. Use clean water and a brush as needed, then let the boots dry naturally. Salomon’s footwear-care guidance recommends cleaning mud and dirt with water and a soft brush or sponge, then drying hiking shoes at room temperature in a ventilated area rather than in direct sun or beside a radiator. See Salomon’s hiking-shoe care guide.
Waterproofing should be treated as upper maintenance, not traction maintenance. Use only a product compatible with the leather, textile, membrane, or other material in your specific boots. Keep oils, waxes, cleaners, and conditioners off the outsole unless the manufacturer says they are safe there, because unintended residue can make a sole feel slick.
How to Test the Slip-Resistance of Your Hiking Boots
A home test cannot reproduce every trail surface, and deliberately trying to make yourself slip on wet tile, polished wood, or a steep slope can create the very fall hazard you are trying to avoid. A better approach is to combine product information, inspection, and a cautious real-world check in a low-consequence setting.
- Read the manufacturer’s traction claims. Look for the exact outsole compound, intended terrain, and any stated test standard. A generic “grippy” or “all-terrain” label provides less information than a specific compound or standardized test result.
- Inspect the tread. Make sure the lugs are not badly rounded, flattened, cracked, or packed with mud and stones.
- Check fit and stability on a dry surface. Walk, turn, and use a gentle incline or stairs with a handrail. The heel should stay secure and the boot should not roll excessively underfoot.
- Start on an easy local trail. Before committing to a remote or technical route, use the boots on terrain similar to what you expect to hike, but with an easy exit and low fall consequences.
- Stop if traction is clearly inadequate. Change route, add the correct traction device, or turn back rather than “testing” whether the boot will hold on a hazardous feature.
Warning: Do not intentionally test footwear by trying to slide on wet tile, algae-covered rock, ice, exposed ledges, or steep slopes. Slip performance can change sharply with surface material, water, mud, temperature, and tread wear.
Safety Precautions to Take When Hiking on Slippery Trails
Assessing Trail Conditions
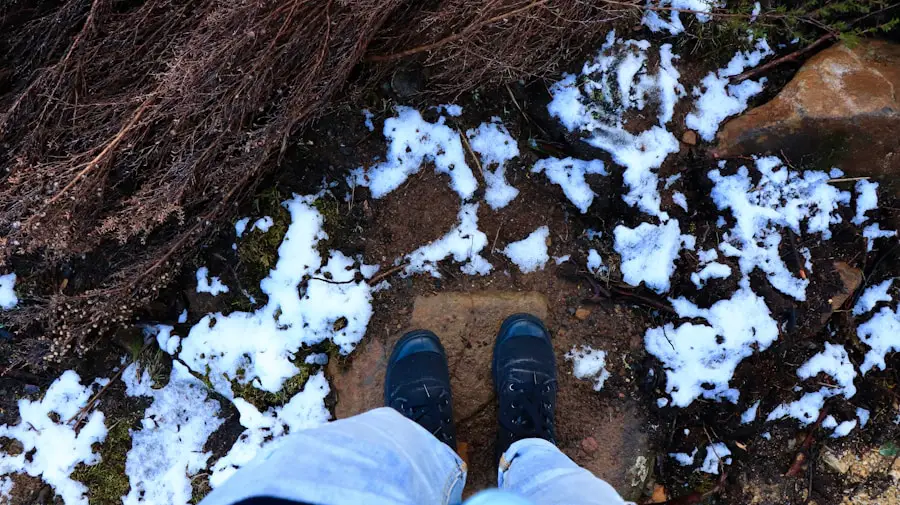
Check the weather, trail alerts, snow or ice reports, and recent conditions before leaving. Rain, snowmelt, freeze-thaw cycles, wet leaves, moss, mud, and loose gravel can change traction quickly. If the route is beyond your equipment or experience, postpone the hike or choose a safer trail.
The National Park Service advises hikers to check weather and trail conditions and to be willing to turn around when winter conditions change. It also recommends traction devices on ice and snow. NPS winter hiking guidance includes these precautions along with navigation, first-aid, and communication essentials.
Staying Safe on the Trail
Tell someone where you are going, your planned route, and when you expect to return. Carry navigation appropriate to the route rather than relying only on cell service. A first-aid kit, water, food, extra clothing, and a light source are sensible basics for hikes where a delay could leave you out after dark.
Stay alert to surface changes. Slow down before wet rocks, roots, muddy slopes, stream crossings, and steep descents instead of trying to correct your speed after you start sliding.
Tips for Navigating Slippery Areas
Use shorter, deliberate steps and place the foot flat enough to let the outsole make useful contact. Trekking poles can add balance and another pair of contact points, but they do not replace adequate footwear or ice traction. Avoid stepping on visibly slick algae, moss, wet logs, or unstable loose rock when a safer line is available.
On hard-packed snow or ice, the National Park Service recommends over-the-shoe traction devices to help prevent slips and falls. For deep, soft snow, snowshoes may be more suitable. Technical mountaineering terrain can require crampons and skills beyond normal hiking. NPS guidance on hiking with traction devices explains when extra traction is useful.
The Benefits of Investing in High-Quality Slip-Resistant Hiking Boots
Well-made hiking footwear can offer durable uppers, dependable construction, secure lacing, supportive midsoles, and an outsole designed for a defined type of terrain. Those features can improve comfort and confidence over long hikes, but a higher price or premium brand name is not proof of better slip resistance by itself.
Instead, judge quality by the features you can verify: fit, outsole material, tread design, construction, intended use, care instructions, repairability, and any relevant test information. Some boots can be resoled while others cannot, so check the manufacturer or a qualified cobbler before assuming a worn outsole can be replaced.
Waterproof models can be valuable in wet conditions because dry feet improve comfort and reduce the chance of prolonged skin exposure to moisture. However, waterproofing should remain a separate buying criterion from traction. A waterproof boot can still have a worn or poorly matched outsole.
Other Safety Gear to Consider for Hiking on Slippery Trails
Slip-resistant hiking boots are only one part of a safe trail system. Depending on the weather, route, and remoteness, consider carrying or wearing:
- Trekking poles: useful for balance, stream crossings, loose descents, and uneven ground.
- Traction devices: over-the-shoe cleats or similar devices for hard-packed snow and ice; choose a type appropriate to the terrain.
- Gaiters: useful for keeping snow, mud, and debris out of footwear.
- Moisture-managing socks and layers: help keep feet and clothing more comfortable as conditions change.
- Navigation: a map and compass or GPS device you know how to use, especially where cell service is unreliable.
- First-aid and emergency basics: supplies for blisters and minor injuries, plus food, water, light, and an emergency communication plan suited to the trip.
When to Replace or Resole Hiking Boots for Better Traction
Traction gradually declines as tread wears. Inspect the heel, forefoot, and edges because those zones often wear at different rates. Consider professional repair or replacement when you see one or more of these signs:
- lugs have become noticeably rounded, shallow, or smooth;
- rubber is cracked, chunked, or separating from the boot;
- the outsole is worn unevenly enough to change how the foot lands;
- the boot feels less stable or slips on familiar terrain where it previously felt secure;
- the upper, midsole, or sole structure is damaged enough that the boot no longer fits or flexes as intended.
Not every hiking boot is built to be resoled. Before paying for repair, confirm that the model’s construction allows a durable outsole replacement and that the rest of the boot is still sound.
Common Slip-Resistance Mistakes to Avoid
- Assuming “slip-resistant” means ice-proof. Ice often requires added traction.
- Choosing the deepest lugs for every surface. Deep lugs can be excellent in mud and loose terrain but are not automatically best on smooth wet rock.
- Confusing waterproofing with grip. Waterproofing protects against water; outsole traction is a separate function.
- Ignoring tread wear. Even a high-performing outsole loses useful geometry as it wears down.
- Running a risky home slip test. Controlled lab tests and cautious low-risk field checks are more meaningful than deliberately trying to slide.
- Relying on poles instead of traction devices. Poles help balance, but they do not give the outsole more grip on ice.
If you are planning a hiking trip to New Zealand, this seasonal guide to the best time to travel to New Zealand can help you anticipate broad weather patterns and choose a season that better matches the type of outdoor conditions you want to encounter.
Frequently Asked Questions
What are slip-resistant hiking boots?
Slip-resistant hiking boots are hiking boots designed to provide useful traction on specific trail surfaces through their outsole rubber and tread pattern. The term does not mean the boots cannot slip, and performance can change with mud, water, ice, temperature, wear, and surface type.
How do slip-resistant hiking boots work?
They use outsole compounds and tread geometry that are intended to maintain grip and create mechanical bite on the target terrain. Rubber formulation, lug depth, lug direction, spacing, surface contact, and tread condition all affect how the boot behaves.
What are the benefits of slip-resistant hiking boots?
A well-matched outsole can improve footing on mud, rock, loose ground, and wet surfaces, which can make movement feel more controlled. The benefit is greatest when the tread is suited to the terrain, clean, in good condition, and paired with careful hiking technique.
Are all hiking boots slip-resistant?
Most hiking boots have tread intended to provide trail traction, but they are not all designed or tested for the same surfaces. Look at the exact outsole compound, lug pattern, intended terrain, and any stated slip-test standard instead of assuming every hiking boot offers the same grip.
How can I tell if hiking boots are slip-resistant?
Check the manufacturer’s description for the outsole compound, tread design, intended terrain, and any standardized slip-performance testing. A marketing label alone is not a guarantee. Also inspect the actual tread because worn, rounded, or debris-packed lugs can reduce real-world traction.
Are waterproof hiking boots more slip-resistant?
Not necessarily. Waterproofing and slip resistance are separate features. A waterproof membrane or treatment helps manage water entering through the upper, while outsole compound and tread design determine traction.
Are hiking boots enough for ice?
Often, no. The National Park Service recommends over-the-shoe traction devices for icy or hard-packed snow conditions. Technical terrain may require crampons and appropriate training, while deep soft snow may call for snowshoes instead.
Can worn hiking boots be resoled?
Some can and some cannot. Resoleability depends on the boot’s construction and condition. Ask the manufacturer or a qualified cobbler whether your model can accept a durable new outsole before choosing repair over replacement.
Sources
- ASTM F2913-24 — whole-shoe laboratory method for measuring relative slip performance on defined test surfaces and contaminants.
- ASTM F3445-24 — minimum slip-resistance performance requirements when footwear is evaluated using ASTM F2913.
- National Park Service: Winter Hiking Tips — trail-condition checks, traction devices, hiking poles, navigation, and emergency essentials.
- National Park Service: Hiking with Traction Devices — added traction for hard-packed snow and ice and the role of snowshoes in deeper snow.
- Vibram Megagrip Technology — manufacturer description of a specific rubber compound designed for wet and dry terrain.
- Salomon: How to Clean and Care for Hiking Shoes — cleaning, brushing, drying, and footwear-care guidance.

