
Last Updated on July 29, 2026 by Mason Reed
Shoulder season tent camping can deliver quiet campgrounds, cool hiking weather, and vivid spring or fall scenery. It also brings a smaller margin for error: daylight is shorter, services may be limited, and rain, wind, frost, or snow can arrive quickly. A safe trip starts with a flexible plan, a dry sleep system, and clear limits for when to turn around.
Quick Answer
For comfortable shoulder season tent camping, check the exact campsite forecast and closures, choose a level site away from drainage channels and dead branches, pitch a fully guyed tent, pair a temperature-appropriate sleeping bag with an insulated pad, carry dry layers, and keep a backup plan for storms, snow, or unsafe roads.
Key Takeaways
- Check the point forecast, park alerts, road conditions, campground status, fire rules, and food-storage requirements before leaving.
- Use a level, durable tent pad away from low drainage areas, exposed ridges, dead trees, and loose overhead branches.
- Treat your sleeping bag, insulated pad, dry sleep clothes, and weatherproof tent as one sleep system.
- Never use a fuel-burning stove, lantern, grill, or heater inside a tent or other enclosed sleeping space.
- Leave a trip plan with a trusted contact and carry the Ten Essentials, including extra food, water, light, insulation, and emergency shelter.
At a Glance
| Time Required | About 1–3 hours of trip planning, plus normal campsite setup time |
| Difficulty | Easy to moderate in stable frontcountry conditions; advanced when snow, high wind, remote travel, or freezing rain is possible |
| Tools Needed | Weather-resistant tent, full rainfly, stakes and guylines, sleeping bag, insulated pad, layered clothing, stove, headlamp, first-aid kit, navigation, food storage, and water treatment as needed |
| Cost | Varies by campground fees, transportation, and the cold-weather gear you already own |
Disclosure: As an Amazon Associate I earn from qualifying purchases. Some links on this page are affiliate links, at no extra cost to you.
Understand Shoulder Season Conditions
“Shoulder season” usually means the quieter period between a destination’s busiest season and its off-season. For tent campers, that often means spring or fall, although the exact dates depend on location and elevation. Conditions can change sharply over a short distance, so a forecast for the nearest town may not match a mountain, canyon, lakeshore, or high-desert campground.
Expect a wider gap between daytime and nighttime temperatures, shorter daylight, wet ground, stronger wind exposure, and reduced services. Water systems, restrooms, camp stores, shuttle routes, and access roads may be closed even when the campground itself remains open.
Note: Shoulder season is not automatically mild weather. At higher elevations or northern locations, an ordinary fall or spring trip can become a winter camping trip after one storm.
Check Weather, Closures, and Rules Before You Leave
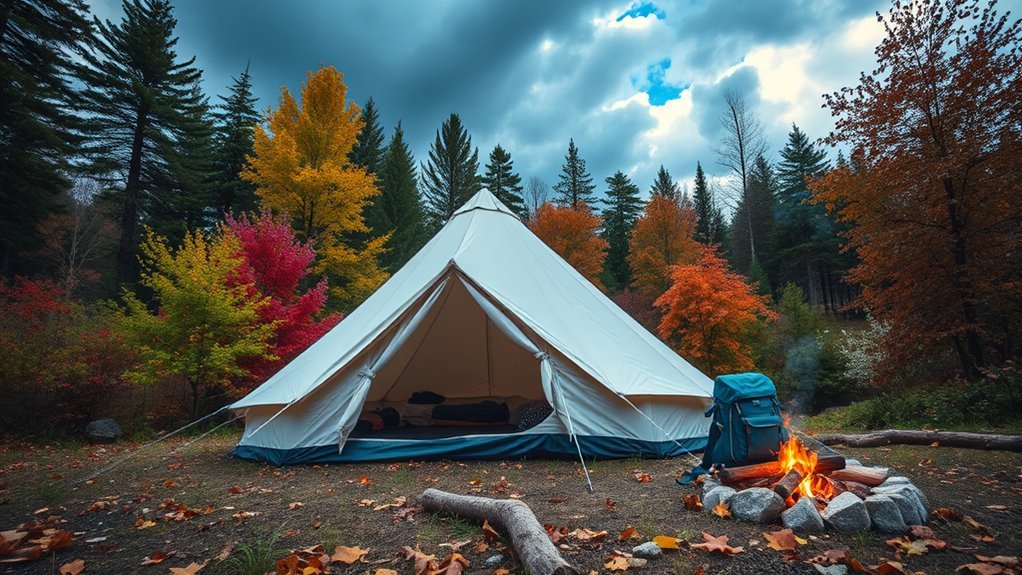
Start with the National Weather Service point forecast for the campground or trailhead, not only the nearest city. Review the expected low temperature, wind, precipitation type, thunderstorm risk, and any watches or warnings. Check again before departure and when you still have service.
Next, review the managing agency’s current alerts. Confirm that the campground, approach road, trailhead, water system, and restrooms are open. Look for permit or reservation requirements, seasonal gate closures, fire restrictions, pet rules, and local food-storage regulations. Build at least one lower-elevation or indoor backup activity into your plan.
Set Clear Turnaround Limits
Decide before the trip what would make you change plans. Examples include a thunderstorm warning, freezing rain, a forecast below your sleep system’s safe range, an unplowed access road, high-wind alerts, flood risk, or a campground closure. A backup plan is most useful when everyone agrees to it before fatigue and sunk costs affect judgment.
Leave a Trip Plan
Give a trusted contact your destination, route, campsite, vehicle description, group names, planned activities, and expected return time. Tell that person when to contact authorities if you do not check in. The National Park Service trip-planning guide also recommends carrying the Ten Essentials and not relying on a phone as your only navigation or emergency tool.
Pro Tip: Save offline maps, campground rules, and weather screenshots before losing service. Carry a paper map and write the park or ranger emergency number on it.
Choose a Safe, Comfortable Campsite
Use the designated tent pad in an established campground. In dispersed or backcountry areas where camping is allowed, choose a durable, level surface and follow all distance and site-selection rules. Before unloading, walk the site and look up, down, and around for hazards.
Screen for Flood, Wind, and Falling-Limb Hazards
Avoid dry washes, stream channels, ravines, depressions, and other low spots where water can collect. Do not camp beneath dead trees, cracked trunks, hanging limbs, or visibly unstable rock. Avoid exposed ridges and cliff edges, which can increase wind and lightning exposure. The National Park Service campsite guide specifically advises checking for flash flooding, lightning, wind, dead branches, and other overhead hazards.
Use Sun and Wind Protection Carefully
In the Northern Hemisphere, a site with open southern or southeastern exposure may receive earlier sun, but warmth should never take priority over a safe, legal tent pad. A stand of healthy, lower trees or terrain can reduce wind, yet a dense grove may also contain falling branches. Do not pitch directly beside water simply to gain a view; first consider flood risk, condensation, cold-air pooling, shoreline setbacks, and local regulations.
| Campsite Feature | What to Look For |
|---|---|
| Ground | Level, durable, and slightly raised without being on an exposed ridge |
| Drainage | No channel, wash, depression, flood debris, or obvious runoff path |
| Overhead area | No dead limbs, leaning trees, unstable rock, or snow-loaded branches |
| Wind | Natural protection without placing the tent beneath hazardous trees |
| Sun | Morning exposure when available, after safety and site rules are satisfied |
Warning: A tent is not a safe lightning shelter. If you hear thunder, move to a substantial enclosed building or a hard-topped vehicle with the windows closed. Follow National Weather Service lightning guidance and wait at least 30 minutes after the last thunder before returning.
The best shoulder season campsite is not the prettiest open spot. It is the legal, level site with the fewest flood, wind, lightning, and falling-limb hazards.
Build a Weather-Ready Shelter and Sleep System
A sturdy three-season tent can work for many spring and fall trips when the forecast calls for rain and moderate wind rather than heavy snow. Use a shelter designed for the expected conditions. If accumulating snow, severe wind, or true winter exposure is possible, a basic fair-weather tent may not provide enough structure or protection.
Practice pitching the tent before the trip. At camp, stake every corner, tension the rainfly, and use the guylines provided by the manufacturer. Keep the footprint or groundsheet fully under the tent floor so it does not collect runoff. Maintain ventilation to reduce condensation, and keep sleeping bags and dry clothing in waterproof liners or dry bags until the tent is secure.
Match the Sleeping Bag and Pad to the Forecast
Choose a sleeping bag whose tested comfort range suits the lowest temperature you may face, not only the average low. Temperature labels are comparison tools rather than guarantees, so allow extra margin if you sleep cold, expect damp conditions, or are new to cold-weather camping. Pair the bag with an insulated sleeping pad; compressed insulation beneath your body provides little protection from cold ground.
Change into dry base layers before bed. Loosen tight socks, eat and hydrate before settling in, and keep tomorrow’s clothes protected from condensation. Do not breathe deep into the sleeping bag for long periods because moisture from your breath can dampen insulation.
Pro Tip: Test the complete sleep system close to home on a cold night. The tent, pad, bag, clothing, and your personal cold tolerance work together; a warm bag cannot make up for an uninsulated pad.
Layer Clothing to Stay Dry and Warm
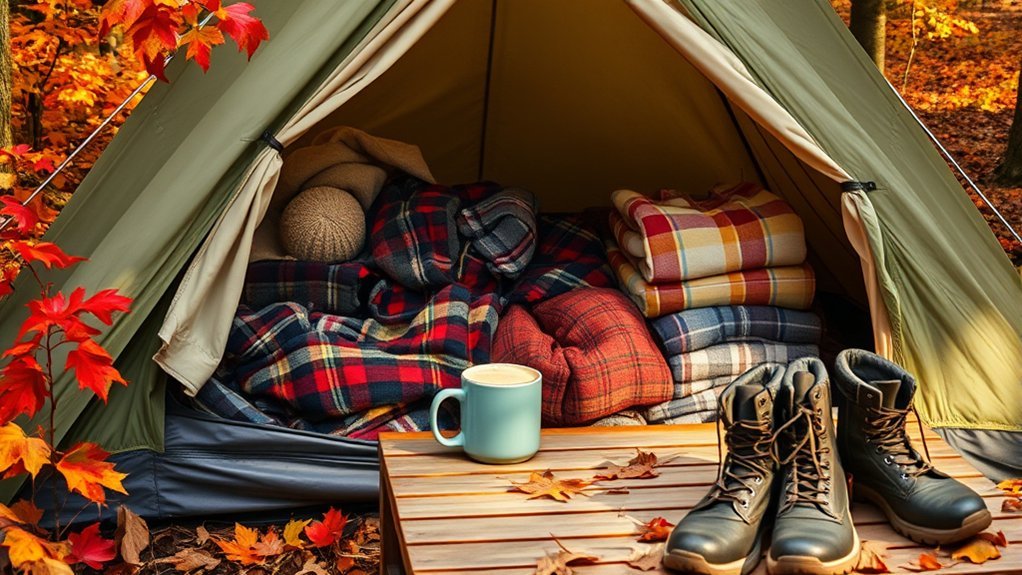
Use three adjustable layers instead of one bulky garment:
- Base layer: Wool or synthetic fabric that moves moisture away from your skin.
- Mid-layer: Fleece, synthetic insulation, or down that traps warmth. Protect down from rain and wet ground.
- Outer layer: A waterproof, wind-resistant shell with room for the layers beneath it.
Pack a separate dry set of sleep clothes, plus a warm hat, gloves, and extra socks. Add or remove layers before you become sweaty. Cotton dries slowly, so it is a poor primary layer for cold, wet conditions. Keep rain gear and one warm layer accessible rather than buried at the bottom of your pack.
Recognize Cold Stress and Hypothermia
Wet clothing, wind, fatigue, and inadequate food can increase cold stress even when the air temperature is above freezing. Early hypothermia signs can include shivering, exhaustion, confusion, fumbling hands, memory trouble, slurred speech, and drowsiness. The CDC identifies hypothermia as a medical emergency.
Warning: If someone shows possible hypothermia, stop the exposure, move them into shelter, remove wet clothing, insulate the person, and seek medical help. Handle a severely confused or unconscious person gently, call 911 when possible, and follow the dispatcher’s instructions.
Plan Hearty, Safe Meals for Cold Nights
Warm, easy meals can improve comfort and help replace energy used during hiking and camp chores. Choose simple one-pot foods such as chili, soup, pasta, curry, or burrito filling. Prepare and chop ingredients at home to reduce cooking time in cold or wet weather. Bring extra no-cook food in case a storm prevents normal cooking.
| Meal | Simple Shoulder Season Option |
|---|---|
| Breakfast | Oatmeal with nuts, dried fruit, and nut or seed butter |
| Lunch | Wraps with hummus, firm vegetables, cheese, or shelf-stable protein |
| Dinner | Chili, soup, pasta, or curry cooked in one pot |
| Snacks | Trail mix, jerky, bars, crackers, and dried fruit |
| Beverage | Water, broth, cocoa, coffee, or herbal tea |
Keep perishable food in an insulated cooler with enough ice or frozen packs to hold it at 40°F or below, separate raw foods from ready-to-eat foods, and use a food thermometer when cooking meat. The USDA camping food-safety guide provides detailed packing and handling advice.
Warning: Never use a fuel-burning stove, grill, lantern, or heater inside a tent, vehicle, or enclosed sleeping area. Venting a flap is not enough to prevent carbon monoxide buildup. Follow the U.S. Consumer Product Safety Commission’s camping-equipment guidance.
Store Food Correctly and Check Wildlife Activity
Wildlife behavior varies by species, season, food availability, and location, so review current advisories from the land manager. Watch animals from a safe distance and never feed them. Secure food, trash, cookware, toiletries, and other scented items as soon as you arrive.
Food-storage rules are location-specific. Some campgrounds require lockers; some backcountry areas require approved bear-resistant containers; others have different rules. Never store food or scented items in your tent. Check the exact requirements on the park or forest website and follow the National Park Service food-storage guidance.
Pack the Ten Essentials and Repair Items
The National Park Service Ten Essentials cover navigation, sun protection, insulation, illumination, first aid, fire-starting supplies, repair tools, extra food, hydration, and emergency shelter. Adapt each category to the trip rather than treating it as a fixed shopping list.
- Carry a headlamp for each camper and spare batteries.
- Bring a first-aid kit, personal medicine, blister care, and an emergency communication plan.
- Pack tent-pole repair parts, duct tape, spare cord, extra stakes, and a multi-tool.
- Carry more food, water, and stove fuel than the basic itinerary requires.
- Include a tarp, bivy, or emergency blanket even when your main tent is reliable.
- For remote travel without dependable cell service, consider a satellite communication device and learn how to use it before departure.
Bring Entertainment for Long Evenings
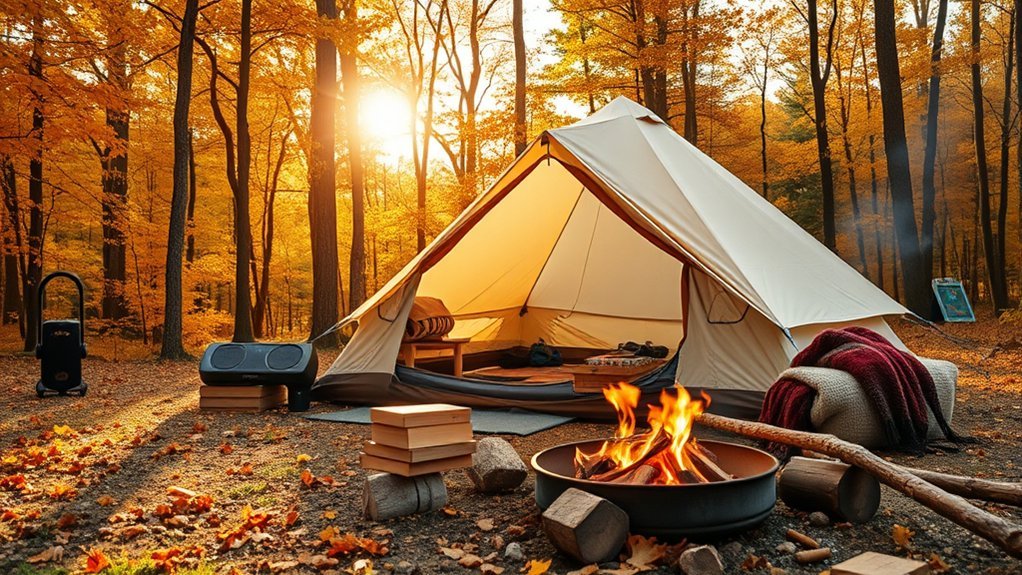
Shorter days and storm delays can create more tent time than expected. Pack compact games such as Bananagrams, cards, or travel Yahtzee, along with a book, journal, downloaded podcasts, or offline music. A small speaker can be enjoyable in a developed campground, but keep the volume low and follow quiet-hour rules.
Use headlamps or lanterns for evening activities and keep spare batteries warm and dry. Simple entertainment can protect morale when weather changes the schedule, while also giving the group time for conversation and rest.
Final Pre-Departure Checklist
- Point forecast and weather alerts checked for the campground elevation
- Road, trail, campground, water, and restroom status confirmed
- Reservation, permit, fire, pet, and food-storage rules reviewed
- Backup destination and turnaround limits agreed upon
- Trip plan left with a trusted contact
- Tent, rainfly, guylines, stakes, footprint, and repair kit tested
- Sleeping bag and insulated pad matched to the expected low
- Dry sleep clothes, rain shell, hat, gloves, and extra socks packed
- Ten Essentials, extra food, water treatment, and emergency shelter packed
- Fuel-burning equipment reserved for outdoor use only
Frequently Asked Questions
What type of tent is best for shoulder season camping?
A well-built three-season tent with a full rainfly, strong poles, good ventilation, and usable guylines works for many stable spring and fall forecasts. Choose a stronger shelter when accumulating snow, severe wind, exposed terrain, or true winter conditions are possible.
How can I stay warm while sleeping in my tent?
Use an insulated sleeping pad, a sleeping bag suited to the forecast low, dry base layers, a warm hat, and dry socks. Eat and hydrate before bed, vent the tent to control condensation, and keep the bag dry. Do not use a stove or fuel-burning heater inside the tent.
What are the most important items to pack?
Prioritize a weather-ready tent, sleeping bag, insulated pad, rain shell, warm layers, hat, gloves, spare socks, headlamp, first-aid kit, navigation, extra food and water, repair supplies, emergency shelter, and any required food-storage container.
How do I choose a sleeping bag for colder temperatures?
Compare standardized comfort and lower-limit ratings when available. Cold sleepers should focus on the comfort rating and leave a safety margin below the expected low. Remember that the sleeping pad, clothing, dampness, wind, food intake, and personal metabolism also affect warmth.
Are certain campgrounds better for spring and fall camping?
Look for open campgrounds with reliable road access, legal level tent pads, current water and restroom service, and nearby lower-elevation backup options. The best choice changes with weather, elevation, road conditions, seasonal closures, and local fire or wildlife rules.
Is shoulder season camping safe for beginners?
It can be when beginners choose a developed campground, stable forecast, short drive, tested gear, and an easy exit. Start close to home, avoid remote or snow-prone terrain, and cancel when the conditions exceed your experience or equipment.
When should I cancel or change the trip?
Change plans when officials close the area or road, thunderstorms or flooding threaten the site, freezing rain or heavy snow is likely, winds exceed your shelter’s capability, or the forecast low falls outside the safe range of your sleep system. Personal comfort and experience are valid reasons to turn around.
Conclusion
Shoulder season tent camping is most enjoyable when flexibility is part of the plan. Verify conditions, select the site for safety before scenery, protect your sleep system from moisture, carry adjustable layers, and know the warning signs of cold stress. With tested gear, conservative decisions, and a backup destination, you can enjoy quieter spring and fall camps without treating unpredictable weather casually.
Sources
- National Park Service Trip Planning Guide — trip plans, backup plans, current conditions, and the Ten Essentials
- National Park Service: Finding and Setting Up a Campsite — flood, wind, lightning, dead-limb, and site-layout hazards
- National Weather Service: Outdoor Lightning Safety — safe shelter and the 30-minute waiting rule
- Centers for Disease Control and Prevention: Preventing Hypothermia — warning signs and emergency response
- USDA: Food Safety While Hiking, Camping, and Boating — cooler packing, separation, and safe food handling
- U.S. Consumer Product Safety Commission: Portable Heaters and Camping Equipment — carbon monoxide hazards from fuel-burning equipment
