
Last Updated on July 23, 2026 by Daniel Globe
Your legs burn, the trail keeps climbing, and the summit still looks impossibly far away. Then the path bends back on itself, and the next stretch feels less steep. That is a switchback at work: a carefully placed trail turn that makes steep ground more manageable while helping protect the hillside. This guide explains how switchbacks work, how to hike them safely in both directions, and why staying on the built trail matters.
Quick Answer
A switchback is a trail turn that reverses direction across a slope, creating a longer route with a gentler grade than a straight climb. Hike it by staying on the built tread, using short, controlled steps, yielding to uphill hikers, and never cutting the corner, which can damage vegetation, loosen soil, and speed erosion.
Key Takeaways
- Switchbacks turn a steep climb into a longer series of gentler trail segments.
- A well-built switchback works with the trail’s grade, drainage, soil, and surrounding vegetation.
- Use short steps, keep a steady pace, and remain within the established tread through every turn.
- Downhill hikers normally yield to uphill hikers, but clear communication is more important than forcing a rule.
- Never cut a switchback, walk around mud, or create a shortcut across the slope.
At a Glance
| Time Required | Depends on the trail’s distance, elevation gain, terrain, and your pace |
| Difficulty | Easy technique to learn; physical effort can range from moderate to strenuous |
| Tools Needed | Supportive footwear, water, navigation, weather-appropriate layers, and optional trekking poles |
| Cost | No special fee beyond normal hiking gear and any park or trail access charge |
What’s in This Article
- Understanding the Purpose of Switchbacks
- Techniques for Navigating Switchbacks
- Hiking Switchbacks Uphill and Downhill
- Benefits of Hiking on Switchbacks
- Common Mistakes to Avoid on Switchbacks
- Environmental Impact of Switchbacks
- Switchback Trail Etiquette
- How to Plan a Hike with Switchbacks
- Tips for Difficult Terrain
- Frequently Asked Questions
Disclosure: As an Amazon Associate I earn from qualifying purchases. Some links on this page are affiliate links, at no extra cost to you.
Understanding the Purpose of Switchbacks
Switchbacks turn a steep, exhausting route into something your body can handle more efficiently. Instead of running straight up or down a hillside, the trail crosses the slope and then reverses direction. You travel farther horizontally, but each section gains or loses elevation more gradually.
The gentler grade can make climbing easier to sustain and descending easier to control. It also allows trail designers to create a more stable route than a direct path down a steep fall line, where water and foot traffic can quickly carry loose soil downhill.
Building a durable switchback takes more than drawing a zigzag in the dirt. Trail crews must consider the hillside’s grade, soil, drainage patterns, vegetation, expected users, and available space. The USDA Forest Service Trail Construction and Maintenance Notebook explains that sustainable trails need appropriate grades, grade reversals, stable tread, and drainage that moves water across the trail rather than down it.
Switchbacks vs. Climbing Turns
Not every bend that reverses direction is technically a switchback. A climbing turn continues climbing through the curve without a constructed level landing. A switchback also reverses direction, but it has a relatively level constructed landing at the turn.
According to the WeConservePA Trail Design and Maintenance guide, switchbacks usually require more detailed work on their approaches, landings, drainage, barriers, and surrounding slope. Climbing turns are commonly used on gentler terrain, while switchbacks can handle steeper slopes when properly designed.
How Switchbacks Help Manage Water
A switchback does not prevent erosion by itself. The complete trail design must keep runoff from flowing down the tread for a long distance. Outsloping, grade reversals, drainage features, stable soil, retaining structures, and regular maintenance all help move water safely away from the walking surface.
A switchback changes the trail’s direction, but sustainable grade and drainage are what keep that trail from becoming a channel for runoff.
Techniques for Navigating Switchbacks
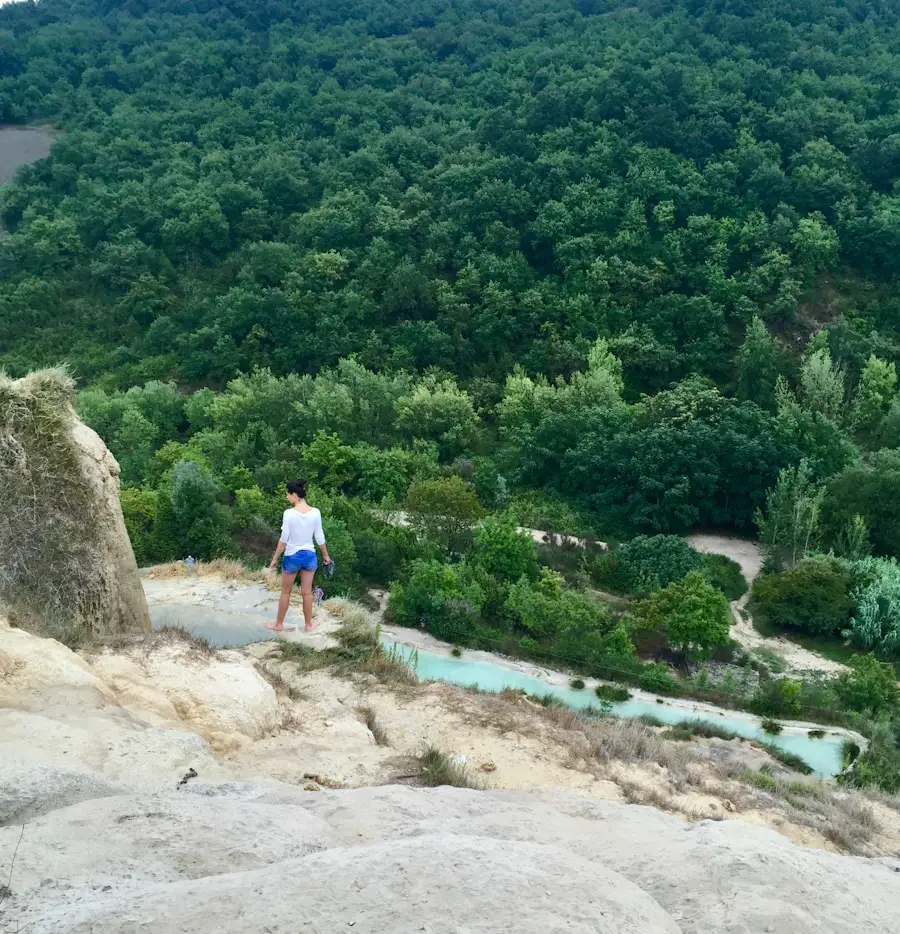
Getting through a switchback smoothly comes down to pace, balance, and foot placement. Slow slightly before the turn, look two or three steps ahead, and choose firm areas of the established tread. Short, controlled steps generally work better than long strides on loose or steep ground.
Keep your weight balanced over your feet instead of leaning sharply into the hillside or away from it. Secure loose pack straps, and keep trekking poles close enough that they do not catch vegetation or interfere with another hiker.
Follow the full constructed curve, but stay within the trail’s existing width. Do not step onto the inside slope, walk along the crumbling outer edge, or widen the turn to avoid rocks or mud.
Pro Tip: Set a pace you can maintain between turns. If you can still speak a short sentence without gasping, your effort is usually more sustainable than a pace that forces repeated long stops.
Hiking Switchbacks Uphill and Downhill
How to Climb Switchbacks
- Start slower than you think you need to. It is easier to increase your pace later than to recover after starting too hard.
- Use short, even steps. Avoid lunging up rocks or taking oversized strides that quickly tire your legs.
- Keep your upper body relaxed. Stay tall enough to breathe comfortably instead of folding sharply at the waist.
- Pause in a safe place. Move fully out of the walking line on a durable surface rather than stopping in the middle of a blind turn.
- Use the entire trail segment. Do not aim straight toward the next turn or follow an unofficial shortcut.
How to Descend Switchbacks
Descending may feel easier on your lungs, but it can demand more control from your legs. Shorten your stride, keep your knees relaxed, and place each foot rather than letting gravity pull you into a run. Avoid hopping down ledges unless the terrain and your ability make that safe.
On loose surfaces, place your foot flat when possible and avoid sudden sideways movements. Trekking poles can provide extra points of contact, but their tips should remain on the trail tread. Adjust your speed before the turn rather than braking hard in the middle of it.
Warning: Stop and reassess if the trail is covered by ice, unstable snow, flowing water, active rockfall, or a washout you cannot cross safely. A marked route is not a guarantee that current conditions are safe.
Benefits of Hiking on Switchbacks
| Benefit | Why It Matters |
| Reduced erosion risk | A sustainable route avoids a long, straight fall-line trail, while proper drainage limits water flowing down the tread. |
| Less damage to vegetation | A clear constructed route concentrates travel instead of allowing many informal paths to spread across the hillside. |
| Improved hiker control | A gentler grade can make climbing more sustainable and descending easier to control. |
| Better trail sustainability | Well-designed turns, drainage, stable tread, and maintenance can help a trail withstand repeated use and storms. |
| Changing viewpoints | Some switchbacks reveal new views as the trail changes direction, although scenery depends on the route. |
Switchbacks can also make a long climb feel easier to measure. Each turn becomes a small landmark, helping you divide a demanding ascent into shorter sections. Use those turns as progress markers, but do not assume the next bend is the final one unless your map confirms it.
Common Mistakes to Avoid on Switchbacks
Most switchback mistakes come from rushing, losing focus, or trying to save distance. Common problems include:
- Taking long, uncontrolled steps on loose ground
- Cutting directly toward the next trail segment
- Walking around mud and widening the trail
- Passing another hiker at a blind or narrow turn
- Resting where other hikers cannot get through
- Leaning over an exposed outer edge to make room
- Assuming the descent will require less time or attention
Why Cutting a Switchback Damages the Trail
Cutting across a switchback to save a few steps may look harmless, but repeated shortcuts trample plants and loosen the soil holding the slope together. Rain can then follow the bare track downhill, deepening it into an eroded channel and encouraging more hikers to follow the same route.
Leave No Trace guidance advises hikers to stay within the established trail width and never shortcut switchbacks. The National Park Service also warns that switchback cutting can push rocks downhill, create routes for water erosion, undermine the supporting slope, and increase injury risk.
Warning: Do not follow an unofficial shortcut simply because other footprints are visible. A worn path across a switchback is still an unauthorized route unless signs or the land manager clearly indicate that the trail has been rerouted.
Environmental Impact of Switchbacks
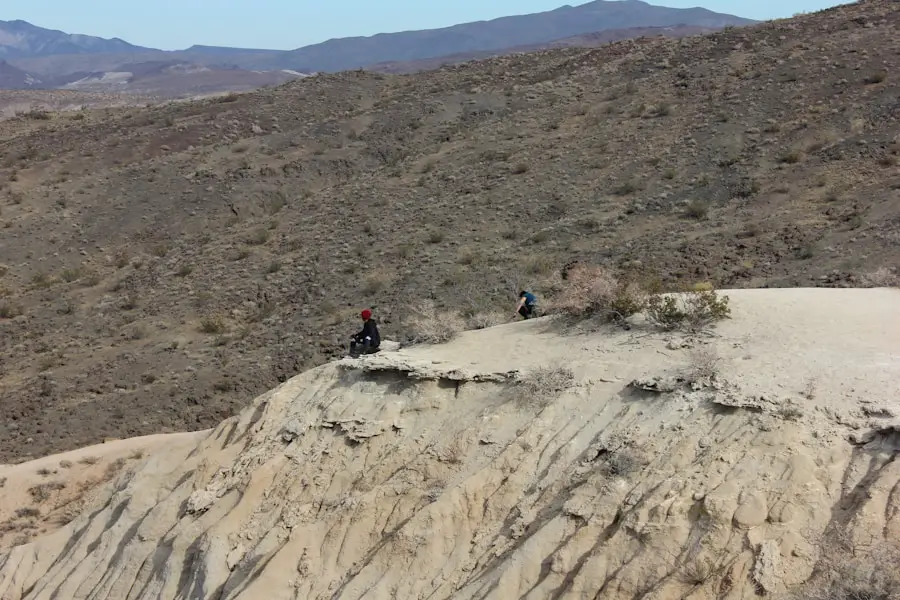
Well-designed switchbacks can reduce damage by concentrating foot traffic on a stable route and avoiding a direct trail down a steep slope. Their success still depends on drainage, soil stability, vegetation, construction quality, and continued maintenance.
Poorly planned or neglected switchbacks can fail. Water may cut into the tread, the downhill edge may collapse, vegetation may hide the route, and users may create shortcuts when turns are too tight or difficult to follow.
If you find a washed-out turn, fallen retaining structure, large obstruction, or dangerous shortcut, do not attempt major trail work yourself. Note the location, take a photo if it is safe, and report it to the park, forest, trail association, or other land manager.
Switchback Trail Etiquette
On a narrow trail, downhill hikers normally yield to hikers who are climbing. The uphill hiker is working against gravity and may be concentrating on a steady rhythm. However, the uphill hiker may choose to pause and wave the other person through. Make eye contact and communicate instead of assuming.
The American Hiking Society’s hiking-etiquette guidance recommends yielding to uphill hikers, leaving space for others to pass, and avoiding switchback shortcuts.
- Announce yourself calmly when approaching a blind turn.
- Pass only where the tread is wide and stable enough.
- Keep groups single file on narrow sections.
- Do not force another hiker toward a steep edge.
- Take breaks away from the turn and outside the main walking line.
- Follow posted rules for horses, bicycles, runners, and other trail users.
How to Plan a Hike with Switchbacks
A little research makes a switchback-heavy trail less intimidating and helps prevent avoidable problems. Do not judge the route only by mileage or the number of visible turns. Check:
- Total distance and elevation gain and loss
- Average and maximum grade, when available
- Trail surface, exposure, and water crossings
- Current closures, alerts, fire restrictions, or washouts
- Weather, temperature, wind, and storm timing
- Available daylight and a firm turnaround time
- Reliable water sources and whether treatment is required
- The ability and experience of every person in the group
The National Park Service Hike Smart guide recommends choosing a trail that matches your group’s abilities, checking weather and alerts, leaving a trip plan, tracking your time, and turning around when the hike is taking longer than expected.
Carry the Ten Essentials, including navigation, sun protection, extra clothing, illumination, first aid, repair supplies, food, water, emergency shelter, and a safe way to start a fire where appropriate and permitted. Adjust the equipment to the route, conditions, season, and local rules.
If steep terrain is new to you, begin with a shorter trail and moderate elevation gain. Supportive footwear with suitable traction can help on loose or wet surfaces. Trekking poles are optional, but they may improve stability and help distribute some of the effort during ascents and descents.
Note: Elevation profiles are commonly available, but switchback counts are not standardized and may not appear in a trail app. Distance, total elevation change, terrain, exposure, weather, and current trail conditions are more useful planning measures.
Tips for Mastering Switchbacks on Difficult Terrain
Use a steady breathing rhythm that feels natural rather than forcing a specific nose-and-mouth pattern. If you cannot speak a short sentence, feel dizzy, develop unusual weakness, or cannot recover during a brief rest, slow down and reassess whether you should continue.
Look ahead to the next secure section of tread rather than staring only at your boots. Landmarks such as a tree, rock, or trail sign can divide the climb into smaller sections, but keep checking your map and time instead of assuming each visible turn is close to the destination.
Loose Rock and Gravel
Shorten your stride, place your feet carefully, and avoid sudden sideways movements. Give the hiker below you extra space because a dislodged rock can roll down the trail.
Mud and Wet Tread
Walk through the established trail surface when it is safe instead of going around the mud and widening the route. If the trail is deeply flooded, unstable, or officially closed, turn back rather than creating a new path.
Snow and Ice
Check current trail reports before leaving. Traction devices and poles may help in some conditions, but they do not replace snow-travel skills, route knowledge, or sound judgment. Turn around when the conditions exceed your training or equipment.
Exposed Turns
Stay toward the stable portion of the tread without pressing against a loose uphill bank. Do not pass near a drop-off, and wait in a wider area when another hiker is approaching.
Using Trekking Poles
The American Hiking Society notes that trekking poles can provide extra stability, assist during climbs, and reduce some knee strain during descents. Keep pole tips within the established tread, avoid fragile vegetation, and stow poles securely when they are not in use.
Practice on familiar local trails before attempting a longer or more exposed route. Experience helps you recognize sustainable pacing, secure footing, weather changes, and the point at which turning back is the safer choice.
Love travel? Join Our Facebook Community For More Tips.
Frequently Asked Questions
What are switchbacks in hiking?
Switchbacks are trail turns that reverse direction across a hillside. They create a longer route with a gentler grade than a path that travels directly up or down the slope.
Why are switchbacks used on hiking trails?
They help trail designers manage steep terrain, create a more sustainable grade, and reduce the need for a direct fall-line trail. Proper drainage and maintenance are also necessary to control erosion.
Is it okay to cut across a switchback to save time?
No. Cutting the turn can crush vegetation, loosen soil, send rocks downhill, and create a channel for runoff. Follow the complete marked turn even when an unofficial shortcut is visible.
Are switchbacks environmentally friendly?
They can reduce environmental damage when they are properly located, built, drained, used, and maintained. A badly designed or heavily shortcut switchback can still suffer serious erosion.
Do all hiking trails have switchbacks?
No. They are mainly used where a trail must gain or lose elevation across a slope. Flat routes and trails that naturally follow gentle contours may not need them.
Do switchbacks make a trail longer?
Yes. They add horizontal distance so the trail can gain or lose elevation more gradually. The longer route is usually easier to sustain and control than a much steeper direct path.
Are switchbacks harder going up or down?
Climbing usually demands more cardiovascular effort, while descending often requires more braking and balance from the legs. Either direction can be difficult when the tread is loose, wet, icy, exposed, or damaged.
Who has the right of way on a switchback?
Downhill hikers normally yield to uphill hikers. However, the uphill hiker may choose to stop and let someone pass, so communicate clearly and use the safest available passing place.
Switchbacks are not obstacles that need to be defeated or shortcuts waiting to be found. They are part of the structure that makes many steep trails possible. Follow the full turn, stay on the established tread, manage your pace, and turn back when the conditions exceed your ability or equipment. Those choices protect your knees, other hikers, and the trail itself.
Sources
- USDA Forest Service Trail Construction and Maintenance Notebook — sustainable grades, drainage, tread construction, climbing turns, and switchbacks
- WeConservePA Trail Design and Maintenance — switchback and climbing-turn definitions, slope design, and maintenance
- National Park Service Hike Smart — route selection, weather, alerts, pacing, turnaround times, and trail etiquette
- National Park Service Lassen Peak Hiking Guide — risks caused by cutting switchbacks
- Leave No Trace: Travel and Camp on Durable Surfaces — staying within the established trail and avoiding shortcuts
- American Hiking Society Trekking Poles Guide — pole stability, ascent and descent support, and low-impact placement

