
Last Updated on July 27, 2026 by Daniel Globe
Breaking in hiking boots helps you confirm that the fit, lacing, socks, and footwear work together before you commit to a long day on the trail. But there is no universal number of miles every pair must cover. Lightweight hiking shoes may feel comfortable almost immediately, while stiff leather or backpacking boots can take repeated short outings over several days or weeks.
Quick Answer
There is no fixed mileage required to break in hiking boots. Flexible synthetic hiking shoes may need little more than a few short walks, while stiff leather or backpacking boots can require days or weeks of gradual wear. Increase distance only when the boots remain comfortable and free of persistent hot spots.
Key Takeaways
- Do not treat 30 or 50 miles as a required break-in target; the time varies by boot construction and fit.
- Start indoors, move to short walks, then test the boots on real trails before a long backpacking trip.
- Wear the same socks, insoles, or orthotics you plan to use while hiking.
- Mild stiffness can improve with wear, but persistent pinching, toe impact, heel slip, or recurring blisters usually means the fit needs attention.
- Conditioning or waterproofing products should only be used when they are appropriate for the boot material and recommended by the manufacturer.
At a Glance
| Time Required | A few short sessions for flexible footwear; several days or longer for stiff leather or backpacking boots |
| Difficulty | Easy |
| Tools Needed | Trail socks, normal insoles or orthotics, laces, and optional blister tape or pads |
| Cost | Usually $0 if you already have hiking socks; about $5–$15 for optional blister-protection supplies |
Disclosure: As an Amazon Associate I earn from qualifying purchases. Some links on this page are affiliate links, at no extra cost to you.
Choosing the Right Hiking Boots
The best break-in process starts before you leave the store. A boot that is fundamentally the wrong length, width, shape, or volume is unlikely to become comfortable simply because you walk more miles in it.
Choose footwear that matches the terrain, weather, pack weight, and type of hiking you expect to do. Flexible hiking shoes and trail-oriented footwear work well for many maintained trails, while stiffer backpacking or mountaineering boots are designed for more demanding terrain and loads.
Fit should be snug without squeezing. Your toes need room to move, your heel should remain reasonably secure, and you should not feel sharp pressure from seams, the tongue, or the sides of the boot. REI’s current hiking boot fitting guidance recommends trying footwear near the end of the day, when feet can be slightly larger, and checking fit with the socks you actually intend to wear.
If possible, remove the insole and stand on it. There should be adequate space beyond your longest toe. Then lace the boots and test them on an incline or stairs. Your toes should not repeatedly strike the front when walking downhill.
Pro Tip: Break boots in with the same sock thickness, insoles, and orthotics you will use on the trail. Changing any of these later can change the fit enough to create new pressure points.
How Many Miles Does It Take to Break In Hiking Boots?
There is no single mileage requirement. The amount of break-in depends on the boot’s materials, stiffness, construction, and how well it already matches your foot.
| Footwear Type | Typical Break-In Expectation |
|---|---|
| Trail runners / flexible hiking shoes | Often little traditional break-in is needed. A few short walks can confirm fit and reveal hot spots. |
| Light day-hiking boots | Usually benefit from several short walks followed by an easy trail test. |
| Stiff backpacking boots | May require repeated outings over several days or longer before a major trip. |
| Thick full-grain leather boots | Often need the longest adaptation period because the leather and padding gradually flex and conform with wear. |
REI’s boot break-in guidance notes that light hikers may feel comfortable out of the box while heavier leather boots can take weeks. Salomon similarly explains that many modern synthetic shoes require much less traditional break-in than older leather footwear.
For some of its boots, Danner recommends short outings for a couple of hours a day for about a week, with additional time for thicker leather and stiffer components. That is a useful example of why time and gradual testing are better measures than an arbitrary mileage number.
The best break-in target is not a number of miles. It is the point at which the boots stay comfortable as you gradually add time, terrain, elevation, and pack weight.
Preparing for the 50-Mile Milestone
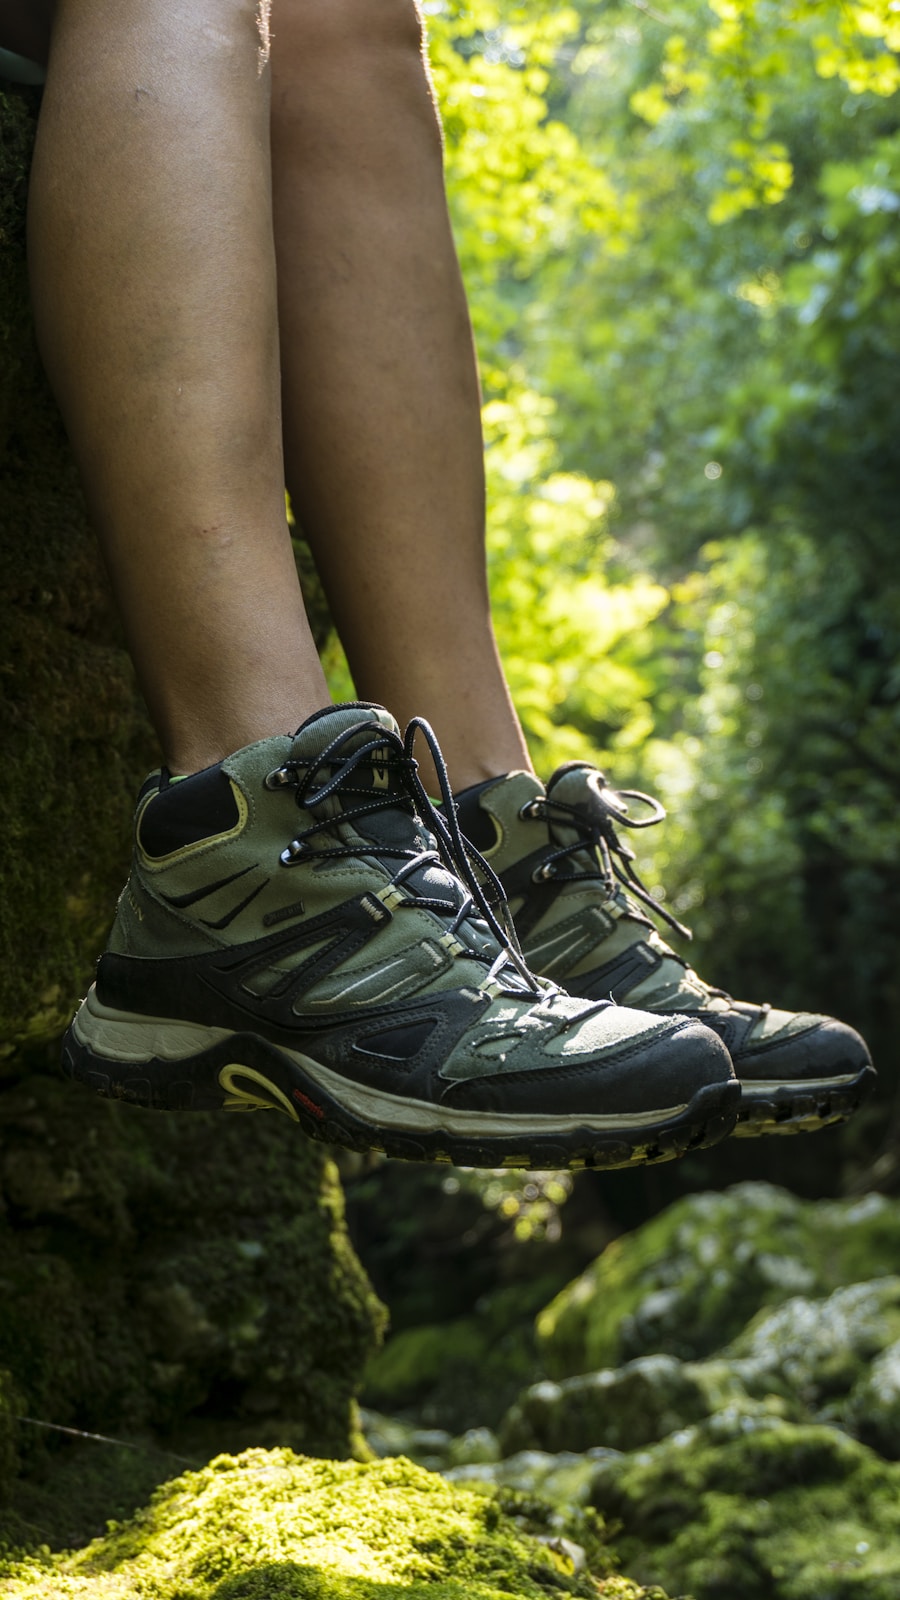
If you are preparing for a 50-mile hike, your footwear should already have passed several shorter tests before the trip begins. A 50-mile trek is not a required break-in target. It is an example of the kind of trip where discovering a poor fit after the first few miles can cause serious discomfort.
Start training with shorter walks and hikes, then gradually increase distance and terrain difficulty. Once the boots feel good on easy outings, test them on hills and uneven surfaces. If you will carry a loaded pack on the trip, include that pack in later training hikes because added weight can change how your feet move inside the boots.
Physical preparation matters too. Gradually building hiking time and elevation gives your feet and legs a chance to adapt while also giving you repeated opportunities to evaluate the footwear. Avoid making your longest or hardest training hike the first day you wear a new pair of boots.
Note: A planned 50-mile hike does not mean you need to put 50 break-in miles on your boots beforehand. A flexible boot may be ready much sooner, while an unsuitable boot may still hurt after far more mileage.
Tips for Breaking in Hiking Boots
| Tip | What to Do |
|---|---|
| Confirm the size first | Make sure the boots are the correct length, width, and volume before trying to soften them through wear. |
| Use your real hiking setup | Wear the socks, insoles, or orthotics you plan to use on the trail rather than automatically choosing thicker socks. |
| Break them in gradually | Start indoors, then take short neighborhood walks before adding trails, hills, distance, and pack weight. |
| Treat hot spots early | Stop when you first notice rubbing. Adjust laces and protect the area with appropriate blister tape, moleskin, or a blister pad. |
| Follow material-specific care | Use conditioners or water-repellent treatments only when the manufacturer recommends them for that boot material. |
| Keep the boots clean | Remove dirt and dry wet footwear naturally so the materials remain in good condition. |
1. Wear Them Indoors First
Start by wearing the boots around the house with your normal hiking socks. Keep this first session short. Walk on flat floors, use stairs if available, and pay attention to the heel, toes, sides of the forefoot, and top of the foot.
Indoor testing is especially useful while the boots are still in returnable condition. If you immediately feel strong pinching or your toes hit the end, do not assume that another 30 miles will solve it.
2. Take Short Walks Outside
Once the indoor fit feels right, walk around the neighborhood or on an easy path. Gradually extend the time rather than jumping straight to a full-day hike.
LOWA recommends beginning with short walks and slowly increasing duration, intensity, and terrain.
3. Add Uneven Terrain
A boot can feel fine on a living-room floor yet behave differently on rocks, roots, slopes, and side hills. Take it onto an easy trail and test how securely your heel stays in place.
On downhill sections, watch for your toes sliding forward and striking the front of the boot. Persistent toe impact is a fit problem, not a normal sign that the boot simply needs more miles.
4. Test Your Pack Weight
If the boots will be used for backpacking, repeat a short trail test with a modest pack and gradually work toward your expected load. Extra weight can increase foot movement and reveal heel slip or pressure that was not noticeable during an unloaded walk.
5. Increase Distance Only When the Previous Step Feels Good
There is no benefit in rushing. Move to a longer hike only after the boots remain comfortable during shorter tests. This progression lets the materials flex while giving you time to adjust the lacing or recognize a poor fit before you are miles from the trailhead.
Warning: Do not soak hiking boots, blast them with a hair dryer, place them next to a heater, or immediately walk a long distance in wet boots to force them to soften. Aggressive heat or water can damage materials, adhesives, leather, and waterproof components while increasing the risk of foot problems.
Dealing with Discomfort
A little initial stiffness is common in substantial hiking boots. Sharp pain, strong pinching, numbness, repeated heel rubbing, or toes striking the front are different. Those signs deserve attention rather than more mileage.
Friction blisters develop when repeated rubbing irritates the skin. Cleveland Clinic recommends properly fitted footwear, gradual break-in, moisture-management, and suitable socks as important preventive measures. Its blister-prevention guidance also advises dealing with rubbing early rather than waiting for a blister to worsen.
Stop at the First Hot Spot
A hot spot is an early warning that friction is building. Stop walking, remove the boot and sock, inspect the skin, and correct the cause if possible. Depending on the location, changing the lacing or applying a blister pad, moleskin, or suitable tape can reduce further rubbing.
Adjust the Lacing
Lacing can change heel hold and pressure across the top of the foot. If the boot fits correctly overall, a different lacing pattern may solve a localized pressure problem. Do not tighten every section excessively, because that can create new pressure points.
Know When the Boot Is the Problem
Repeated blisters in the same location, toes hitting the front on descents, major heel slip, or persistent pinching suggest that the size or shape may not match your foot. Salomon’s break-in guidance specifically identifies these symptoms as warning signs of unsuitable footwear.
If the issue is a localized pressure point in a suitable leather boot, some manufacturers permit professional stretching. Danner, for example, recommends professional stretching for stubborn areas on appropriate leather boots rather than assuming that every material can safely be stretched.
Taking Care of Your Feet
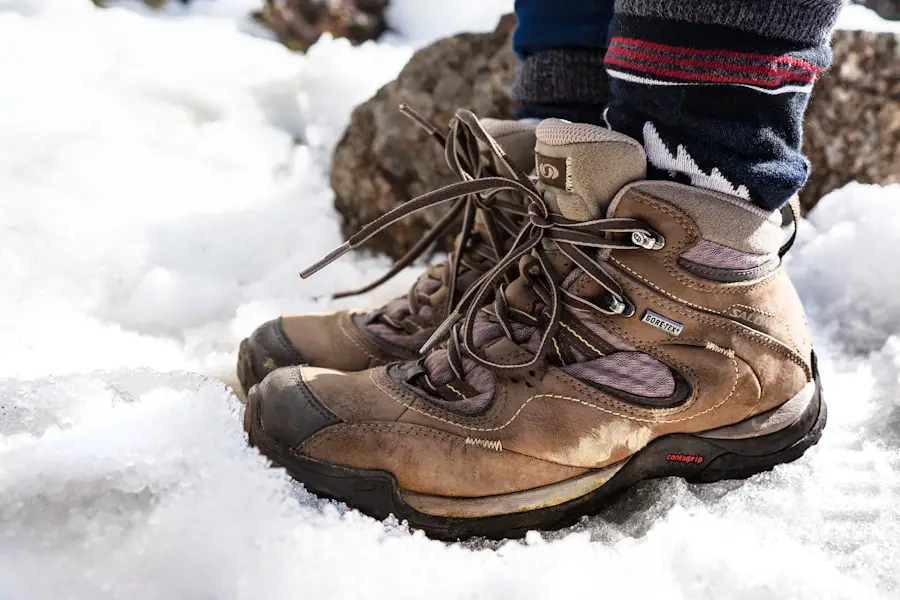
Foot care becomes more important as your hikes get longer. Start with clean, dry feet and well-fitting hiking socks. Wool and synthetic hiking socks are commonly used because they manage moisture better than all-cotton socks during active use.
Do not automatically choose the thickest socks available. Sock thickness must work with the internal volume of your boot. A heavily cushioned sock inside an already snug boot can add pressure instead of preventing it.
On longer training hikes, carry a spare pair of dry socks if your feet tend to sweat heavily or the trail is wet. Stop to investigate rubbing before it becomes painful.
After hiking, clean and dry your feet and inspect them for redness, broken skin, or developing blisters. Let wet boots dry naturally at moderate temperatures rather than placing them directly against a heater.
Boot Care During the Break-In Period
Breaking in boots and waterproofing boots are separate jobs. Do not apply a treatment simply because the footwear is new.
For full-grain leather boots, a manufacturer-approved conditioner may help keep the leather supple and, for some models, assist with the break-in process. Danner specifically allows conditioning on appropriate full-grain leather footwear.
Other footwear has different requirements. GORE-TEX footwear care instructions recommend following the boot manufacturer’s directions, cleaning with appropriate methods, air-drying at moderate temperatures, and restoring durable water repellency when water no longer beads effectively. Gore also cautions against waterproofing waxes or greases that can reduce breathability in applicable footwear.
Likewise, LOWA notes that its new boots arrive pre-treated and do not automatically need a new waterproofing application immediately after purchase.
Note: Leather conditioner, waterproofing wax, and water-repellent sprays are not interchangeable. Check the manufacturer’s care instructions for your exact upper material and waterproof membrane before applying anything.
Knowing When Your Boots Are Ready
Your hiking boots are ready for a longer trail when they have passed progressively harder tests without creating significant discomfort.
- You can wear them for several hours without persistent hot spots or pain.
- Your toes do not repeatedly strike the front during descents.
- Your heel stays reasonably secure without excessive rubbing.
- The boot flexes naturally enough for your stride.
- Your intended hiking socks and insoles remain comfortable inside the boot.
- You have tested the boots on uneven ground, not only indoors.
- If you will backpack, you have completed at least one shorter test with a loaded pack.
- You finish a test hike confident that you could comfortably continue rather than eager to remove the boots immediately.
A boot does not need to become soft or loose to be considered broken in. Stiff hiking and backpacking boots are designed to retain structure. The goal is predictable comfort and secure fit, not maximum softness.
Enjoying the Benefits of Well-Broken-In Boots
Once your boots and feet are working well together, hiking becomes easier to enjoy because you spend less time thinking about your footwear. You also know which lacing tension works, which socks fit best, and whether the boots remain comfortable on climbs and descents.
Breaking in does not magically improve an outsole’s traction, nor can it rescue a badly fitting boot. Its real value is giving the footwear appropriate time to flex while giving you enough low-risk testing to identify fit problems before a demanding hike.
The old idea that every pair needs 30–50 miles is too simple. Some modern hiking shoes need almost no traditional break-in, while stiff leather boots can require a much longer adjustment period. Let comfort, fit, terrain testing, and the manufacturer’s guidance determine when your pair is ready.
For additional context, the existing TakeTravelInfo hiking-boot guide discusses the mileage question, but a fixed mileage target should be treated as a rough historical rule of thumb rather than a universal requirement.
Frequently Asked Questions
What is the purpose of breaking in hiking boots?
Breaking in lets stiff materials flex naturally and gives you time to test the fit, lacing, socks, and insoles before a demanding hike. It also helps you identify rubbing or pressure points while you are still close to home.
How many miles does it take to break in hiking boots?
There is no universal number. Flexible synthetic hiking shoes may need only a few short walks, while stiff backpacking or leather boots can take repeated wear over several days or weeks. Move to longer hikes only after shorter tests remain comfortable.
What are the best ways to break in hiking boots?
Wear them indoors with your normal trail socks, progress to short outdoor walks, test gentle trails and hills, and then increase distance and pack weight gradually. Stop and correct hot spots as soon as you feel them.
Should hiking boots hurt while breaking them in?
They may feel somewhat stiff, but they should not cause sharp pain, numbness, repeated toe impact, severe pinching, or recurring blisters. Persistent pain is a reason to reassess the fit rather than simply adding more miles.
How do I know when hiking boots are fully broken in?
They should remain comfortable through several progressively longer tests, including uneven terrain and descents. Your heel should stay secure, your toes should not hit the front, and you should finish shorter hikes without developing persistent hot spots.
Can I speed up the break-in process?
The safest way is to wear the boots frequently for short periods and gradually increase use. Some manufacturers allow appropriate conditioner on full-grain leather. Avoid soaking, aggressive heating, or other forced methods that can damage the footwear or your feet.
Should I wear thick socks to break in hiking boots?
Not automatically. Wear the type and thickness of hiking sock you intend to use on the trail. Extra-thick socks can make a snug boot too tight and create additional pressure.
Do new waterproof hiking boots need waterproofing treatment?
Not necessarily. Many new boots are already treated. Follow the footwear manufacturer’s instructions and use only products compatible with the upper material and waterproof membrane. Reapply water-repellent treatment when the manufacturer recommends it or when water stops beading as intended.
Sources
- REI Co-op — How to Break in Your Hiking Boots — gradual break-in, varying break-in periods, hot spots, and unsafe shortcuts.
- REI Co-op — How to Choose Hiking Boots and Hiking Shoes — sizing, toe room, end-of-day fitting, socks, and footwear selection.
- Salomon — How to Break In Your Hiking Shoes — synthetic versus leather footwear and signs of an unsuitable fit.
- Danner — New Boots and Break-In Care — gradual wear, full-grain leather conditioning, friction protection, and leather stretching.
- GORE-TEX — Footwear Care Instructions — cleaning, drying, manufacturer-specific care, and restoring water repellency.
- Cleveland Clinic — Ways to Prevent and Treat Foot Blisters — footwear fit, gradual break-in, moisture management, and blister prevention.

