
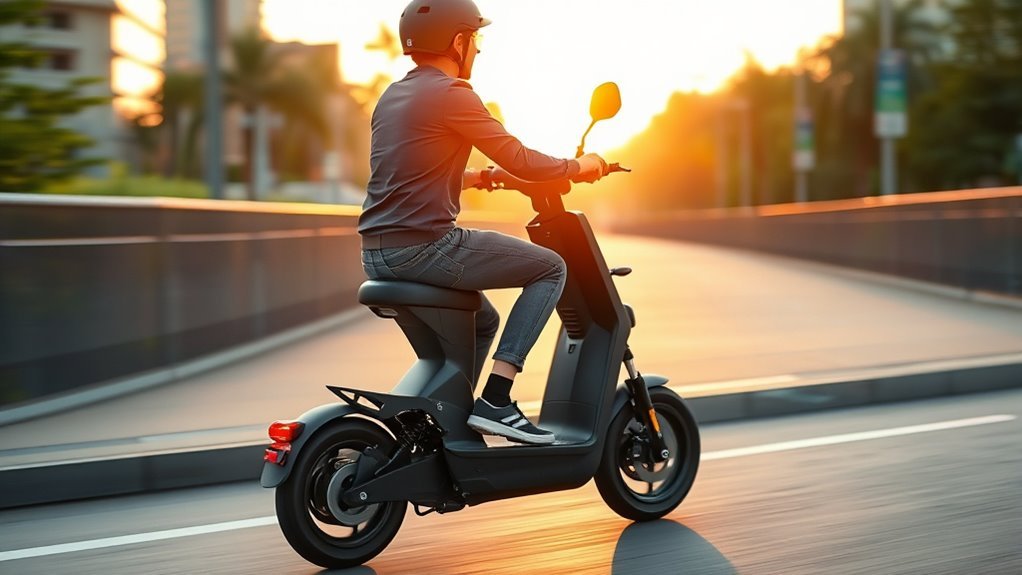
Last Updated on July 24, 2026 by Caleb Warren
Riding an electric scooter with a seat can feel steady and comfortable, but you still need good control, safe setup, and practice. Start on level ground, learn your scooter’s controls, and keep your speed low until mounting, turning, and stopping feel natural. Always follow the owner’s manual and local riding rules.
Quick Answer
To ride an electric scooter with a seat, adjust and tighten the seat, complete a pre-ride check, mount on level ground with one foot down, and start in the lowest mode. Keep both hands on the bars, accelerate gently, look through turns, and brake early. Wear a fitted helmet and follow your model’s manual and local laws.
Key Takeaways
- Read the owner’s manual because start modes, brakes, controls, age limits, and weight limits vary by model.
- Set the seat so you can reach the handlebars, brakes, deck, and ground without stretching or leaning.
- Keep both hands on the handlebars, look ahead, and make slow, smooth steering and throttle inputs.
- Release the throttle and brake progressively, giving yourself extra room on hills, wet surfaces, or loose ground.
- Wear a properly fitted helmet and check the seat, stem, brakes, tires, lights, battery, and loose hardware before every ride.
At a Glance
| Time Required | About 20–30 minutes for a first low-speed practice session; longer before riding near traffic |
| Difficulty | Beginner to moderate |
| Tools Needed | Owner’s manual, fitted helmet, closed-toe shoes, protective pads, and a tire gauge for pneumatic tires |
| Cost | Varies; allow for a helmet, pads, tire care, charging, and normal maintenance |
Warning: A seated scooter may not be treated the same as a stand-up e-scooter under local law. Check where you may ride, required equipment, age rules, licensing, and helmet rules before using it on public roads or paths. Use only a seat and hardware approved for your exact scooter model.
Disclosure: As an Amazon Associate I earn from qualifying purchases. Some links on this page are affiliate links, at no extra cost to you.
How to Mount a Seated Scooter
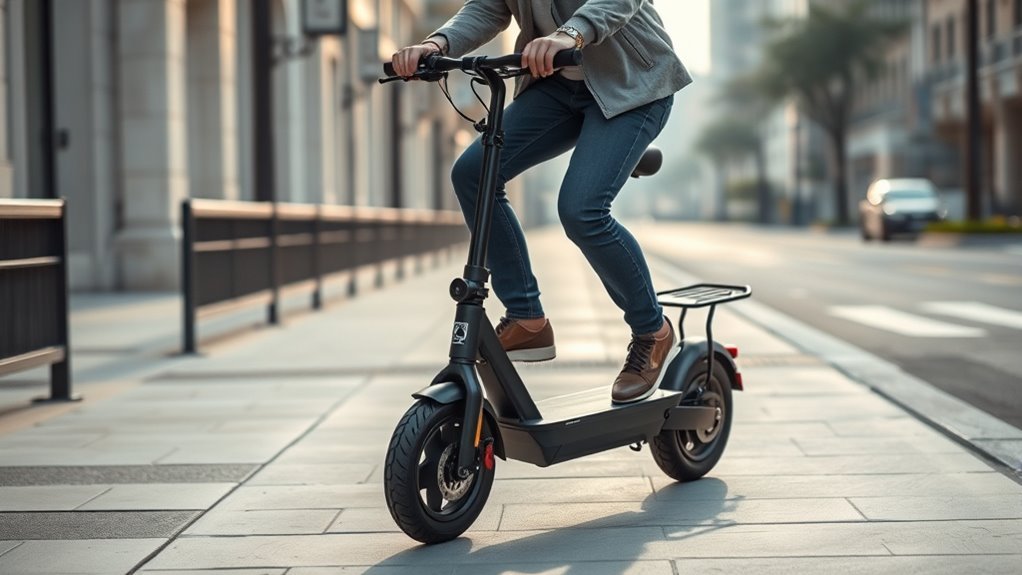
Mounting safely begins before the motor is active. Place the scooter on firm, level ground away from traffic. Confirm that the seat clamp, handlebar stem, and any folding latch are fully locked. Keep your fingers away from the throttle while you get into position.
Prepare the Scooter
- Turn the scooter off while adjusting the seat or checking hardware.
- Set the seat to a comfortable height and tighten the clamp to the method and torque listed in the owner’s manual.
- Check that the kickstand moves freely and will stay fully raised while riding.
- Face the scooter straight ahead and squeeze a brake lever, if your model allows it, to stop the wheels from rolling.
Mount With One Foot Down
Stand beside the scooter and hold both grips. Lower yourself onto the seat slowly while keeping one foot on the ground. Place the other foot on the deck or foot peg. Center your hips on the seat and check that you can reach the throttle and brake controls without stretching. Raise the kickstand, then power the scooter on only when you are seated, balanced, and ready to move.
Pro Tip: Practice mounting and dismounting several times with the scooter switched off. This builds a steady routine without the risk of touching a live throttle.
How to Get Comfortable on the Seat
A good riding position lets you reach every control while keeping your body relaxed. Do not copy a fixed seat-height rule from another scooter. Seat shape, deck height, wheel size, and handlebar position vary, so use your manual and test the fit at a standstill.
Seat Height Adjustment
Set the seat height so your hips stay centered and your knees remain comfortably bent when your feet are on the deck or footrests. You should be able to place at least one foot firmly on the ground when stopped without sliding far off the seat. Keep the seat post below its minimum-insertion or safety line, and tighten every clamp before riding. If the seat twists, sinks, or rocks, stop and correct it.
Footrest Positioning
Place both feet fully on the deck or footrests once the scooter is moving. Keep your toes clear of the front wheel, rear wheel, chain, belt, and kickstand. The surface should be clean, dry, and free of cords or loose items. If the grip material is worn, cracked, or slick, repair it before riding.
Balanced Riding Posture
Sit upright with your shoulders relaxed and elbows slightly bent. Keep both hands around the grips and your fingers ready to reach the brakes. Center your weight over the seat and deck instead of leaning heavily on the handlebars.
- Look ahead rather than down at the front wheel.
- Keep your spine straight but not stiff.
- Brace your core lightly when crossing small surface changes.
- Do not assume the seat has a backrest or use cargo supports as one.
How to Start and Accelerate Smoothly
Before moving, learn whether your scooter uses zero-start, push-to-start, a key, a power switch, a thumb throttle, or a twist throttle. Some models will not power the motor until you push off. Others can move as soon as you touch the throttle. The correct method is the one in your owner’s manual.
Start in the Lowest Mode
- Choose the lowest speed or beginner mode, if available.
- Keep one foot on the ground and both hands on the handlebars.
- Look ahead and make sure the path is clear.
- Release the brake only when you are ready.
- Push off if your scooter requires it, then apply gentle throttle pressure.
- Bring your second foot onto the deck after the scooter is stable.
Increase speed gradually. Sudden throttle input can pull your upper body backward or make the front wheel feel light. If the scooter surges, release the throttle, brake smoothly, and stop the practice run.
Note: The Razor EcoSmart Metro HD manual, for example, tells riders to push forward before applying throttle. Your scooter may use a different start sequence.
How to Balance on a Seated Scooter
A seat supports some of your weight, but you still balance a narrow two-wheel vehicle. Keep your body centered, stay loose, and make small corrections. A tense grip often makes steering less smooth.
Center Your Weight
Keep your hips near the middle of the seat and your head over your body. Lean slightly forward during gentle acceleration and return to a neutral position once your speed is steady. Avoid sudden side-to-side shifts.
- Keep your knees relaxed so your legs can absorb vibration.
- Do not hang bags from the handlebars.
- Move your eyes toward the path you want to follow.
Keep Both Feet Planted
Once moving, keep both feet on the deck or approved footrests. Do not drag a foot as a brake, and do not use your feet as outriggers through turns. Put one foot down only as you come to a controlled stop.
Steer With Small Movements
Turn the handlebars gradually and look through the turn. Slow down before entering the corner instead of braking hard while sharply turned. Keep both hands on the handlebars and lean only as much as the speed and curve require.
- Make wide, slow turns during your first practice session.
- Avoid sudden U-turns on narrow paths.
- Do not accelerate hard while the handlebars are sharply turned.
How to Handle Bumps, Hills, and Poor Surfaces
Electric scooters can react quickly to potholes, gravel, drainage grates, wet leaves, sand, curbs, and broken pavement. The U.S. Consumer Product Safety Commission warns that small scooter tires can stop suddenly on obstacles and throw the rider.
- Bumps: Slow down before the bump, keep the handlebars straight, and let your elbows and knees absorb the movement. Do not jump curbs.
- Downhill: Reduce speed before the slope, keep extra following distance, and use the brakes progressively.
- Uphill: Approach at a steady low speed. Do not exceed the model’s slope or load limit, and stop if the motor overheats or loses power.
- Wet or loose ground: Slow down, avoid sharp steering, and increase stopping distance. Do not ride through water deeper than the manufacturer allows.
If a surface looks unsafe, stop and walk the scooter around it.
How to Brake and Stop Safely
Learn which lever controls each brake and whether your scooter also has electronic or regenerative braking. Do not assume regenerative braking will stop the scooter by itself. Use the braking method specified for your model.
- Look ahead and begin braking earlier than you think you need to.
- Release the throttle fully.
- Apply the brake lever or levers progressively instead of grabbing them.
- Keep the handlebars mostly straight and your body centered.
- As the scooter nearly stops, place one foot on the ground.
- Come to a complete stop before dismounting.
Practice emergency stops at low speed in an empty area. Increase the starting speed only after you can stop without locking a wheel, skidding, or pulling the handlebars sideways.
Warning: Do not ride if a brake feels weak, rubs heavily, reaches the handlebar, makes grinding sounds, or fails to cut motor power when your manual says it should. Stop using the scooter until the fault is repaired.
Seated Scooter Safety Tips
Safe riding depends on more than balance. Your gear, visibility, speed, route, and decisions all matter.
Wear Proper Safety Gear
Wear a properly fitted helmet every ride. In the United States, look for a bicycle helmet label showing compliance with the CPSC standard, and follow the helmet maker’s fit instructions. The National Highway Traffic Safety Administration says a bicycle helmet should sit level and low on the forehead, with the side straps forming a V under the ears. Knee pads, elbow pads, gloves, long clothing, and closed-toe shoes can add protection.
Be Visible and Predictable
- Use working front and rear lights when visibility is low.
- Wear bright or reflective clothing.
- Ride in a straight, predictable line and avoid sudden turns.
- Expect drivers and pedestrians not to see you.
- Do not use a phone, headphones that block traffic sounds, alcohol, or drugs while riding.
Follow Local Riding Rules
Helmet rules, age limits, road access, path access, speed limits, licensing, and insurance requirements vary. Use bike lanes or designated areas only where they are permitted or required. Do not assume a seated model is legal anywhere a rental stand-up scooter is allowed.
Carry Items Safely
Keep both hands on the handlebars. Use only a manufacturer-approved basket or rack, stay within its load limit, and secure cargo so it cannot shift or touch a wheel. Never carry a passenger unless the scooter is specifically designed and legally approved for one.
In CPSC’s 2024 follow-up study, 32% of injured standing e-scooter riders were carrying or holding something. The study did not cover seated motorized scooters, but the lesson still applies: keep your hands free and secure cargo properly.
What to Check Before Every Ride
A quick pre-ride check can reveal a loose seat, weak brake, low tire, damaged cable, or battery problem before it causes a crash. CPSC advises riders to inspect the handlebars, brakes, throttle, bell, lights, tires, cables, and frame.
- Seat and post: The seat does not twist, sink, rock, or extend beyond its safety line.
- Handlebars and stem: The grips are secure, the stem is aligned, and the folding latch or clamp is locked.
- Brakes: Each lever feels firm and stops the scooter during a slow walking-speed test.
- Throttle: It returns freely and does not stick.
- Tires and wheels: Pressure matches the manual, tread is usable, and no wheel is loose or damaged.
- Lights, horn, or bell: All required visibility and warning devices work.
- Battery: The charge is enough for the planned trip, the case is undamaged, and there is no swelling, leaking, unusual heat, odor, or exposed wiring.
- Hardware and frame: No loose fasteners, cracks, unusual rattles, or damaged cables are present.
- Kickstand and cargo: The stand retracts fully and any approved basket or rack is secure.
Do not ride a damaged scooter. Use the manufacturer’s service instructions or a qualified repair technician.
What to Do After Every Ride
- Stop fully, place one foot down, and dismount carefully.
- Turn the scooter off and lower the kickstand on firm, level ground.
- Allow the battery and motor to cool before charging if the manual requires it.
- Use only the charger supplied or approved by the manufacturer.
- Charge in a dry, open area away from exits and flammable materials.
- Stay present while charging, unplug when charging is complete, and never charge while sleeping.
CPSC also advises against modified battery packs, repurposed cells, and so-called universal chargers that the manufacturer has not approved. Follow local battery recycling rules rather than placing a lithium-ion battery in household trash.
Common Seated Scooter Problems and What to Do
The Scooter Will Not Move
Check the power switch or key, battery level, kickstand position, selected mode, brake cut-off, and any error code. Some scooters require a push before the throttle works. Do not bypass a safety switch. If the problem continues, use the troubleshooting section of the manual.
The Seat or Handlebars Wobble
Stop riding immediately. Check the seat clamp, stem clamp, folding latch, wheel fasteners, and frame. Tighten parts only as the manual directs. Replace damaged or stripped hardware instead of forcing it tighter.
The Scooter Pulls or Feels Unstable
Inspect tire pressure, tire damage, wheel alignment, loose bearings, cargo placement, and seat alignment. If the scooter still pulls, have it checked before riding again.
The Throttle Sticks or the Scooter Surges
Release the throttle, brake smoothly, stop in a safe place, and switch the scooter off. Do not ride again until the throttle, wiring, and controller have been inspected.
The Battery Gets Hot, Swells, Smells, or Smokes
Stop using and charging the scooter. Move away from the device and keep others clear. If it is smoking, sparking, or burning, call emergency services and follow their instructions. Do not touch, puncture, open, or attempt to repair a damaged battery.
How to Build Confidence on the Road
Confidence should come from repeatable skills, not higher speed. Begin in a large, flat area with no traffic, curbs, parked cars, or pedestrians. Wear your safety gear and keep every drill slow.
Beginner Practice Drills
- Mount and dismount: Repeat with the scooter off until you can do it without pulling on the handlebars.
- Straight starts: Start gently, travel 10–15 meters, and stop.
- Controlled stops: Mark a stopping point and practice braking earlier each time.
- Wide turns: Ride large circles in both directions while looking through the turn.
- Slow slalom: Weave around widely spaced markers without sharp steering.
- Hazard scan: Practice looking ahead, to the sides, and behind only when it is safe to do so.
Move to quiet paths or streets only after you can start, turn, brake, and stop without panic. Add traffic, hills, darkness, or wet weather one challenge at a time, and only when legal and safe.
Frequently Asked Questions
Are electric scooters with seats easy to ride?
A seat may feel more comfortable because you do not have to stand, but the scooter still needs balance, steering, braking, and road awareness. Heavy or long seated models can also be harder to turn or handle at low speed. Practice in an open area before riding near traffic.
What is the most common injury on electric scooters?
CPSC’s April 2026 micromobility report says fractures, followed by contusions and abrasions, were the most common diagnoses across micromobility emergency-department visits. Upper and lower limbs, plus the head and neck, were frequently injured. However, its e-scooter category covered standing scooters and excluded seated motorized scooters, so this is general context rather than a seated-scooter-specific ranking.
Are scooters good for autistic kids?
There is no single answer. Autism alone does not determine whether a child can safely use a scooter. Consider the child’s balance, coordination, judgment, sensory needs, ability to follow safety rules, and the model’s age and weight limits. Use close adult supervision, start in a controlled area, and ask an occupational therapist or healthcare professional for individual guidance when needed.
How do you balance on an electric scooter with a seat?
Sit near the center of the seat, keep both feet on the deck while moving, relax your shoulders, and use small steering inputs. Look ahead and keep your speed low. Put one foot down only as you come to a controlled stop.
Is a seated electric scooter safer than a standing scooter?
A seat can reduce standing fatigue and may feel steadier, but it does not guarantee greater safety. Wheel size, speed, brakes, weight, frame design, rider skill, road surface, and visibility all affect risk. Use the scooter only as designed and do not add an unapproved seat.
Can you ride a seated electric scooter in the rain?
Only if the manufacturer allows it and local conditions are safe. Water resistance does not mean waterproof. Wet roads reduce grip and increase stopping distance, while deep water can damage electrical parts. Avoid heavy rain, standing water, slippery markings, leaves, and metal covers.
How should you stop without tipping over?
Release the throttle, apply the brakes progressively, keep the handlebars straight, and stay centered. As speed drops to walking pace, lower one foot to the ground. Do not jump off, turn sharply, or grab the brake suddenly.
Conclusion
A seated electric scooter is easiest to control when the fit, checks, and basic skills are right. Adjust and tighten the seat, wear a fitted helmet, start in the lowest mode, keep both hands on the bars, and brake earlier than you would on foot. Practice on level ground until starts, turns, and stops feel calm and repeatable. Then ride only where your scooter is allowed and the conditions match your ability.
Sources
- U.S. Consumer Product Safety Commission: Micromobility Safety — helmet use, pre-ride inspection, visibility, obstacles, one-rider guidance, and battery charging safety
- CPSC Micromobility Deaths, Injuries, and Hazard Patterns: 2017–2024 — current injury patterns, safety-equipment findings, and study scope
- Razor EcoSmart Metro HD and SUP Owner’s Manual — model-specific seat installation, pre-ride checks, starting, braking, and maintenance guidance
- National Highway Traffic Safety Administration: Learn to Bike Safely — helmet fit, visibility, and predictable road behavior
- CPSC Bicycle Helmet FAQ — U.S. helmet performance, labeling, fit, and replacement requirements
