
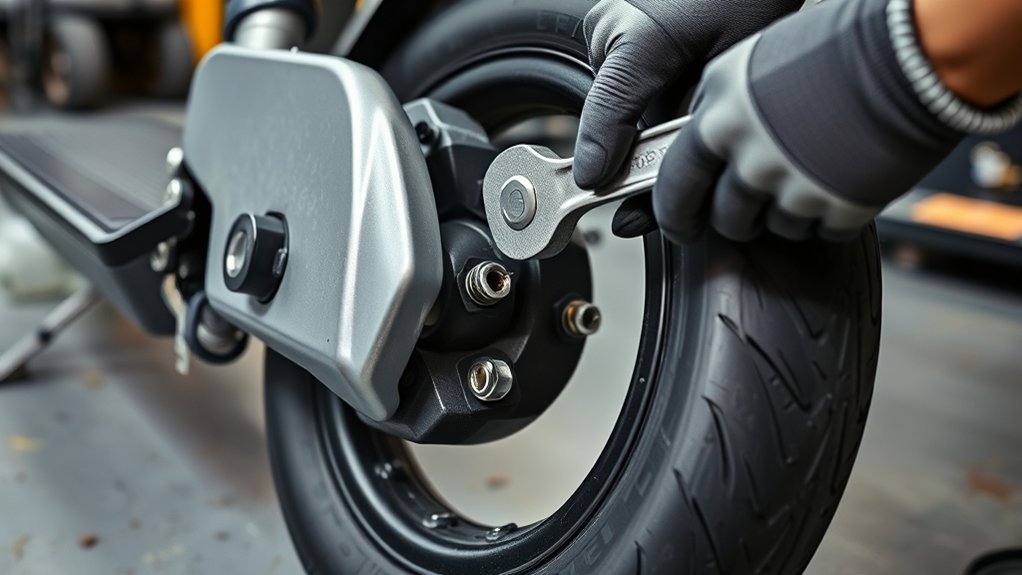
Last Updated on September 10, 2026 by Daniel Globe
Removing an electric scooter’s front wheel is usually straightforward once you know how your specific model is assembled, but the exact fasteners, brake setup, wiring, washers, and tightening torque can vary significantly. Before starting, identify your scooter’s exact model, check its manufacturer repair instructions, power it off, unplug the charger, and support it securely so the front wheel is clear of the ground.
Quick Answer
To remove an electric scooter front wheel, power the scooter off, unplug the charger, support the scooter securely, remove any covers blocking the axle, document the washer and spacer order, disconnect the brake or front-motor cable only if required, loosen the axle hardware, support the wheel, and guide it out of the fork.
Key Takeaways
- Check the repair procedure for your exact scooter model before selecting tools or removing hardware.
- Photograph both sides of the axle so washers, spacers, locking tabs, and cable routing go back in the correct order.
- A front hub-motor wheel may have an electrical cable that must be disconnected or carefully routed before removal.
- Disc, drum, and cable-operated brakes require different procedures; do not remove brake parts unnecessarily.
- Reinstall axle and brake hardware to the manufacturer-specified torque rather than tightening it by feel.
- Before riding, confirm the wheel spins freely, the brake works correctly, and no cable rubs, stretches, or contacts the tire.
At a Glance
| Time Required | Varies by model; allow enough time to document parts and work without rushing. |
| Difficulty | Beginner to moderate, depending on brake type, covers, and whether the front wheel contains a hub motor. |
| Tools Needed | Model-specific wrench/socket or hex/Torx keys, screwdriver if required, plastic trim tool, parts tray, and ideally a torque wrench for reassembly. |
| Cost | No parts cost for wheel removal itself if you already have the correct tools; replacement parts and tools vary by scooter. |
Warning: This is a general procedure, not a substitute for your scooter’s service manual. Axle design, brakes, wiring, locking washers, thread-locking requirements, and torque specifications vary by model. If the manufacturer does not authorize the repair, or you find damaged wiring, stripped threads, a bent fork, or an unfamiliar brake setup, use a qualified repair technician.
Disclosure: As an Amazon Associate I earn from qualifying purchases. Some links on this page are affiliate links, at no extra cost to you.
Gather the Front Wheel Removal Tools
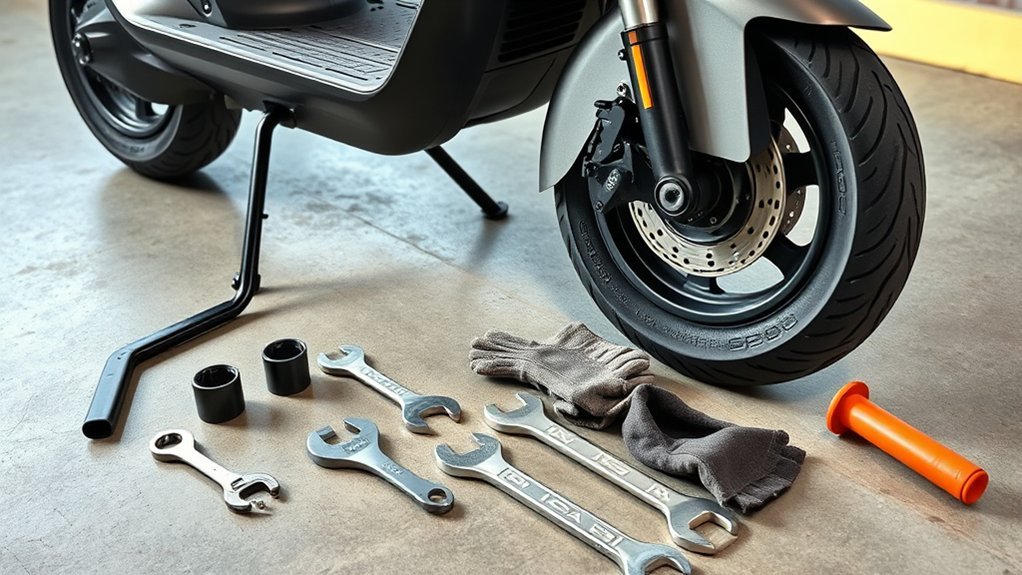
Before removing the front wheel, identify the exact scooter make and model and find its official maintenance or repair instructions. Electric scooters do not use one universal axle, cover, brake, or fastener system. One model may use axle nuts and a drum brake, while another may use hex bolts, a disc brake, or a front hub motor with electrical wiring.
Gather only the tools that match your scooter’s hardware. Common possibilities include hex or Allen keys, Torx bits, open-end wrenches, sockets, screwdrivers, and a plastic trim tool for covers. A torque wrench is strongly recommended for safety-critical axle and brake hardware when the manufacturer provides torque specifications.
- Use a parts tray or small labeled containers for bolts, washers, clips, and spacers.
- Keep your phone nearby so you can photograph each side of the axle before disassembly.
- Use a clean, well-lit workspace with enough room to support the scooter securely.
- Keep grease, oil, and dirty tools away from brake rotors and brake pads.
Pro Tip: Take close-up photos of both sides of the wheel before removing the first washer or spacer. Manufacturers may use a specific sequence of flat washers, spring washers, spacers, keyed washers, or anti-rotation hardware that must return to the same position.
Power Off and Secure the Scooter
Power the scooter completely off and disconnect the charging cable before beginning. Confirm that the display is off and keep the charger away from the work area. Powering the scooter off reduces the chance of accidental throttle or electronic activation, but remember that an internal lithium-ion battery may still be electrically connected inside the scooter.
For ordinary front-wheel removal, do not open the battery compartment simply to disconnect the battery unless the manufacturer’s repair procedure specifically requires it. The U.S. Consumer Product Safety Commission recommends following manufacturer instructions for micromobility products and using appropriate approved components.
Next, secure the scooter on a stable repair stand, bench support, or other firm arrangement that keeps the front wheel clear of the floor. The scooter must not be able to roll, tip, or fall while axle hardware is loosened.
- Work on a level, dry surface.
- Support the frame or deck at structurally suitable points.
- Check stability from both sides before applying force to a wrench.
- Never balance the scooter loosely where loosening a tight axle could make it fall.
Check Your Wheel, Brake, and Motor Layout
Before removing any parts, look closely at the front wheel assembly. This prevents unnecessary disassembly and helps you identify components that could be damaged if the wheel is pulled out too quickly.
Determine whether the front wheel is a simple non-powered wheel or contains a hub motor. A front hub-motor wheel normally has a cable leaving the axle or hub and running toward the controller. Also identify whether the front brake is a disc brake, drum brake, cable-operated mechanical brake, or another design.
Note: Do not assume that every scooter requires removal of the brake caliper, fender, wheel covers, or motor connector. Remove only the parts that block wheel removal according to your model’s procedure.
Remove the Front Wheel Covers
If your scooter has plastic fork or axle covers that block access to the wheel hardware, remove them using the correct bit or driver specified for your model. Do not assume a 2.5 mm Allen key or T10 Torx fits every scooter; fastener sizes vary.
After removing the screws, use your fingers or a plastic trim tool to release the cover carefully. A plastic tool is preferable to a metal blade because it is less likely to scratch the finish, cut wiring, or damage a plastic clip.
If the pieces are clipped together, release the clips gradually instead of forcing them apart. Place each screw and cover in order for easier reassembly. While the area is exposed, check for cracked plastic, damaged wire insulation, debris, or signs that a cable has been rubbing against the fork.
Loosen the Axle Nuts or Bolts
Identify the exact axle-retention system before turning a wrench. Depending on the scooter, you may find nuts on one or both sides, a bolt-and-nut arrangement, a through-axle, or another manufacturer-specific design.
Before removing anything, photograph the complete hardware stack on both sides. Pay particular attention to spacers, washers, locking tabs, anti-rotation washers, and cable guides. Their order and orientation can matter during reassembly.
- Use a wrench, socket, or hex bit that fits the fastener fully.
- If the opposite side rotates, hold it with the appropriate second tool if the design requires it.
- Apply smooth, controlled force rather than jerking the tool.
- Do not use an arbitrary “left side first” rule; follow the model-specific procedure.
- If the fastener will not move, stop before rounding the nut, bolt head, or axle flats.
Once the fasteners are loose, remove them carefully and lay each washer and spacer in the same sequence in which it came off. Do not allow the wheel to drop from the fork as the last hardware is removed.
Disconnect the Brake System
Disconnect or move the front brake only when its design prevents the wheel from leaving the fork. Some scooters need a brake cable released, some require a caliper to be moved away from the rotor, and others allow the wheel to be removed without disturbing the brake.
Brake Cable Release
For a cable-operated drum or mechanical brake, note the current cable routing and adjustment before releasing anything. Take a photo of the cable anchor, adjusting nut, spring, or brake arm so you can restore the original configuration.
If the manufacturer procedure requires cable release, relieve the tension at the specified adjustment or anchor point and move the cable clear of the axle and wheel path. Do not sharply bend or kink the cable.
- Keep cable hardware together and in removal order.
- Do not change adjustment more than necessary.
- Inspect the cable housing for splits, severe kinks, or fraying.
- After reassembly, confirm that the brake engages and releases normally.
Caliper Bolt Removal
If a disc brake caliper blocks removal of the wheel or rotor, follow the manufacturer procedure for moving or removing the caliper. Use the correct tool on the mounting bolts and support the caliper after it is free.
Warning: Never leave a removed caliper hanging by a hydraulic hose or brake cable. If the scooter has a hydraulic disc brake, do not squeeze the brake lever while the rotor is out of the caliper unless the manufacturer-approved pad spacer is installed. The pistons can move outward and make wheel reinstallation difficult.
Keep the rotor and pads free of lubricants, penetrating oil, grease, and dirty fingerprints. Brake friction surfaces depend on remaining clean and uncontaminated.
Sensor And Wire Check
Inspect the front wheel and fork for electrical wiring before pulling the wheel downward. A non-powered front wheel may have no electrical connection at all, while a front hub-motor wheel can have a motor cable routed through or beside the axle.
- Locate any motor cable, speed-sensor lead, or connector before the wheel is released.
- Photograph the connector orientation and cable routing.
- If the model requires disconnection, hold the connector housing rather than pulling on the wires.
- Release any locking tab or weatherproof collar according to the manufacturer instructions.
- Do not twist, stretch, pinch, or sharply bend a motor cable where it exits the axle.
If you find damaged insulation, exposed conductors, a burned connector, or a wire already pinched between structural parts, stop and have the problem corrected before riding again. Routine wheel removal does not automatically require “sensor calibration”; perform any calibration only when the manufacturer specifies it.
Slide the Front Wheel Out
Once the required axle hardware, brake components, covers, and electrical connections are clear, support the wheel with one hand while guiding it out of the fork. Keep the scooter firmly supported throughout the process.
Clearing Fork Clearance
Check both fork dropouts before applying downward force. Confirm that no washer, keyed tab, cable guide, brake component, fender support, or axle shoulder is still holding the wheel in position.
- Keep the wheel aligned with the fork opening.
- Move it slowly rather than twisting the axle sideways.
- Watch the brake rotor so it does not bend against the caliper or fork.
- Keep motor and sensor cables completely free of tension.
If the wheel does not come out with reasonable hand pressure, stop and inspect the assembly again. A retained washer, axle flat, cable, brake component, or partially loosened fastener is safer to find now than after forcing the wheel.
Wheel And Cable Removal
When the axle is fully released, support the wheel’s weight and guide it straight out of the fork dropouts. On a front hub-motor scooter, control the wheel carefully so its weight never hangs from the motor cable.
As the wheel comes free, place spacers and washers with their matching side of the scooter. If a connector had to be unplugged, protect it from dirt, moisture, and impact while the wheel is off.
Set the removed wheel on a clean surface. If it has a disc brake rotor, position it so the rotor cannot be bent or contaminated.
Check the Fork, Axle, and Brake Parts
Wheel removal gives you a useful opportunity to inspect safety-critical components before reassembly. Segway’s maintenance guidance, for example, includes checking the front wheel for abnormal movement and verifying normal brake operation.
- Fork: Look for cracks, bending, damaged dropouts, or obvious misalignment.
- Axle: Check threads, flats, shoulders, and surfaces for stripping, corrosion, deformation, or burrs.
- Washers and spacers: Check for cracks, distortion, damaged tabs, or excessive wear.
- Brake rotor: Look for obvious bending, heavy scoring, or contamination.
- Brake pads or drum components: Inspect for abnormal wear or contamination according to the manufacturer’s service limits.
- Motor wiring: Check for cuts, crushed insulation, stretched wires, or damaged connectors.
- Wheel and bearings: Check for excessive play, rough rotation, wobble, or unusual noise.
Do not reinstall obviously damaged safety-critical hardware simply to finish the job. A bent fork, stripped axle thread, badly damaged washer, loose bearing, or compromised motor cable should be repaired or replaced using the manufacturer-approved procedure and parts.
Reinstall the Wheel After Tire Change
Reinstallation is generally the reverse of removal, but this is the stage where accurate photos, correct hardware order, and the manufacturer’s torque specifications matter most.
- Place the correct spacers and washers in their original positions.
- Guide the wheel squarely into the fork without forcing the axle.
- Make sure any anti-rotation or keyed washers engage their intended slots correctly.
- For a disc brake, guide the rotor cleanly between the pads without bending it.
- Reconnect a motor or sensor connector only in its correct orientation and restore the original cable routing.
- Reconnect and adjust the brake according to the scooter’s service procedure.
- Install the axle nuts or bolts and tighten them to the exact torque specified by the manufacturer for that model.
- Tighten brake-caliper or related mounting hardware to its specified torque.
- Reinstall covers, clips, and screws without trapping a wire underneath them.
Warning: Do not substitute “hand tight,” “very tight,” or “snug” for a specified axle torque. Under-tightening can allow movement, while excessive torque can damage threads or other hardware. Use the value in the official documentation for your exact scooter.
Test the Wheel and Brake Before Riding
Do not immediately return to normal riding after reinstalling the wheel. Perform a stationary inspection first.
- Lift the front wheel and spin it by hand.
- Check that it rotates smoothly without significant wobble or unexpected rubbing.
- Operate the front brake several times and confirm that it applies and releases normally.
- Make sure the wheel remains centered and fully seated in the fork.
- Check that no cable contacts the tire, rotor, or moving suspension parts.
- Confirm every axle fastener, brake fastener, cover, and cable retainer is secure.
If a disc brake rubs after wheel installation, first confirm that the axle and wheel are seated correctly. If necessary, align the caliper according to the manufacturer’s brake-adjustment procedure. Do not compensate for a crooked wheel by randomly loosening safety-critical hardware.
After the stationary checks pass, perform a controlled low-speed test in a safe area before returning to normal riding. Stop immediately if you notice wheel movement, brake weakness, unusual noise, steering changes, or cable interference.
Troubleshooting a Front Wheel That Will Not Come Off
If the wheel remains stuck after the visible axle hardware is removed, avoid hammering or prying aggressively against the fork. Work through the possible causes methodically:
- Axle still retained: Check for a hidden nut, bolt, keyed washer, locking plate, or partially withdrawn axle.
- Brake interference: Make sure a caliper, drum linkage, or cable is not holding the wheel.
- Motor cable still attached: Inspect both fork legs and the axle area before moving the wheel farther.
- Axle flats caught in the dropout: Keep the wheel square and gently relieve side load rather than twisting hard.
- Corrosion or damaged threads: Stop if removal requires excessive force; forcing the axle can damage the fork or wiring.
If you cannot identify what is retaining the wheel from the official parts diagram or repair instructions, professional service is safer than guessing.
Frequently Asked Questions
How do you remove the front wheel of an e-scooter?
Power the scooter off, unplug the charger, support it securely, identify the axle, brake, and motor-cable layout, remove only the covers or brake parts that block the wheel, photograph the hardware order, loosen the axle fasteners, disconnect any required motor wiring, and guide the supported wheel out of the fork.
How do I get a scooter front wheel off if it feels stuck?
Do not force it. Recheck both sides for remaining nuts, bolts, keyed or anti-rotation washers, brake interference, motor wiring, axle shoulders, or covers. Keep the wheel square in the fork. If the axle is corroded, damaged, or requires excessive force, consult the model’s repair instructions or a qualified technician.
What tools do I need to take off an e-scooter wheel?
The exact tools depend on the model. Common tools include appropriately sized wrenches or sockets, hex or Torx keys, screwdrivers, and a plastic trim tool. A torque wrench is useful for reinstalling axle and brake hardware to the manufacturer-specified torque. Check the service procedure before buying or selecting tools.
Do I have to remove the brake caliper to take off the front wheel?
Not always. It depends on the scooter and brake design. Remove or move the caliper only when the manufacturer procedure requires it or the caliper physically prevents the rotor and wheel from leaving the fork. For hydraulic brakes, do not squeeze the lever while the rotor is removed unless the proper pad spacer is installed.
Does a front hub-motor wheel need to be unplugged?
Many front hub-motor designs have a cable that must be disconnected or carefully routed before the wheel can be fully removed. Follow the model-specific procedure. Never let the wheel hang from the motor cable, and pull connectors by their housings rather than by the wires.
How tight should electric scooter front axle nuts be?
Use the exact torque specification published for your scooter model. There is no safe universal axle torque for all electric scooters because axle size, fastener design, wheel type, and manufacturer requirements differ. Do not rely on descriptions such as “snug” or “as tight as possible.”
How do you take e-scooter grips off?
Grip removal is not required for front-wheel removal. If you are doing separate handlebar maintenance, first remove any bar-end cap and follow the scooter or grip manufacturer’s procedure. Avoid pushing a sharp metal tool deeply under the grip where it could damage the grip, throttle assembly, wiring, or handlebar finish.
Sources
- U.S. Consumer Product Safety Commission — Micromobility Information Center — manufacturer-instruction, inspection, charging, and general e-scooter safety guidance.
- Segway Service and Support — official model-specific manuals, maintenance information, and self-service repair resources.
- Segway Ninebot KickScooter MAX G2 Product Manual — front-wheel, brake, tire, and routine maintenance guidance showing that service requirements are model-specific.
- Shimano Disc Brake Dealer Manual — hydraulic disc-brake precaution not to operate the brake lever with the wheel removed unless the appropriate spacer is fitted.
Conclusion
Removing an electric scooter front wheel is much safer when you treat the scooter’s exact model as the starting point instead of assuming every wheel uses the same tools or procedure. Power the scooter off, support it securely, document the washer and spacer order, protect brake and motor components, and never let a front hub-motor wheel hang from its cable.
During reassembly, seat the wheel correctly, restore every locking washer and spacer to its original position, reconnect the brake and wiring, and tighten the axle hardware to the manufacturer-specified torque. Finish by spinning the wheel by hand, checking brake response and cable clearance, and completing a controlled low-speed test before returning to normal riding.
