
Last Updated on August 26, 2026 by Mason Reed
Tent condensation happens when moisture in the air reaches a cool tent surface and turns into water droplets. You usually cannot eliminate it completely, especially during rain, fog, or very humid weather, but you can reduce how wet your tent and gear become. The most effective steps are choosing a well-drained campsite, maximizing safe ventilation, keeping wet items outside, and drying the tent whenever conditions allow.
Quick Answer
To prevent tent condensation, pitch on dry, well-drained ground, keep vents open when weather permits, maintain space between the inner tent and rainfly, and leave wet clothing and gear outside. Some condensation is unavoidable in humid weather, so also carry a small absorbent towel and dry the tent before long-term storage.
Key Takeaways
- Condensation forms when moist air contacts tent fabric that is at or below the air’s dew point.
- Ventilation usually helps, but extremely humid outside air means some condensation may remain.
- Keep wet boots, rain gear, towels, and clothing outside the sleeping area whenever practical.
- Choose a level, well-drained site rather than a depression where water and cold air can collect.
- A double-wall tent can keep you farther from condensation on the rainfly, but it does not eliminate condensation.
- Never use a charcoal grill, portable camping stove, or other fuel-burning device inside a tent.
At a Glance
| Time Required | About 5–10 minutes of extra setup; drying time depends on weather |
| Difficulty | Easy |
| Tools Needed | Tent vents, stakes and guylines; optional microfiber or absorbent towel |
| Cost | Usually $0 with gear you already carry |
Disclosure: As an Amazon Associate I earn from qualifying purchases. Some links on this page are affiliate links, at no extra cost to you.
How Tent Condensation Is Created
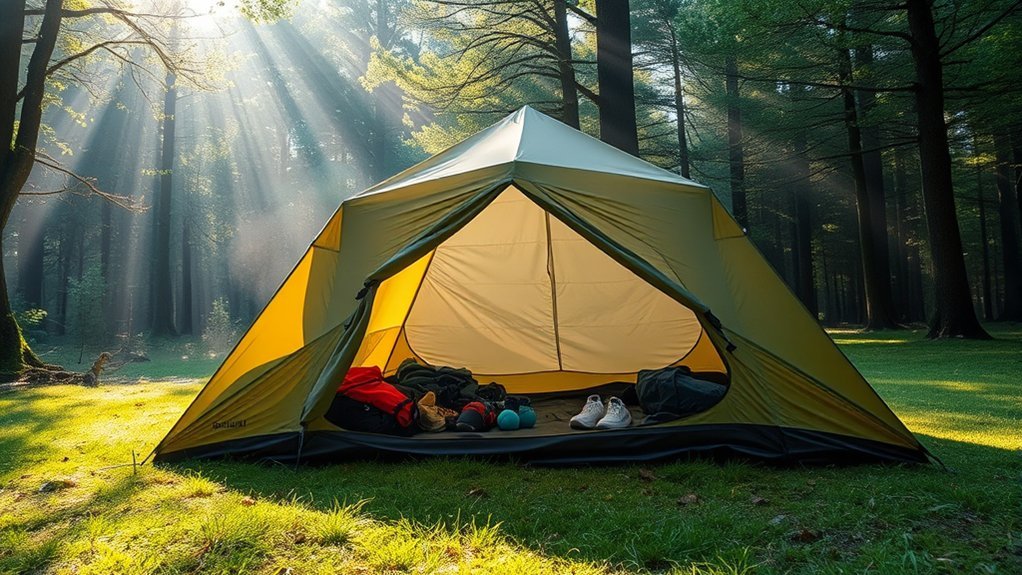
Condensation forms when water vapor encounters a surface cool enough for the vapor to become liquid. The National Weather Service explains that the dew point is the temperature at which water vapor begins turning into liquid droplets.
Inside a tent, moisture comes from several places. Every person releases water vapor while breathing. Damp clothing, boots, towels, and rain gear add more. Wet ground can contribute moisture, and sometimes the outside air is already extremely humid.
After sunset, the rainfly or tent canopy can become colder than the air inside. When warm, moisture-laden air reaches that cooler fabric, droplets can form on its surface.
A single-wall shelter places you closer to the surface where those droplets form. A double-wall tent creates a separate inner tent and rainfly. Moist air can move through mesh or breathable inner fabric and condense on the rainfly instead of directly above your sleeping bag. However, a double-wall design does not make condensation disappear.
Note: Water droplets on the underside of a rainfly after a cool, humid night can be completely normal. They do not automatically mean that the tent is leaking.
Pitch Your Tent in the Shade of a Tree
Tree cover can provide useful shade during the day and may change how quickly a tent surface cools at night, but camping beneath a tree does not guarantee warmer or less-humid air. Wind, soil moisture, vegetation, cloud cover, and local weather matter much more than a simple “under a tree” rule.
Safety should come first. The National Park Service recommends avoiding dead trees and other locations exposed to falling hazards.
Ideal Tree Selection
Do not choose a campsite based only on the tree species. Instead, look above and around the proposed tent area before pitching. Avoid dead standing trees, visibly damaged trunks, hanging dead limbs, unstable trees, and branches that could fall during wind or storms.
If a safe established campsite provides healthy tree cover, that cover can reduce direct sun exposure during the day. It may also protect tent fabric from some ultraviolet exposure. But never accept an overhead-limb hazard just to gain shade or possibly reduce condensation.
Possible Microclimate Benefits
Tree canopy can sometimes reduce how rapidly surfaces beneath it lose heat to a clear night sky. That may reduce surface cooling in some conditions, but the effect is variable and should not be treated as a guaranteed condensation solution.
- Use safe cover first: Inspect overhead branches before pitching.
- Keep airflow available: Dense vegetation can block useful breezes.
- Avoid saturated soil: A shady site that remains wet all day can still contribute substantial moisture.
- Consider morning sun: A site that receives some morning sunlight may help you dry a damp rainfly before packing.
Don’t Camp Right Next to Water
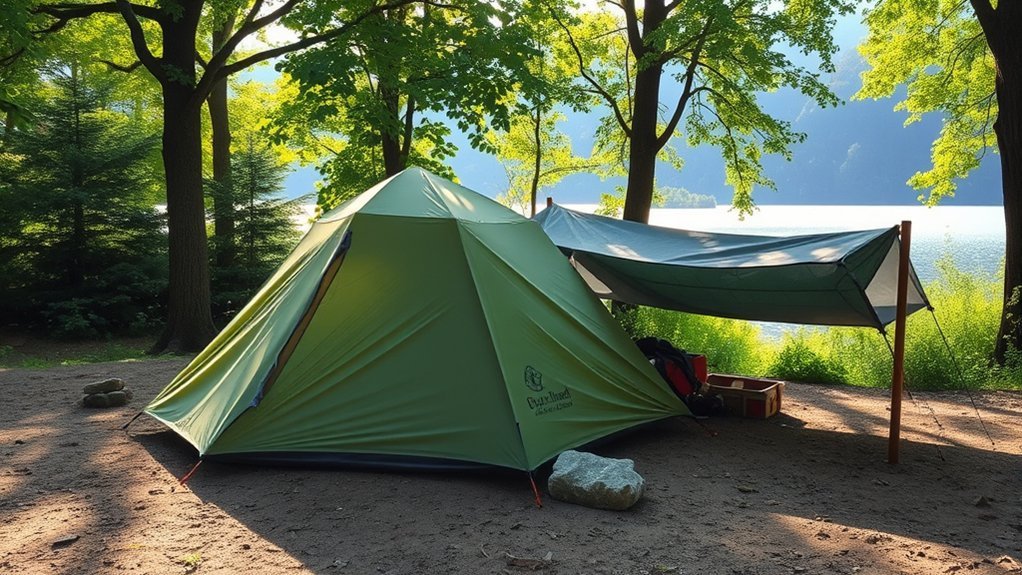
Areas beside lakes, streams, marshes, and rivers can be damp, particularly when soil is wet, fog develops, or cooler air settles near the shoreline. Moving away from a very damp bank may improve your campsite conditions, but there is no universal distance at which humidity suddenly becomes low enough to prevent condensation.
In undeveloped backcountry areas, Leave No Trace recommends camping about 200 feet from water and trails. That guideline primarily protects riparian areas and reduces recreation impacts; it should not be presented as a precise condensation-control formula.
In established campgrounds or areas with designated tent pads, use the designated site and follow the rules of the land manager even when it is closer to water.
Humidity Increase Risks
When a shoreline campsite is damp, three factors can work against you: moist outside air, wet ground, and cooler overnight temperatures. Together, they can make it easier for tent fabric to reach the dew point.
Instead of automatically pointing your tent entrance away from the water, orient the shelter according to its design and the safe prevailing breeze. The goal is to encourage airflow through usable vents without allowing wind-driven rain directly into the tent.
Distance From Water Sources
When dispersed backcountry camping is permitted, choosing a durable site away from the immediate shoreline can benefit both the environment and your sleeping conditions. Follow park, forest, wilderness, or campground rules because required setbacks vary by location.
If several legal sites are available, favor a dry, durable, well-drained site over visibly saturated ground. That choice is often more useful for condensation control than relying on distance alone.
Camp on Higher Ground
Camping on “higher ground” means avoiding a nearby depression, drainage channel, or hollow—not climbing to a substantially higher mountain elevation in search of warmer air. Air temperature generally decreases as elevation increases, so higher altitude is not automatically warmer.
A better rule is to choose a level, well-drained campsite that is not the lowest spot in the immediate area. The National Park Service recommends level ground while avoiding low places and areas vulnerable to flooding.
- Avoid depressions: Water can collect there after rain.
- Check drainage: Look for channels, debris lines, or other evidence that water flows through the site.
- Prefer dry ground: Wet soil can add moisture around the shelter.
- Stay protected: Do not move onto an exposed ridge solely to reduce condensation.
Warning: Do not trade condensation control for campsite safety. Avoid dead trees, flash-flood channels, cliff edges, exposed lightning locations, and unstable terrain. Never use a portable camping stove, charcoal grill, lantern, or similar fuel-burning device inside a tent; carbon monoxide can build up to dangerous levels even when you open tent flaps.
Don’t Dry Wet Gear Inside the Tent

Wet clothing and equipment release moisture as they dry. Inside a small tent, that extra water vapor can significantly increase the moisture load that eventually reaches the cold rainfly or canopy.
Sea to Summit’s condensation guidance specifically identifies drying wet gear inside a tent as a source of moisture.
When conditions allow, hang damp clothing outside or beneath a well-ventilated tarp. Store wet boots and rain gear in the vestibule if your tent manufacturer permits it and if doing so does not obstruct an entrance or ventilation opening.
Carry dry sleeping clothes separately from hiking clothes. Changing into a dry base layer before getting into your sleeping bag keeps both you and your sleep system drier.
Pro Tip: Keep one small absorbent or microfiber towel accessible at night. If heavy condensation forms, wiping the inside of the rainfly or other reachable wet surfaces can prevent droplets from transferring to your sleeping bag and clothing.
Dry Your Tent Off
If the tent is wet when you wake up, remove as much moisture as practical before packing. Shake water from the rainfly, wipe heavy droplets with an absorbent towel, and use a sunny or breezy break later in the day to finish drying it.
It is sometimes unavoidable to pack a wet shelter during a storm. In that situation, the important step is to unpack and dry it as soon as conditions allow rather than leaving it compressed and damp.
Wipe Before Packing
- Shake off loose water: Remove as much rain or dew as possible.
- Wipe heavy condensation: Concentrate on the rainfly, corners, and other visibly wet surfaces.
- Air it during a break: A short drying opportunity can remove far more moisture than leaving the tent compressed all day.
- Dry completely before storage: Never put a damp tent into long-term storage.
Separate Components for Drying
If your tent design makes it practical, separate a wet rainfly from the drier inner tent during transport. Sea to Summit recommends separating these components when possible so moisture on the fly does not soak the inner shelter while packed.
At your next dry stop, spread or hang the components where air can move around them. Avoid leaving lightweight tent fabric unattended where wind could damage or carry it away.
Give Your Tent Plenty of Room to Breathe
A double-wall tent works best when the rainfly and inner tent are properly tensioned and remain separated. If the wet fly sags against the inner fabric, water can transfer to the inner wall or your gear.
- Pitch the tent according to its instructions: Fully seat poles and stake the shelter correctly.
- Tension the rainfly: Use the supplied stake points and guylines so the fly remains separated from the inner tent.
- Keep gear off the walls: A sleeping bag pressing against damp fabric can pick up moisture.
- Protect ventilation openings: Do not pile packs or clothing in front of low vents or mesh panels.
A slight natural site slope can help drainage, but pitching on a steep slope is not required for airflow and can make sleeping uncomfortable. Choose level or nearly level ground that drains safely.
Ventilation Is Your Best Friend
Ventilation is one of the most useful ways to manage tent condensation. Opening protected vents allows warm, moist air from breathing and perspiration to mix with outside air and escape.
Use roof vents, low vents, mesh panels, doors, and vestibule openings according to your tent’s design and weather conditions. When safe, orient the tent so a breeze encourages cross-flow rather than blowing rain directly through an opening.
Do not expect ventilation to perform miracles. During rain, fog, or very humid nights, outside air may already contain a large amount of moisture. Even a well-ventilated tent can develop condensation under those conditions.
The goal is not always a completely condensation-free tent. The practical goal is to limit moisture buildup and keep droplets away from your sleeping gear.
Need Some Extra Airflow? Here’s How
If condensation keeps building despite normal ventilation, work through these steps:
- Open protected vents: Use all vents that can remain open without admitting rain.
- Create cross-flow: Crack opposite doors or openings when weather and insect protection allow.
- Adjust the rainfly: Tension it so air can move beneath it and the fly does not rest on the inner tent.
- Use the breeze: Orient vents according to the manufacturer’s instructions and prevailing wind.
- Move wet items out: Damp clothing and gear may be contributing more moisture than expected.
- Reduce wall contact: Move sleeping bags, clothing, and packs away from the tent sides.
If rain is blowing through an opening, reduce that opening rather than sealing the entire tent. Most tents are designed to provide at least some protected ventilation during poor weather.
Reduce Tent Condensation With Alto and Telos Tent
Sea to Summit’s Alto and Telos tents are examples of double-wall shelters designed around increased airflow. The manufacturer uses its Tension Ridge geometry, high ventilation openings, adjustable rainflies, and low vents to encourage air movement through the shelter.
According to Sea to Summit’s condensation guidance, the vents can be configured according to wind and weather conditions. Those features can help manage moisture, but no tent design can guarantee a dry interior when environmental humidity is extremely high.
The broader lesson applies to any tent: understand how its high and low vents work, pitch the fly correctly, maintain the designed gap between layers, and use the available ventilation instead of sealing the shelter tightly.
How to Tell Condensation From a Tent Leak
Condensation and leaks can both produce wet fabric, but the pattern often gives useful clues.
- Condensation: Fine droplets appear across a broad area of the underside of the rainfly or canopy, often after a cool or humid night even when it has not rained.
- Possible leak: Water repeatedly enters from one seam, damaged coating, hole, zipper area, or other localized point while rain is falling.
- Fabric contact: The rainfly is wet outside and touching the inner tent, allowing moisture to transfer inward.
- Floor moisture: Water may be entering because of damaged waterproofing, poor drainage, or water flowing beneath or around the shelter.
If you are unsure, dry the tent and inspect it at home. Look for holes, peeling coatings, damaged seam tape, worn fabric, and areas where the fly and inner wall make unwanted contact. Follow the manufacturer’s maintenance instructions for your specific tent before applying seam sealer or other treatments.
What to Do When Your Sleeping Bag or Gear Gets Damp
A damp sleeping bag is not automatically ruined, but it should be dried as soon as practical. Remove it from contact with wet tent walls and take advantage of dry sunlight, breeze, or a sheltered drying opportunity during the day.
- Wipe standing water from the tent before it can drip onto your gear.
- Move damp clothing and equipment out of the sleeping compartment.
- Loosen and air out the sleeping bag instead of leaving it compressed.
- Dry the tent and rainfly during breaks whenever weather permits.
- Once home, thoroughly dry both the tent and sleep system before storage.
Common Tent Condensation Mistakes
- Closing every vent because it feels cold: This traps moisture produced by occupants.
- Bringing wet clothing into the sleeping area: The water must evaporate somewhere, increasing interior humidity.
- Letting the rainfly sag: This reduces the gap between tent layers and can transfer moisture inward.
- Pitching in the lowest visible depression: Poor drainage can create a wet campsite even if the tent itself is waterproof.
- Assuming every droplet is a leak: Broad moisture on the underside of a fly is often condensation.
- Blocking vents with packs: Even a well-designed shelter cannot ventilate properly when its openings are obstructed.
- Expecting a completely dry tent in fog or rain: Very humid outside air limits what ventilation can accomplish.
Frequently Asked Questions
What Materials Are Best for Minimizing Tent Condensation?
No tent fabric eliminates condensation by itself. Shelter design, ventilation, outside humidity, temperature, and the moisture generated by occupants all matter. Mesh and breathable inner panels in a double-wall tent can help moist air reach the ventilation space while keeping occupants separated from condensation on the rainfly.
How Can I Improve Ventilation in a Single Wall Tent?
Open protected vents, use mesh openings when conditions permit, orient the shelter to take advantage of a safe breeze, and keep wet gear outside. Because there is no separate inner wall, avoid letting your sleeping bag or clothing touch damp canopy fabric. Follow your tent manufacturer’s venting instructions because designs differ.
What Are the Signs of Excessive Moisture in a Tent?
Common signs include heavy droplets on the rainfly or canopy, damp tent walls, moisture transferring to a sleeping bag, wet gear despite no obvious rain leak, and repeated dripping from condensation. Check ventilation, wet clothing, ground conditions, and wall contact before assuming the tent is leaking.
Can I Use a Tarp to Reduce Tent Condensation?
A tarp can provide additional rain protection and a sheltered place for wet gear, but it does not simply absorb or capture the moisture produced inside your tent. Pitch it with a generous air gap and avoid covering or blocking tent vents. A tightly enclosed tarp setup can restrict airflow and make moisture management harder.
How Often Should I Check My Tent for Leaks?
There is no universal once-a-season rule for every tent. Inspect the shelter before important trips, after long storage, and whenever you notice damage or unexplained water entry. Check fabric, seams, seam tape, zippers, floor coatings, and the rainfly, then follow the manufacturer’s repair instructions.
Is Tent Condensation Normal?
Yes. Some condensation is normal whenever moist air encounters tent fabric cold enough to reach the dew point. Even a properly pitched and ventilated tent can develop droplets during humid, rainy, foggy, or cold conditions. The aim is to manage the moisture and keep it away from sleeping gear.
Should I Close Tent Vents When It Rains?
Keep protected vents open when your tent design allows it. Close or reduce an opening if wind-driven rain is entering, but avoid sealing the shelter more than necessary. Many tents include covered vents specifically so some airflow can continue during rain.
Conclusion
You cannot control the weather, and you cannot always eliminate tent condensation. You can, however, keep it from becoming a major problem. Choose a safe, dry, well-drained campsite, ventilate the shelter according to its design, keep wet gear out of the sleeping area, maintain separation between the rainfly and inner tent, and dry everything whenever conditions allow.
Most importantly, treat condensation as a moisture-management problem rather than proof that your tent has failed. Once you understand the role of dew point, humidity, wet gear, campsite conditions, and airflow, it becomes much easier to protect your sleeping bag and stay comfortable through damp nights.
Sources
- National Weather Service — Dew Point Statistics — explains dew point and when water vapor condenses.
- National Park Service — Finding and Setting Up a Campsite — supports safe, level campsite selection and avoiding low areas and tree hazards.
- Leave No Trace — Selecting a Campsite — supports the approximately 200-foot backcountry guidance for water and trails.
- Sea to Summit — Condensation and What You Can Do About It — supports ventilation, keeping damp gear outside, drying tents, and separating wet components.
- Centers for Disease Control and Prevention — Carbon Monoxide Safety — warns against using portable camping stoves, charcoal grills, and similar combustion devices inside tents.
