
Last Updated on July 29, 2026 by Mason Reed
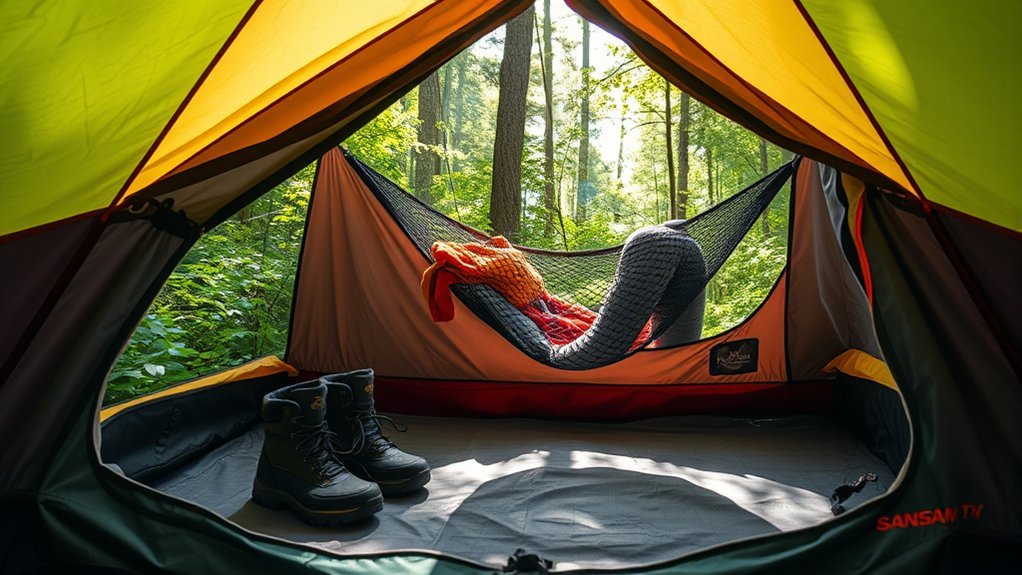
Wet rain jackets, boots, packs, and towels can quickly turn a tent floor into a damp sleeping area. The best approach is to create a clear wet zone, contain dripping items, keep them away from bedding, and move them outside to dry whenever conditions allow. Good ventilation and smart campsite setup help with condensation, but they do not replace careful gear handling.
Quick Answer
Keep wet gear in a roll-top dry sack, pack liner, or sturdy plastic bag, then place it in a protected vestibule or dedicated wet zone away from bedding. Wipe off drips, open safe vents for airflow, and dry the items outside as soon as weather permits. Never leave wet gear sealed for long-term storage.
Key Takeaways
- Separate wet gear from sleeping bags, dry clothing, electronics, and the main tent floor.
- Use a dry sack or sturdy bag to contain drips, but unpack wet items and dry them as soon as practical.
- Use the vestibule only when the gear stays protected, does not block an exit, and contains no food or scented items that must be stored under local wildlife rules.
- Ventilation reduces condensation; it cannot fix rainwater entering through a leak, a poorly placed footprint, or a flooded campsite.
- Before storing the tent at home, make sure the tent, rainfly, footprint, and wet gear are completely dry.
At a Glance
| Time Required | 5–10 minutes to organize gear; drying time varies with weather and material |
| Difficulty | Easy |
| Tools Needed | Dry sack or sturdy bag, absorbent towel, and optional tarp, cord, or gear loft |
| Cost | About $0–$30, depending on supplies already owned |
Disclosure: As an Amazon Associate I earn from qualifying purchases. Some links on this page are affiliate links, at no extra cost to you.
Understanding the Risks of Storing Wet Gear
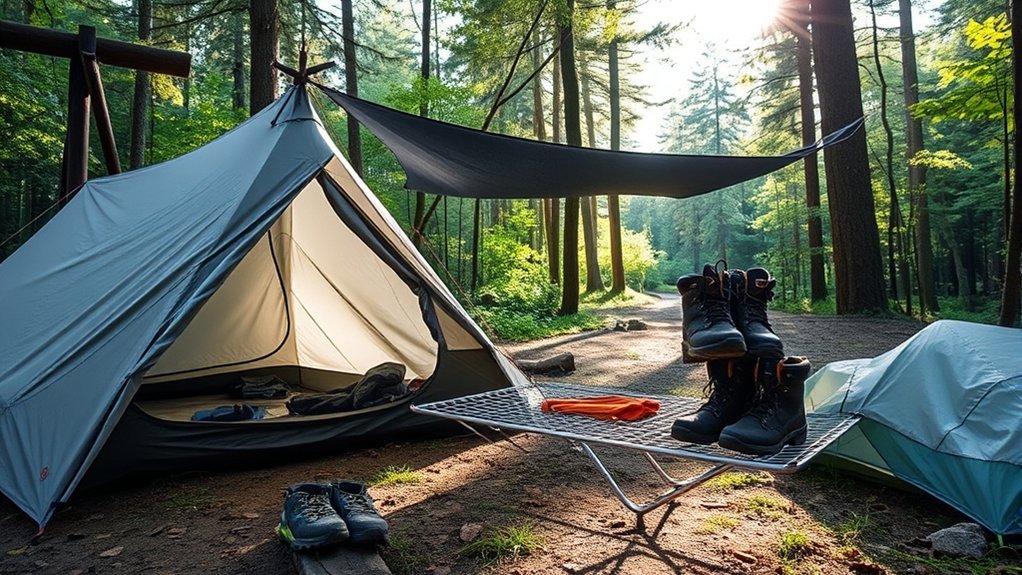
Wet gear adds moisture to the air inside a tent. When that warm, humid air reaches a colder rainfly or tent surface, condensation can form and may drip or transfer through mesh. REI’s condensation guidance identifies wet items as one of the moisture sources campers can control, along with choosing a suitable campsite and ventilating the shelter.
A wet jacket placed directly on the floor can also transfer liquid to nearby bedding and clothing. The immediate problem is usually discomfort and lost insulation, not instant destruction of the tent coating. The larger equipment risk comes from packing or storing the tent while it remains damp. REI’s tent-care guidance warns that damp storage can promote mildew and damage polyurethane waterproof coatings over time.
Metal gear needs a more careful description than “it will rust.” Steel parts can rust, while aluminum tent poles do not rust in the same way but may corrode, especially around salt, dirt, or dissimilar metals. Wipe wet hardware, allow it to dry, and follow the manufacturer’s care directions.
Warning: Do not cook in a tent or enclosed vestibule, and do not store food, trash, or strongly scented gear there when local wildlife rules require separate storage. Keep every tent exit clear.
Best Practices for Isolating Wet Items
Use a simple wet-zone system as soon as you reach camp:
- Shake or wipe off surface water. Use an absorbent towel before the item enters the sleeping area.
- Contain the drips. Put the item in a dry sack, pack liner, contractor-style trash bag, or waterproof tote. A thin household bag can work in a pinch, but double it if sharp buckles or boot soles may puncture it.
- Choose the storage location. A protected vestibule is usually best for boots and rainwear. Inside the tent, use a small corner near the door and keep the bag away from sleeping gear and tent walls.
- Dry the item promptly. A sealed bag controls water; it does not dry the contents. Open the bag and air the gear when conditions allow.
A footprint or groundcloth belongs under the tent. It protects the floor from abrasion and helps with wet ground, but it does not stop a wet jacket or pack inside the tent from transferring water. The National Park Service advises folding any excess groundcloth under the tent so it cannot catch runoff.
Pro Tip: Keep one small microfiber towel and one durable “wet bag” near the tent door. That makes it easy to wipe boots, rainwear, and pack straps before they reach the sleeping area.
Techniques for Elevating Gear Inside Your Tent
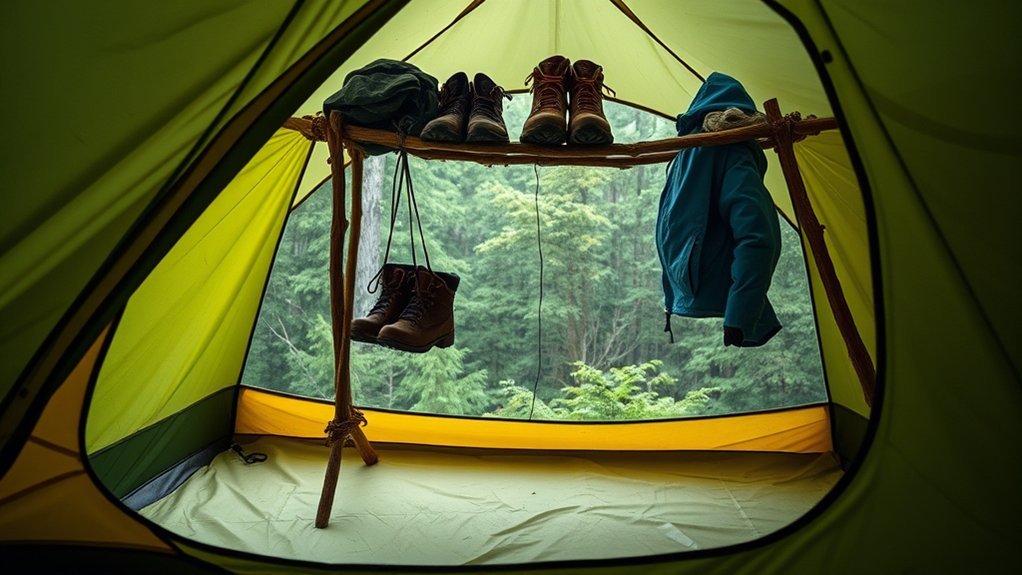
Elevation can reduce direct contact with the tent floor, but it works only when the wet item is also contained. Do not hang a waterlogged pack from a lightweight ceiling loop unless the tent manufacturer says the loop can support that weight.
| Technique | Best Use |
|---|---|
| Gear loft or approved tent loop | Light items such as gloves, socks, or a damp headlamp strap |
| Empty pack or waterproof tote | Supports a sealed wet bag without using the sleeping pad |
| Small plastic sheet or tray | Creates a designated drip-resistant area near the door |
| Vestibule storage | Boots, gaiters, rainwear, and a covered pack when weather and wildlife rules permit |
Avoid using your sleeping pad as a platform for wet gear. The pad is part of your sleep system, and transferring water or grit to it can make the sleeping area less comfortable and may damage delicate surfaces.
Utilizing Dry Sacks for Moisture Management
Dry sacks are useful for separating wet and dry items, but they have limits. Their best role in this situation is containment: they keep drips from spreading while you move or temporarily store wet gear.
Choosing the Right Size
Choose a sack large enough to hold the item without forcing sharp buckles, crampon points, or boot hardware against the fabric. A lightly filled sack is easier to roll closed than an overstuffed one. Multiple smaller bags can also separate wet clothing from dirty footwear and keep electronics away from moisture.
For clothing and compact rain gear, a medium sack is often easier to manage than one oversized bag. Bulky packs and boots may fit better in a heavy-duty pack liner, tote, or thick plastic bag. Inspect every container for holes, worn coatings, and damaged seams before relying on it.
Sealing Techniques for Dryness
Follow the dry-sack manufacturer’s instructions. For a typical roll-top model, squeeze out excess air, align the top, roll it tightly at least three times, and close the buckle. Sea to Summit’s closure guidance also recommends inspecting the bag before use and notes that roll-top dry bags are not guaranteed to protect electronics during heavy submersion.
Note: A dry sack can trap humidity as effectively as it traps drips. Do not leave wet clothing, sleeping bags, or tents sealed inside one after the trip.
Organizing Gear Efficiently
Color coding is optional, but a consistent system can speed up camp routines. The storage location matters more than the color.
| Gear Type | Example Color | Recommended Location |
|---|---|---|
| Wet clothing | Blue | Protected vestibule or contained wet zone |
| Cooking gear | Green | Store according to campground and wildlife rules, not in the sleeping area |
| Sleeping gear | Red | Dry bag inside the tent, away from the door |
| Electronics | Yellow | Separate protective pouch or hard case in the dry zone |
| Boots and gaiters | Orange | Vestibule on a small ground barrier, without blocking the exit |
Check sacks after each trip. Repair or replace any bag with punctures, peeling coatings, failed seams, or a buckle that no longer closes securely.
The Importance of Ventilation in Your Tent
Ventilation lowers the amount of moisture trapped inside the shelter. Open opposing vents, doors, or mesh panels when rain direction and wind allow. Stake the tent and rainfly taut so air can move between the inner tent and the fly. REI recommends minimizing indoor moisture sources and ventilating early and fully to manage condensation.
A double-wall tent does not prevent condensation, but its separate inner body can help keep occupants away from moisture on the rainfly. In any tent, avoid pressing sleeping bags, clothing, or wet sacks against the walls because contact can transfer condensation.
Campsite choice also matters. Pitch on level ground that is not a low or sunken spot where water may collect. Do not assume that simply moving “away from water” will solve humidity; terrain, drainage, temperature, vegetation, wind, and current weather all affect condensation. Avoid dead branches overhead and other site hazards.
Strategies for Drying Gear Outside
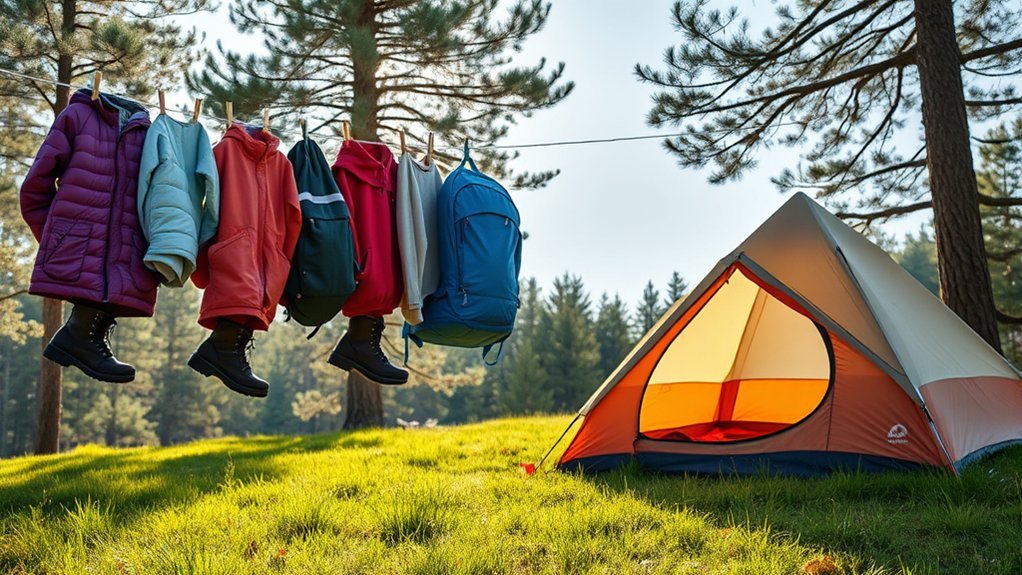
Dry gear outside whenever the weather provides a safe opportunity. Remove standing water first, open zippers and pockets, loosen straps, and spread the material so air can reach both sides. Follow each item’s care label, especially for waterproof-breathable clothing, insulated gear, and leather footwear.
Gear Elevation Techniques
| Method | Equipment | Best For |
|---|---|---|
| Portable drying rack | Lightweight rack | Car camping and bulky clothing |
| Tarp ridgeline | Cord, tarp, clips | Rain-protected airflow |
| Trekking-pole line | Two poles, cord, stakes | Backpacking sites without suitable supports |
| Approved campsite hook or post | Existing campground fixture | Low-impact drying in developed sites |
When trees are allowed as supports, do not use nails, wire, or thin cord that can cut into bark. Leave No Trace recommends using straps at least 1 inch wide for clotheslines and similar attachments. Follow site-specific rules and remove every line before leaving.
Utilize a Tarp Setup
- Choose suitable materials. Use a waterproof tarp with intact tie-outs and enough coverage for the gear.
- Pitch for runoff. Angle one side lower so rain drains away instead of pooling overhead.
- Keep gear off the soil. Hang items below the tarp or place them on a rack, chair, or separate ground barrier.
- Maintain airflow. Leave the sides open unless wind-driven rain requires more coverage.
- Secure the setup. Tension lines, mark trip hazards, and take the tarp down if wind exceeds the equipment’s safe use.
Brief sunlight can speed drying, but long exposure can degrade some fabrics and coatings. Shade plus moving air is often the safer choice when you are unsure.
Organizing Your Tent for Maximum Airflow
Divide the shelter into a dry sleeping zone and a small wet-entry zone. Keep the center aisle and doors open, avoid piling gear against mesh panels, and place dry bags where they will not press against the tent wall. Store boots and rainwear in the vestibule when practical, but leave room for ventilation and a fast exit.
During the day, open opposing vents or doors when the weather permits. In blowing rain, open only the protected vents and adjust the rainfly rather than exposing the interior. A crowded tent holds more moisture because people, pets, wet clothing, and damp gear all add water vapor.
Keeping Your Sleeping Area Dry
Protect the sleep system first because wet insulation can lose warmth and may take a long time to dry.
- Keep sleeping gear packed until needed. Leave the sleeping bag and dry base layers in waterproof storage while setting up camp in rain.
- Change at the entrance. Remove wet outer layers over the wet-zone barrier instead of walking across the tent.
- Use a sleeping pad for sleeping. The pad insulates you from the ground, but it is not a safe solution for standing water inside a flooded tent.
- Check contact points. Pull bedding away from tent walls and wipe any condensation before it reaches the insulation.
- Keep the footprint tucked in. No edge should extend beyond the tent floor and funnel rain underneath.
Warning: If water is flowing through the site, pooling rapidly under the tent, or rising because of flooding, moisture-control tricks are not enough. Move to safer ground when it is safe to do so and follow local emergency guidance.
What to Do if Wet Gear Is Already Inside
- Move sleeping bags, dry clothing, and electronics to the driest part of the tent.
- Put the wet item into a durable bag or onto a waterproof barrier near the door.
- Blot the tent floor with an absorbent towel instead of rubbing grit into the coating.
- Open protected vents and create cross-ventilation when weather allows.
- Move the item to a covered outdoor drying area at the first safe opportunity.
- At home, unpack everything and dry it fully before storage.
If down insulation becomes soaked, treat it as a priority because clumped wet down loses loft. Follow the product’s care label and avoid direct high heat unless the manufacturer specifically allows it.
Troubleshooting a Wet Tent Floor
| What You Notice | Likely Cause | What to Do |
|---|---|---|
| Wet patch under a jacket or pack | Direct water transfer | Contain the item, blot the floor, and dry both surfaces |
| Fine droplets on walls or rainfly | Condensation | Ventilate, reduce indoor moisture, and keep gear off the walls |
| Water enters during rain at one seam or worn area | Leak or damaged waterproofing | Use a temporary field repair, then clean and repair the seam or coating at home |
| Water appears around the perimeter | Footprint protruding or runoff collecting | Tuck the footprint under and improve drainage without digging trenches |
| Water rises across the floor | Poor site drainage or flooding | Relocate to safer ground when safe; do not rely on a pad or extra tarp |
Daily Maintenance Tips for Tent Care
- Morning: Wipe condensation, turn the rainfly so damp surfaces can air out, and expose wet gear to moving air.
- During the day: Reopen pockets, cuffs, and boot tongues so hidden moisture can escape.
- Before bed: Reset the wet zone, check that vestibule gear is covered, and keep vents open as conditions allow.
- When breaking camp: Dry the tent as much as possible before packing. If it must be packed wet, unpack it again at the earliest safe opportunity.
- At home: Air-dry the tent, rainfly, footprint, bags, and gear completely. General CDC mold-prevention guidance supports drying wet materials promptly; tent and clothing manufacturer instructions should guide cleaning methods.
Do not machine-wash, machine-dry, bleach, or apply household detergent to a tent unless its manufacturer specifically permits it. These treatments can damage coatings, seam tape, and water-repellent finishes.
Community Tips for Managing Wet Gear
Treat every tent as two spaces: a small wet entry zone and a protected dry sleeping zone.
- Pack a dedicated wet bag. Store it near the top of the pack so it is easy to reach in rain.
- Carry a small absorbent towel. It can wipe gear, tent walls, and minor floor moisture.
- Use clips instead of knots on clothing. Clips make it faster to move drying gear when weather changes.
- Protect the dry essentials first. Sleeping insulation, base layers, medication, and electronics should have separate waterproof protection.
- Practice the routine at home. Know where wet items will go before you are setting up in darkness or a storm.
Frequently Asked Questions
What should I do if my gear gets wet unexpectedly?
Wipe off surface water, separate the item from bedding and dry clothing, and place it in a dry sack or sturdy bag near the entrance. Ventilate the tent when conditions allow, then move the item to a covered outdoor drying setup as soon as it is safe.
Can I use a tarp to protect my gear outside?
Yes. Pitch the tarp with a clear slope for runoff, secure it for the expected wind, and keep gear raised above wet soil. Leave enough open space for airflow, mark low guylines, and follow campground rules about attaching lines to trees or structures.
How do I clean and dry wet gear efficiently?
Remove mud and standing water, open every pocket and zipper, and spread the item in moving air. Use only the cleaning products and heat settings approved on the care label. Dry thick insulation, seams, cuffs, and hidden layers fully before storage.
Which camping materials dry fastest?
Light synthetic fabrics such as nylon and polyester often dry faster than cotton, but fabric thickness, lining, coatings, insulation, humidity, temperature, and airflow all matter. “Quick-drying” does not mean instantly dry, so check seams and inner layers before packing.
What weather conditions require extra moisture precautions?
Prepare for prolonged rain, high humidity, cold clear nights, fog, wet snow, and rapid temperature drops. Check the forecast and local alerts, avoid low ground and flood channels, and keep one complete sleep layer protected in waterproof storage.
Should wet boots stay inside the tent?
Usually, a protected vestibule is better. Place boots on a small barrier, loosen the laces, and keep them from touching the tent body or blocking the exit. In severe cold, follow the boot manufacturer’s guidance so the footwear does not freeze or become unsafe to use.
Is a trash bag enough for wet camping gear?
A sturdy trash bag can contain drips during a trip, especially when doubled, but sharp hardware may puncture it and the closure is not reliably waterproof. Use a proper dry sack or durable pack liner for repeated use, and never store wet gear sealed for an extended period.
Sources
- REI Co-op: How to Prevent Condensation in a Tent — moisture sources, campsite choice, and ventilation.
- REI Co-op: How to Clean, Waterproof and Care for a Tent — drying, storage, cleaning, and coating care.
- Sea to Summit: Closing a Roll-Top Dry Bag — sealing steps, inspection, and limitations.
- National Park Service: Finding and Setting Up a Campsite — drainage, campsite hazards, and groundcloth placement.
- Leave No Trace: Leave What You Find — low-impact clotheslines and tree protection.
- CDC: Mold — general damp-material and mold-prevention guidance.
Conclusion
To keep wet gear from soaking your tent floor, contain the drips, create a wet zone near the entrance, protect the sleeping system, and dry everything as soon as conditions allow. Ventilation helps control condensation, while correct footprint placement and a well-drained campsite address water coming from outside. Before long-term storage, make sure every tent component and piece of gear is completely dry.
