Last Updated on July 29, 2026 by Mason Reed
Finding a flat tent site quickly is easier when you follow the same short inspection every time. In a crowded campground, the best choice is usually an open, legal tent pad or an existing durable site—not an untouched patch of vegetation. Check the rules, look for hazards, study drainage, test the sleeping surface, and respect nearby campers before you unpack.
Quick Answer
Scan for an established or naturally bare site with firm, nearly level ground. Look up for dead branches, look around for flood channels and cliffs, and check where rain would drain. Stay within campsite boundaries and follow local water-setback rules. Test the spot with your footprint or sleeping pad before pitching the tent.
Key Takeaways
- Use a designated tent pad or an existing durable site whenever one is available.
- Check overhead branches, drainage paths, rockfall, cliffs, fire rings, and exposed ridges before checking comfort.
- About 200 feet from lakes and streams is a common backcountry guideline, but posted local rules always take priority.
- A slight slope can work if your head is uphill, but avoid depressions where water may collect.
- Do not dig trenches, cut plants, expand campsite boundaries, or create a new site just because the established sites are busy.
At a Glance
| Time Required | About 1–5 minutes before unpacking |
| Difficulty | Easy to moderate, depending on terrain and weather |
| Tools Needed | Tent footprint or sleeping pad, map or permit information, weather forecast, and a headlamp if daylight is fading |
| Cost | $0 with normal camping gear |
Disclosure: As an Amazon Associate I earn from qualifying purchases. Some links on this page are affiliate links, at no extra cost to you.
Research Before You Go
Before leaving home, check the rules for the exact park, forest, campground, or wilderness area you plan to visit. A developed campground may require you to use a numbered tent pad, while a designated backcountry permit may assign a specific site. Dispersed camping may have separate limits for roads, trails, water, fires, vehicles, and length of stay.
Confirm the following before your trip:
- Reservations and permits: Know whether sites are reserved, first-come-first-served, assigned, or open to dispersed camping.
- Campsite boundaries: Developed sites often have a defined parking area, tent pad, table, fire ring, and occupancy marker.
- Water setbacks: Check the land manager’s actual rule rather than assuming one distance applies everywhere.
- Food-storage rules: Some locations require a locker, approved bear-resistant container, food hang, or another specific system.
- Fire restrictions: A permanent fire rule or temporary fire ban may prohibit wood fires even when an old ring is present.
- Weather and closures: Review the forecast, flood watches, lightning risk, wind, road conditions, and emergency alerts.
The National Park Service campsite guide recommends considering flash flooding, lightning, wind, dead branches, cliffs, and ravines before choosing a site. Save a map or screenshot offline and identify at least one legal backup area in case your preferred site is occupied.
Note: A general camping guideline never overrides a posted sign, permit condition, ranger instruction, closure, or location-specific regulation.
Use a 60-Second Tent Site Scan
When several campers are searching at once, a fixed scan helps you make a good decision without wandering between sites. Before putting down a pack, use this order:
- Look up: Check for dead limbs, leaning trees, damaged trunks, loose rocks, and anything that could fall.
- Look around: Find the direction of wind, runoff, nearby cliffs, fire rings, trails, neighboring tents, and escape routes.
- Look down: Check for a depression, sharp objects, roots, unstable soil, animal holes, ant nests, standing water, or flattened flood debris.
- Check legality: Confirm the site is unoccupied, inside its boundary, open to camping, and far enough from protected features.
- Test the sleeping area: Place the footprint or sleeping pad where your body will lie and check both comfort and slope.
Leave No Trace recommends camping about 200 feet—roughly 70 to 80 adult steps—from the water’s edge in the backcountry unless local rules specify a different distance.
Look for a Flat, Bare Surface
Prioritize an established tent pad or a durable surface such as exposed rock, gravel, compacted dirt, dry grass, sand, or snow. The surface must also be legal, stable, large enough for the tent, and outside any drainage, tidal, or flood zone. In popular areas, using an existing impacted site helps keep damage from spreading into nearby vegetation.
View the site from several angles. A spot can look level from uphill but form a shallow bowl when viewed from the side. Imagine heavy rain falling on the area: water should flow around or away from the sleeping area, not toward its center.
A small, consistent slope is often more comfortable than a perfectly flat depression. Position your head slightly uphill so you do not slide toward the tent door overnight. Avoid a slope steep enough to make your sleeping pad move or force your body against one wall.
You may move a few loose pine cones, small sticks, or sharp stones if local rules allow it. Do not cut vegetation, uproot plants, scrape away ground cover, build a platform, dig a trench, or reshape the site. Return moved natural material before leaving.
Pro Tip: Put down your footprint or sleeping pad and lie on it for 20–30 seconds. Check your hips, shoulders, head position, and tendency to slide before unpacking the tent.
Assess Proximity to Water Sources
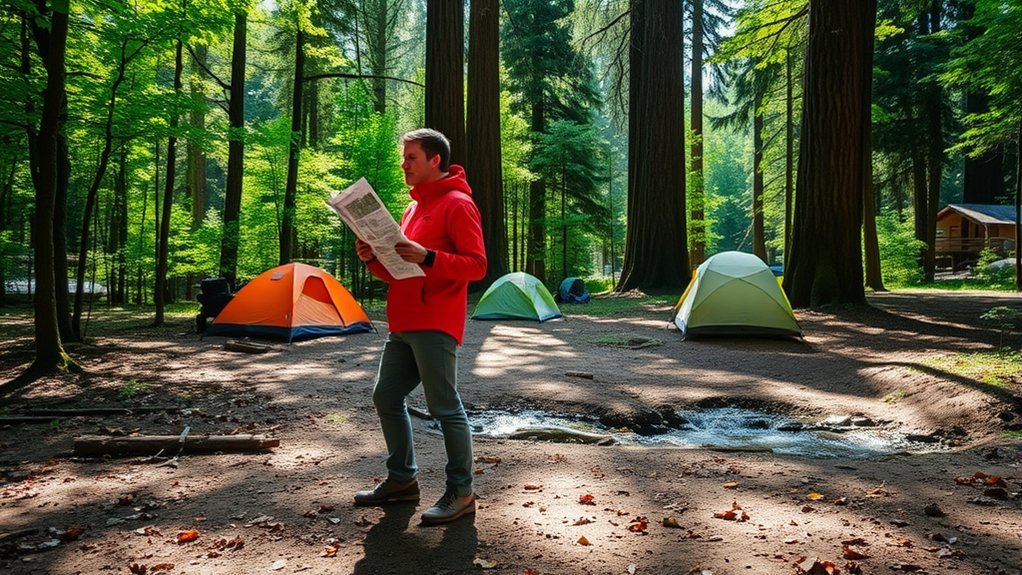
Distance from water affects wildlife access, vegetation, privacy, sanitation, insects, condensation, and flood exposure. In many backcountry settings, Leave No Trace recommends about 200 feet from lakes and streams. However, this is a rule of thumb—not a universal law. Some destinations require a different setback or require campers to use a designated site closer to or farther from water.
Water Source Regulations
Use the distance listed on the permit, official map, trailhead board, campground rules, or land-manager website. The water setback protects more than drinking-water quality. It also leaves shoreline access for wildlife and reduces crowding around sensitive vegetation.
| Site Check | Practical Guidance |
|---|---|
| Local setback | Follow the posted or permitted distance, even when it differs from 200 feet. |
| General backcountry guideline | About 200 feet, or 70–80 adult steps, from lakes and streams. |
| Developed campground | Use the assigned tent pad and remain within the marked campsite boundary. |
| Flood safety | Distance alone is not enough. Avoid dry washes, gullies, ravines, high-water marks, and low ground beside streams. |
Elevation and Drainage Considerations
There is no universal rule requiring a tent to be a set number of vertical feet above a water body. Instead, choose a firm, gently raised bench that is outside the active floodplain and does not expose you to cliffs, falling rocks, high winds, or lightning.
Look for signs that water has crossed the site before:
- Silt, sand, or leaves deposited in a line
- Sticks and debris caught on the uphill side of shrubs
- A smooth channel running through otherwise rough ground
- Flattened grass pointing in one direction
- Scoured soil, exposed roots, or fresh erosion
- A bowl-shaped depression with no clear outlet
- A dry creek bed, narrow canyon floor, or ravine below steep terrain
Warning: Never camp in a dry wash, streambed, ravine, or low area beside a stream when storms are possible. The National Weather Service warns that distant rain can send floodwater through a channel even when it is not raining at your campsite. Move to higher ground immediately if water begins rising.
Respect Fellow Campers
Crowded conditions do not cancel campsite boundaries or another group’s claim to a site. Before moving in, check for a reservation tag, payment stub, gear, vehicle, occupancy marker, or other sign that the site is taken. Do not remove or replace an occupancy tag.
- Stay inside the site: Place tents, chairs, and gear within the designated boundary. Expanding onto surrounding vegetation causes “site creep.”
- Leave personal space: Do not squeeze between occupied sites, block another tent’s entrance, or use a neighboring table or fire ring without permission.
- Keep paths open: Avoid placing guylines across trails, access routes, water points, or the route to a restroom.
- Control noise and light: Follow quiet hours and aim headlamps toward the ground around neighboring tents.
- Respect shared resources: Do not monopolize water taps, food lockers, parking areas, bear poles, or communal cooking spaces.
If you cannot tell whether a developed site is available, ask the campground host or ranger. In the backcountry, follow any required separation between groups rather than building a new campsite beside an occupied one.
Identify Potential Hazards
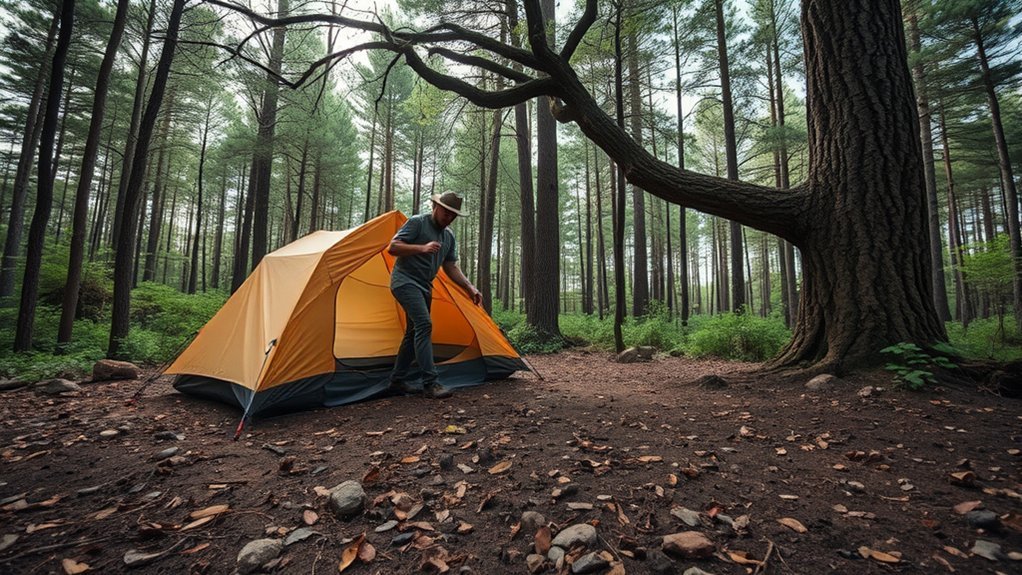
A site should pass the safety check before it passes the comfort check. Walk around the full tent area and consider what could fall, roll, flow, burn, or attract wildlife while you are asleep.
Assess Overhead Hazards
Look for dead branches, split trunks, leaning trees, exposed roots, fungal growth, freshly broken wood, and trees damaged by fire, insects, wind, or erosion. Do not pitch beneath a branch or tree that could reach the tent if it fell.
Also check the slope above the site. Loose stones, unstable cliffs, avalanche paths, and burned hillsides can send rock, snow, mud, or debris into a campsite. Move well outside the runout area rather than relying on the tent for protection.
Evaluate Ground Stability
Firm ground should support stakes without crumbling, shifting, or holding standing water. Avoid undercut banks, recently disturbed soil, deep cracks, animal burrows, large ant nests, sharp stumps, poison plants, and places where the tent would sit close to a cliff edge.
| Hazard Sign | Best Response |
|---|---|
| Dead, leaning, burned, or damaged tree | Move beyond the tree’s possible fall distance. |
| Dry wash, ravine, flood debris, or water marks | Choose higher ground outside the channel and floodplain. |
| Loose rock, cliff, steep bank, or unstable soil | Move away from the edge, base, and projected fall path. |
| Exposed ridge or open high point | Select lower, sheltered terrain that is not in a drainage channel. |
| Fire ring, grill, stove area, or heavy foot traffic | Keep the tent and guylines a safe distance away and use the campground’s intended layout. |
A tent is not safe shelter from lightning. If thunder is audible and a substantial building or hard-topped vehicle is accessible, follow current National Weather Service lightning guidance and move to safer shelter. Do not choose an exposed ridge, isolated high point, or the middle of an open field merely because it is flat.
Consider Sun Exposure and Wind
Sun and wind affect comfort, drying time, and tent stress. The best orientation depends on the season and forecast.
- Morning sun: An east-facing opening may warm the tent and help dry dew, condensation, or damp gear.
- Afternoon shade: Shade can reduce heat during hot weather, but do not pitch beneath unsafe branches just to stay cool.
- Wind exposure: Open ridges and gaps may be much windier than sheltered terrain. Wind—not sunlight—creates the wind-chill effect on exposed skin.
- Tent orientation: When practical, point the tent’s narrower or manufacturer-recommended end toward the expected wind and stake every required point.
- Cold-air drainage: Very low hollows can collect cooler, damp air overnight, but the answer is a safe, gently raised site—not an exposed summit.
Natural wind protection can help, but avoid unstable trees, cliff bases, or dense vegetation that violates local rules. In severe weather, the safest choice may be to leave the area rather than search for a more sheltered tent site.
Minimize Environmental Impact
In popular or crowded areas, concentrate use on existing campsites and durable surfaces. Stay inside the established footprint instead of enlarging it. In remote, undisturbed areas, follow the specific land manager’s low-impact instructions because delicate soils and plants may require a different approach.
The basic principle is simple: a good campsite is found, not built. Do not:
- Cut or pull plants to make room
- Dig a trench around the tent
- Move large rocks, logs, or campsite structures
- Create a new fire ring
- Drive or park on vegetation
- Leave food scraps, toilet paper, cord, tape, or trash
- Move beyond the site boundary because the campground is crowded
Use an existing fire ring only where fires are currently permitted. The Leave No Trace campfire guidance recommends a stove for cooking and established fire facilities where allowed. Temporary fire restrictions may ban a fire even when a ring is present.
Before leaving, collect every small item, brush out obvious footprints where appropriate, replace any loose natural material you moved, and leave the site ready for the next camper.
Separate Sleeping, Cooking, and Food Storage Areas
A flat sleeping surface is only one part of a safe campsite. In a developed campground, work with the provided layout: use the designated tent pad, table, grill or fire ring, parking area, and food locker. Keep the tent and guylines away from sparks, hot cooking equipment, and busy walking routes.
Never assume food is safe inside a tent. Food, garbage, cooking equipment, toiletries, sunscreen, and other scented items can attract rodents and larger wildlife. The National Park Service warns that tents provide little protection from animals and may prohibit food or toiletries inside them.
In bear country, follow the exact local arrangement for sleeping, cooking, and storage. Some NPS guidance recommends about 200 feet between sleeping and cooking or food-storage areas, while individual parks may require a locker, approved canister, designated cable, or another method. Do not improvise when a permit or posted rule specifies the system.
Quick Tent Setup Tips
Once a site passes the safety, drainage, legality, and courtesy checks, use this quick setup order:
- Mark the tent outline: Spread the footprint with the doors facing the planned entry route.
- Test body position: Lie down briefly with your head on the higher side.
- Check runoff again: Confirm that no uphill slope, channel, or hard surface directs water toward the footprint.
- Clear only immediate sharp objects: Move a few loose items if allowed, without scraping or rebuilding the site.
- Pitch and stake fully: Use all required poles, stakes, guylines, and ventilation points rather than stopping at a partial setup.
- Route guylines safely: Keep them away from paths and mark hard-to-see lines where permitted.
- Store food immediately: Use the required locker, vehicle, container, hang, or storage area before walking away.
Make camp before dark whenever possible. Daylight makes it easier to identify damaged trees, drainage channels, cliffs, animal activity, and the safest route out of camp.
What to Do When No Flat Site Is Available
Do not force a tent onto fragile vegetation or unsafe terrain because the obvious sites are occupied. Instead:
- Check your map or permit for another designated site.
- Ask a campground host or ranger about legal overflow options.
- Recheck an existing pad with a different tent orientation.
- Use a slightly sloped but well-drained site and sleep with your head uphill.
- Use a hammock only where hammocks are permitted, suitable live trees are available, and tree-protecting straps are required or allowed.
- Sleep in a vehicle only where overnight vehicle occupancy is legal.
- Continue to another legal area if the available ground is unsafe, closed, occupied, or environmentally fragile.
Never block a trail, road, boat landing, emergency route, picnic area, or another campsite. Arriving late does not make a prohibited location safe or legal.
Frequently Asked Questions
What tools can help me find a flat tent site quickly?
Your tent footprint or sleeping pad is the most useful test because it shows the exact space your body and tent will occupy. A small bubble level or partially filled water bottle can reveal slope, but neither replaces checking drainage, hazards, campsite rules, and the weather forecast.
How can I assess a site’s drainage?
View the site from uphill and downhill. Avoid bowls, dry channels, ravines, silt lines, flattened vegetation, exposed roots, and debris caught against plants. Picture where water would flow during heavy rain and make sure it would pass around the tent instead of through or beneath it.
What are the signs of an established campsite?
Common signs include a numbered tent pad, compacted bare ground, a defined boundary, an occupancy post, a picnic table, a legal fire ring, or a clearly established access path. Use the existing footprint without expanding it onto surrounding vegetation.
How should I prepare the ground beneath my tent?
Choose a surface that already works. You may move a few loose, sharp sticks, stones, or cones when allowed, but do not remove vegetation, rake away natural ground cover, dig trenches, build a platform, or move large natural features. Replace loose material before leaving.
What should I do if no flat spots are available?
Look for another designated site, ask a host or ranger about legal options, or use a gently sloped durable surface with your head uphill. A hammock or vehicle may work only where that form of overnight camping is legal and permitted. Do not create a new site on fragile vegetation.
How far should a tent be from water?
About 200 feet, or 70–80 adult steps, is a common Leave No Trace guideline for backcountry camping. The correct distance is the one required by the local land manager. A legal setback does not guarantee flood safety, so also avoid streambeds, dry washes, gullies, and low flood-prone ground.
Can I dig a trench to keep rain away from my tent?
No. Digging a trench damages the campsite and changes natural drainage. Choose a higher, well-drained site, use a properly sized footprint that does not extend beyond the tent floor, tension the rainfly correctly, and move if the site is inside a drainage path.
Conclusion
To find a flat tent site quickly, use the same order every time: confirm the site is legal, look up for falling hazards, look around for flood and weather exposure, inspect the ground, and test the exact sleeping area. In crowded places, choose an existing durable site, remain inside its boundary, and respect occupancy markers and neighboring campers.
Comfort matters, but safety comes first. A slightly sloped site outside a drainage channel is better than a perfectly flat hollow beneath dead branches. Follow local water, fire, food-storage, and permit rules, then leave the site as clean and compact as you found it.
Sources
- Leave No Trace: Travel and Camp on Durable Surfaces — durable surfaces, existing campsites, campsite impact, and the general 200-foot water guideline
- National Park Service: Finding and Setting Up a Campsite — dead branches, lightning, flooding, cliffs, campsite layout, and bear-country separation
- National Weather Service: Flooding Safety for Camping and Hiking — flash floods, dry channels, ravines, weather checks, and moving to higher ground
- U.S. Forest Service: Dispersed Camping — local restrictions, water setbacks, existing sites, waste, and fire checks
- Leave No Trace: Minimize Campfire Impacts — camp stoves, established fire rings, fire size, and complete extinguishment
- North Cascades National Park: Food Storage Requirements — keeping food and scented items out of tents and using approved storage methods