
Last Updated on August 26, 2026 by Mason Reed
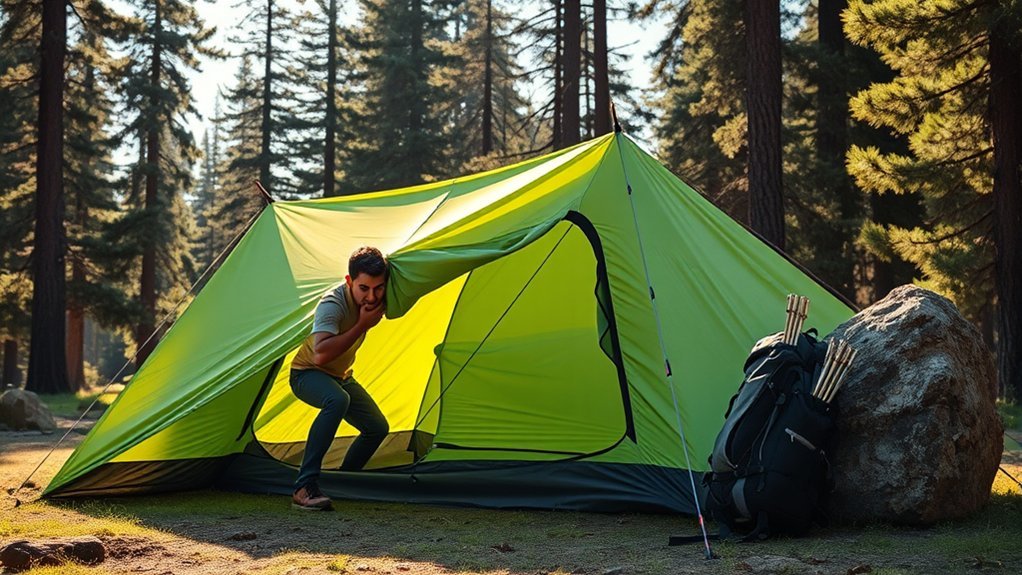
Setting up a tent by yourself is much easier when you follow a fixed order: choose a safe, level campsite, lay out the footprint and tent body, assemble the poles, raise the structure, attach the rainfly, stake everything securely, and add guylines when conditions require them. Your tent’s own instructions should always take priority because pole, clip, buckle, and footprint designs vary.
Quick Answer
To set up a tent by yourself, first choose safe, level ground. Lay down the footprint without letting it extend beyond the tent floor, position the tent body, assemble and attach the poles, fit the rainfly, stake the tent securely, tension the fly, and add guylines for extra stability in wind.
Key Takeaways
- Practice pitching your tent at home and bring the manufacturer’s instructions with you.
- Choose level, durable ground away from dead limbs, drainage channels, exposed ridges, and other hazards.
- Do not assume every footprint goes “shiny side up”; follow the instructions for your specific tent or footprint.
- Keep a tarp or footprint inside the tent-floor perimeter so rain cannot collect underneath.
- There is no universal 45-degree stake rule; stake placement depends on soil, stake design, and manufacturer guidance.
- A tent does not protect you from lightning. Know where you can reach a substantial building or enclosed hard-topped vehicle.
At a Glance
| Time Required | Often about 10–20 minutes for a familiar, simple tent; allow longer for your first pitch, a complex model, or difficult weather. |
| Difficulty | Easy to moderate; highly dependent on the tent design and weather. |
| Tools Needed | Tent body, poles or frame, rainfly if supplied, stakes, guylines, footprint or groundsheet if used, and optionally a stake mallet. |
| Cost | No additional setup cost if your tent kit is complete; optional footprints, specialty stakes, guylines, or a mallet add varying costs. |
Disclosure: As an Amazon Associate I earn from qualifying purchases. Some links on this page are affiliate links, at no extra cost to you.
Preparing for Your Camping Trip
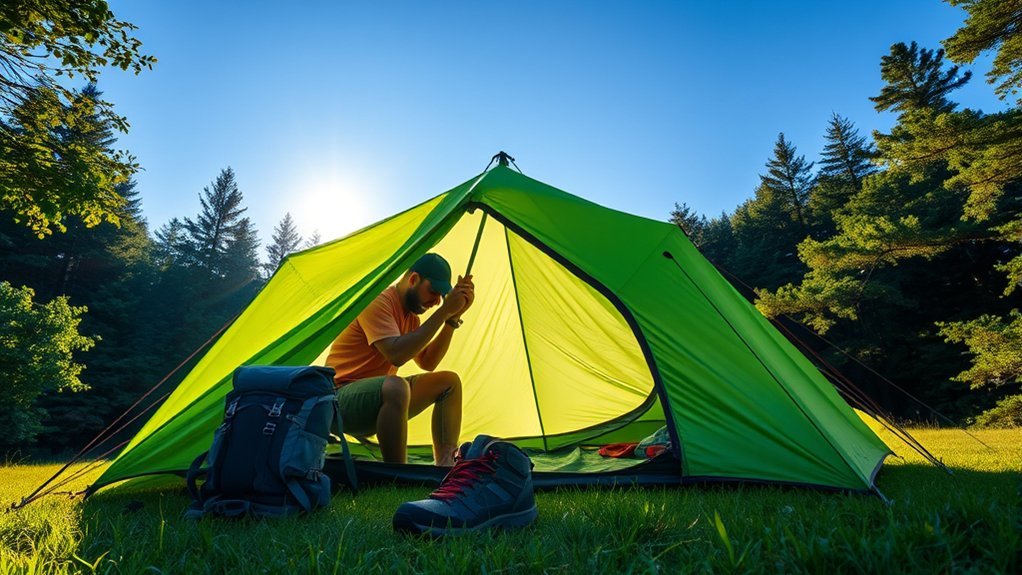
A smooth solo setup starts before you reach the campsite. If reservations are required, book through the official park or campground system and read the site’s rules before you travel. Regulations covering campsite location, food storage, fires, pets, and backcountry camping can differ significantly from one area to another.
Set the tent up once at home. REI’s tent-pitching guidance recommends practicing before the trip, reading the instructions, and checking that every component is present. This is especially useful when you will be pitching alone.
Create a camping checklist and confirm that you have the tent body, correct poles or frame sections, rainfly if the model uses one, stakes, guylines, repair parts, and any footprint or groundsheet you plan to use. Some tents also rely on hubs, clips, buckles, spreader bars, or pole sleeves, so use the parts list supplied with your exact model.
Check the forecast shortly before departure and again before setting up. Rain is only one concern: wind, thunderstorms, extreme heat, falling branches, and flash flooding can all affect where and whether you should pitch a tent.
Pro Tip: Take a photo of the manufacturer’s pitching diagram or save the manual on your phone before leaving home. You may not have mobile service at the campsite.
Choosing a Safe Place to Pitch Your Tent
Before unpacking, walk around the site. An ideal tent location is reasonably level, durable, well drained, and free of objects that could damage the tent floor. In established campgrounds, use the designated tent area whenever possible.
The National Park Service recommends watching for hazards such as lightning exposure, flash flooding, strong wind, dead trees, and branches that could fall. Avoid depressions and drainage channels where water may collect, and look overhead before choosing a place to sleep.
In the backcountry, follow local regulations and Leave No Trace practices. Leave No Trace recommends established campsites and durable surfaces and notes that good campsites are found rather than made. Do not dig trenches, excavate a sleeping platform, or substantially reshape the ground simply to make the tent fit.
Warning: Do not pitch beneath dead or damaged limbs, in a wash or drainage channel, on an exposed ridge during threatening weather, or in another location where falling objects, flooding, wind, or lightning create an obvious hazard.
Gathering Essential Tent Components
Lay the components beside you before assembly. Keeping everything visible prevents you from searching for a stake, pole section, clip, or guyline after the tent is partly raised.
For solo setup, organization matters almost as much as speed: identify the tent body, poles, rainfly, stakes, guylines, and footprint before you start raising the structure.
- Tent body and rainfly: Check for torn fabric, damaged zippers, missing buckles, or obvious coating damage.
- Tent poles or frame: Assemble the sections carefully by hand and make sure each joint is fully seated. Do not let shock-corded sections snap together violently.
- Stakes and guylines: Bring the correct number for the tent and conditions. Specialty stakes may be needed for sand, snow, or unusually loose ground.
- Footprint or groundsheet: Use the correct size for the tent. If you use a generic tarp, be prepared to fold all excess material beneath the tent floor.
- Instructions and repair items: A pole splint, repair tape, spare cord, and a few extra stakes can solve common field problems.
Color-coded tabs, pole ends, clips, or buckles can make orientation easier, but not every tent uses color coding. Treat those features as model-specific aids rather than universal setup rules.
Laying Out the Ground Tarp
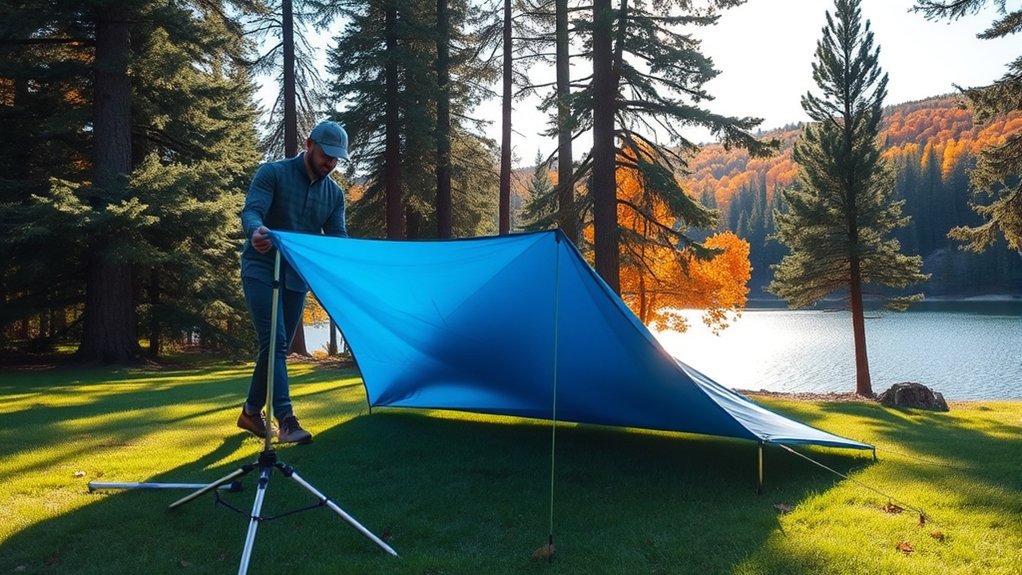
Spread the footprint or groundsheet on the selected site and smooth it flat. Its main jobs are to protect the tent floor from abrasion and provide another clean layer between the floor and the ground.
Do not assume that the shiny side must always face up. Coatings and construction differ among products, so use the orientation specified by the footprint or tent manufacturer. If there are matching tabs, grommets, labels, or attachment points, use those to determine the correct orientation.
Ground Tarp Orientation
Follow three basic rules:
- Keep it flat: Remove loose sticks, pine cones, and sharp debris without excavating or substantially altering the campsite.
- Follow the manufacturer’s orientation: If your footprint has a designated coated side, label, logo, attachment tabs, or instructions, follow them rather than relying on whether one surface looks shiny.
- Keep it within the tent floor: A footprint should not project beyond the tent floor where it can catch runoff.
REI’s footprint guidance explains that a footprint should fit the tent floor and warns that an oversized tarp can collect water. When using a generic tarp, fold every exposed edge underneath the tent.
Note: Footprint orientation is product-specific. Correct sizing and alignment are more important than following a universal “shiny side” rule.
Tent Body Positioning
Place the tent body directly over the footprint. Decide which direction you want the door to face before installing the poles. In fair weather, you may choose the direction for convenience or a view; in windy or rainy weather, your tent’s aerodynamic shape and manufacturer instructions should guide orientation.
Make sure the footprint is completely covered by the tent floor. If any generic groundsheet sticks out, fold the exposed section underneath. Do not leave a border of tarp around the tent because rain running off the fly or tent walls can collect on it and move beneath the floor.
If the tent and footprint have matching corner tabs, colors, clips, or grommets, align them before moving to the poles.
Assembling the Tent Structure
Tent architecture varies, so follow your manufacturer’s order of operations. For a typical freestanding tent, the general solo process is:
- Assemble the poles: Join each pole section carefully and confirm every joint is fully seated. If the tent uses a hubbed pole set, let the hub determine the correct branches rather than forcing anything into position.
- Secure the windward side if necessary: If wind is moving the loose fabric, stake one or two appropriate corners before raising the tent so it cannot blow away.
- Attach the pole ends: Depending on the tent, the ends may fit into grommets, cups, sockets, or other corner hardware.
- Raise the body: Attach clips, feed poles through sleeves, or use the attachment system specified by the manufacturer.
- Check the frame: Make sure the poles form their intended curves and that no pole is caught, crossed incorrectly, or under unusual strain.
If a pole will not reach its attachment point with reasonable pressure, stop and check the routing, pole orientation, and joints. Excessive force can bend or split poles and damage sleeves or grommets.
Pro Tip: When pitching alone in wind, keep loose components inside the tent body or a bag until you need them. Secure the tent early so a gust does not turn the body or rainfly into a sail.
Installing the Rain Fly

Drape the rainfly over the raised tent and identify the correct front, rear, and door positions. Many tents use color-coded buckles or tabs, but others rely on logos, seam positions, vestibules, or differently shaped corners.
Attach the fly using the system designed for your tent. That may include corner buckles, grommets, hooks, pole wraps, or hook-and-loop tabs. Do not copy the attachment order from another tent unless the systems are genuinely the same.
Once all fly corners are connected, tension them evenly. A properly pitched rainfly should be reasonably taut without placing excessive strain on poles or seams. Where the design allows it, maintain space between the fly and inner tent to encourage airflow and reduce the chance of condensation transferring to the inner fabric.
Stake out vestibules and other required fly points. Recheck the fly after rain begins because some fabrics can loosen as they become wet.
Securing the Tent With Stakes
Even a freestanding tent should normally be staked when conditions allow. Stakes help prevent movement, maintain the designed shape, keep vestibules extended, and support the rainfly and guylines.
Importance of Staking Down
- Controls movement: Anchoring the tent reduces the chance that wind will slide, twist, or lift the shelter.
- Maintains the intended shape: Correct stake tension helps the floor, walls, vestibules, and rainfly sit as designed.
- Improves weather performance: A properly tensioned fly is less likely to sag against the inner tent and can shed rain more effectively.
Proper Stake Angling
Do not rely on a universal 45-degree rule. Stake design, soil, pull direction, and manufacturer instructions all affect placement. REI advises that fully vertical stakes provide maximum holding power in most ordinary soils.
Drive each stake deeply enough that it is stable while leaving only the amount needed to attach the loop or cord. Orient the attachment so the load pulls against the stake securely instead of simply lifting it out. Check the tent after tightening because one excessively tight corner can distort the frame.
For sand, snow, very loose soil, or rocky surfaces, use anchors or stakes suited to that environment. If normal stakes cannot be used, manufacturer-approved deadman anchors, securely filled stuff sacks, or other appropriate anchoring methods may work, provided they do not damage the campsite.
Corner and Side Staking
Start with the tent’s main floor or perimeter stake points and work around the shelter so tension stays even. Then secure vestibules, rainfly stake points, and any additional loops required by the manufacturer.
The goal is a stable structure, not maximum tension. Pulling one corner too hard can distort the floor, stress zippers, bend the pole geometry, or make the fly sit unevenly.
Using Guylines for Extra Stability
Guylines connect higher points on the tent or rainfly to anchors farther from the shelter. They are especially useful when wind is expected because they support the pole structure and reduce excessive flexing.
Attach guylines only to designated guyout points. Pull each line outward in the direction the tent design calls for, anchor it securely, and tension it until supportive but not excessively tight. In stronger wind, prioritize the windward guyout points and then balance support around the shelter where your tent provides additional attachment locations.
Keep guylines visible so people do not trip over them. Bright cord, reflective line, or small markers can help around a busy campsite after dark.
A secure tent is not simply “standing up.” The floor, rainfly, stakes, and guylines should work together so the shelter keeps its intended shape when wind or rain arrives.
Final Checks for Weather Preparedness
Before moving your sleeping gear inside, walk around the tent once. Check that poles are fully seated, clips and sleeves are properly attached, the rainfly is correctly oriented, vestibules are secured, and no groundsheet extends beyond the floor.
Make sure the fly is taut but not overstretched. Open any rain-protected vents supplied by the tent when conditions permit. Ventilation helps reduce condensation, which can otherwise make the inside feel damp even when rain is not leaking through the fabric.
Check stakes and guylines again before sleeping, particularly if the wind has increased or the ground has softened after rain.
Warning: A tent is not safe shelter from lightning. The National Weather Service advises moving to a substantial enclosed building or an enclosed hard-topped vehicle when thunderstorms threaten. If you hear thunder, do not remain in the tent simply because the rainfly is installed.
Know your safe-shelter plan before a storm arrives. The National Weather Service recommends remaining in safe shelter for at least 30 minutes after the last sound of thunder.
Troubleshooting Common Solo Tent Setup Problems
A Pole Does Not Reach the Corner
Do not force it. Confirm that every pole section is fully connected, the pole is routed through the correct sleeve or clips, the tent is oriented correctly, and you are using the correct corner fitting. A misrouted pole can appear several inches too short.
The Rainfly Is Sagging
Check that the fly is centered and all matching corners are connected. Adjust each corner a little at a time rather than tightening one side completely. Stake the vestibules and use designated fly or guyout points if the model requires them. Re-tension after the fly gets wet if the fabric loosens.
The Ground Is Too Hard for Normal Stakes
Move the stake slightly rather than repeatedly striking it against buried rock. Use a suitable stake mallet when appropriate, or choose stake hardware designed for harder terrain. Follow campground rules before using rocks or attaching lines to fixed objects.
The Ground Is Too Soft
Longer, wider, sand, snow, or deadman-style anchors can hold better than small conventional stakes. Whatever method you use, test the anchor before relying on it in wind.
The Inside of the Tent Feels Wet
Moisture may be condensation rather than a leak. Increase ventilation using the tent’s protected vents, avoid pressing sleeping bags against wet tent walls, and maintain separation between the inner body and rainfly where the design allows it.
Frequently Asked Questions
How do I choose the right tent for solo camping?
Choose a tent that matches your expected weather, campsite type, packed-weight needs, sleeping space, and comfort level with setup. If you will pitch alone often, practice with the exact model before a trip and make sure you can manage its pole or frame system without assistance.
What should I do if it rains while I am setting up?
Keep the tent components organized, secure loose fabric so it cannot blow away, and follow the fastest rain setup approved for your model. Some tents allow the fly to be erected first with a compatible footprint. If thunder is present, however, stop treating the situation as a rain problem and move to safe lightning shelter.
Can I set up a tent on uneven ground?
A slight natural slope may be manageable, but strongly uneven ground is usually a sign to choose another spot. Avoid digging out low areas, building a platform, or substantially moving rocks and soil. In the backcountry, use durable surfaces and follow Leave No Trace principles and local regulations.
How do I repair a damaged tent while camping?
Carry a small repair kit suited to your tent. Repair tape can temporarily cover a clean, dry fabric tear, while a pole-repair sleeve can stabilize certain broken pole sections. Use products compatible with the tent fabric and coating, and follow the tent manufacturer’s permanent-repair instructions when you return home.
What are alternatives to stakes for securing my tent?
Depending on the terrain and tent design, options can include sand or snow anchors, deadman anchors, or securely filled stuff sacks attached to appropriate guy points. Use methods that are permitted at the campsite and avoid damaging trees, plants, or other natural features.
Do I need a footprint under my tent?
Not every tent requires one, but a properly fitted footprint can protect the floor from abrasion and keep the underside cleaner. Check your tent manufacturer’s recommendations. If you use a generic tarp, fold all excess material beneath the tent so it does not collect rainwater.
Should I stake my tent before inserting the poles?
Follow your tent’s instructions. With many freestanding tents in calm weather, you can raise the poles first and stake afterward. In wind, securing one or more appropriate corners early can stop the loose tent body from blowing away while you work.
Sources
- REI Co-op — How to Set Up a Tent — practice pitching, footprint sizing, campsite selection, staking, rainfly tension, and guylines.
- REI Co-op — What Is a Tent Footprint? — footprint purpose, alignment, and avoiding oversized groundsheet exposure.
- U.S. National Park Service — Finding and Setting Up a Campsite — campsite hazards, drainage, trees, wind, and campsite layout.
- Leave No Trace — Travel & Camp on Durable Surfaces — durable campsites and minimizing ground disturbance.
- National Weather Service — Lightning Safety — thunderstorm shelter and lightning precautions.
Conclusion
Setting up a tent alone becomes straightforward once you use the same sequence every time: choose a safe site, organize the components, position the footprint and tent body, assemble the frame, attach the rainfly, stake the shelter, and add guylines when needed. The most important rule is to follow the instructions for your specific tent rather than assuming every pole, footprint, fly, or stake works the same way.
Before settling in, make one final walk around the shelter and check the poles, fly tension, stakes, guylines, ventilation, drainage, and weather. A few careful minutes during setup can make the tent more stable, more comfortable, and much easier to manage through the night.
