
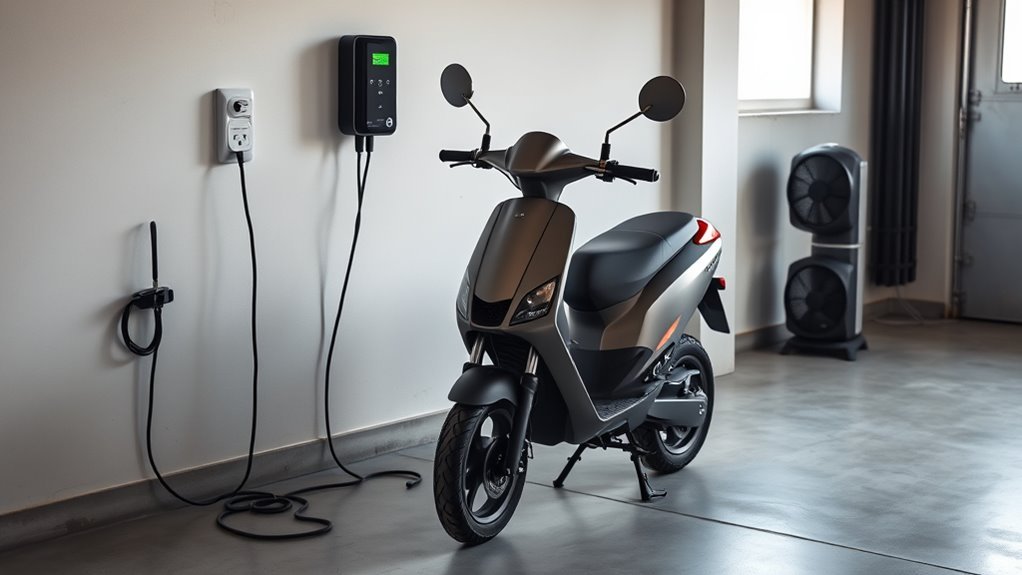
Last Updated on September 10, 2026 by Daniel Globe
Charging your electric scooter faster comes down to increasing safe charging current (amperage), keeping battery temperatures stable, and using the right hardware without exceeding your Battery Management System (BMS) limits. Most standard factory chargers operate at a conservative 1.5A to 2A, but many modern lithium-ion packs can safely handle 4A to 5A fast chargers or dual-port charging setups to cut charge times by more than 50%.
Quick Answer
To charge your electric scooter faster, upgrade to a manufacturer-approved fast charger with higher amperage (e.g., 4A or 5A instead of 2A) while matching your scooter’s exact voltage. If supported, plug two matched chargers into dual charging ports, let the battery cool down for 30 minutes after riding, and keep ambient temperatures between 10°C and 25°C (50°F–77°F).
Key Takeaways
- Match Voltage Exactly: Voltage must stay identical to factory specs; only increase amperage (current) up to the BMS limit.
- Leverage Dual Ports: Scooters with dual charging ports can cut charging duration in half using two parallel chargers.
- Cool Down First: Never plug in immediately after a ride; letting cells cool prevents dangerous thermal throttling and degradation.
- Cycle Between 20% and 80%: The constant-current stage charges significantly faster than the final constant-voltage saturation phase (80%–100%).
At a Glance
| Time Required | 2 to 4 hours (down from 6 to 12 hours) |
| Difficulty | Beginner to Intermediate |
| Tools Needed | High-amperage fast charger, smart plug timer, J1772 adapter (optional for public charging) |
| Cost | $40 – $150 (depending on charger wattage and brand) |
Disclosure: As an Amazon Associate I earn from qualifying purchases. Some links on this page are affiliate links, at no extra cost to you.
Choose a Compatible High-Amperage Fast Charger
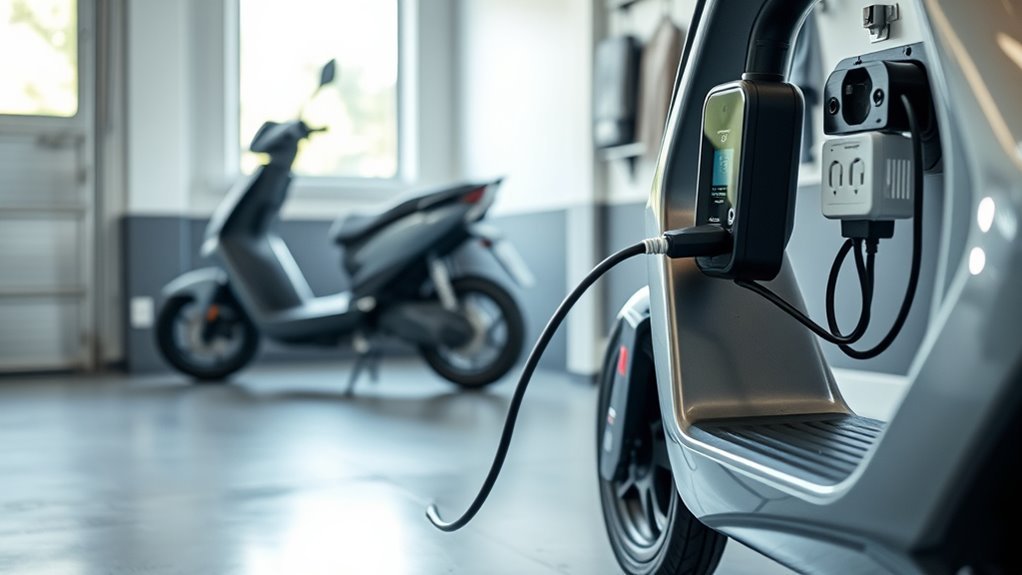
The single most effective way to speed up your scooter’s charge time is replacing your standard low-current power brick with a high-amperage fast charger. Most budget and mid-range electric scooters ship with a basic 2A charger. Upgrading to a 4A or 5A unit doubles the current flowing into the pack, reducing recharge times from 8–10 hours down to roughly 3–4 hours.
When selecting a fast charger, understanding electrical compatibility is critical:
- Voltage (Must Match Exactly): The output voltage of your charger must strictly correspond to your battery’s full charge voltage. A 48V nominal battery requires a 54.6V charger, a 52V pack requires a 58.8V charger, and a 60V pack requires a 67.2V charger. Connecting a higher voltage charger will permanently destroy your electronics and create severe fire hazards.
- Current / Amperage (Can Be Increased): Amperage dictates the rate of charge. Most standard 18650 and 21700 lithium-ion cell arrangements safely support charge rates between 0.5C and 1C according to Battery University research on lithium-ion charging.
- Cooling & Build Quality: Fast chargers generating over 4A produce significant heat. Look for aluminum-cased units equipped with active internal cooling fans and integrated short-circuit, over-voltage, and reverse-polarity protection certified under UL 2272 standards.
Warning: Check your scooter manual for the maximum charge port rating before buying a fast charger. Standard GX16-3 or 3-pin charging ports and their internal wiring are typically fused between 5A and 7A. Exceeding this rating will blow the internal port fuse or melt the port connector.
Utilize Dual Charging Ports (If Supported)
High-performance electric scooters from brands such as Kaabo, Apollo, Dualtron, and Nami often feature dual charging ports wired in parallel to the same battery management system. This configuration allows you to connect two separate chargers simultaneously to cut your downtime in half.
To use dual charging safely and effectively:
- Use Identical Voltage Units: Both chargers must output the identical voltage profile. You can combine two standard 2A chargers to deliver 4A total, or use a 2A standard unit alongside a 4A fast charger if the total 6A current is supported by the BMS.
- Plug into the Wall First: Plug both chargers into AC wall outlets before connecting them to the scooter ports. This equalizes potential and prevents sparking at the charge pins.
- Monitor Port Temperatures: Feel the charging ports after 15 minutes. If either port feels excessively hot to the touch, disconnect one charger immediately.
Charge at the Right Temperature and Allow Cool-Down Time
Lithium-ion batteries operate via chemical reactions that are heavily dependent on ambient temperature. The optimal temperature window for charging an electric scooter battery is between 10°C and 25°C (50°F to 77°F).
“Charging lithium-ion cells at freezing temperatures causes irreversible lithium metal plating, leading to permanent capacity loss and internal short circuits.”
Follow these thermal management guidelines for optimal charging speed and safety:
- The 30-Minute Post-Ride Rule: Discharging a battery under load during a ride generates internal heat. Plugging your scooter in immediately forces a hot battery to absorb incoming current, prompting the BMS to throttle input power to prevent thermal runaway. Allow the scooter to rest for 30 minutes before charging.
- Never Charge Below 0°C (32°F): Cold temperatures drastically increase internal resistance and slow ion movement. If your scooter was stored in a cold garage or ridden in winter, bring it indoors and let the battery reach room temperature before plugging it in.
- Avoid Direct Sunlight: Always charge in a shaded, well-ventilated indoor space. Direct solar heat combined with the heat generated by fast charging can trigger BMS safety shutoffs.
Turn Off Your Scooter While Charging
Always ensure your scooter is fully powered down before connecting the charger. Leaving the scooter turned on introduces parasitic loads that undermine charging speed and sensor accuracy:
- Eliminates Phantom Drain: Active displays, Bluetooth modules, lighting, and controller idle current consume power simultaneously, drawing current away from the battery cells.
- Prevents BMS Sensor Confusion: Modern smart BMS units calculate state-of-charge (SoC) using precise voltage and Coulomb-counting algorithms. Simultaneous charging and discharging distorts these readings, delaying the switch from the Constant Current (CC) to Constant Voltage (CV) phase.
- Reduces Heat Accumulation: The main motor controller produces residual heat when idling, adding unnecessary thermal load inside the deck enclosure.
Pro Tip: Keep your scooter’s firmware updated through the manufacturer’s official companion app. Updates frequently refine the BMS charge curve and improve thermal monitoring algorithms for faster, more stable charging sessions.
Optimize the 20% to 80% Charge Cycle
Lithium-ion charging follows a two-stage protocol: Constant Current (CC) and Constant Voltage (CV). The battery charges at maximum speed from 0% up to roughly 80%. Once the pack reaches 80% capacity, the charger switches to the CV stage, steadily lowering the amperage to safely balance individual cell groups. That final 20% can take as long as the entire first 80% of the session.
| Charging Strategy | Time Impact | Battery Lifespan Effect |
|---|---|---|
| 20% to 80% Partial Cycling | Up to 50% Faster turnaround | Extends lifespan to 1,000+ cycles |
| 0% to 100% Full Saturation | Adds 1.5–3 hours of slow CV trickle | Standard baseline (300–500 cycles) |
| Upgraded High-Amp Charger (4A/5A) | Cuts bulk charge time in half | Negligible impact if kept below 1C rate |
For daily commuting where full range is not required, unplugging your scooter once it hits 80%–85% provides the fastest practical turnaround while doubling your battery’s cycle life. Balance-charge to 100% once every few weeks to allow the BMS to equalize cell voltages.
Using Public EV Charging Stations for E-Scooters
Commuters can tap into public EV infrastructure to top up on the go, but micro-mobility vehicles cannot plug directly into high-voltage DC Fast Chargers (CCS or CHAdeMO). Public fast charging for scooters requires standard AC infrastructure.
Note on Public EV Charging: You can use public Level 2 EV charging stations (such as ChargePoint or Flo) by carrying a portable J1772-to-NEMA 5-15 adapter. This allows you to plug your high-amperage scooter charger into the station’s standard 110V/220V AC output.
When charging at public stations or short transit stops:
- Verify Adapter Compatibility: Ensure your scooter’s charger brick supports dual voltage (100V–240V auto-switching) if connecting to 208V/240V Level 2 public posts.
- Target Strategic Top-Ups: Use 30-to-45 minute stops at cafes or transit hubs to add 30%–50% during the high-speed constant current stage.
- Practice Etiquette: Avoid occupying designated full-size EV parking stalls if dedicated wall outlets or standard micro-mobility docks are available nearby.
Frequently Asked Questions
Can a fast charger damage my electric scooter’s battery?
A fast charger will not damage your battery as long as its voltage matches your scooter’s specification and the amperage stays within the manufacturer’s recommended C-rate (typically under 0.5C to 1C). However, using unapproved chargers with excessive current can overheat cells and degrade capacity prematurely.
Can I leave my fast charger plugged in overnight?
It is not recommended to leave fast chargers connected overnight. While quality BMS circuits include auto-shutoff protections, fast chargers generate higher thermal stress. Using a digital smart plug timer to shut off power once charging is complete is a safer approach.
How do I know if my scooter supports dual chargers?
Scooters supporting dual charging feature two distinct charge ports on the deck (often labeled Port 1 and Port 2). Check your user manual to verify that both ports connect in parallel and confirm the combined amperage limit for the internal BMS.
Should I charge my e-scooter to 100% every time?
No. Charging to 80%–85% provides the fastest practical turnaround and can double your pack’s cycle life. Charging all the way to 100% is only necessary when you require maximum riding range or need to balance the individual cell voltages every few weeks.
Conclusion
You can significantly accelerate your electric scooter’s charging speed by combining upgraded hardware with smart charging habits. Upgrading from a stock 2A brick to a matched 4A or 5A fast charger, utilizing dual charge ports when available, and allowing hot battery cells to cool down for 30 minutes after riding are proven methods to cut charge times safely. Staying within the 20% to 80% charge window will get you back on the road faster while preserving your battery pack’s overall health and cycle life.
Sources
- Battery University: BU-409 Charging Lithium-Ion — Technical standards for Constant Current / Constant Voltage stages and safe C-rate thresholds.
- Battery University: BU-410 Charging at High and Low Temperatures — Data on lithium plating risks below freezing and thermal stress limits.
- UL Solutions: UL 2272 Standard for Electrical Systems for Personal E-Mobility Devices — Safety specifications for micro-mobility chargers and BMS protection circuits.
