
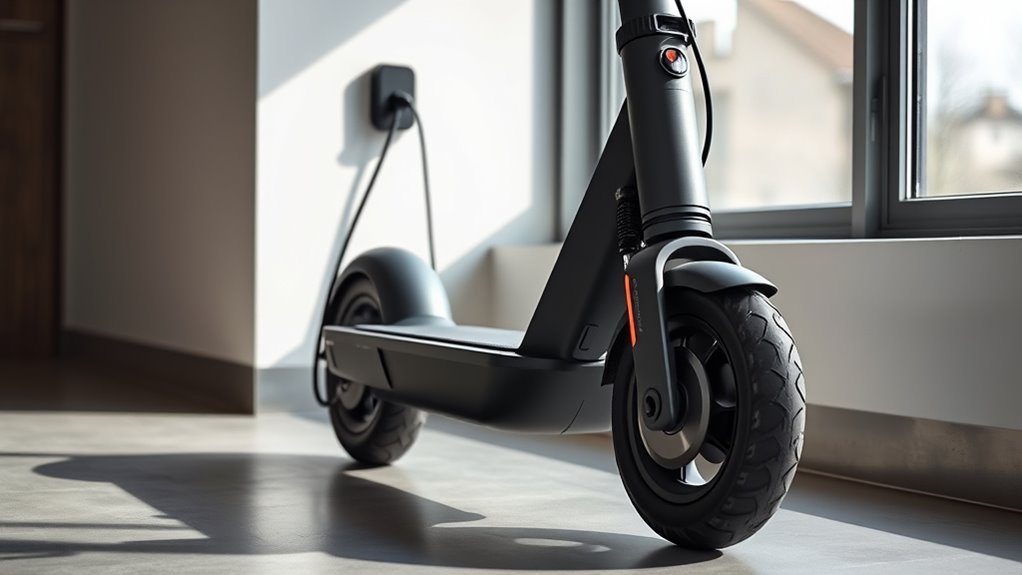
Last Updated on August 25, 2026 by Caleb Warren
Charging an electric scooter correctly is the single most effective way to maximize battery lifespan, maintain peak riding range, and eliminate fire hazards. Because most modern e-scooters rely on high-energy lithium-ion battery packs, following proper connection protocols, ambient temperature limits, and charge-level practices will keep your daily commute safe and dependable.
Quick Answer
To charge an electric scooter safely, let the battery cool for 15 to 30 minutes after riding. Plug the charger into the wall outlet first, then attach the charging cable to the scooter’s port. Charge until the LED turns green (typically 4 to 8 hours), unplug the scooter from the charger first, and maintain your daily battery levels between 20% and 80% to maximize cell lifespan.
Key Takeaways
- Correct Plug Sequence: Always plug into the wall outlet before connecting the scooter to prevent electrical arcing and voltage spikes.
- Thermal Management: Never charge a battery that is hot from a ride or freezing cold (below 32°F / 0°C).
- The 20–80% Rule: Keeping lithium-ion cells between 20% and 80% state-of-charge can double or triple your battery’s total cycle life.
- Storage Target: Store idle scooters at 40% to 60% charge in a cool, dry room to prevent permanent capacity degradation.
At a Glance
| Time Required | 4–8 hours (standard charger); 2–4 hours (fast charger) |
| Difficulty | Beginner / Basic Routine |
| Tools Needed | OEM or UL 2272-certified charger, dedicated wall outlet |
| Cost | $0.05–$0.20 per full charging cycle |
Disclosure: As an Amazon Associate I earn from qualifying purchases. Some links on this page are affiliate links, at no extra cost to you.
How to Charge an Electric Scooter at Home
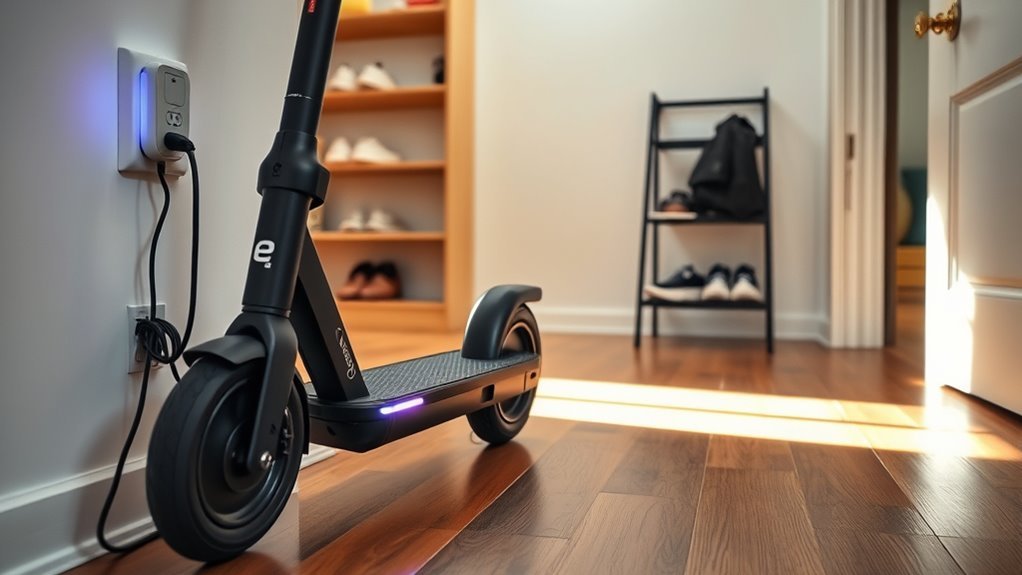
Safe home charging requires a clean, stable environment and strict adherence to electrical safety guidelines. Always position your scooter on a flat, non-combustible surface (such as concrete, tile, or hardwood) in a dry, well-ventilated area away from direct sunlight, flammable liquids, and sleeping quarters.
Maintain an ambient room temperature between 10°C and 35°C (50°F to 95°F). Charging outside of this range places severe chemical stress on the internal cells. According to electrical safety standards established under UL 2272 certification, micro-mobility devices must be charged using dedicated, non-daisy-chained circuits to prevent household overloads.
Warning: Never charge an electric scooter on a carpet, rug, or bed, and never block an exit pathway with your charging setup. If the battery emits a sweet chemical smell, hissing sounds, or bulges, unplug the power source from the main breaker immediately and contact emergency services.
Inspect the Scooter and Charger First
A thorough visual and tactile inspection before each charging session prevents electrical shorts, port degradation, and thermal failure.
- Allow for a 15–30 Minute Cool-Down: Discharging a battery during a ride generates internal heat. Plugging in immediately compounds this thermal load and accelerates internal degradation.
- Examine the Port and Pins: Open the port’s rubber dust cover and check for moisture, dirt, or bent connector pins. Use a dry wooden or plastic toothpick to gently remove debris—never use conductive metal tools.
- Check Cable and Brick Integrity: Inspect the power brick and cords for pinched wires, exposed copper, cracked casing, or discoloration from past heat buildup.
- Verify Voltage and Model Ratings: Ensure the charger’s output voltage and polarity match the label on your scooter’s deck or user manual. Mismatched chargers can bypass the Battery Management System (BMS) and cause overvoltage failure.
The Correct Connection Sequence: Wall First, Scooter Second
Connecting your charger in the correct order protects delicate connectors and internal circuit boards from electrical degradation caused by inrush current.
Always plug the charger into the AC wall outlet first. When you plug the charger into the wall, the internal capacitors charge up and stabilize the output voltage. Once the charger’s indicator LED lights up (typically showing solid green or blue), connect the DC output plug straight into your scooter’s charging port.
If you connect the charger to the scooter first, the high voltage inside the battery pack can jump across the air gap as the pins approach the port, producing an electrical spark. Over time, these micro-sparks oxidize the connector pins, increase electrical resistance, generate excess heat, and can eventually melt the charging port.
Pro Tip: When the charge cycle completes, reverse the procedure: disconnect the charging cable from the scooter’s port first, close the rubber protective port cover, and then unplug the charger from the wall outlet.
How to Tell When Charging Is Done
Most electric scooter chargers use a dual-color LED indicator to communicate the charge state. The charger functions through a two-stage process: Constant Current (fast charging up to ~80%) followed by Constant Voltage (trickle charging to balance cells up to 100%).
| LED / System Signal | Operational Meaning | Recommended Action |
|---|---|---|
| Solid Red / Orange | Constant Current stage active; charging in progress. | Allow session to continue in a ventilated space. |
| Solid Green | Battery is 95%–100% full; cell balancing complete. | Unplug from scooter first, then wall outlet. |
| Flashing Red | Thermal fault, short circuit, or polarity issue detected. | Disconnect immediately; inspect port and charger. |
| Instant Green (on empty) | Blown charging fuse, tripped BMS lock, or dead pack. | Test charger voltage with a multimeter or service BMS. |
After charging completes, allow the scooter to rest for 5 to 10 minutes before riding. This rest interval allows cell voltages to settle and chemical reactions inside the battery to stabilize.
Maximize Lifespan: The 20–80% Rule
Lithium-ion cells experience the highest mechanical and chemical stress when operating at the extreme ends of their capacity curve: below 20% voltage (deep discharge) and above 80% voltage (high cell saturation).
According to battery research compiled by Battery University, cycling a lithium-ion battery between 20% and 80% state-of-charge can extend its useful lifespan from 300–500 full cycles up to 1,000–1,500 partial cycles.
- Recharge at 20–30%: Deeply draining a battery causes internal copper shunting and places heavy strain on the voltage regulators.
- Stop at 80–90% for Daily Commutes: If your daily round trip does not require 100% capacity, disconnect the charger once the battery reaches 80%–90%.
- Occasional 100% Balance Charge: Charge your scooter to 100% every 20 to 30 cycles and leave it on the green light for an extra 45 minutes. This allows the BMS to perform passive cell balancing, equalizing the voltages across individual cell groups.
Storing the Battery During Extended Downtime
Leaving an electric scooter unused for weeks or months requires specific storage prep. Storing a battery at 100% full capacity causes accelerated cathode degradation and permanent loss of usable amp-hours. Storing it at 0% allows parasitic drain from the BMS display and controller to drop cells below their critical low-voltage cutoff, permanently bricking the pack.
Note: For seasonal storage (such as over the winter), charge or discharge the scooter to 45%–60% capacity. Store the scooter in a dry room between 10°C and 20°C (50°F to 68°F). Check the battery level once every 30 days and top it off to 50% if self-discharge drops it below 40%.
Troubleshooting Common Charging Problems
If your electric scooter fails to charge, follow this systematic diagnostic process before replacing components:
- Charger Stays Green When Connected to an Empty Scooter:
This usually indicates that the charger cannot detect the battery pack. Check for a blown inline charging port fuse (commonly a standard 5A or 10A automotive fuse located near the battery), a loose solder joint on the port, or a BMS that has entered low-voltage cutoff protection. - Charger Light Does Not Turn On at All:
Plug the charger into a known working wall outlet without connecting it to the scooter. If the LED does not illuminate, the internal fuse or switching transistor inside the charger power brick has failed. Replace the charging brick with an OEM replacement. - The Charger Brick Becomes Extremely Hot:
While power adapters naturally warm up during the constant-current stage (up to 45°C–50°C / 113°F–122°F), it should never be too hot to touch comfortably. Ensure the power brick is resting on a hard, flat surface with open airflow. If it emits an odor of burnt plastic, disconnect it immediately. - Scooter Charges Very Slowly:
Slow charging is typically caused by high ambient temperatures causing thermal throttling, aging battery cells with high internal resistance, or an underpowered replacement charger delivering insufficient amperage.
Frequently Asked Questions
How do I charge my electric scooter safely?
Turn off the scooter and allow the battery pack to cool for 15 to 30 minutes after riding. Plug the manufacturer-approved charger into a standard wall outlet first to stabilize voltage. Next, connect the charging cable to the scooter’s charging port. Charge the device on a hard, non-flammable surface, monitor the LED indicator until it turns green, and disconnect the scooter before unplugging the wall outlet.
Can I leave my electric scooter charging overnight?
Leaving your scooter plugged in overnight is not recommended. While modern Battery Management Systems (BMS) include overcharge protection circuits that cut power once cells reach full capacity, continuous trickle charging can create heat accumulation, stress cathode materials, and increase safety risks if a component fails. Use a mechanical plug timer or smart plug to automatically shut off power after 4 to 6 hours.
Can I charge an electric scooter in freezing temperatures?
No. You must never charge a lithium-ion scooter battery at or below freezing temperatures (0°C / 32°F). Charging in sub-zero conditions causes lithium ions to plate onto the anode as metallic lithium rather than intercalating into the graphite structure. This creates internal short circuits, destroys capacity permanently, and poses a severe fire hazard during subsequent discharges.
Do you have to fully charge an electric scooter before first use?
Yes. Most manufacturers ship electric scooters with batteries charged to roughly 30% to 50% to comply with international shipping regulations. Fully charging the pack to 100% before your maiden ride balances individual cell groups across the pack, calibrates the BMS state-of-charge calculation, and ensures accurate battery meter readings on your display.
Can I use a fast charger on any electric scooter?
You should only use a fast charger if your scooter’s manufacturer explicitly certifies the model for high-amperage charging. While standard chargers typically deliver 1.5A to 2A, fast chargers deliver 4A to 5A or more. If the internal battery wiring, charging port gauge, or BMS cannot handle high continuous current, fast charging can melt connectors and cause thermal runaway.
Conclusion
Charging your electric scooter requires more than simply plugging it into the nearest open socket. By adopting disciplined charging habits—letting the pack cool before plugging in, connecting the wall outlet first to avoid port arcing, and operating primarily within the 20% to 80% battery window—you protect your financial investment and prevent hazardous thermal issues. If your scooter fails to charge or exhibits unusual heat or LED behavior, isolate the fault methodically across the charger, outlet, and port rather than forcing a charge.
Sources
- UL Solutions — Safety Standard for Electrical Systems for Personal E-Mobility Devices (UL 2272).
- U.S. Consumer Product Safety Commission (CPSC) — Micromobility Device Fire and Electrical Safety Guidelines.
- National Fire Protection Association (NFPA) — Lithium-Ion Battery Safety and Hazards in Residential Environments.
- Battery University — BU-808: How to Prolong Lithium-Based Batteries.
