
Last Updated on September 10, 2026 by Daniel Globe
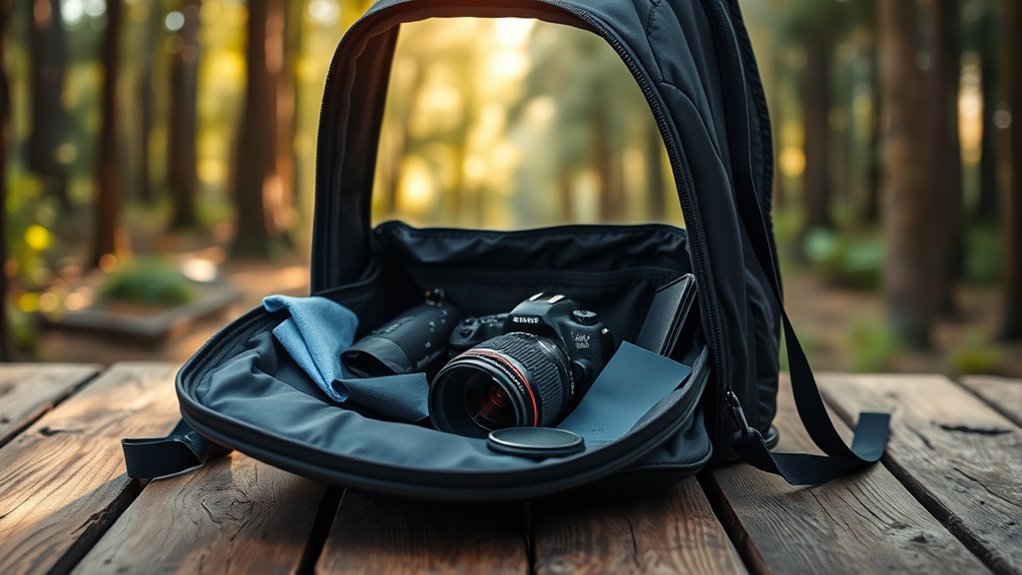
A camera can travel safely in an ordinary backpack when it is held inside a snug padded insert, separated from hard accessories, and positioned where the bag can absorb bumps without letting the equipment shift. The right setup also keeps batteries, memory cards, rain protection, and frequently used controls easy to reach.
Quick Answer
Place the camera in a snug padded insert near the middle of the backpack, with dividers separating the body, lens, and accessories. Keep the lens capped, the camera powered off, and heavy gear close to your back. Use a rain cover, secure quick-access clip, and protected battery cases when conditions or travel rules require them.
Key Takeaways
- Use a padded camera insert or dedicated compartment that fits the equipment closely enough to prevent movement.
- Keep the camera away from the backpack floor, exterior walls, loose metal items, food, and water bottles.
- Place the heaviest equipment close to your back and near the middle of the pack for better balance.
- Carry spare lithium batteries in protective cases and follow current airline rules when flying.
- Protect against sustained rain, condensation, dust, theft, and data loss—not just direct impact.
At a Glance
| Time Required | About 10–15 minutes for the initial setup and fit check |
| Difficulty | Easy |
| Tools Needed | Padded insert or camera compartment, adjustable dividers, lens and body caps, battery cases, microfiber cloth, and optional rain cover |
| Cost | $0 if your backpack already has suitable padding and dividers; otherwise the cost varies by insert, rain cover, or carrying accessory |
Disclosure: As an Amazon Associate I earn from qualifying purchases. Some links on this page are affiliate links, at no extra cost to you.
Choosing the Right Camera Carrying Method
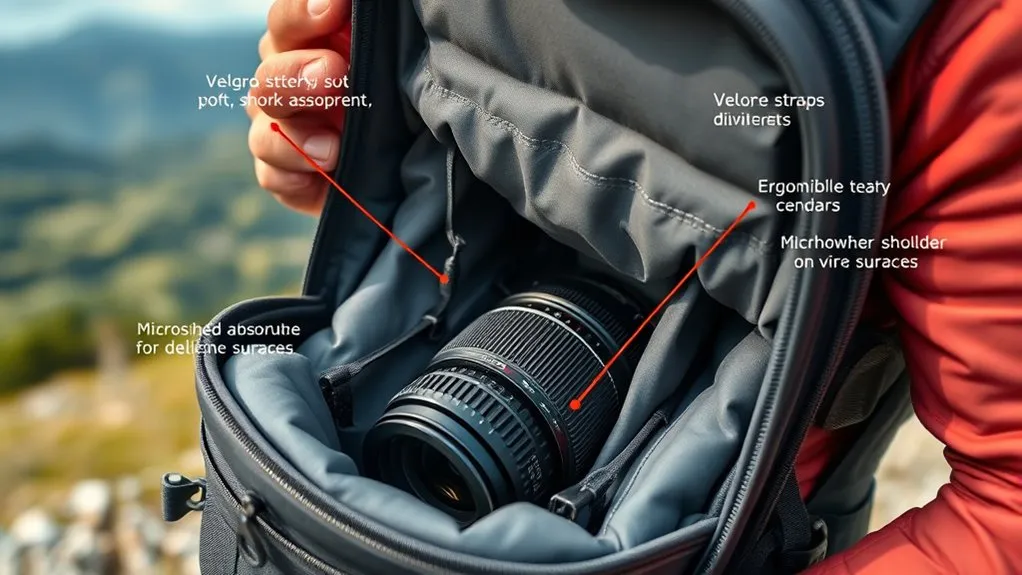
The safest carrying method depends on how quickly you need the camera, the weather, the terrain, and the size of your equipment. No single method offers maximum protection and instant access at the same time.
| Method | Main Advantage | Main Tradeoff |
|---|---|---|
| Padded insert inside a backpack | Strong impact, weather, and theft protection | Slower access unless the backpack has a side or rear opening |
| Dedicated camera pod | Lightweight protection that can move between bags | Fit and weather resistance vary by pod and zipper |
| Shoulder-strap camera clip | Very fast access with the camera held securely | Camera remains exposed to rain, dust, impact, and attention |
| Padded waist or sling bag | Fast access to a compact camera kit | Limited space and uneven weight with larger lenses |
The regular Hyperlite Mountain Gear Camera Pod is listed at 2.8 oz (79 g). It uses Dyneema Composite Fabrics and has a water-resistant zipper. It is a lightweight weather-resistant option, but its dimensions must be checked against the actual camera and mounted lens.
The Peak Design Capture Camera Clip holds a camera rigidly on a compatible backpack strap, belt, or bag. It can provide quick access during a walk, but the camera is outside the pack. Add an appropriate cover or move the camera inside before entering heavy rain, dense brush, crowded transit, or rough terrain.
Note: “Weather-resistant” does not automatically mean waterproof. Seams, zippers, openings, and the time spent in rain all affect protection.
Packing Preparation and Strategy
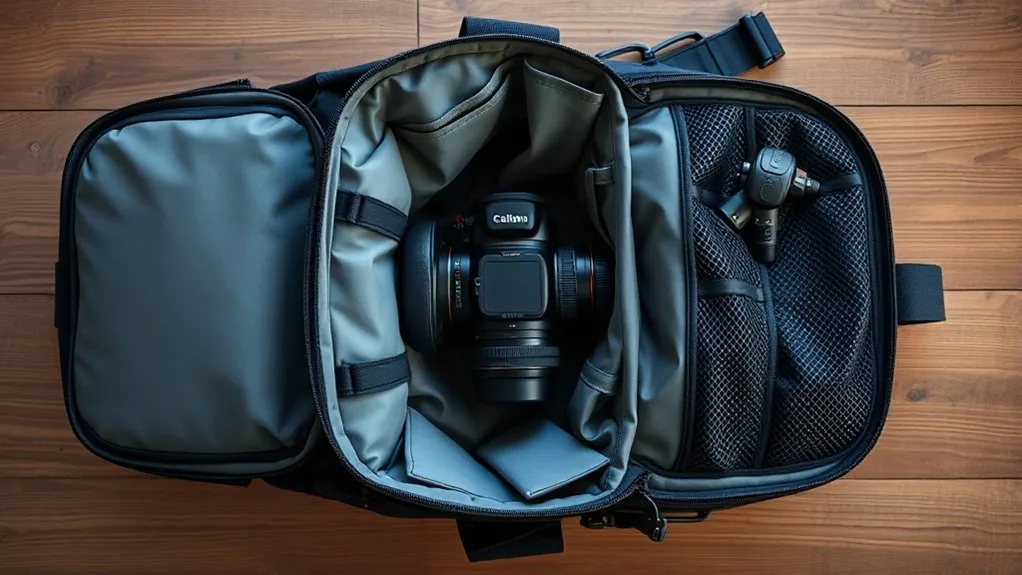
Lay out the complete kit before packing. Include the camera body, lenses, batteries, memory cards, charger, filters, cleaning tools, strap, tripod accessories, rain protection, and any non-camera items that will share the backpack. Remove equipment that does not support the planned subjects or conditions.
How to Pack a Camera in a Backpack Step by Step
- Back up existing files. Copy important images from each memory card and confirm that the files open before reusing or formatting the card.
- Power down the camera. Turn it off, retract a retractable lens, fit the lens cap, and close all battery, card, and port doors.
- Prepare the padded insert. Adjust the dividers so every body and lens has its own compartment. The fit should be snug without forcing pressure onto controls or lens barrels.
- Create a protected base. Keep at least one layer of padding between the equipment and the backpack floor. Do not let a camera rest directly on a thin exterior panel.
- Position the heaviest gear. Place the camera and largest lens close to your back and near the vertical center of the backpack. This reduces leverage and keeps the load more stable.
- Separate hard objects. Keep batteries, chargers, tripods, tools, keys, and metal accessories from contacting the camera or lens glass.
- Control movement. Fill unused insert space with properly placed dividers rather than loose clothing that can compress or shift.
- Keep frequent items accessible. Place a spare battery, clean memory card, lens cloth, and rain cover in a secure upper or side pocket.
- Close and test the backpack. Zip every opening, lift the bag, lean it gently in several directions, and listen or feel for movement. Readjust any compartment that allows equipment to slide.
- Check the backpack fit. Tighten the shoulder straps and hip belt as applicable, then walk for several minutes before beginning the trip.
Warning: Do not place an unprotected camera at the bottom of a backpack or beside a loose water bottle. A short drop, leaking cap, or hard metal accessory can damage the body, lens mount, screen, or front element.
Should the Lens Stay Mounted?
A compact body with a short lens can remain assembled when the padded insert supports both pieces and prevents the lens from acting as a lever. This arrangement offers the fastest access and reduces lens changes in dusty conditions.
Detach a long or heavy lens when the combined setup does not fit securely, when the lens mount would carry side pressure, or when the pack may receive rough handling. Fit both the body cap and rear lens cap before placing the pieces in separate padded compartments.
Pro Tip: Take a photo of the finished divider layout before your trip. You can use it to restore the same secure arrangement after changing lenses or unpacking at a hotel.
Lens Selection for Travel
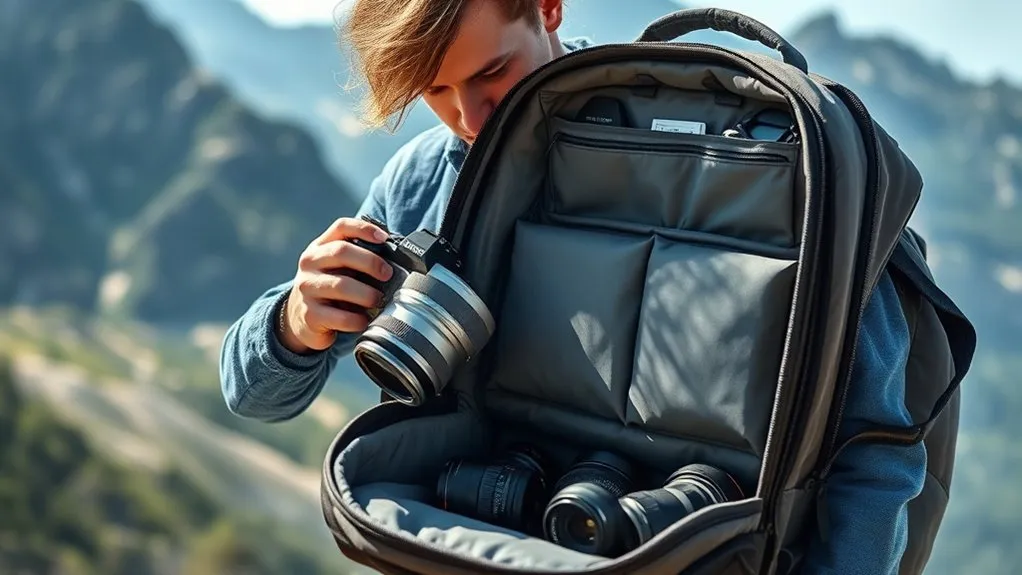
Choose lenses according to the subjects you expect to photograph rather than packing every focal length you own. One versatile zoom often reduces weight, lens changes, and the number of padded compartments required.
For compatible Sony full-frame cameras, the Sony FE 20–70mm F4 G covers an ultra-wide-to-short-telephoto range that can suit landscapes, interiors, street scenes, and general travel. The Sony FE 24–105mm F4 G OSS reaches farther but weighs approximately 23.4 oz (663 g), so the extra range should be balanced against pack weight.
The Tamron 17–50mm F4 Di III VXD is another wide-to-standard option for Sony E-mount full-frame mirrorless cameras. It weighs approximately 16.2 oz (460 g). A 16–35mm-class lens may be a better choice when architecture, interiors, or expansive landscapes are the main subjects.
Before choosing a lens, consider:
- The camera mount and sensor format
- The actual subjects and working distances
- Low-light and depth-of-field needs
- Lens weight and physical length
- Whether the lens has stabilization or relies on the camera body
- Weather-sealing limitations
- The size of the padded compartment with the hood attached or reversed
A prime lens may still be the better travel choice when low weight, a wide aperture, or a consistent photographic style matters more than zoom flexibility.
Managing Camera Bodies and Accessories
Select equipment according to the planned work, not the maximum amount the backpack can hold. Extra bodies and accessories add weight, take up padding, and increase the number of items that must be protected and tracked.
Selecting Essential Camera Bodies
Choose a camera body based on the required image and video features, lens compatibility, autofocus, stabilization, battery life, environmental protection, and output resolution. A higher megapixel count can support large prints or heavy cropping, but it does not guarantee better images by itself.
A second body may be justified for paid work, remote destinations, or assignments where equipment failure would end the shoot. For casual travel, one reliable body may offer a better balance of weight and capability.
Remove a grip, cage, monitor, or other rigging only when it is not needed and doing so will not expose connectors, interfere with planned video work, or slow down the shoot. Fit protective caps to unused ports and contacts.
Streamlining Accessories for Travel
Pack accessories that solve a specific need. A practical compact kit may include:
- One or two spare batteries in individual protective cases
- At least one verified empty memory card
- A charger and the correct cable
- A clean microfiber lens cloth and hand-squeeze blower
- A rain cover or waterproof pack liner
- One or two essential filters in protective cases
- A compact strap or secure camera clip
- A small card containing emergency contact and equipment-return information
Keep chargers, power banks, and adapters in a separate organizer so their plugs cannot scratch the camera. Store filters vertically in rigid cases rather than loose in fabric pockets.
Packing Batteries and Memory Cards
Cover exposed battery terminals with nonmetallic tape or use individual battery cases. Do not allow batteries to contact coins, keys, tripod plates, or other conductive metal objects.
Keep used and empty cards physically separate from cards that contain unbacked-up work. A simple method is to store blank cards label-up and used cards label-down in a weather-resistant card wallet.
Before formatting a memory card, confirm that its files exist in at least one verified backup location. Formatting is not a substitute for checking available space.
Space and Weight Management
Efficient space management begins with the backpack’s fit. A camera insert should not bulge against zippers, press directly on a rear screen, or leave enough open space for equipment to accelerate before hitting a divider.
Place dense equipment close to your back. Lighter clothing and soft personal items can sit farther from the back panel, provided they do not replace the insert’s structural padding. Keep the left and right sides reasonably balanced.
Tripods and monopods should be secured with at least two attachment points when carried outside the backpack. Tighten every leg lock, remove or secure loose plates, and prevent the tripod head from swinging into the camera compartment.
Leave a small amount of usable space for a removed jacket or temporary lens change, but do not create an empty cavity around the camera. A thoughtfully packed backpack should feel stable rather than top-heavy or lopsided.
Overpacking Awareness and Backup Considerations
The “just in case” approach often produces several lenses or accessories that serve nearly the same purpose. Review the planned location, expected light, subjects, and transportation before deciding what earns a place in the pack.
Prioritize backup equipment according to consequence:
- High priority: batteries, memory cards, required cables, prescription or essential personal items, and a second audio source for critical video
- Situation-dependent: a second camera body, duplicate charger, backup lens, or portable storage device
- Lower priority: multiple similar filters, several overlapping lenses, large rigging components, or accessories without a planned use
Protecting Photo and Video Files
When possible, keep at least two copies of important work in different physical locations. For example, retain the original card and copy the files to a laptop or portable drive. Cloud upload can provide an additional copy when the connection, privacy requirements, and file size make it practical.
Do not erase or format the original card until the copied files have been checked. Open several files, verify the expected folder and file count, and confirm that the destination drive is working.
Efficient Use of Gear and Quick Access Features
Organize equipment by frequency of use. The camera, primary lens, spare battery, memory card, and rain protection should be reachable without unloading clothing or other travel supplies.
A rear-opening camera compartment keeps the main access panel against your body while the pack is worn and can provide a cleaner work surface when the backpack is placed front-side down. A side opening offers faster access but must be fully zipped before moving.
Large zipper pulls and clearly assigned pockets reduce fumbling. A camera clip can keep both hands free while providing fast access, but it should be locked correctly and attached to a strap that is stiff enough for the clip manufacturer’s requirements.
| Feature | Benefit | Check Before Use |
|---|---|---|
| Top or side access | Reduces retrieval time | Opening closes completely and cannot unzip under load |
| Clear or labeled organizers | Makes small accessories easier to find | Hard items cannot contact the camera |
| Camera clip | Provides stable, hands-free access | Plate, bolts, lock, strap fit, and weather exposure |
| Rear-opening compartment | Improves security and keeps the opening away from mud | Harness stays clear when the bag is opened |
Weather Considerations and Stability
Weather protection requires more than a weather-resistant camera or pod. Water can enter through an open zipper, a wet access panel, an unsealed backpack seam, or a lens change performed in the rain.
- Use layered protection. Combine a padded insert with a backpack rain cover or waterproof pack liner during sustained rain.
- Keep the rain cover accessible. Store it in an outside or top pocket rather than underneath the camera equipment.
- Avoid unnecessary lens changes. Change lenses in a sheltered, dry, low-dust location whenever possible.
- Protect externally carried cameras. Move a clipped camera inside the backpack or fit a suitable cover before conditions worsen.
- Dry the backpack before opening it indoors. Wipe away standing water so it does not run into the camera compartment.
Preventing Condensation
Rapidly moving cold equipment into warm, humid air can cause moisture to condense on or inside the camera. Canon’s camera handling guidance recommends placing cold equipment in a sealed plastic bag and allowing it to adjust to the warmer temperature before removing it.
If the camera or lens fogs, turn the equipment off and allow it to dry and acclimate naturally. Do not remove the lens, insert a battery, connect power, or repeatedly operate controls while visible moisture is present.
Sand, Dust, and Salt Spray
Use a hand-squeeze blower to remove loose particles before wiping a lens. Rubbing sand or grit across glass can scratch the surface. Keep the backpack closed on beaches, avoid placing it directly on sand, and wipe salt spray from exterior surfaces with a method approved by the equipment manufacturer.
Do not use high-pressure canned air on the image sensor. Use the camera’s built-in cleaning function or follow the exact sensor-cleaning procedure in the owner’s manual. Seek professional service when contamination cannot be removed safely.
Air Travel and Drone Packing Rules
The Transportation Security Administration permits digital cameras in carry-on and checked bags, but valuable and fragile camera equipment is generally safer in your carry-on. Confirm the airline’s cabin-bag dimensions and weight limits before departure.
If a carry-on containing camera gear must be gate-checked, remove the camera, lenses, memory cards, spare lithium batteries, and power banks whenever possible. Keep them with you in a smaller personal item that meets airline requirements.
Warning: Under current FAA PackSafe guidance, spare lithium batteries and power banks must remain in carry-on baggage. Protect every terminal from short circuits. If a carry-on is checked at the gate, remove the spare batteries and keep them in the cabin.
Most personal lithium-ion camera and drone batteries are permitted up to 100 watt-hours per battery. Batteries rated above 100 Wh and up to 160 Wh require airline approval, and no more than two spare batteries in that range are allowed per passenger. Airlines may apply stricter limits, so check the carrier’s rules before flying.
A drone may be placed in a padded camera backpack when it fits securely and cannot contact the camera equipment. Fold or remove the propellers according to the manufacturer’s instructions, protect the gimbal, and keep each spare battery in an individual case or pouch. Check destination-specific drone registration and flight rules separately from baggage rules.
Preparing for Shoots and Maintenance
Treat the final check like preparation for a professional assignment. Clean the exterior glass, charge batteries, verify memory-card capacity, test the camera, and confirm that every required cable and accessory is present.
| Task | When to Do It | Important Detail |
|---|---|---|
| Inspect and clean lens glass | Before departure and when visibly dirty | Blow off loose grit before using a clean microfiber cloth |
| Charge and inspect batteries | Before departure | Do not pack swollen, damaged, overheating, or recalled batteries |
| Back up memory cards | Before reusing a card | Open copied files and verify the destination before erasing originals |
| Format a memory card | After backup and before a new assignment when appropriate | Use the camera’s format function with a sufficiently charged battery |
| Check camera settings | Before the first shot | Review file type, date and time, autofocus mode, stabilization, and exposure settings |
| Test backpack movement | After every major repack | Nothing should rattle, slide, or press against the screen or lens glass |
Set the camera’s basic shooting configuration before leaving shelter, but review it again at the location. A previous custom setting, high ISO value, exposure compensation, or unusual autofocus mode can remain active unnoticed.
Troubleshooting Common Camera Packing Problems
The Camera Moves Inside the Insert
Reposition the padded dividers so they contact the sides of the camera or lens without pressing buttons. Use a smaller insert when the current compartment remains too large. Do not rely on loose clothing as the only restraint.
The Backpack Feels Top-Heavy or Pulls Backward
Move the camera body and largest lens lower and closer to the back panel. Shift lightweight clothing outward and balance tripod or water-bottle placement from side to side.
The Camera Is Too Slow to Reach
Move the primary setup to the backpack’s dedicated access point and relocate low-priority accessories. Consider a properly fitted camera clip or small padded sling for periods when rapid access matters more than maximum protection.
The Camera or Lens Fogs
Turn it off, keep ports closed, and allow it to acclimate. Do not wipe internal surfaces or detach the lens while condensation may be present.
The Gear Gets Wet
Move to shelter, turn the camera off, remove exterior water with a clean absorbent cloth, and follow the manufacturer’s drying and service guidance. Do not apply direct high heat or place wet equipment on a charger.
The Backpack Causes Shoulder or Back Pain
Reduce nonessential equipment, move heavy items closer to the back panel, and readjust the harness. Use the hip belt when the backpack provides one. Persistent discomfort may mean the pack does not fit your torso or the load is too heavy for comfortable travel.
Sources
- Federal Aviation Administration — PackSafe: Lithium Batteries — carry-on, terminal-protection, battery-size, and airline-approval requirements
- Transportation Security Administration — Digital Cameras — U.S. baggage screening guidance for cameras
- Canon — Camera Handling Precautions — condensation prevention during temperature changes
- Hyperlite Mountain Gear — Camera Pod Specifications — regular-size weight, materials, dimensions, and zipper description
- Peak Design — Capture Camera Clip — clip purpose and carrying configuration
- Sony — FE 20–70mm F4 G — official focal-range and travel-lens information
Frequently Asked Questions
Can I carry a drone in my camera backpack?
Yes, provided the drone fits in a padded compartment and cannot strike the camera equipment. Protect the gimbal and propellers. When flying, keep spare lithium batteries in your carry-on, protect their terminals, check the watt-hour rating, and follow both FAA and airline restrictions.
What are the best backpacks for camera gear?
There is no single best model for every photographer. Look for a snug padded insert, adjustable dividers, secure zippers, a comfortable harness, weather protection, and access that fits your shooting style. Lowepro, Peak Design, and Manfrotto are established options, but test the backpack with your actual camera and largest lens before relying on it.
How do I clean my camera while traveling?
Use a hand-squeeze blower to remove loose dust from exterior glass, then use a clean microfiber lens cloth when needed. Keep caps fitted when the equipment is stored. Avoid touching the image sensor or using canned air unless the camera manufacturer specifically approves the method.
Can I use packing cubes for camera equipment?
A padded camera cube or padded insert can work well. An ordinary fabric clothing cube does not provide enough impact protection by itself. Whatever you use should hold the camera snugly, separate hard items, and keep the equipment away from the backpack’s outer shell.
What safety tips should I follow when traveling with a camera?
Keep the backpack zipped and close to your body, avoid displaying equipment unnecessarily in crowded areas, use a secure strap or locked clip, record serial numbers, and maintain current backups. Consider suitable equipment insurance when loss or damage would create a major financial burden.
Should I place the camera lens-up or lens-down?
Either orientation can work when the insert supports the camera securely. The important points are to keep pressure off the lens mount, screen, control dials, and front element. Avoid resting a long, heavy mounted lens on its front end unless the compartment was designed to support the complete setup.
Can I put my camera in checked luggage?
TSA permits digital cameras in checked baggage, but valuable and fragile equipment is usually better protected in your carry-on. Spare lithium batteries and power banks cannot be placed in checked baggage. Also confirm your airline’s rules, especially when a carry-on may be gate-checked.
Conclusion
To carry a camera safely in a backpack, use a properly fitted padded insert, isolate every hard component, and keep the heaviest equipment close to your back. Test the finished pack for movement before leaving, and organize the items you use most so protection does not prevent practical access.
Impact padding is only part of the job. Protect the equipment from leaking bottles, sustained rain, condensation, loose battery terminals, theft, and unverified memory-card erasure. A smaller, carefully selected kit is usually easier to balance, faster to use, and safer to carry than an overfilled backpack.

