
Last Updated on July 27, 2026 by Daniel Globe
Knowing what to pack for a hiking trip is about more than comfort. The right clothing, navigation tools, food, water, emergency gear, and first-aid supplies can help you handle changing weather, delays, minor injuries, and unexpected nights outside. Use this checklist as a starting point, then adjust it for your route, season, local regulations, and personal needs.
Quick Answer
For a hiking trip, pack the Ten Essentials: navigation, sun protection, extra insulation, illumination, first aid, fire, repair tools, extra food, water and treatment, and emergency shelter. Add footwear and clothing for the terrain, then customize for weather, trip length, local regulations, wildlife, and any overnight camping needs.
Key Takeaways
- Pack the Ten Essentials even for a day hike, then add route- and weather-specific equipment.
- Carry a map and compass and download digital maps for offline use before leaving cell coverage.
- Plan food and water around trip length, heat, altitude, water availability, and possible delays.
- Treat natural water rather than assuming a clear-looking stream is safe to drink.
- Leave a trip plan with a trusted person and tell them when you expect to return.
- Check trail alerts, weather, permits, wildlife rules, and fire restrictions shortly before departure.
At a Glance
| Time Required | Varies by route and trip length; allow enough time to check conditions, regulations, water sources, and every item before leaving. |
| Difficulty | Beginner-friendly for day hikes; overnight and remote trips require more planning and self-sufficiency. |
| Tools Needed | Route map, weather forecast, hiking pack, Ten Essentials, and any destination-specific equipment. |
| Cost | Varies widely depending on the equipment you already own, trip length, season, and whether overnight camping gear is required. |
Clothing and Footwear for a Hiking Trip
Choose hiking clothing for the actual weather and terrain rather than the season alone. Conditions can change quickly, especially in mountains and exposed areas.
For cold conditions, use layers. A moisture-wicking base layer helps move sweat away from your skin. Add an insulating fleece, synthetic jacket, or other warm mid-layer, followed by a weather-resistant outer shell when wind, rain, or snow is possible. Keep insulation dry so it can do its job.
In warm weather, lightweight, breathable, quick-drying clothing is more comfortable than heavy fabrics. Long sleeves, pants, a brimmed hat, and clothing designed for sun protection can also reduce UV exposure. Pack rain protection whenever the forecast or local climate makes showers possible.
Footwear should match the trail. Hiking shoes or trail runners can work well on maintained terrain, while rugged, rocky, muddy, snowy, or unstable routes may call for more supportive hiking boots. Whatever you choose, make sure the shoes fit well, provide useful traction, and have been worn before the trip. Moisture-wicking synthetic or wool socks can help manage sweat and friction.
For cold, snowy, or muddy conditions, insulated footwear or gaiters may be appropriate. Traction devices may also be necessary on icy routes, but check current trail conditions before packing them.
Pro Tip: Pack one dry insulating layer that stays protected inside your backpack. Even a warm day can become uncomfortable or dangerous if rain, wind, an injury, or an unexpected delay keeps you outside after temperatures fall.
Plan Your Hike Before You Pack
A good packing list starts with the route. Choose a trail that matches the abilities of everyone in your group, then check distance, elevation change, terrain, expected hiking time, water availability, and possible hazards. The National Park Service Trip Planning Guide also recommends checking current conditions and making sure you know how to use the equipment you bring.
Before leaving, check the latest weather forecast, trail closures, wildfire or smoke conditions, permit requirements, wildlife rules, parking information, and current fire restrictions. Conditions can change after you originally planned the trip, so check again shortly before departure.
Leave a Trip Plan With Someone You Trust
Tell a trusted person who is not going on the hike where you are going and when you expect to return. Include the route or trail name, trailhead or parking location, members of your group, vehicle details when useful, communication devices you are carrying, and your expected return time. Tell that person when you finish the hike so they know you are safe.
Warning: This packing guide is general safety information, not a substitute for current ranger instructions, land-management rules, weather warnings, medical advice, or destination-specific requirements. Local guidance should always take priority.
Day Hike vs. Overnight Trip
A day hiker still needs emergency gear, but usually does not need a full sleep system or cooking setup. Overnight backpackers must add a suitable shelter, sleeping bag or quilt, sleeping pad, more food, additional water-treatment capacity, cooking equipment if meals require it, toiletries, and any required food-storage equipment.
The longer or more remote the trip, the more important backup supplies become. Do not turn a short packing list into a minimal-survival contest; pack for the realistic consequences of bad weather, navigation mistakes, injuries, and delays.
Navigation and Safety Gear
Carry navigation tools you understand how to use. A topographic or trail map can show terrain, intersections, water sources, and landmarks, while a compass provides a battery-free way to orient the map and determine direction.
Smartphones and handheld GPS units are useful, but cell service is not required for every navigation function. Download maps for offline use before your hike and make sure the device is fully charged. The National Park Service still recommends carrying a backup paper map because a phone can be lost, damaged, or run out of power.
A whistle is a useful signaling tool because it can attract attention without requiring you to repeatedly shout. Carry a headlamp or flashlight even when you expect to finish before dark, and bring spare batteries or another dependable power source when appropriate.
A multi-tool or knife can help with simple repairs and food preparation. Duct tape, cord, safety pins, and a small repair kit can handle many minor gear failures.
The National Park Service Ten Essentials groups these preparations into navigation, sun protection, insulation, illumination, first aid, fire, repair tools, food, hydration, and emergency shelter.
Backpack and Camping Equipment
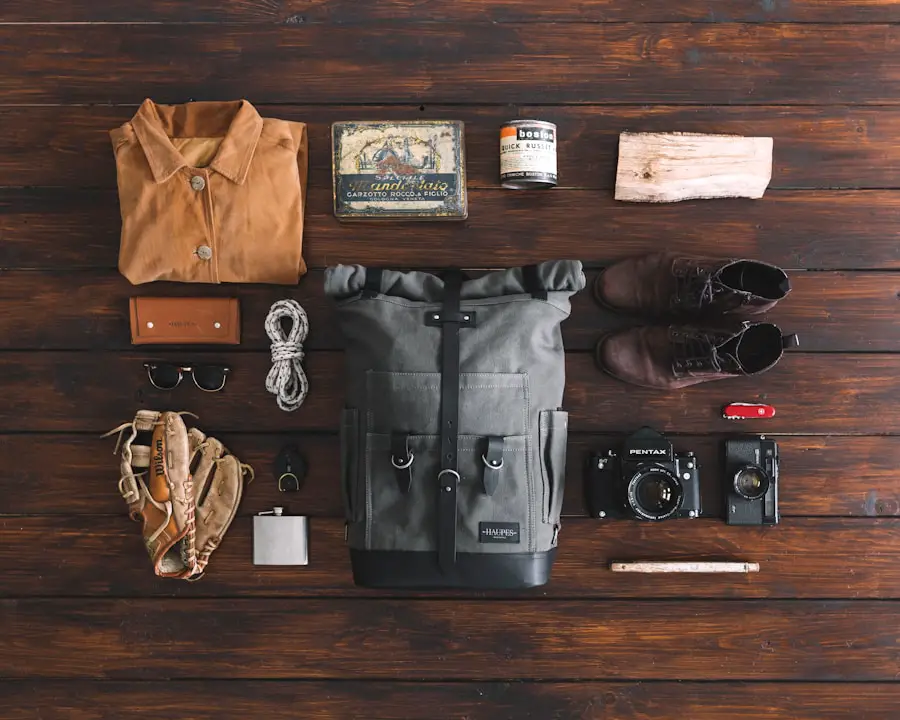
Select a backpack that fits your torso and can comfortably carry the equipment required for your trip. A small daypack is usually enough for shorter hikes, while overnight and multi-day trips require additional capacity for shelter, sleeping equipment, food, and other camping supplies.
Look for adjustable shoulder straps, a comfortable hip belt when carrying heavier loads, useful ventilation, secure water storage, and compartments that make frequently used items easy to reach. Pack dense or heavy equipment close to your back rather than letting the load pull backward.
For overnight camping, your shelter should match the expected conditions and number of occupants. A tent, tarp, or other shelter must protect you from the likely weather while remaining practical to carry.
Your sleeping bag or quilt should be appropriate for the temperatures you expect, and a sleeping pad adds both comfort and insulation from the ground. Check the forecast and local overnight conditions rather than choosing a sleep system only by season.
Cooking equipment may include a portable stove, fuel, pot, cup, utensil, and lighter, depending on your meals. A campfire is not a required cooking method and may be illegal during fire restrictions.
Warning: Carrying matches or a fire starter does not give you permission to build a fire. Check current local fire regulations before using a stove, campfire, charcoal, or any other open flame.
Food and Water Supplies
| Trip Type | Food | Water Planning | Backup |
|---|---|---|---|
| Short day hike | Snacks or a meal appropriate to the hike length | Carry enough for the route, weather, and your needs | Extra snack and emergency water margin |
| Full-day hike | Meals plus energy-dense snacks | Plan drinking water around heat, exertion, altitude, and refill options | Extra food and additional water capacity |
| Overnight trip | Meals, snacks, and extra emergency food | Identify reliable water sources before leaving and carry an appropriate treatment method | Extra food, water capacity, and treatment backup when practical |
| Multi-day trip | Lightweight meals and calorie-dense snacks planned for each day | Map each water source and understand seasonal reliability | Emergency food plus a backup treatment option when remoteness warrants it |
Nutrition and hydration help maintain energy and decision-making on the trail. Choose food that travels well and matches the length of the trip. Nuts, trail mix, energy bars, dried fruit, jerky, sandwiches, wraps, and other compact foods can work well. Freeze-dried meals are convenient for overnight trips, but check the nutrition label rather than assuming every packaged meal is nutritionally balanced.
A commonly used starting point for moderate hiking is about 1 liter of water for every two hours, but there is no single amount that fits everyone. Heat, humidity, altitude, pace, body size, route exposure, and individual health can change your needs. Carry more in hot or dry areas and research whether natural water sources are actually flowing before relying on them.
Plan water before you reach the trailhead. A blue line on a map does not guarantee that water will be flowing, accessible, or safe to drink.
Never assume clear stream or lake water is safe. According to the CDC’s guidance for hiking and camping water, boiling is the most reliable way to kill germs. When boiling is impractical, filtering followed by disinfection can provide broader protection than relying on many common filters alone. Always follow the treatment product’s directions.
Note: No normal backpacking treatment method makes water contaminated with hazardous chemicals or toxins safe. Use another water source if chemical contamination is suspected.
First Aid Kit and Personal Care Items
A first-aid kit should match the group size, trip length, terrain, and remoteness of your route. At minimum, useful supplies commonly include adhesive bandages, gauze pads, medical tape, antiseptic wipes, tweezers, scissors, blister care, disposable gloves, and appropriate pain medication.
Add any personal prescription medication you may need, plus enough to account for a reasonable delay when your prescriber and medication instructions allow it. People with known allergies or other medical needs should carry the treatments their healthcare professional has told them to use.
Sun protection belongs in the pack too. Choose a broad-spectrum sunscreen with SPF 30 or higher, apply it as directed before exposure, and reapply during the day, especially after heavy sweating or water exposure. A brimmed hat, sunglasses, protective clothing, and SPF lip balm add useful protection. The CDC Yellow Book’s sun-exposure guidance recommends broad-spectrum SPF 30 or greater for travelers.
Where mosquitoes or ticks are a concern, choose an EPA-registered insect repellent suited to the pest and expected exposure time, and follow the label.
Hygiene supplies may include a toothbrush, toothpaste, hand sanitizer, toilet paper or waste bags, and a small amount of biodegradable soap where its use is permitted. Biodegradable does not mean harmless in a stream or lake.
Emergency Supplies
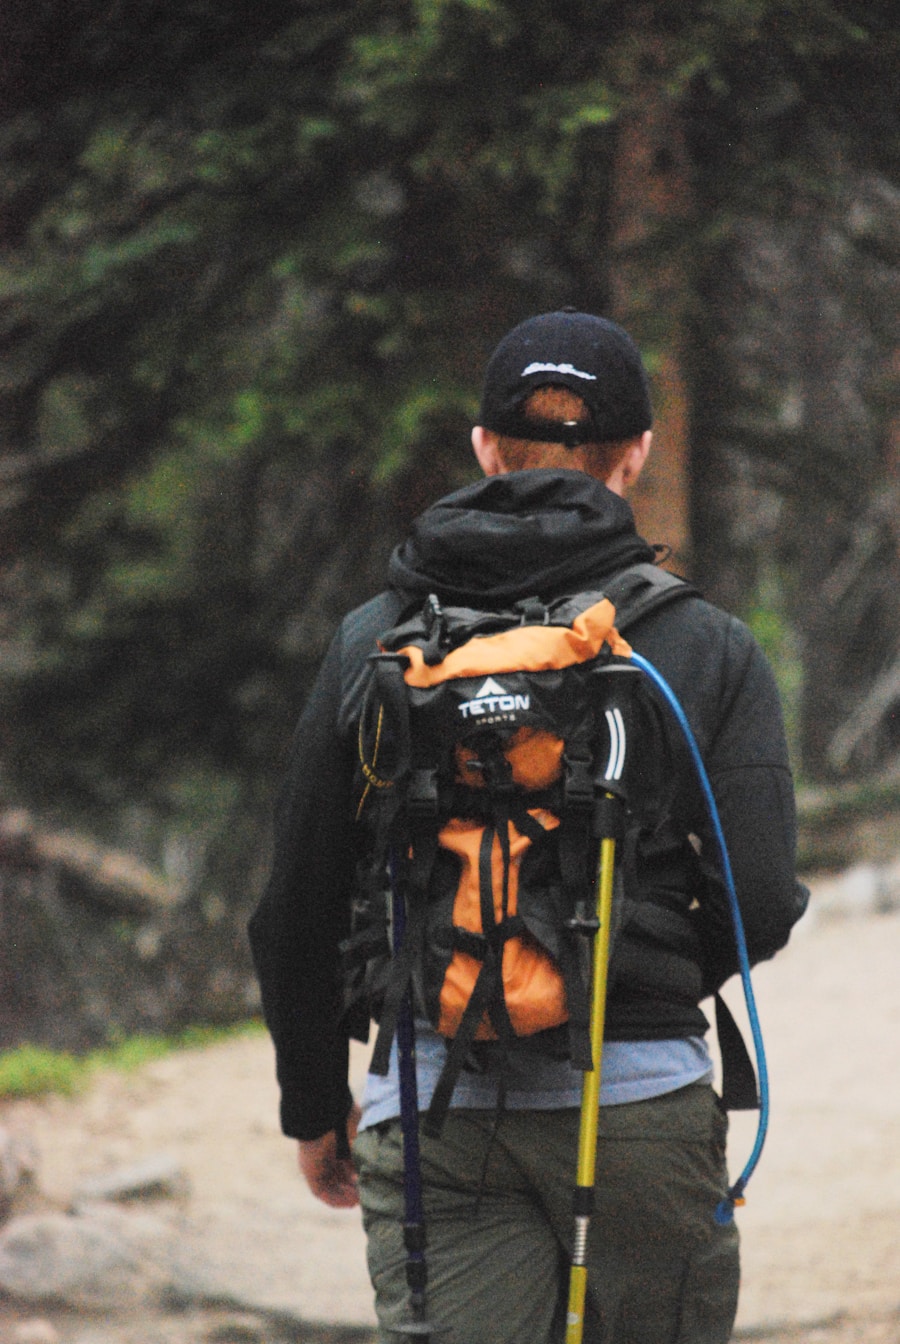
An emergency shelter can protect you if an injury, wrong turn, weather change, or other delay keeps you outside longer than planned. Depending on the trip, this may be an emergency bivy, space blanket, tarp, or the tent you already carry for an overnight trip.
Fire-starting equipment such as waterproof matches, a lighter, or a compact fire starter is one of the traditional Ten Essentials categories. Its emergency value does not override local restrictions, however. In areas where fires are prohibited, follow the land manager’s rules.
Carry a whistle or another signaling tool. A small mirror can also be useful in open terrain. Your repair supplies can include duct tape, cord, safety pins, and a compact multi-tool.
Emergency planning also means carrying enough insulation, food, water, and light to cope with an unexpected delay rather than relying on rescue arriving immediately.
Technology and Communication Devices
A smartphone can combine offline maps, GPS positioning, a camera, reference information, and communication when service is available. Download maps before the hike, fully charge the phone, protect it from weather, and consider using airplane mode when you do not need cellular service to conserve battery.
A portable power bank can recharge a phone, GPS unit, satellite messenger, or other USB-powered equipment, but electronics should supplement rather than replace essential non-electronic equipment such as a paper map and appropriate clothing.
Cell coverage can disappear in valleys, canyons, forests, and remote backcountry areas. For trips where communication is especially important, a two-way satellite messenger may provide messaging or SOS capability under supported conditions.
A 406 MHz personal locator beacon is another option for emergency distress alerting. In the United States, PLBs must be registered with NOAA, and registration information should be kept current. A PLB is an emergency device, not a substitute for planning, navigation, or ordinary communication.
Pro Tip: Do not keep every emergency tool in the same electronic device. A charged phone with offline maps is useful, but a paper map, independent light source, and non-electronic signaling option still work after a phone failure.
Miscellaneous Items
Once the safety essentials are covered, a few optional items can improve comfort. A lightweight camp chair can be pleasant on overnight trips, while a tarp can provide shade, rain protection, a clean work area, or additional shelter when used responsibly.
A notebook or journal is a lightweight way to record your route, wildlife sightings, campsite notes, or memories. Trekking poles may improve comfort on steep or uneven terrain, and gaiters can help in mud, rain, snow, or loose debris.
Small utility items such as a multi-purpose knife, duct tape, cord, zip-top bags, a trash bag, and spare batteries can solve minor problems before they become larger ones.
Leave No Trace and Destination-Specific Gear
Pack for the environment as well as for yourself. Carry out trash, leftover food, and other waste. Stay on durable or established surfaces where required, and follow local rules for campsites and human waste.
The National Park Service Leave No Trace guidance advises keeping washing and dishwashing about 200 feet from streams or lakes and using only small amounts of biodegradable soap. Human-waste rules vary by environment, and some areas require visitors to pack waste out instead of burying it.
Wildlife precautions also depend on location. Some destinations require an approved bear-resistant food container or specific food-storage method. Other routes may require snow traction, a helmet, flotation equipment, or specialized desert or winter gear. Check the official site for the land you are visiting instead of assuming one universal packing list covers every trail.
Final Hiking Packing Checklist
Before leaving home, check your pack against these ten essential categories:
- Navigation: map, compass, GPS or offline digital map.
- Sun protection: sunscreen, sunglasses, hat, and protective clothing.
- Insulation: extra layers and rain protection appropriate to expected conditions.
- Illumination: headlamp or flashlight with dependable power.
- First aid: trip-appropriate first-aid supplies, blister care, and personal medication.
- Fire: emergency fire-starting equipment where appropriate, while observing all fire restrictions.
- Repair tools: knife or multi-tool, duct tape, cord, or other useful repair items.
- Food: enough for the planned trip plus an emergency margin.
- Hydration: drinking water, carrying capacity, and suitable treatment supplies when natural sources may be used.
- Emergency shelter: a tent, tarp, bivy, emergency blanket, or another shelter appropriate to the trip.
Then add the clothing, footwear, backpack, sleeping system, cooking gear, hygiene supplies, communication devices, wildlife equipment, and optional comfort items your specific route requires.
Preparing well for an outdoor adventure means matching your equipment to the route rather than simply packing more gear. Clothing, footwear, navigation, food, water, first aid, emergency shelter, communication tools, and camping equipment all serve different purposes. The best hiking pack is one that covers genuine risks without filling your backpack with unnecessary weight.
If your hiking trip is part of a wider vacation, transportation planning may matter too. The existing guide Exploring Ireland: Car-Free Travel Tips covers public transportation, walking routes, and other ways to explore Ireland without relying on a vehicle.
Frequently Asked Questions
What are the essential items to pack for a hiking trip?
Start with the Ten Essentials: navigation, sun protection, insulation, illumination, first aid, fire, repair tools, extra food, water and treatment supplies, and emergency shelter. Then add clothing, footwear, medications, communication equipment, and any route-specific gear.
What type of clothing should I pack for a hiking trip?
Pack moisture-managing clothing and layers that match the forecast. A base layer, insulating layer, and weather-resistant outer layer work well in cool or changing conditions. In warm weather, choose lightweight, breathable clothing plus sun protection. Carry extra insulation and rain protection when conditions could change.
What kind of footwear is recommended for a hiking trip?
Choose hiking shoes, trail runners, or boots based on terrain, weather, traction needs, and personal comfort. Maintained trails may suit lightweight hiking shoes or trail runners, while rocky, unstable, muddy, or snowy terrain may call for more protective and supportive footwear.
What food and snacks should I pack for a hiking trip?
Choose portable foods you will actually eat, such as trail mix, nuts, dried fruit, energy bars, jerky, sandwiches, or wraps. Longer trips may include dehydrated or freeze-dried meals. Carry more food than the exact planned itinerary requires so a delay does not leave you without an energy source.
What safety items should I pack for a hiking trip?
Carry navigation tools, a first-aid kit, headlamp, whistle, emergency shelter, extra insulation, repair tools, food, water, and a suitable water-treatment method. Also leave a trip plan with a trusted person and check current weather, trail alerts, closures, and local regulations before leaving.
How much water should I take hiking?
There is no universal amount for every hiker. About 1 liter per two hours is a useful starting point for moderate hiking, but heat, altitude, humidity, exertion, body size, and water availability can substantially change your needs. Research the route and carry an appropriate safety margin.
Do I need a satellite messenger or personal locator beacon?
Not every short hike requires one, but a satellite communication or distress device can add an important safety layer on remote routes with little or no cell service. Understand how your device works before leaving. U.S.-coded 406 MHz personal locator beacons must be registered with NOAA.
Sources
- National Park Service — Ten Essentials — core hiking emergency and preparedness categories.
- National Park Service — Trip Planning Guide — trip plans, offline navigation, equipment checks, and pre-trip preparation.
- CDC — Water Treatment When Hiking, Camping, or Traveling — safe backcountry water-treatment methods and their limitations.
- CDC Yellow Book — Sun Exposure in Travelers — sunscreen, protective clothing, and outdoor UV guidance.
- U.S. Environmental Protection Agency — Find the Repellent That Is Right for You — selecting EPA-registered mosquito and tick repellents.
- National Park Service — Leave No Trace — waste, washing, campsite, and outdoor-impact guidance.
