
Last Updated on September 10, 2026 by Daniel Globe
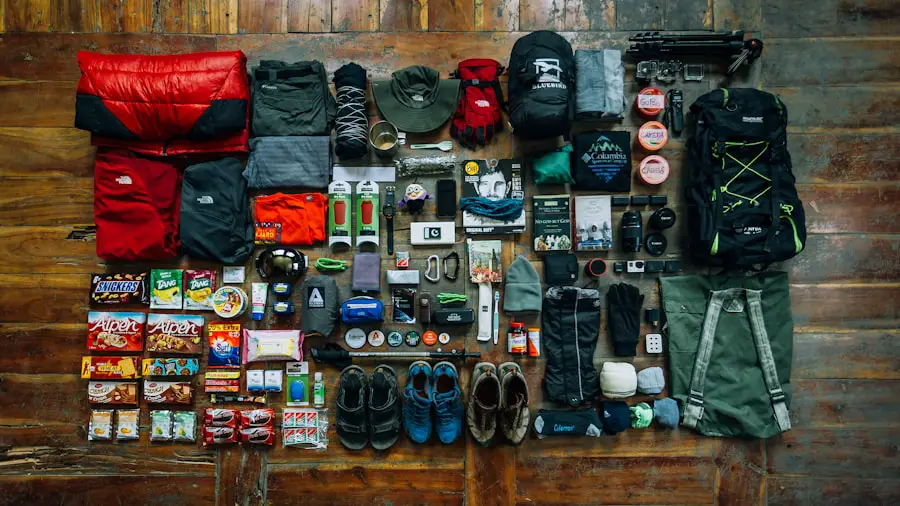
Knowing what to bring hiking can make the difference between a comfortable day outside and a trip that becomes difficult when the weather changes, the trail takes longer than expected, or something goes wrong. Your exact gear depends on the route, season, distance, terrain, and remoteness, but every hiker should cover the same basic needs: navigation, weather protection, water, food, first aid, light, and emergency equipment.
Quick Answer
For most hikes, bring appropriate footwear, weather-ready layers, a comfortable backpack, navigation tools, water, extra food, sun protection, a headlamp, first-aid supplies, basic repair tools, and emergency shelter. Longer or remote hikes may also require water treatment, extra insulation, a stove, sleeping gear, bear-safe food storage, and backup communication.
Key Takeaways
- Choose hiking footwear for the terrain and make fit, traction, and comfort your priorities.
- Use moisture-managing layers so you can add or remove clothing as conditions change.
- Carry navigation, water, food, sun protection, first aid, illumination, repair gear, insulation, fire-starting equipment where appropriate, and emergency shelter.
- Check the route, forecast, trail conditions, local regulations, and expected daylight before leaving.
- Carry a physical or offline navigation backup instead of depending entirely on a phone signal.
- For overnight trips, add sleeping equipment, additional food, water treatment, and any required wildlife-resistant food storage.
Disclosure: As an Amazon Associate I earn from qualifying purchases. Some links on this page are affiliate links, at no extra cost to you.
Hiking Essentials Checklist: What to Bring
The National Park Service Ten Essentials provide a useful framework for deciding what belongs in your pack. The exact items should still be adjusted for the hike, weather, season, and local hazards.
- Navigation: topographic map, compass, GPS device, or offline navigation app.
- Sun protection: sunscreen, sunglasses, hat, and protective clothing.
- Insulation: extra clothing and weather-appropriate layers.
- Illumination: preferably a headlamp or flashlight, plus spare power if needed.
- First aid: a kit sized for your group and trip, plus personal medications.
- Fire: matches, lighter, or another appropriate fire starter where possession and use are allowed.
- Repair kit and tools: items such as a multi-tool, knife, duct tape, or gear-specific repair supplies.
- Nutrition: enough food for the planned hike plus a reasonable emergency reserve.
- Hydration: adequate water and, where necessary, a reliable water-treatment method.
- Emergency shelter: a tent for overnight travel or a lightweight emergency bivy, tarp, or space blanket for appropriate day hikes.
Note: The Ten Essentials are a starting framework, not a universal packing list. A two-mile urban trail and a remote mountain hike require very different levels of preparation.
Footwear: Choose Hiking Shoes or Boots for the Terrain
Selecting appropriate hiking footwear is one of the first decisions to make. The right shoes or boots should match the terrain, expected conditions, the weight you are carrying, and your own comfort needs.
Rocky paths, rough trails, mud, snow, and steep terrain may favor footwear with a durable outsole, strong traction, and a relatively supportive platform. On smooth, well-maintained trails, many hikers prefer lighter hiking shoes or trail-running shoes because they are flexible, breathable, and easy to walk in.
A higher boot collar can feel supportive and can help keep debris out, but it should not be treated as a guarantee against ankle sprains. Research on footwear height has not established a clear injury-prevention advantage for high-cut shoes alone. Fit, footing, traction, conditioning, terrain, and previous injuries also matter.
Fit is critical. Try footwear with the socks you expect to wear on the trail. Your toes should have enough room to move without repeatedly striking the front of the shoe on descents, while your heel should remain reasonably secure instead of sliding with every step.
Do not assume that painful footwear will become comfortable after a long break-in period. Some traditional leather boots soften with use, but hiking footwear should fit well from the beginning. Test new footwear on shorter walks before committing to a long hike so you can identify pressure points, heel movement, or rubbing early.
Pro Tip: Test your footwear on hills, not just a flat store floor. Descending is especially useful for finding toe-box problems and heel movement before a longer trip.
Clothing: Layer for Comfort and Protection
Layering lets you adjust your clothing as temperature, wind, precipitation, and activity level change. A practical system usually includes a base layer, an insulating layer, and a weather-resistant outer shell.
Base Layer
The base layer sits next to your skin and helps move moisture away from your body. Merino wool and synthetic fabrics are common choices. Cotton absorbs and holds moisture, so it is usually a poor choice when getting wet could leave you cold for an extended period.
Insulating Layer
Fleece jackets, synthetic insulated jackets, and down garments can provide warmth. Fleece and many synthetic materials continue to perform relatively well in damp conditions. Down is lightweight and warm for its weight but needs protection from moisture.
Outer Layer
A rain shell or wind-resistant outer layer protects you from precipitation and wind. Waterproof-breathable shells can help reduce rain exposure while allowing some body heat and moisture to escape.
Bring enough clothing to handle conditions that are worse than the forecast if the hike is remote or exposed. A hat, gloves, and spare socks may be worthwhile even when they are not needed at the trailhead.
Backpack: Find the Right Fit and Capacity
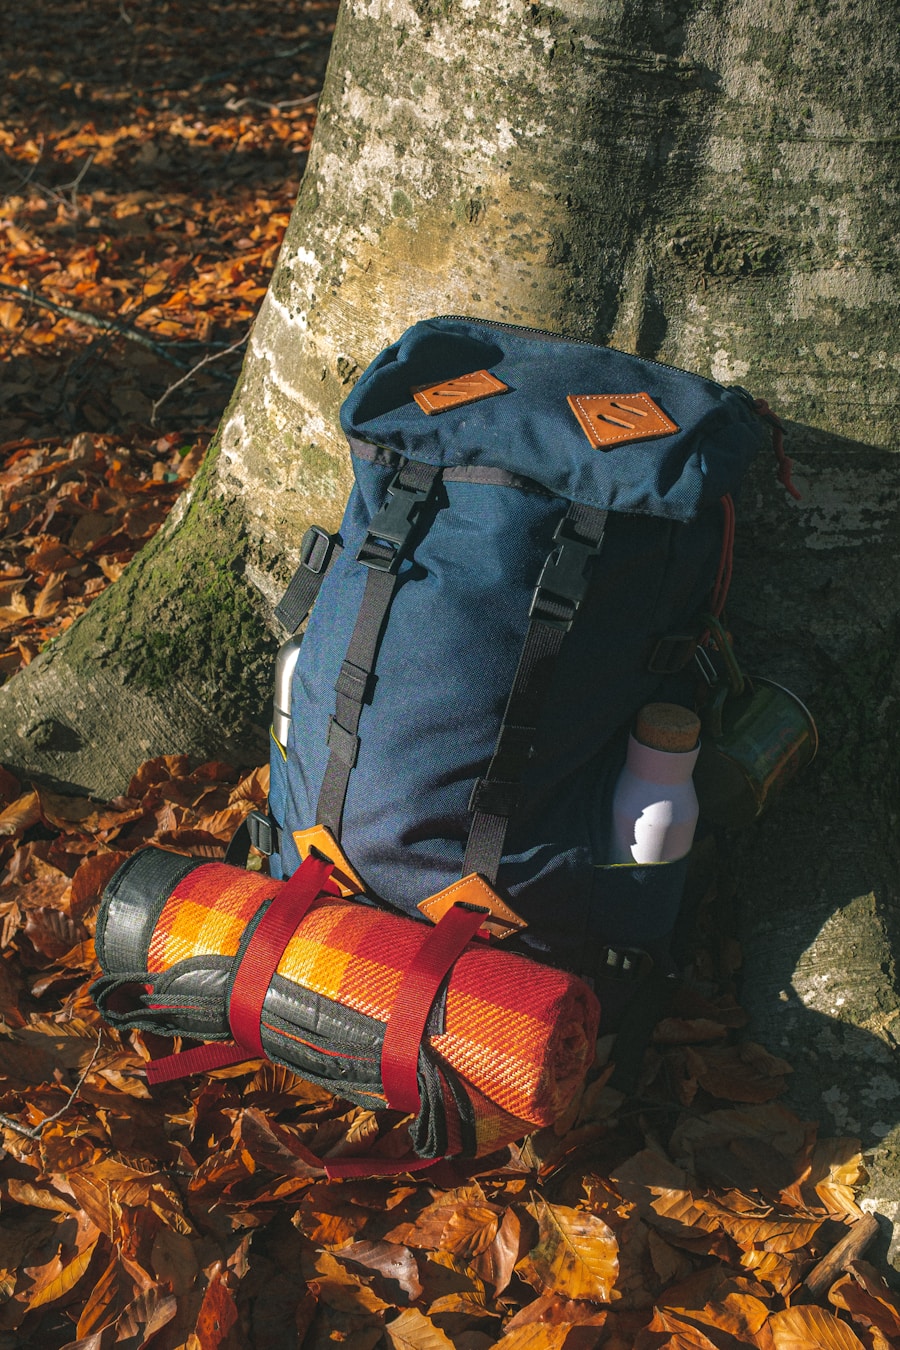
Your backpack should be large enough for the equipment the trip requires without encouraging you to carry unnecessary weight. Short day hikes may need only a compact daypack, while long days in variable weather require more space for water, food, insulation, emergency equipment, and rain gear.
For many day hikes, packs in roughly the 10- to 30-liter range are practical. Multi-day backpacking trips commonly require considerably more capacity, often 40 liters or more, depending on the season, shelter, sleeping system, food load, and how compact the equipment is. Treat these ranges as starting points rather than strict rules.
Fit matters as much as capacity. Adjust the shoulder straps, sternum strap, and hip belt so the pack stays stable without restricting normal movement or breathing. On packs designed to transfer weight to the hips, the hip belt should sit securely around the pelvis instead of allowing the entire load to hang from the shoulders.
Keep frequently used items such as snacks, rain protection, navigation tools, sunscreen, and water where you can reach them without completely unpacking your bag.
Plan the Hike Before You Leave
Good preparation starts before you reach the trailhead. Research the route and make sure the distance, elevation gain, terrain, and expected hiking time match your ability and the ability of everyone in your group.
- Check the current weather forecast and any severe-weather alerts.
- Check trail closures, seasonal hazards, road access, and local park or land-management alerts.
- Confirm whether permits, reservations, bear-resistant containers, traction devices, or other equipment are required.
- Estimate how much daylight you will have and set a turnaround time.
- Tell a trusted person where you are going, your planned route, and when you expect to return.
- Download maps before leaving areas with reliable service.
- Charge your phone and other electronics before the trip.
The National Park Service recommends leaving your travel plans with someone who can seek help if you do not return as expected. Cell coverage is unreliable in many backcountry areas, so a phone should not be your only emergency plan on remote hikes.
Navigation: Maps, Compass, and GPS
| Navigation Tool | Best Use | Important Limitation |
|---|---|---|
| Map | Shows trails, terrain, elevation, landmarks, and route options. | Must be current and you need to know how to interpret it. |
| Compass | Provides direction and works without batteries. | Requires basic navigation skills and awareness of magnetic declination and interference. |
| GPS | Provides position, tracks, waypoints, and route information. | Accuracy and availability can worsen with terrain, tree cover, signal obstruction, battery loss, or device failure. |
Traditional topographic maps show elevation changes, trails, water features, and landmarks. Learning to read contour lines can help you judge how steep a route may be and understand the terrain around you.
A compass complements a map by giving you a dependable directional reference without relying on a battery. Learn basic map-and-compass skills before you need them in poor visibility or after losing the trail.
GPS devices and smartphone navigation apps are useful for real-time positioning, route recording, and waypoints. According to GPS.gov, GPS-enabled smartphones are typically accurate to about 4.9 meters, or 16 feet, under open sky. Trees, terrain, buildings, reflected signals, and receiver quality can reduce that accuracy.
Pro Tip: Download your route for offline use and carry a backup navigation method. Losing cell service does not normally disable the phone’s GPS receiver, but it can prevent map data from loading unless you downloaded it beforehand.
Water and Hydration: Stay Safe on the Trail
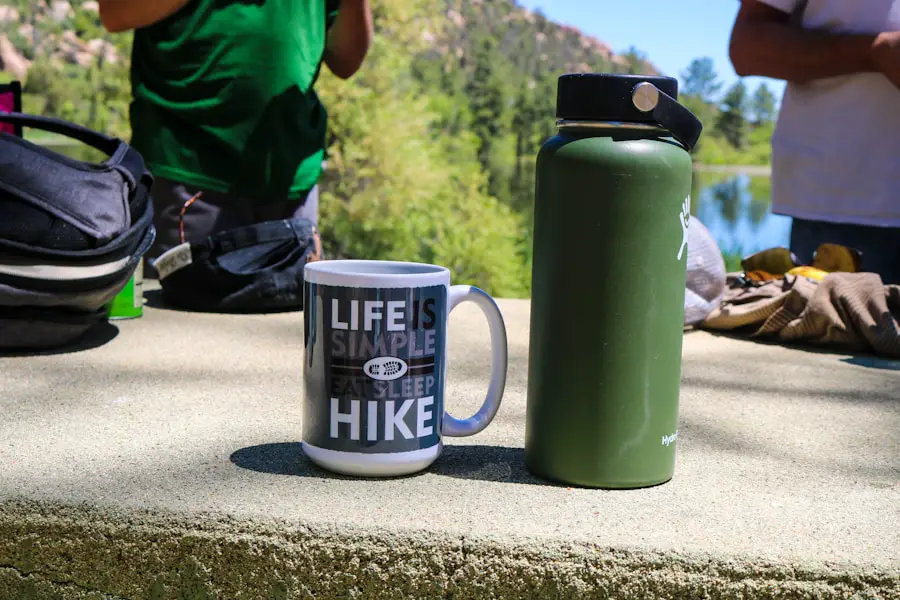
Dehydration can reduce performance and can contribute to heat-related illness. Carry enough water for the planned route and conditions, and know whether reliable refill locations actually exist before you depend on them.
A useful planning baseline for moderate conditions is about 1 liter of water for every two hours of hiking. That is not a universal prescription. Hot weather, high elevation, direct sun, strenuous climbing, individual sweat rate, and a longer-than-planned trip can increase your needs.
Hydration reservoirs make it easy to drink while moving, while bottles make it simple to see how much water remains. Either system can work well. On longer or remote routes, consider carrying a backup container in case your primary reservoir leaks.
Natural-looking streams and lakes can still contain disease-causing organisms. The CDC’s backcountry water guidance states that boiling is the most reliable method for killing germs. When boiling is not practical, filtering followed by disinfection is a stronger option than assuming any single filter removes every type of pathogen.
Warning: Do not assume untreated stream, spring, or lake water is safe because it looks clear. Follow the instructions and capabilities of your treatment system, and use a different water source if chemical or toxic contamination is suspected.
Nutrition: Pack the Right Snacks and Meals
Food should be easy to carry, simple to eat, and appropriate for the length of the trip. Trail mix, nuts, dried fruit, energy bars, crackers, nut butter, jerky, and similar foods are convenient because they provide energy without requiring much preparation.
For a longer hike, bring enough food for the expected duration plus some extra in case the route takes longer than planned. The National Park Service includes nutrition among the Ten Essentials and recommends considering emergency delays when deciding how much to carry.
Overnight backpackers can add lightweight meals such as oatmeal, wraps, shelf-stable ingredients, and dehydrated meals. If cooking, make sure your stove and fuel are allowed under current fire restrictions and that you know how to operate the stove safely.
Variety helps on longer trips. Mixing carbohydrate-rich foods with sources of fat and protein can make trail meals more satisfying than relying on sweets alone.
Safety and First Aid: Prepare for the Unexpected
A hiking first-aid kit should match the size of your group, the trip length, and how far you will be from help. At minimum, many hikers carry adhesive bandages, gauze, wound-cleaning supplies, blister treatment, tape, gloves, pain medication when appropriate, and required personal medications.
Knowing how to use the supplies matters more than carrying an oversized kit you do not understand. Basic first-aid training is especially valuable for remote hiking.
Carry Light, Repair Gear, and Emergency Shelter
Bring a headlamp or flashlight even when you expect to finish during daylight. Delays from navigation problems, injury, weather, or a slower hiking pace can leave you on the trail after sunset.
A small repair kit can include duct tape, a multi-tool or knife, cord, and gear-specific items such as a sleeping-pad patch. For longer or more remote outings, a compact emergency bivy, tarp, or space blanket can provide some protection if an unplanned delay forces you to stop.
Plan for Limited Cell Service
A fully charged phone is useful, but do not count on having service everywhere. In remote areas, a satellite messenger or personal locator beacon may provide an additional emergency option. Carrying a small power bank can also help protect your navigation and communication reserve.
Watch for Heat and Changing Weather
Check the forecast before leaving, but continue watching conditions while hiking. Mountain and desert environments can change quickly.
In hot weather, start conservatively, take breaks, use sun protection, and carry extra water. The National Park Service advises hikers to adjust the route or turn around when heat makes the planned activity unsafe.
Thunderstorms require special caution. The National Weather Service emphasizes that there is no safe place outdoors when a thunderstorm is in the area. If you hear thunder or see a storm approaching, stop exposed activities and seek appropriate substantial shelter when available rather than waiting for lightning to move directly overhead.
Warning: A summit, exposed ridge, cliff edge, waterfall, flooded crossing, or fast-moving stream is never worth continuing toward when conditions are deteriorating. Turning around is a normal part of safe hiking.
Wildlife, Food Storage, and Leave No Trace
Wildlife precautions vary by region, so learn about the animals present before the hike. Do not feed wildlife, give animals space, and follow local instructions for food and scented-item storage.
In bear country, storage rules can differ between parks and wilderness areas. Some locations require approved bear-resistant containers, while others provide lockers or permit other methods. The National Park Service bear-safety guidance recommends securing food, trash, toiletries, and other scented items according to the rules for the area you are visiting.
Responsible hiking also means reducing your impact. Stay on established trails where required, pack out trash and leftover food, leave natural and cultural objects where you find them, respect wildlife, and follow local rules for campfires and human waste. These practices align with the seven Leave No Trace principles used by the National Park Service.
Shelter and Sleeping: Gear for Overnight Hiking Trips
Overnight hiking requires additional protection from weather and cold. A backpacking tent is a common choice because it provides a defined sleeping space and protection from rain, wind, and insects. Compare tents by packed weight, interior space, expected weather resistance, ventilation, and ease of setup.
Some hikers use hammocks where local rules, terrain, and trees make them practical. A hammock setup still needs weather protection and enough insulation underneath the sleeper when temperatures require it. Do not attach hammocks where regulations prohibit them or where straps could damage sensitive vegetation.
Choose a sleeping bag or quilt suited to the expected overnight temperature and pair it with a sleeping pad that provides both cushioning and insulation from the ground.
For an overnight trip, also plan for additional food, a water-treatment method when needed, lighting, cooking equipment if you intend to cook, weather protection, extra clothing, and any required wildlife-resistant food storage.
Preparing for a hiking trip therefore involves more than choosing boots and packing snacks. Footwear, clothing, navigation, hydration, food, first aid, emergency gear, and shelter all work together to make the trip safer and more comfortable.
Recreation-specific gear can also be added after the essentials are covered. For example, hikers who plan to fish during a legal stop along their route may enjoy carrying a compact travel rod. This article on the best travel fishing rods can help you compare portable options for an outdoor trip. Always check local fishing licenses, seasons, and regulations before fishing.
Love travel? Join Our Facebook Community For More Tips.
Frequently Asked Questions
What should I bring for a day hike?
Bring water, food, navigation, sun protection, weather-appropriate clothing, a headlamp, first-aid supplies, basic repair tools, and appropriate emergency equipment. Longer, more remote, or more exposed hikes require a more complete kit than short hikes close to developed areas.
What should I bring for an overnight hike?
In addition to day-hiking essentials, bring an appropriate shelter, sleeping bag or quilt, sleeping pad, extra food, additional clothing, lighting, and a water-treatment system where needed. Add a stove and fuel if you plan to cook and local rules allow their use. Follow all food-storage requirements for the area.
What type of clothing should I bring for hiking?
Use moisture-managing clothing that can be layered. A typical system includes a synthetic or merino base layer, an insulating layer, and a wind- or rain-resistant shell. Add a hat, gloves, sun protection, and spare socks when conditions justify them.
What type of footwear is best for hiking?
Choose footwear that fits well and has traction suitable for the terrain. Hiking shoes and trail runners often work well on maintained trails, while rough terrain, snow, mud, or heavy loads may make a more structured hiking boot useful. Boot height alone should not be relied on to prevent ankle injuries.
What type of backpack should I bring for hiking?
Use a backpack that fits your torso comfortably and has enough capacity for the trip’s required equipment. A compact daypack may be enough for a short outing, while variable weather, long distances, overnight gear, or bulky winter equipment require more space.
What are some other essential items to bring for hiking?
Useful items include a charged phone, headlamp, whistle, sunscreen, insect repellent where needed, multi-tool or knife, repair tape, emergency shelter, extra food, extra water, and a backup power source. Fire-starting equipment may also belong in the kit when appropriate and legally permitted.
How much water should I carry while hiking?
A practical starting point in moderate conditions is about 1 liter for every two hours of hiking, but there is no single amount that fits every person or trail. Heat, altitude, exertion, humidity, body size, and access to reliable treated water can substantially change your needs.
Can I rely only on my phone for hiking navigation?
A phone with offline maps can be an excellent navigation tool, but it should not be your only plan on remote hikes. Batteries can fail, devices can be damaged, and map data may be unavailable without prior downloads. Carry an appropriate backup and learn how to use it.
Sources
- National Park Service — Ten Essentials — supports the core hiking equipment checklist and emergency-preparedness framework.
- Great Smoky Mountains National Park — Hiking Guidance — supports current Ten Essentials and hydration planning guidance.
- Centers for Disease Control and Prevention — Backcountry Water Treatment — supports boiling, filtering, and disinfection recommendations for uncertain water sources.
- GPS.gov — GPS Accuracy — supports smartphone GPS accuracy and signal-limitation guidance.
- National Weather Service — Lightning Safety — supports thunderstorm and lightning precautions.
- National Park Service — Bear Safety and Food Storage — supports safe storage of food, trash, toiletries, and other scented items in bear country.
