
Last Updated on September 10, 2026 by Daniel Globe
Knowing what to pack for hiking is less about carrying every piece of outdoor gear and more about preparing for the route, weather, duration, terrain, and distance from help. A short walk near town needs far less equipment than a remote all-day hike or an overnight trip, but every hiking pack should cover the basic needs of navigation, weather protection, water, food, first aid, light, and emergency preparedness.
Quick Answer
For most hikes, pack the Ten Essentials: navigation, sun protection, extra clothing, a headlamp, first aid, fire-starting supplies where appropriate, repair tools, extra food, enough water plus a treatment method when needed, and emergency shelter. Add footwear, a properly fitted backpack, insect protection, medications, and trip-specific gear for the terrain and weather.
Key Takeaways
- Build your packing list around the Ten Essentials, then adjust it for the trail, weather, trip length, and distance from help.
- Choose a backpack by what you actually need to carry and make sure the torso length, shoulder straps, sternum strap, and hip belt fit correctly.
- Wear comfortable, terrain-appropriate footwear with wool or synthetic socks, and carry layers that protect you from rain, wind, sun, and changing temperatures.
- Do not rely on a fixed amount of water for every hike. Plan hydration around duration, heat, exertion, elevation, and reliable water sources.
- Use offline navigation and carry a backup such as a map and compass; a phone’s GPS may work without cell service, but downloaded maps, battery power, and satellite visibility still matter.
- Before leaving, check weather and trail conditions, tell someone your route and expected return time, and know any permit, fire, wildlife, and waste-disposal rules.
At a Glance
| Time Required | About 15–30 minutes to pack after route and weather research; longer for an overnight trip |
| Difficulty | Easy for local day hikes; moderate for remote, winter, or overnight preparation |
| Tools Needed | Backpack, Ten Essentials checklist, route information, navigation tools, and trip-specific equipment |
| Cost | $0 if you already own suitable gear; otherwise it varies widely by footwear, pack, weather protection, navigation, and overnight equipment |
Disclosure: As an Amazon Associate I earn from qualifying purchases. Some links on this page are affiliate links, at no extra cost to you.
What to Pack for Hiking: The Ten Essentials
The National Park Service Ten Essentials provide a strong foundation for a hiking checklist. They are organized as systems rather than a rigid list of specific products, so you can adjust each category for a two-hour local walk, a full-day mountain hike, winter conditions, or a multi-day backpacking trip.
- Navigation: Carry the route information you need, such as a current map, compass, GPS device, or offline navigation app. Know how to use your backup before the hike.
- Sun protection: Pack sunglasses, sunscreen, a hat, and protective clothing appropriate for the expected UV exposure.
- Insulation: Carry an extra layer appropriate for temperatures that may occur if the weather changes or you are delayed.
- Illumination: Bring a headlamp or flashlight, even when you expect to finish before dark. Pack spare batteries or another suitable power source.
- First aid: Carry supplies matched to your group, trip duration, and distance from medical help, including blister care and personal medications.
- Fire: Where appropriate and legally permitted, carry a reliable ignition method such as a lighter or waterproof matches plus emergency fire-starting material.
- Repair tools: A small multi-tool or knife, tape, cord, patches, or zip ties can handle common equipment failures.
- Nutrition: Carry enough food for the hike plus extra food for unexpected delays, especially on remote routes.
- Hydration: Carry enough water for the conditions and know where reliable refill points are. Bring an appropriate treatment method when relying on backcountry water.
- Emergency shelter: A lightweight emergency bivy, space blanket, tarp, or other weather-appropriate shelter can protect a day hiker who is unexpectedly stranded.
A good hiking checklist is not based only on mileage. Weather, terrain, remoteness, elevation, daylight, and the consequences of an unexpected delay should determine what goes in your pack.
Note: The Ten Essentials are a baseline, not a guarantee of safety. Check the specific park, forest, trail, or land-management website for current closures, permits, fire restrictions, wildlife precautions, and required equipment.
Choose the Right Hiking Backpack
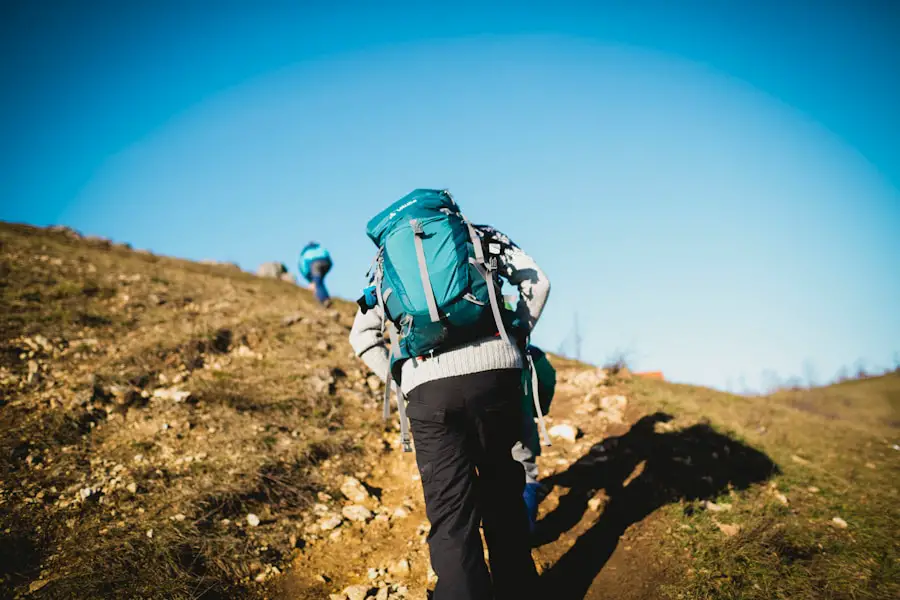
Selecting the appropriate backpack is one of the first steps in preparing for a hike. The right pack should carry your food, water, clothing, emergency equipment, and other gear without creating unnecessary pressure on your shoulders or lower back.
Backpack capacity is normally measured in liters, but there is no single correct size. Current daypacks span a broad range. A compact 10–20 L pack may work for shorter outings with minimal gear, while roughly 21–35 L is a useful range for many day hikes because it leaves room for food, water, layers, and the Ten Essentials. Larger 36–40 L daypacks can make sense for winter clothing, mountaineering equipment, family gear, or other bulky loads.
For overnight backpacking, the required capacity depends on how compact your shelter, sleeping gear, food, and clothing are. Roughly 30–50 L may work for efficient 1–3 night trips, 50–80 L is common for multi-day trips, and 70 L or more may be useful for extended trips, winter equipment, or bulky loads. These are guidelines rather than rules.
Fit matters as much as capacity. Choose a pack that matches your torso length rather than relying only on your height. Adjust the shoulder straps, hip belt, load lifters when present, and sternum strap so the pack feels stable without creating pressure points. Try the pack with realistic weight inside before committing to a long hike.
Pockets and compartments can make frequently used items such as water, snacks, sunscreen, a map, and rain gear easier to reach. A padded hip belt is especially useful as loads become heavier.
Do not assume that a backpack is completely waterproof simply because its fabric is described as water-resistant. Water can enter through seams, openings, and zippers. Protect critical insulation, spare clothing, electronics, and other moisture-sensitive items with a waterproof pack liner or suitable dry bags when wet conditions are possible.
Pro Tip: Pack the gear you expect to carry before choosing backpack capacity. Buying extra space “just in case” often encourages overpacking and can leave you carrying more weight than necessary.
Footwear: Boots, Socks, and Gaiters
Fit and Support: The Key to Comfortable Hiking
Comfortable footwear is more important than choosing a particular style of boot. Hiking boots, low hiking shoes, and trail-running shoes can all work when they match the terrain, weather, pack weight, and your feet.
Try footwear with the socks you expect to wear on the trail. Your toes should have enough room to avoid repeated contact with the front of the shoe on descents, while the heel should not slide excessively. Walk on an incline or test ramp when possible before buying.
For rocky or uneven terrain, look for an outsole with suitable traction and a stable fit. Waterproof footwear can be useful in sustained wet, muddy, snowy, or cold conditions, but it is not automatically best for every hike. Non-waterproof footwear is often more breathable and may dry faster after getting wet.
New footwear should be tested on shorter walks before a long or remote hike so you can identify rubbing, pressure points, or fit problems early.
The Importance of Socks in Foot Comfort
Hiking socks help manage moisture, cushioning, and friction. Merino wool and synthetic socks are popular because they move moisture away from the skin and continue to perform better than ordinary cotton when damp.
For long, wet, or cool-weather hikes, avoid relying on cotton socks because cotton absorbs moisture and dries slowly. Some hikers find that thin liner socks underneath hiking socks reduce friction, but liners are optional and should not make the shoe too tight.
On longer trips, carrying a dry spare pair can improve comfort if your primary socks become soaked.
Accessories for Added Protection
Gaiters wrap around the lower leg and top of the footwear to help keep out snow, mud, sand, small stones, and trail debris. They are especially useful on snowy, muddy, brushy, or loose-surface routes but are not necessary for every hike.
Clothing: Layers and Protection from the Elements
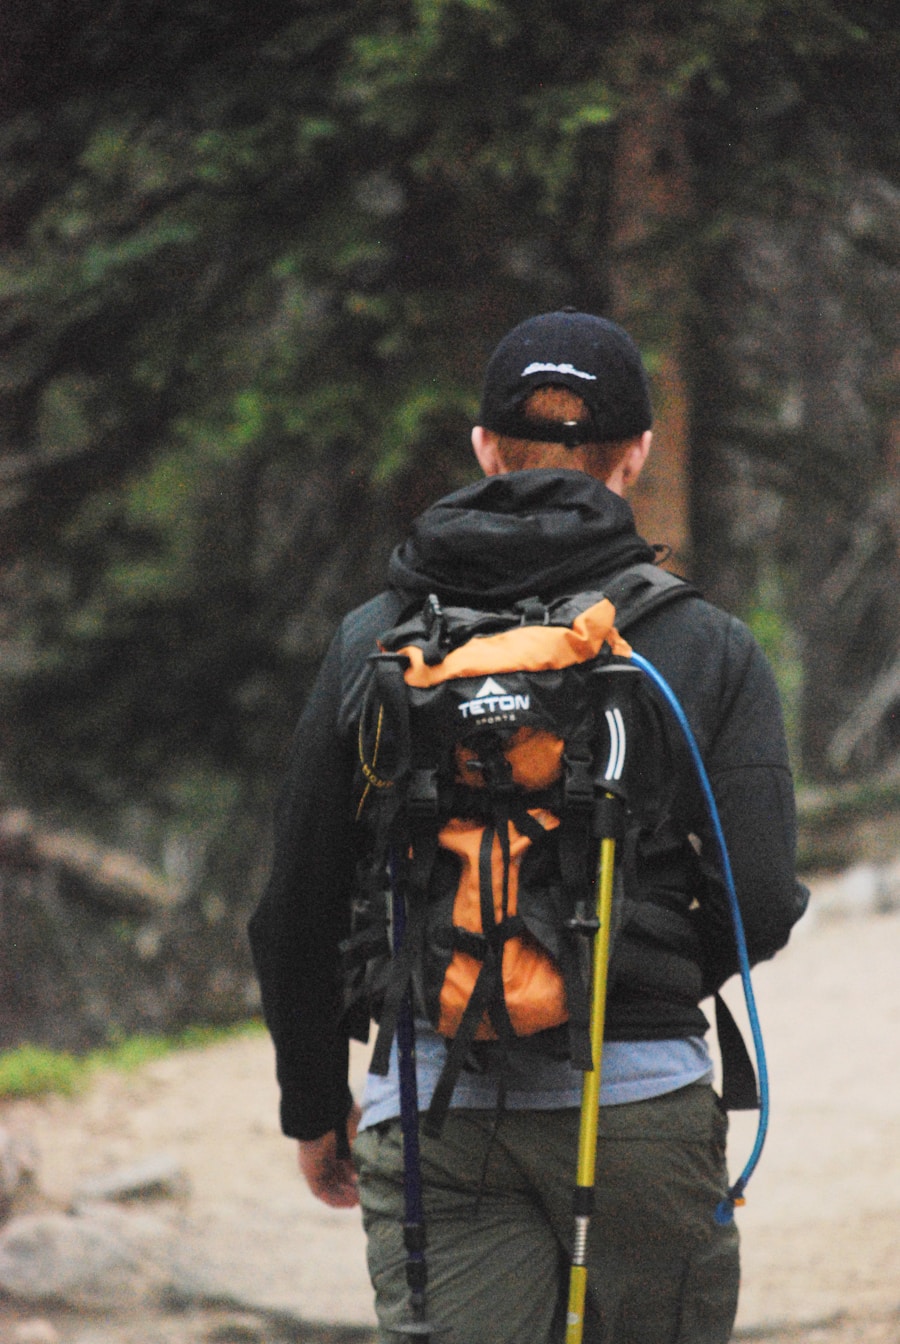
Layering makes it easier to respond to changing temperatures, wind, rain, and changes in activity level. A common system uses a base layer, insulating mid-layer, and weather-resistant outer layer.
The base layer sits next to your skin and should manage sweat. Merino wool and quick-drying synthetic fabrics are common choices. Cotton can feel comfortable on easy warm-weather outings, but it is a poor choice when staying dry and warm after sweating is important.
The mid-layer provides insulation. Fleece, synthetic insulation, or down can work depending on temperature, moisture, and how much warmth you need. Down offers excellent warmth for its weight but needs protection from moisture; synthetic insulation generally handles damp conditions better.
The outer layer protects against wind and precipitation. A waterproof shell is useful when sustained rain or snow is possible. Features such as an adjustable hood, cuffs, and ventilation zippers can improve protection and comfort.
Also consider the specific environment. Lightweight long sleeves, pants, a sun hat, and UPF-rated clothing can reduce UV exposure on open trails. Waterproof pants may be worthwhile in prolonged rain, wet vegetation, or snow. Gloves and a warm hat can be essential when temperatures may fall significantly, particularly at elevation.
Warning: Pack for the conditions you could encounter if the hike takes longer than expected, not only for the temperature at the trailhead when you leave.
Navigation Tools: Maps, Compass, and GPS
| Navigation Tool | Best Use | Advantages | Limitations |
|---|---|---|---|
| Map | Route planning and terrain overview | No battery required; shows trails, terrain, junctions, and surrounding features | Requires map-reading skills and should be current |
| Compass | Orienting a map and taking bearings | Lightweight, reliable, and battery-free | Requires practice and can be affected by nearby magnetic objects |
| GPS or Phone | Real-time position and route tracking | Fast position checks; offline maps can show detailed trail information | Requires battery power; satellite reception may be obstructed; maps should be downloaded before losing data service |
Traditional maps remain valuable for understanding terrain, elevation, trail junctions, escape routes, and surrounding landmarks. Topographic maps are particularly useful on remote or mountainous routes because they show elevation and terrain shape as well as trail lines.
A compass complements a map by helping you orient it and determine direction. Carrying a compass is most useful when you have practiced using it before the trip. An unfamiliar compass sitting in the bottom of a pack is not an effective backup plan.
GPS devices and smartphone navigation apps can make route-finding easier, but they should be prepared before departure. Download the required maps for offline use, fully charge the device, enable appropriate battery-saving settings, and consider a power bank for long trips.
GPS positioning does not inherently require cellular service. However, map downloads, route searches, calls, texts, and other online functions may fail without data coverage. GPS satellite reception can also become less reliable where the sky is heavily obstructed, such as in deep canyons or dense terrain.
For remote trips where cellular coverage is unlikely, a satellite messenger or personal locator beacon may provide an additional emergency communication option. Learn how the device works before depending on it.
Pro Tip: Open your offline map before leaving the trailhead and confirm that the route, surrounding terrain, and your position display correctly while your phone is in airplane mode.
Safety and First Aid Essentials
A first aid kit should match the length of the hike, number of people in your group, common injuries you may need to manage, and how far you will be from professional medical care.
A practical kit may include adhesive bandages, sterile gauze, medical tape, antiseptic supplies, blister treatment, tweezers, elastic wrap, gloves, and personal medications. Pain relievers such as acetaminophen or ibuprofen may be reasonable personal supplies only when they are safe for you to use and taken according to the product label or your clinician’s instructions.
Knowing how to use your kit is as important as carrying it. A basic or wilderness first aid course can help hikers recognize and respond to cuts, sprains, heat illness, hypothermia, allergic reactions, and other common outdoor problems while arranging appropriate help.
A whistle is a useful emergency signaling tool because it allows repeated signals without using your voice. Keep it somewhere accessible rather than buried at the bottom of the pack.
A multi-tool or knife can help with gear repairs and routine camp tasks. Add a small repair kit suited to the equipment you carry, such as duct tape wrapped around a bottle or pole, cord, a sleeping-pad patch, zip ties, and a needle and thread.
Carry a headlamp or flashlight even on a planned daytime hike. Delays caused by navigation errors, an injury, weather, or a slower-than-expected pace can easily extend a hike beyond sunset. Pack spare batteries or another compatible backup power source.
Warning: A first aid kit does not replace medical training or professional care. Serious bleeding, breathing problems, altered mental status, suspected spinal injury, severe allergic reaction, heatstroke, or other life-threatening problems require emergency help as quickly as conditions allow.
Plan the Route, Weather, and Emergency Communication
Good packing starts before you open the backpack. Research the route, mileage, elevation gain, trail conditions, expected weather, daylight hours, water availability, and any hazards specific to the area.
The National Park Service hiking-safety guidance recommends researching the route and bringing equipment appropriate for the terrain and conditions. Check the land manager’s current website or ranger information for closures, permits, seasonal hazards, fire restrictions, river crossings, wildlife precautions, and trail-specific rules.
Leave your planned route, trailhead, vehicle information when useful, and expected return time with a responsible person who is not on the hike. Tell that person what you want them to do if you fail to check in.
Check the latest weather forecast shortly before departure and continue watching conditions while hiking. Turn around when weather, water crossings, snow, heat, darkness, injury, or pace make continuing unsafe. Reaching a summit or destination is optional; getting back safely is not.
A fully charged phone is useful, but do not assume you will have service. Keep emergency communication devices protected from water and extreme temperatures, and conserve battery power when reception is poor.
Hydration and Nutrition: Water, Snacks, and Meals
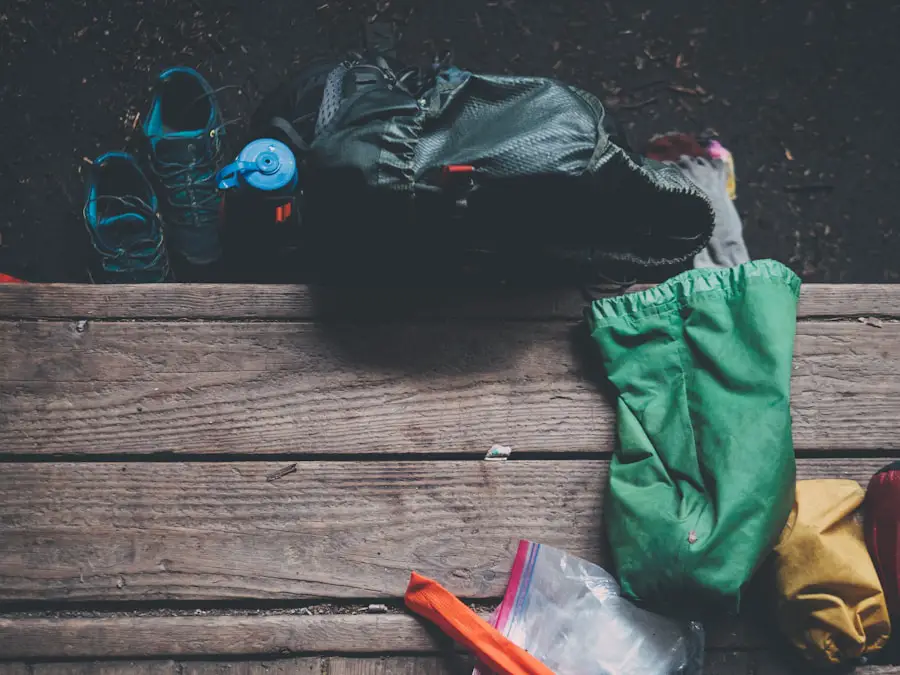
Staying hydrated is essential for physical performance and temperature regulation, but no single number of liters is correct for every hike. Water needs change with temperature, humidity, sun exposure, elevation, pace, duration, body size, acclimatization, and how much food you eat.
Plan your water before leaving. Determine how long you expect to be out, how strenuous the route is, whether reliable water sources exist, and whether those sources are seasonal. Hot, exposed hiking can require much more water than a cool, shaded walk of the same distance.
Water bottles and hydration reservoirs both work well. Bottles make it easy to see how much water remains, while a reservoir lets you drink through a hose without stopping. Some hikers use both so they have redundancy if one container leaks.
Warning: Do not assume a clear mountain stream, spring, lake, or river is safe to drink untreated. Disease-causing organisms can be present even when the water looks clean.
If you rely on natural water sources, choose a treatment method that addresses the organisms likely to be present. According to the CDC’s current backcountry water-treatment guidance, boiling is the best way to kill germs. Bring clear water to a rolling boil for 1 minute, or 3 minutes at elevations above 6,500 feet.
When boiling is not practical, CDC recommends filtering and then disinfecting the filtered water as the next-best approach. Most portable filters do not remove every type of germ. Some remove parasites but not viruses or all bacteria, while some chemical treatments may not reliably kill certain parasites. Follow the exact instructions and contact times for the product you carry.
Water contaminated with chemicals or toxins cannot be made safe merely by boiling, filtering, or disinfecting it. Use a different water source when chemical contamination is suspected.
Nutrition also matters. For shorter hikes, trail mix, nuts, dried fruit, sandwiches, jerky, or energy bars can provide convenient fuel. Longer hikes benefit from a mixture of carbohydrates, fat, protein, and salty foods that you know your stomach tolerates while exercising.
On remote hikes, carry extra food in case the trip takes longer than expected. For overnight travel, dehydrated or freeze-dried meals can reduce weight, but ordinary foods that pack and store well can work too. Choose meals based on calorie needs, preparation time, fuel availability, food-storage rules, and personal preference.
Shelter and Sleeping Gear: Tents, Sleeping Bags, and Pads
For an overnight trip, your planned shelter and sleep system must match expected wind, precipitation, insects, temperature, terrain, and campsite rules. Backpacking tents are designed to balance weather protection, usable space, packed size, and weight, while larger car-camping tents prioritize space over portability.
Look at more than the word “waterproof.” A well-pitched rainfly, intact seams, suitable campsite selection, ventilation, and keeping the tent away from drainage channels all affect how well your shelter performs in bad weather.
Sleeping bags are available with down or synthetic insulation and different temperature ratings. Select a bag appropriate for the overnight low temperatures you realistically expect, while remembering that individual warmth varies. Clothing, wind, humidity, nutrition, fatigue, and the sleeping pad can all change how warm you feel.
Sleeping pads are not just cushions. They also reduce heat loss to the ground. Inflatable pads can provide excellent comfort and insulation for their packed size, while foam pads are simple, durable, and resistant to punctures. Some hikers combine the two in cold conditions.
A planned tent and sleeping bag do not replace the emergency shelter category for day hikes. Even when no overnight stay is planned, a compact emergency bivy, blanket, or tarp can provide valuable protection if an injury, navigation problem, or severe weather prevents you from returning on schedule.
Sun Protection, Insect Repellent, and Personal Care
Sun protection matters throughout the year, including on cool or cloudy days and on snow-covered terrain. Use shade and clothing as your first line of protection where practical, including sunglasses, a brimmed hat, and lightweight clothing that covers exposed skin.
The American Academy of Dermatology recommends a broad-spectrum, water-resistant sunscreen with SPF 30 or higher. Apply it before going outside and reapply approximately every two hours while outdoors, as well as after swimming or heavy sweating according to the label.
In areas with ticks, mosquitoes, or other biting insects, use an EPA-registered repellent and follow its label. CDC tick-prevention guidance lists active ingredients including DEET, picaridin, IR3535, oil of lemon eucalyptus/PMD, and 2-undecanone. Some products have age restrictions, so follow label directions carefully.
Permethrin-treated clothing and gear can provide additional protection when used according to product instructions. Permethrin products intended for clothing or gear should not be applied directly to skin.
Pack any prescription medications you may need, along with hand sanitizer and personal hygiene supplies appropriate for the trip. For longer hikes, a small toilet kit may include toilet paper, a sealable waste bag, hand sanitizer, and a trowel or human-waste bag where regulations allow or require them.
Leave No Trace and Bathroom Supplies
Pack out food wrappers, scraps, tissues, hygiene products, and other trash. Do not assume that food waste is harmless simply because it is biodegradable.
Bathroom requirements differ by location, so check local regulations before leaving. Where catholes are permitted, National Park Service Leave No Trace guidance describes digging a hole about 6–8 inches deep at least 200 feet from water, trails, and campsites and packing out toilet paper and hygiene products. Some fragile or heavily used areas instead require human waste to be packed out in an approved bag system.
Light, Fire, Repair Gear, and Emergency Extras
Several small items are easy to overlook because they may not be needed during a normal hike. They become much more valuable when something goes wrong.
Headlamp and Power
Choose a headlamp or flashlight that can provide enough usable light for walking after dark. Keep it accessible, and carry spare batteries or another compatible power source. A small power bank can also help keep a phone or electronic navigation device running on longer trips.
Fire-Starting Equipment
A lighter, waterproof matches, and a small amount of fire starter can be useful emergency equipment on trips where fire is appropriate. However, carrying fire-starting equipment is not permission to build a fire. Follow all local rules, seasonal fire bans, campsite restrictions, and Leave No Trace practices.
Repair Supplies
A compact repair kit can include duct tape, strong cord, zip ties, a needle and thread, safety pins, a sleeping-pad patch, and a small multi-tool or knife. Match the repair supplies to the gear whose failure would cause the biggest problem on your particular trip.
Emergency Whistle and Shelter
Keep an emergency whistle within easy reach. A lightweight bivy, space blanket, or tarp can provide temporary protection from wind and precipitation if you become stranded. These items are particularly valuable when a “simple day hike” takes place far from roads or immediate help.
Adjust the Packing List to the Hike
Short Local Day Hike
For a short, familiar route near help, you may be able to use a small pack while still covering your core needs. Bring water, food or a snack, weather-appropriate clothing, navigation appropriate to the trail, sun protection, personal medication, basic first aid, a light source, and essential emergency equipment.
Long or Remote Day Hike
Increase your margin for error when the hike is long, isolated, exposed, mountainous, or far from roads. Carry more food and water capacity, stronger navigation redundancy, extra insulation, rain protection, emergency shelter, a headlamp, repair supplies, and a communication plan. A satellite messenger or personal locator beacon may be worthwhile where cell coverage is unreliable.
Overnight or Multi-Day Hike
In addition to the day-hiking essentials, overnight travel requires a planned shelter, sleeping bag, sleeping pad, additional food, a cooking system if your meals require one, fuel, more extensive water planning, hygiene supplies, food-storage equipment required by local wildlife rules, and additional clothing suited to the forecast.
Cold, Snowy, or Icy Conditions
Winter hikes may require substantially more insulation, waterproof layers, gloves, a warm hat, gaiters, traction devices, insulated water storage, and specialized avalanche or mountaineering equipment depending on the route. Specialized winter travel requires skills as well as gear.
Optional Comfort and Terrain Gear
Trekking poles can improve balance on uneven surfaces and may feel especially useful on steep climbs, descents, stream crossings, snow, or when carrying a backpack. They are optional rather than a universal requirement.
Other location-specific items can include microspikes or other traction, a bug head net, bear-resistant food storage, wildlife deterrents where recommended by the land manager, a sit pad, extra socks, or specialized climbing and snow equipment.
Note: Equipment for wildlife, snow, river crossings, desert heat, high altitude, or technical terrain is highly location-specific. Check the managing agency’s current guidance instead of relying on a generic packing list.
When preparing for a hiking trip, the right sleeping system can make a major difference on overnight routes. Along with water, food, clothing, navigation, and emergency equipment, choose a sleeping bag that matches expected temperatures and your style of backpacking. For additional options, see this article on sleeping bags for backpacking travel.
Love travel? Join Our Facebook Community For More Tips.
Frequently Asked Questions
What are the essential items to pack for hiking?
Start with the Ten Essentials: navigation, sun protection, extra insulation, illumination, first aid, fire supplies where appropriate, repair tools, extra food, water plus treatment when necessary, and emergency shelter. Also bring suitable footwear, a backpack, personal medications, and any equipment required for local weather or hazards.
What type of clothing should I pack for hiking?
Use clothing that matches the forecast but also gives you a margin for changing conditions. A moisture-managing base layer, insulating layer, and wind/rain shell are a flexible combination. Add a hat, gloves, sun-protective clothing, rain pants, or extra insulation when the environment calls for them.
What kind of food and snacks should I pack for hiking?
Choose foods that are easy to carry, tolerate heat when necessary, and provide useful energy. Trail mix, nuts, dried fruit, sandwiches, jerky, and energy bars are convenient for day hikes. Overnight hikers can add dehydrated meals, oatmeal, or other compact meals and should carry extra food for unexpected delays.
What safety items should I pack for hiking?
Carry a first aid kit, headlamp, emergency shelter, whistle, navigation backup, extra food, adequate water, repair supplies, and weather protection. Depending on the route, also consider a power bank, satellite communicator or personal locator beacon, and trip-specific emergency equipment.
What other essential items should I pack for hiking?
Useful additions include sunscreen, sunglasses, insect repellent, personal medication, hand sanitizer, a waste bag, spare socks, trekking poles, and a waterproof liner for critical gear. The exact extras should reflect the weather, terrain, wildlife, trail rules, and distance from help.
How much water should I bring on a hike?
There is no universal amount that works for every hike. Estimate your needs from trip duration, temperature, sun exposure, exertion, elevation, your own needs, and reliable water sources. Carry extra capacity for hot or remote routes and know how you will treat natural water before relying on it.
Does GPS work when there is no cell service?
A phone or GPS receiver can often determine its position from satellites without cellular service, but online maps, searches, calls, and messages may not work. Download maps before leaving, conserve battery power, and carry an appropriate backup such as a map and compass.
Do I need emergency shelter for a day hike?
For remote, cold, exposed, or long day hikes, lightweight emergency shelter is a smart part of the Ten Essentials. An emergency bivy, blanket, or tarp can reduce exposure to wind and precipitation if injury, weather, navigation problems, or darkness prevents you from returning on time.
Sources
- U.S. National Park Service — Ten Essentials — core hiking emergency and preparedness systems.
- U.S. National Park Service — Hike Smart — route research, equipment, water, food, and hiking-safety planning.
- Centers for Disease Control and Prevention — Backcountry Water Treatment — boiling, filtration, disinfection, and treatment limitations.
- Centers for Disease Control and Prevention — Preventing Tick Bites — EPA-registered insect repellents and bite-prevention measures.
- American Academy of Dermatology — How to Apply Sunscreen — SPF 30+, broad-spectrum protection, and reapplication guidance.
- U.S. National Park Service — Leave No Trace: Dispose of Waste Properly — outdoor bathroom and waste-disposal guidance.
