
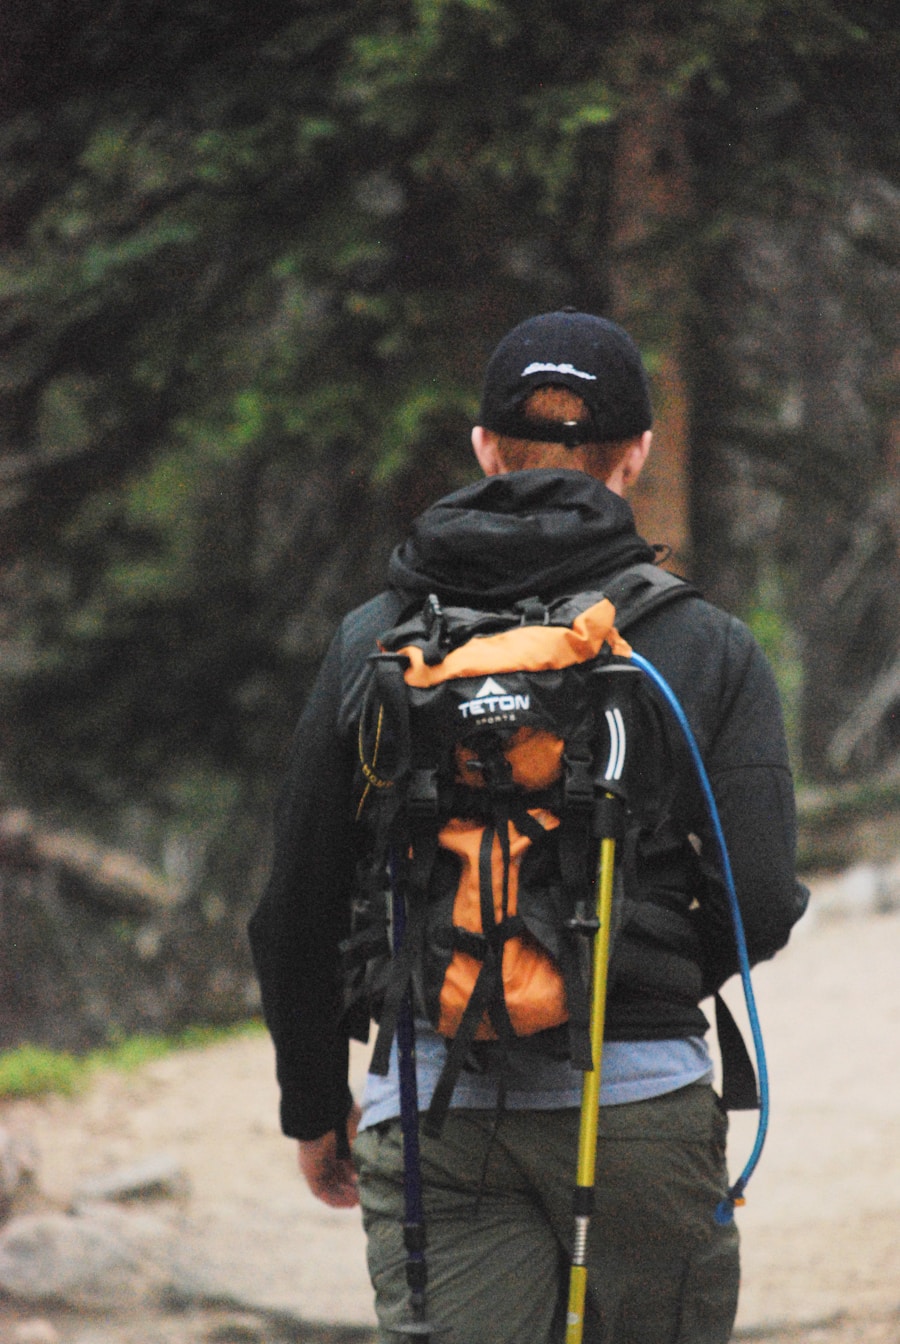
Last Updated on September 10, 2026 by Daniel Globe
Knowing what to take on a hiking trip is less about packing as much gear as possible and more about carrying the right gear for the route, weather, distance, and time you expect to be outside. A short local hike and a remote overnight trip need different equipment, but both should leave you prepared for sudden weather, delays, minor injuries, and navigation problems.
Quick Answer
For a hiking trip, pack the Ten Essentials: navigation, sun protection, extra clothing, illumination, first aid, fire-starting supplies, repair tools, extra food, water plus treatment supplies, and emergency shelter. Add suitable footwear, a comfortable backpack, weather-specific layers, personal items, and overnight sleeping gear when your trip requires it.
Key Takeaways
- Build every hiking packing list around the National Park Service Ten Essentials, then add gear for your specific route and weather.
- Choose footwear for the terrain, fit, weather, and load instead of assuming every hike requires a heavy ankle-high boot.
- Carry enough water for the planned hike and a safe treatment method when you expect to use natural water sources.
- Use a physical or offline navigation backup and do not assume your phone will have service throughout the route.
- Overnight trips require additional shelter, insulation, sleeping, food-storage, and campsite equipment.
At a Glance
| Day-Hike Core | Ten Essentials, weather layers, suitable footwear, water, food, navigation, first aid, and emergency communication. |
| Overnight Add-Ons | Primary shelter, sleeping bag or quilt, sleeping pad, extra food, cooking equipment if needed, and required food-storage equipment. |
| Water | Plan by hiking time, heat, exertion, and reliable refill locations. Carry treatment supplies when relying on natural sources. |
| Emergency Backup | Headlamp, spare power, extra food, emergency shelter, whistle, and a communication plan appropriate to the remoteness of the route. |
Warning: A generic packing list cannot account for every trail. Check the current forecast, trail closures, fire restrictions, wildlife rules, permits, water availability, and local hazards before leaving. Tell a trusted person where you are going and when you expect to return.
Disclosure: As an Amazon Associate I earn from qualifying purchases. Some links on this page are affiliate links, at no extra cost to you.
Plan Before You Pack
Good hiking preparation begins before anything goes into your backpack. Review the total distance, elevation gain, terrain, expected hiking time, sunset time, weather, and available water. A short trail can still become difficult when it is steep, exposed, muddy, snowy, or at high elevation.
- Check the current weather forecast and trail conditions.
- Confirm whether permits, parking passes, reservations, or food-storage equipment are required.
- Download an offline map and carry a physical map when appropriate.
- Set a turnaround time so an unexpectedly slow hike does not leave you on the trail after dark.
- Leave your route, vehicle information, group details, and expected return time with someone who is not on the trip.
- Choose a route that matches the least-experienced member of your group.
The National Park Service recommends planning for emergencies and warns hikers not to depend on cellular coverage in remote areas. Your phone can still be useful for offline maps and communication where service exists, but it should not be your only navigation or emergency plan.
The Ten Essentials for a Hiking Trip
The National Park Service Ten Essentials provide a strong base for a hiking packing list. The exact products can change with the season and destination, but each system solves an important problem if the hike lasts longer or becomes more difficult than expected.
- Navigation: map, compass, offline GPS or dedicated GPS device, and the knowledge to use them.
- Sun protection: sunglasses, sunscreen, sun-protective clothing, and a hat as conditions require.
- Extra clothing: insulating and weather-protective layers suitable for the coldest or wettest conditions you could reasonably encounter.
- Illumination: a headlamp or flashlight plus spare batteries or another reliable power source.
- First aid: supplies matched to the group, duration, terrain, and known medical needs.
- Fire: a lighter, waterproof matches, or other emergency fire-starting supplies where possession and use are appropriate.
- Repair kit and tools: items such as duct tape, a multi-tool, scissors, cord, and trip-specific repair materials.
- Extra food: more no-cook food than you expect to consume during the planned hike.
- Hydration: drinking water plus treatment equipment when natural water may be needed.
- Emergency shelter: a lightweight bivy, emergency blanket, tarp, or other shelter appropriate to the environment.
Note: Carrying an emergency shelter does not mean carrying a full camping tent on every day hike. A compact emergency bivy, blanket, or tarp can provide valuable protection if an injury, navigation error, or sudden storm keeps you outside longer than planned.
Pack for the problem you do not expect: darkness, a sudden weather change, a delayed return, or a water source that cannot be used safely.
Clothing and Layering for Hiking
Clothing should help you manage sweat, temperature changes, wind, rain, and sun exposure. A flexible layering system normally uses three functions: a moisture-managing base layer, an insulating middle layer, and an outer layer for weather protection.
Base Layer
A base layer sits next to the skin and helps move moisture away from the body. Merino wool and synthetic fabrics are common choices. For cool or cold hiking, avoid relying on absorbent clothing that stays wet for a long time, since wet clothing can increase heat loss when temperatures fall.
Insulating Layer
A fleece, synthetic insulated jacket, wool layer, or down jacket can provide warmth. The right choice depends on temperature, moisture, activity level, and how much pack space you have. Fleece remains useful when damp, while down provides excellent warmth for its weight but requires more care in wet conditions.
Outer Layer
A shell protects against wind and precipitation. For sustained rain or wet snow, a waterproof and breathable jacket is more useful than a simple windbreaker. Features such as an adjustable hood, cuffs, and ventilation can make the shell easier to use while moving.
Bring a hat, gloves, and spare socks when the expected conditions justify them. Weather can change quickly at elevation, so pack for the realistic low temperature and exposure rather than only the temperature at the trailhead.
Pro Tip: Make layer changes before you become soaked with sweat or noticeably chilled. A quick stop to remove insulation on a climb or add it during a rest can make the rest of the hike much more comfortable.
Footwear for a Hiking Trip
The right hiking footwear depends on the trail rather than a single rule. Hiking shoes and trail-running shoes can work well on maintained trails and for hikers who prefer lightweight footwear. More protective hiking boots can be useful on rough terrain, in cold or wet conditions, or when carrying heavier loads.
Whatever style you choose, prioritize fit and traction. Your heel should feel secure, your toes should have room to move without striking the front of the shoe on descents, and the outsole should provide grip appropriate to the surface.
Try hiking footwear with the socks you intend to use. New shoes or boots should be tested on shorter walks before a long trip so you can identify pressure points, heel movement, or other fit problems before you are miles from the trailhead.
Season also matters. Breathable footwear may be comfortable in hot, dry conditions, while waterproof or insulated footwear can make more sense in prolonged rain, snow, mud, or cold. Pack an extra pair of wool or synthetic hiking socks for longer outings or wet conditions.
Backpack and Hiking Gear
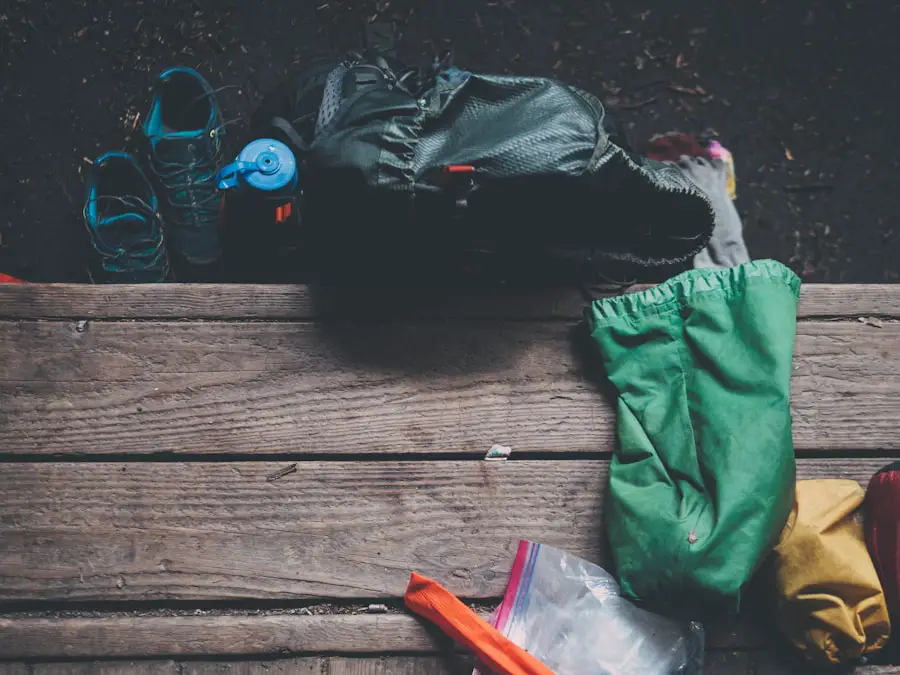
A hiking backpack should carry your equipment securely without creating painful pressure points or excessive movement. Capacity is important, but fit, torso length, load support, ventilation, and the amount of gear you actually need matter just as much.
Choose a Practical Backpack Size
There is no universal backpack volume for every trip. Compact packs can work for short outings, while a full-day hike with extra clothing, food, and water often requires more space. Overnight and multi-day trips require additional volume for sleeping equipment, shelter, food, and other camp gear.
As a broad reference, current backpack-manufacturer guidance commonly places short or lightweight day hikes around the 10–25 liter range, fuller day hikes around 20–35 liters, overnight trips around 35–50 liters, and longer self-supported trips at 50 liters or more. Treat those figures as starting points rather than rules because climate, equipment size, food, water, and trip style can change your needs considerably.
Fit the Pack to Your Body
Adjust the torso length when the pack allows it. Shoulder straps should follow the shoulders comfortably, and a load-bearing hip belt should sit securely around the hips. Pack heavier dense items close to your back and keep frequently needed equipment such as water, snacks, rainwear, navigation tools, sunscreen, and first aid easy to reach.
Useful features can include water-bottle pockets, hydration-reservoir compatibility, compression straps, trekking-pole attachment points, and separate storage for small gear. Features matter less than a comfortable fit and enough space for the equipment your trip truly requires.
Note: If you are flying or taking other transportation to the trailhead, travel luggage and your hiking backpack serve different jobs. A wheeled suitcase can make airport transit easier, but your on-trail pack still needs to fit your body and hiking load. This guide to softside carry-on luggage with wheels covers luggage options for the travel portion of a trip.
Food and Water for Hiking
| Need | Practical Hiking Guidance |
| Food | Pack portable, energy-dense food that is easy to eat and appropriate for the length of the hike. |
| Extra Food | Carry additional no-cook food in case the trip takes longer than expected. |
| Water | Estimate needs from hiking time, heat, exertion, elevation, and reliable refill locations rather than using one fixed amount for every trip. |
| Water Treatment | Carry a treatment method appropriate to the water source and follow the device or chemical manufacturer’s directions exactly. |
For day hikes, nuts, trail mix, dried fruit, energy bars, jerky, sandwiches, wraps, and other portable foods can provide convenient fuel. For overnight trips, lightweight dehydrated meals are common because they store easily and usually require only hot water. Brands such as Mountain House and Backpacker’s Pantry are examples, but choose food according to your dietary needs, preparation method, and storage requirements.
Water needs change with temperature, humidity, elevation, exertion, body size, and hike duration. As one current park-specific benchmark, Great Smoky Mountains National Park lists at least 1 liter per two hours of hiking. That is a planning reference, not a universal limit; hot, exposed, strenuous, or unusually long routes may require more.
A hydration bladder can make frequent drinking convenient, while bottles make it easy to see how much water remains. Check reliable water locations before your trip instead of assuming a stream shown on a map will be flowing.
Warning: Clear-looking backcountry water can still contain disease-causing organisms. The CDC recommends treating water when its safety is uncertain. Boiling is the most reliable way to kill germs; when boiling is not practical, filtering followed by disinfection provides broader protection than assuming a basic filter removes every type of pathogen.
Navigation and Hiking Safety
Navigation equipment only helps if you know how to use it. Review the route before leaving, identify important trail junctions, and know where you should turn around if conditions deteriorate.
A paper topographic or trail map and compass provide a useful backup when electronics fail. A phone or GPS device can make navigation easier, especially with maps downloaded for offline use, but batteries can die and remote trails may have no cellular signal. Carry backup power appropriate to the trip.
For remote routes, consider whether a satellite messenger or personal locator beacon is appropriate. A whistle is also a lightweight way to signal for help and should be accessible rather than buried at the bottom of your pack.
- Tell someone your route and expected return time.
- Keep your map, compass, or offline navigation available while hiking.
- Carry a headlamp even when you expect to return before sunset.
- Keep enough battery reserve for navigation and emergencies.
- Know the emergency procedures and contact methods for the area you are visiting.
Warning: The National Weather Service states that there is no safe place outside when thunderstorms are in the area. If you hear thunder, move toward a substantial enclosed building or hard-topped vehicle when one is accessible instead of continuing toward an exposed summit or ridge.
Shelter and Sleeping Gear
Overnight hikers need a primary shelter that matches the environment and forecast. Backpacking tents balance weather protection, usable space, durability, and weight. A three-season tent is appropriate for many spring-through-fall trips, while winter or exposed alpine conditions may require a stronger shelter designed for snow and high winds.
Hammocks with appropriate suspension, insulation, and rain protection can also work where they are permitted and where suitable anchors are available. Tarps provide another lightweight option for experienced users who understand site selection and weather exposure.
Your sleeping bag or quilt should be warm enough for the expected overnight low, with a safety margin suitable for your experience and conditions. Remember that insulation below you matters too. A sleeping pad provides cushioning while reducing heat loss to the ground.
Day hikers normally do not need to carry a full tent, but an emergency bivy, heat-reflective blanket, or compact tarp can provide valuable protection during an unplanned night outside.
First Aid Kit for Hiking
A first aid kit should match the length of the hike, number of people, terrain, remoteness, and individual medical needs. The American Red Cross hiking first-aid checklist recommends customizing a kit rather than assuming one pre-packed kit is suitable for every trip.
Useful hiking first-aid supplies can include:
- Adhesive bandages in several sizes.
- Sterile gauze pads and medical tape.
- Antiseptic wipes or appropriate wound-cleaning supplies.
- Blister treatment.
- Elastic wrap.
- Nonlatex gloves.
- Tweezers.
- Antihistamine where appropriate.
- Pain-relief medication that you know you can safely use.
- Personal prescription or emergency medications.
- Emergency first-aid instructions.
Check expiration dates before each major trip and replace supplies that have been used, damaged, or expired. A kit is much more useful when you understand its contents, so basic first-aid or wilderness first-aid training is worthwhile for people who regularly hike far from immediate help.
Personal Items and Small Essentials
Small personal items can prevent minor problems from becoming trip-ending problems. Sunscreen, sunglasses, a sun hat, and insect repellent may be necessary depending on the destination and season. Lip balm, spare socks, and blister-prevention supplies can also improve comfort during long days.
Other useful personal items include identification, permits, a small amount of payment, toilet paper, hand sanitizer, a waste bag, and any required personal medication. A compact multi-tool can handle small repairs when permitted and appropriate for the trip.
For an overnight trip, bring a toothbrush, toothpaste, and other basic hygiene supplies without overpacking. Biodegradable soap still should not be used directly in a lake or stream.
Leave No Trace, Food Storage, and Waste
What you pack also affects the places you visit. The National Park Service’s Leave No Trace guidance recommends packing out trash and leftover food, using established trails and campsites where appropriate, respecting wildlife, and following local waste rules.
Where toilets are unavailable, follow the land manager’s specific human-waste rules. Requirements can vary by environment, and some sensitive or heavily used locations require waste to be packed out rather than buried.
Store food and trash securely. Bear-resistant containers, lockers, hangs, or other storage methods may be required in some destinations. Check the regulations for the exact trail or park rather than assuming one storage method is permitted everywhere.
Pro Tip: Finish packing a day early, then carry the loaded backpack around or take it on a short walk. It is easier to identify an uncomfortable fit, forgotten item, leaking bottle, or unnecessary weight at home than at the trailhead.
Love travel? Join Our Facebook Community For More Tips.
Frequently Asked Questions
What are the essential items to take on a hiking trip?
Start with the Ten Essentials: navigation, sun protection, extra clothing, illumination, first aid, fire-starting supplies, repair tools, extra food, water and treatment supplies, and emergency shelter. Add suitable footwear, a properly fitted backpack, personal medications, and any route-specific equipment.
What type of clothing should I bring on a hiking trip?
Choose moisture-managing clothing and pack layers that match the forecast and realistic weather extremes. A base layer manages sweat, an insulating layer retains warmth, and an outer shell protects against wind and precipitation. Add a hat, gloves, and spare socks when conditions warrant them.
What kind of footwear is best for hiking?
Use footwear that fits securely and provides suitable traction for the terrain. Hiking shoes or trail-running shoes can work well on many maintained trails, while more protective boots can be useful on rough terrain, in cold or wet weather, or with heavier loads.
How much water should I bring on a hiking trip?
There is no single amount for every hike. A practical planning reference used by Great Smoky Mountains National Park is at least 1 liter per two hours of hiking, but needs can rise with heat, exposure, exertion, elevation, and individual factors. Check reliable refill points and carry treatment equipment when needed.
What kind of food should I pack for a hiking trip?
Pack lightweight foods that are easy to eat and provide useful energy, such as nuts, trail mix, dried fruit, bars, jerky, sandwiches, or wraps. For longer trips, dehydrated meals can reduce bulk. Carry some extra no-cook food in case your return is delayed.
What navigation tools should I bring on a hiking trip?
Bring navigation appropriate to the route, such as a trail or topographic map, compass, and GPS or smartphone with maps downloaded for offline use. A physical backup and spare power are valuable because batteries can fail and cellular coverage may disappear.
What should be included in a first aid kit for a hiking trip?
A basic hiking kit can include adhesive bandages, gauze, medical tape, antiseptic supplies, blister treatment, gloves, tweezers, an elastic wrap, appropriate pain relief, and personal medications. Customize it for your group size, trip length, medical needs, terrain, and remoteness.
Do I need emergency shelter on a day hike?
Yes, carrying a lightweight emergency shelter is wise even when you do not intend to camp. An emergency bivy, heat-reflective blanket, or compact tarp can provide protection if an injury, storm, navigation mistake, or other delay keeps you outside longer than planned.
Should I rely on my phone for hiking navigation?
No. A phone can be an excellent navigation tool when maps are downloaded for offline use, but it can lose signal, run out of power, or become damaged. Carry suitable backup navigation and consider additional emergency communication equipment for remote trips.
Sources
- National Park Service — Ten Essentials — navigation, illumination, clothing, first aid, repair equipment, food, hydration, and emergency shelter.
- Great Smoky Mountains National Park — Hiking — current Ten Essentials checklist, trail preparation, and hiking-water planning guidance.
- Centers for Disease Control and Prevention — Water Treatment While Hiking and Camping — boiling, filtration, disinfection, UV treatment, and backcountry-water risks.
- National Weather Service — Lightning Safety — thunderstorm and lightning precautions.
- American Red Cross — Hiking and Backpacking First Aid Kit Checklist — first-aid contents and trip-specific customization.
- National Park Service — Leave No Trace Seven Principles — waste disposal, wildlife, campsite, food, and low-impact outdoor practices.
