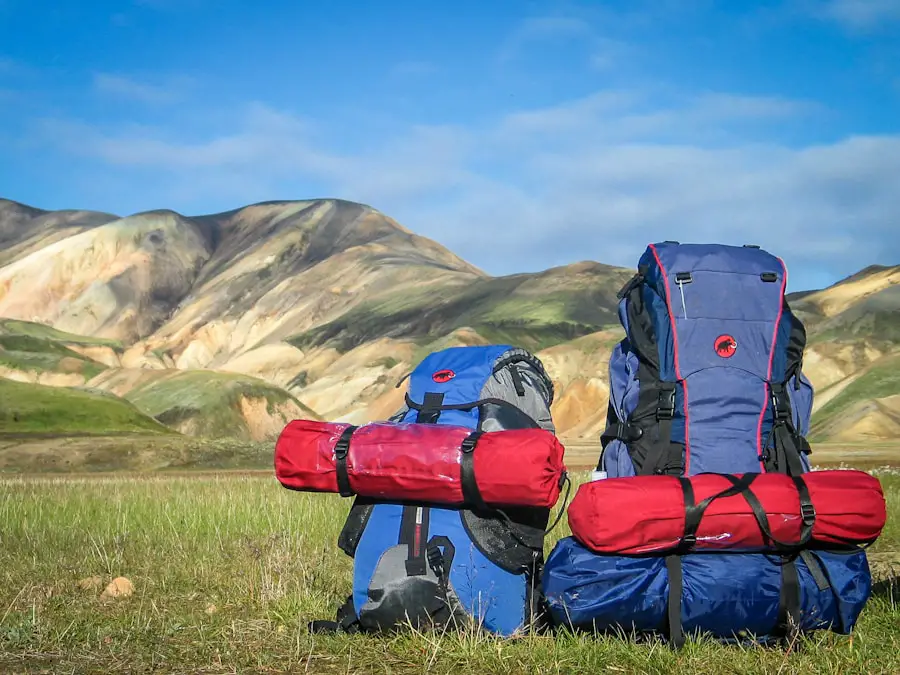
Last Updated on September 10, 2026 by Daniel Globe
Choosing the right hiking pack starts with three things: what you need to carry, how long you will be on the trail, and how the pack fits your body. A small daypack may be enough for a few hours outside, while an overnight or multi-day trip usually requires more volume, better load support, and room for sleeping gear, food, water, and extra clothing.
Weather and terrain matter too. Wet conditions may call for a rain cover, pack liner, or dry bags, while hot-weather hiking makes ventilation more important. Technical trips may require attachment points for trekking poles, an ice axe, helmet, or other equipment. Instead of buying the largest pack you can afford, choose the smallest pack that comfortably holds the gear you actually need.
Quick Answer
Choose a hiking pack by matching its capacity to your normal trip length, then prioritize fit over extra features. Measure your torso, make sure the hipbelt sits securely around the top of your hip bones, and test the pack with a realistic load. After fit and capacity, compare suspension, ventilation, pockets, weather protection, weight, and durability.
Key Takeaways
- Choose capacity based on the gear you actually carry, not trip length alone.
- Torso length and hipbelt fit are more useful for pack sizing than your overall height or clothing size.
- For backpacking, a supportive hipbelt and suspension system help transfer the load away from your shoulders.
- Test a pack with realistic weight before buying it and move around while wearing it.
- Water-resistant fabric does not necessarily make the whole pack waterproof; protect critical gear with a liner or dry bags when rain is likely.
- Compare useful features such as hydration compatibility, compression straps, pockets, ventilation, and tool attachments only after fit and capacity are right.
At a Glance
| Time Required | About 15–30 minutes for measuring, adjustment, and a loaded fit test |
| Difficulty | Easy |
| Tools Needed | Flexible measuring tape, your normal hiking gear or test weight, and ideally a helper |
| Cost | Varies widely; basic hiking packs can cost under $100, while larger technical backpacking packs can cost several hundred dollars and some exceed $500 |
Disclosure: As an Amazon Associate I earn from qualifying purchases. Some links on this page are affiliate links, at no extra cost to you.
Understand Your Hiking Needs
Start by deciding what kind of hiking you do most often. A short local hike has very different gear requirements from a weekend backpacking trip or an extended wilderness trek. Think about your usual distance, weather, season, water availability, safety equipment, and whether you need to carry camping gear.
For a day hike, the pack must at least have enough room for the gear appropriate to your route and conditions. The National Park Service Ten Essentials provide a useful starting point for navigation, sun protection, insulation, illumination, first aid, fire, repair supplies, food, hydration, and emergency shelter.
Environment also affects the design you should choose. In hot weather, a ventilated suspension can reduce the amount of pack material resting directly against your back. In wet climates, prioritize reliable weather protection. For scrambling, mountaineering, skiing, or winter hiking, a narrower profile and secure attachment points may be more valuable than numerous organizer pockets.
Types of Hiking Packs
Hiking packs come in many sizes, and the boundaries between categories are flexible. The bulk of your equipment matters just as much as the number of nights you plan to spend outside.
- Small daypacks, about 10–20 liters: Best for short outings when you carry minimal clothing, water, food, and safety gear.
- General hiking daypacks, about 21–35 liters: A useful range for many full-day hikes because there is room for food, water, extra layers, rain gear, and other essentials.
- Large daypacks, about 36–40 liters: Useful when cold weather, climbing equipment, family gear, or bulky clothing increases the load. Compact overnight gear can also fit in some packs in this range.
- Weekend packs, about 30–50 liters: Often suitable for one to three nights when your shelter, sleep system, and cooking gear are reasonably compact.
- Multi-day packs, about 50–80 liters: Designed for larger loads, additional food, and several days of backpacking equipment.
- Extended-trip packs, about 70 liters and above: Useful for long trips, winter equipment, bulky food carries, or situations where you must carry group gear.
These are guidelines rather than absolute rules. REI’s current daypack guidance and backpacking pack guidance likewise emphasize matching volume to the amount and bulk of the equipment you carry.
The best capacity is not the largest pack you can carry. It is the smallest pack that comfortably holds the gear required for your real trips.
How to Choose a Hiking Pack in 6 Steps
1. Lay Out the Gear You Normally Carry
Before comparing liter ratings, place your normal hiking gear on the floor. Include water, food, insulation, rain protection, navigation equipment, first aid supplies, emergency gear, and any trip-specific equipment. For backpacking, add your shelter, sleeping system, cooking equipment, extra clothing, and required food-storage equipment.
This prevents a common mistake: buying a pack based on an abstract capacity number and then discovering that a bulky sleeping bag, bear-resistant container, or winter jacket will not fit.
2. Choose the Capacity That Fits That Gear
Use trip-length ranges as a starting point, then adjust for your equipment. Lightweight and compact gear may let you use a smaller pack, while winter equipment, children’s gear, photography equipment, or a bulky sleep system can require significantly more room.
3. Measure Your Torso and Check the Hipbelt Range
Pack size labels such as Small, Medium, and Large are not standardized across brands. Your torso measurement is therefore more useful than your normal clothing size.
To measure torso length, tilt your head forward and locate the prominent C7 vertebra at the base of your neck. Next, locate the top of your hip bones, or iliac crest. Measure along the contour of your spine from C7 to the level of the iliac crest. Compare that number with the size chart for the exact pack you are considering. This is the method used in fitting guidance from manufacturers including Gregory and Deuter.
Also confirm that the hipbelt’s specified range fits where the belt will actually sit around your hip bones. Do not assume that a clothing waist measurement or the widest point of your hips is automatically the correct backpack measurement.
4. Choose the Right Suspension and Frame
Many larger hiking and backpacking packs use an internal frame to support the load and transfer weight toward the hips. This is useful when carrying heavier or bulkier equipment. Frameless packs save weight but usually work best with lighter, carefully packed loads.
A suspended-mesh back panel can improve airflow by creating space between your back and the main packbag. Other packs use foam channels or perforated padding. A closer-fitting suspension may feel more stable for scrambling and technical movement, while a suspended system may feel cooler during warm-weather hiking.
5. Compare Features That Match Your Trips
After capacity and fit are correct, consider hydration compatibility, bottle pockets, hipbelt pockets, compression straps, trekking-pole attachments, ice-axe loops, sleeping-bag access, panel openings, removable lids, and rain covers. More features are not automatically better because extra pockets, zippers, and hardware add weight.
6. Test the Pack With a Realistic Load
Place weight in the pack before judging its fit. Gregory recommends testing fitting with roughly 10–20 pounds, while Deuter advises using a realistic load. For the most useful test, use approximately the gear and weight you expect to carry.
Walk, turn, bend, step up and down, and reach overhead. A pack that feels fine while empty may develop pressure points or sway once it is loaded.
Pro Tip: Bring your bulkiest real gear when shopping for a backpack. A sleeping bag, bear canister, camera kit, or winter layer can reveal capacity and access problems that bags of store-supplied test weight will not.
Capacity and Size Considerations
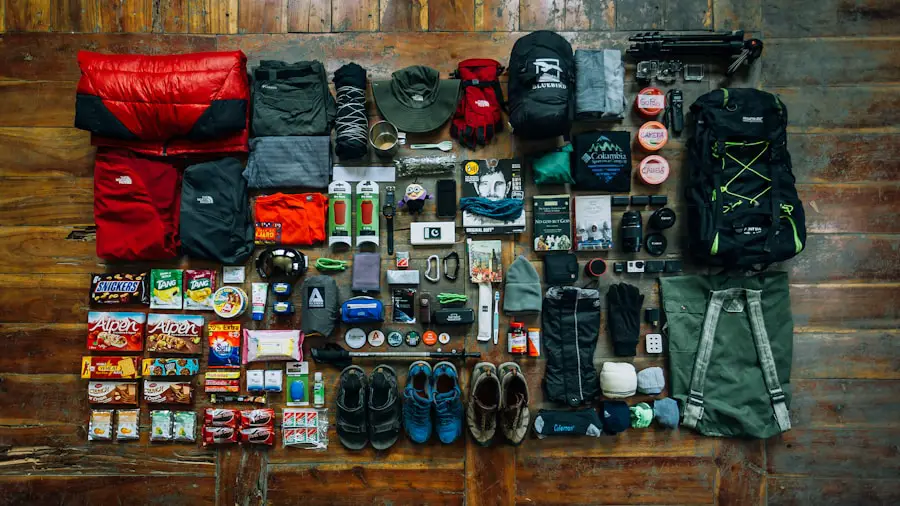
Pack capacity is measured in liters, but the number tells you only how much volume is available. It does not tell you whether the suspension will comfortably carry the weight you put inside it. Two 50-liter packs can have very different recommended load ranges, frame designs, weights, and fits.
| Typical Use | Starting Capacity Range | What Changes the Requirement |
|---|---|---|
| Short day hike | 10–20 L | Weather, water needs, emergency equipment |
| Full-day hike | 21–35 L | Extra layers, camera gear, family equipment |
| Weekend / 1–3 nights | 30–50 L | Shelter and sleeping-bag bulk, food, season |
| Multi-day / 3–5 nights | 50–80 L | Food carries, water, required storage equipment |
| Extended or winter trip | 70 L+ | Cold-weather sleep system, extra insulation, expedition gear |
Body size and pack volume are separate issues. A shorter hiker may need a large-capacity pack with a short torso setting, while a tall hiker may need a small daypack with a long torso fit. Choose volume for your equipment and choose the pack size or suspension adjustment for your body.
Note: Do not use pack capacity as a substitute for the manufacturer’s load guidance. A 50-liter lightweight pack and a 50-liter load-hauling pack can be designed for very different weights.
Comfort and Fit
| Fit Check | Good Fit | Warning Sign |
|---|---|---|
| Hipbelt | Padding wraps securely around the top of the hip bones | Belt slips down, pinches, or cannot tighten correctly |
| Shoulder Harness | Straps follow the shoulders smoothly without major gaps | Straps dig in, gap badly, or carry most of the load |
| Load Lifters | Help bring the upper load closer without distorting the harness | Cannot control sway or pull the shoulder straps into an uncomfortable position |
| Sternum Strap | Stabilizes the shoulder straps without restricting breathing | Must be overtightened to keep the harness in place |
Comfort becomes increasingly important as distance and load increase. A correctly fitted backpack should remain stable without creating concentrated pressure points or forcing you to overtighten the shoulder straps.
How to Adjust a Hiking Pack
- Add a realistic load. An empty backpack cannot show how the suspension behaves under trail weight.
- Loosen the main adjustment straps. Start with room to make deliberate adjustments.
- Set and tighten the hipbelt. Position its padded sections around the top of your hip bones so the belt can support much of the load.
- Tighten the shoulder straps. Bring the pack toward your body without pulling so hard that the hipbelt stops supporting the load.
- Adjust the load lifters. Use them to bring the upper part of the pack closer and reduce backward pull.
- Set the sternum strap. It should stabilize the shoulder harness without restricting normal breathing.
Deuter’s official backpack adjustment guide follows this same basic sequence and stresses that the waist belt should continue to carry the main load rather than transferring everything to the shoulders.
Warning: Persistent numbness, sharp pressure, severe rubbing, or a pack that must be painfully tightened to stay stable are signs that the fit or load needs to change. Adjustment straps cannot fully compensate for the wrong torso size or hipbelt fit.
Features and Accessories
Useful pack features depend on how you hike. Hydration compatibility is common on hiking packs and may include a reservoir sleeve, hose port, or side pockets for bottles. Before buying, check whether you can reach your preferred water bottle while wearing the pack or whether you are comfortable using a reservoir.
Pockets and Pack Access
Hipbelt pockets are useful for snacks, sunscreen, lip balm, or a phone. Stretch side pockets can hold bottles or tent poles. A front shove-it pocket is convenient for a wet rain jacket. Top-loading packs are simple and common, while panel or side access can make buried equipment easier to reach.
Organization does not automatically make a load stable. Compression straps and careful packing are more important for preventing the contents from shifting.
Technical Attachment Points
Trekking-pole loops, ice-axe attachments, helmet storage, ski carry systems, and reinforced tool areas are useful when your activity requires them. Otherwise, unnecessary attachments add complexity and can snag on vegetation.
Ventilation
Suspended mesh panels can hold the packbag away from your back to increase airflow. Foam-channel designs keep the load closer to the body but still provide some ventilation. Neither approach is universally better: choose based on climate, load, and how much stability you need.
Weather Protection
Do not assume that coated fabric makes an entire backpack waterproof. Seams, zippers, openings, and pockets can still admit water. REI’s backpacking-in-the-rain guidance notes that pack covers, liners, and dry bags provide additional protection.
Note: A rain cover protects the outside of the pack but leaves the harness side exposed and can be less effective in wind. A waterproof liner or individual dry bags can provide a second layer of protection for a sleeping bag, insulation, electronics, and other moisture-sensitive equipment.
Material and Durability
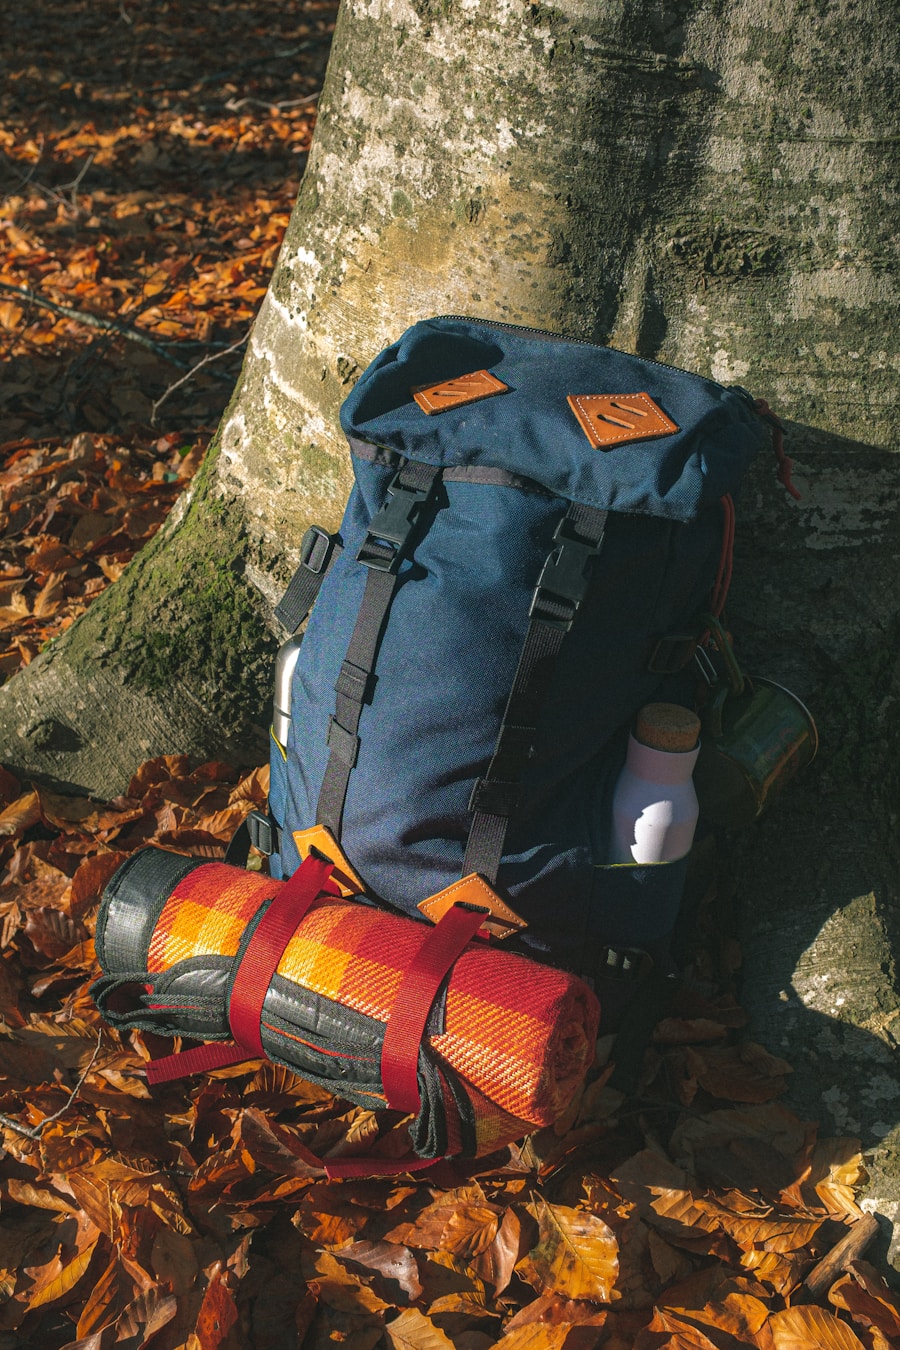
Most hiking packs use synthetic fabrics such as nylon or polyester because they can provide a useful balance of strength, weight, abrasion resistance, and weather resistance. However, one specification should not be used to judge the entire pack.
Denier, shown as numbers such as 210D, 500D, or 1000D, describes the linear density of the yarn. Within otherwise similar materials, a higher-denier fabric is usually heavier and uses thicker yarn, but the number is not a complete durability rating. Fiber type, weave, coatings, laminate construction, reinforcement, stitching, zipper quality, and the placement of high-wear panels all affect real-world performance.
Look closely at the bottom of the pack and other areas likely to contact rock or soil. Reinforced fabric in these locations can matter more than using very heavy fabric everywhere.
Water Resistance Versus Waterproofing
Water-resistant coatings can help light rain bead off a pack, but many hiking backpacks are not fully waterproof because their seams and openings are not sealed. A truly waterproof design normally requires construction specifically intended to stop water entry, not simply a durable water-repellent finish on the outer fabric.
If keeping gear dry is critical, use a pack liner or waterproof dry bags even when your backpack includes a rain cover.
Budget Considerations
Hiking packs range from inexpensive daypacks to technical load-hauling models costing several hundred dollars. Current outdoor-retail listings include hiking and backpacking packs below $100 as well as premium models above $500, so price alone does not identify the right pack.
For occasional day hiking, you may not need an elaborate suspension or numerous specialized attachments. For frequent backpacking, paying more for a suspension that fits correctly, an appropriate load range, durable construction, and useful adjustment can make sense.
Compare price only after confirming fit and function. A discounted $300 pack that does not fit is a worse purchase than a simpler $150 pack that carries your normal load comfortably.
Tips for Trying and Testing Hiking Packs
Trying on a hiking pack before committing to it is one of the best ways to uncover fit problems. Load it with weight similar to what you expect to carry, then adjust the entire suspension rather than judging it with loose factory settings.
Load the Pack Realistically
Place soft, bulky items near the bottom. Keep dense, heavy items centered close to your back rather than hanging far away from your center of gravity. Deuter’s packing guidance recommends keeping the heaviest part of a larger load close to the body, ideally around shoulder height.
Use compression straps to reduce movement and keep the left and right sides reasonably balanced. Avoid hanging numerous heavy objects from the outside because they can shift the center of gravity, swing while you walk, or snag on obstacles.
Move While Wearing It
Walk for several minutes instead of standing still. Climb stairs if possible. Bend forward, rotate your torso, reach overhead, and take long steps. Pay attention to rubbing at the hips, pressure on the shoulders, movement behind your head, and whether the pack sways when you change direction.
Check Access Before Buying
Make sure you can reach the items you expect to use frequently. Check the bottle pockets, hipbelt pockets, trekking-pole storage, rain-cover compartment, and main opening. A feature that looks useful on a product page may be frustrating if you cannot operate it while wearing the pack.
Use Your Actual Gear When Possible
A pack may have enough stated volume but still be the wrong shape for your equipment. Test bulky or rigid items such as a bear-resistant food container, sleeping bag, camera insert, or tent poles before committing to the pack.
If possible, compare several packs while loaded. Body shape varies, so a model that works exceptionally well for one hiker may feel uncomfortable on another. Some manufacturers offer different shoulder-harness shapes, hipbelt contours, torso ranges, extended-fit options, or adjustable suspension systems. Choose the design that matches your body rather than relying only on a men’s, women’s, or unisex label.
Pro Tip: Once you find a promising pack, write down its torso setting and strap positions. If you test another model and return to the first one, you can restore the fit instead of starting from scratch.
If you are planning a hiking trip and need guidance beyond choosing your pack, you may also be interested in this guide to the best time to travel to Kenya for seasonal trip planning.
Frequently Asked Questions
What factors should I consider when choosing a hiking pack?
Start with capacity, torso fit, hipbelt fit, and the pack’s intended load range. Then compare suspension, ventilation, pack weight, hydration compatibility, pockets, weather protection, access, attachment points, durability, and price. The best pack is the one that comfortably carries the equipment required for the trips you actually take.
What are the different types of hiking packs available?
Common categories include small daypacks, full-day hiking packs, weekend backpacking packs, multi-day packs, and extended-trip packs. Specialized designs are also available for climbing, mountaineering, skiing, trail running, hydration, and ultralight backpacking.
How do I determine the correct size of a hiking pack?
Measure your torso from the C7 vertebra at the base of your neck to the level of your iliac crest at the top of your hip bones. Then compare that measurement with the exact manufacturer’s sizing chart. Check the hipbelt range separately at the position where the belt will sit. Do not choose a pack solely from your height or normal clothing size.
What are some important features to look for in a hiking pack?
Useful features can include an adjustable suspension, supportive hipbelt, load lifters, ventilated back panel, hydration sleeve, bottle pockets, compression straps, hipbelt pockets, trekking-pole attachments, rain cover, and convenient access to the main compartment. Choose only the features that solve a real need for your trips.
How do I know if a hiking pack is the right fit for me?
Load the pack and adjust the hipbelt, shoulder straps, load lifters, and sternum strap. The hipbelt should sit securely around the top of your hip bones, the shoulder straps should follow your shoulders without major gaps, and the pack should remain stable when you walk and turn. You should not need painful strap tension to control it.
What size backpack is best for a day hike?
Many hikers are well served by roughly 21–35 liters for a full day, while a short outing may need only 10–20 liters. Cold weather, extra water, family equipment, photography gear, or technical equipment can require more space. The pack still needs room for the safety essentials appropriate to your route.
Does a hiking backpack need to be waterproof?
Not necessarily. Many hiking packs use water-resistant fabrics but have seams, zippers, or openings that can eventually leak. For wet conditions, a rain cover can protect the outside, while a waterproof pack liner or dry bags provide better protection for critical equipment inside.
How heavy should my hiking pack be?
There is no single body-weight percentage that works for every hiker, route, and pack. Keep unnecessary weight out, follow the pack manufacturer’s recommended load range when one is provided, and test your expected load before a long trip. Fitness, terrain, distance, weather, and pack fit all affect how a load feels.
Sources
- U.S. National Park Service — Ten Essentials — essential equipment and emergency-preparedness categories for outdoor trips.
- REI Expert Advice — How to Choose a Backpack — backpack capacity, features, frame choices, and fit.
- REI Expert Advice — How to Choose Daypacks — current daypack capacities, activities, features, and fit considerations.
- Gregory — Pack Fit & Sizing — torso measurement, hipbelt position, loaded testing, and strap adjustment.
- Deuter — How to Adjust a Backpack — hipbelt, shoulder-strap, sternum-strap, and stabilizer adjustment.
- Deuter — How to Pack a Backpack — load placement and weight distribution.