
Last Updated on July 27, 2026 by Daniel Globe
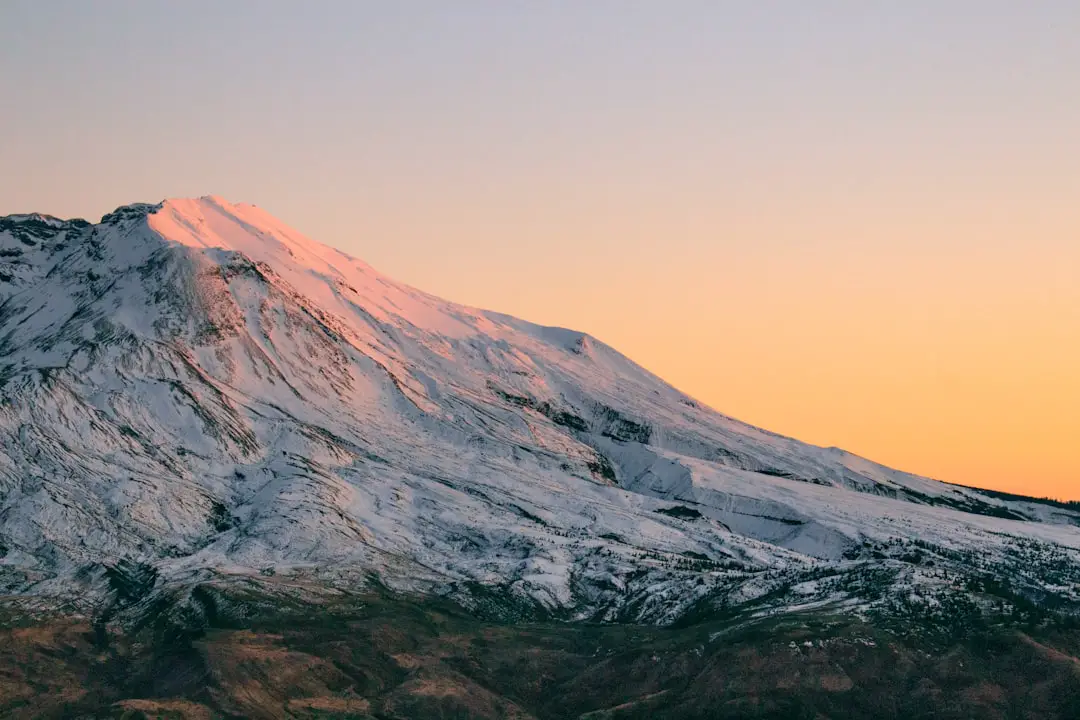
A 14er is a mountain that rises at least 14,000 feet above sea level, and climbing one is a signature Colorado outdoor challenge. The state is commonly described as having 58 named peaks above 14,000 feet, although prominence-based lists rank 53 of them as independent summits. Either way, a 14er is a serious high-altitude outing that deserves careful preparation.
Quick Answer
To hike a Colorado 14er safely, choose a route that matches your experience, train for sustained uphill effort, spend time acclimatizing at altitude, carry proper layers and navigation, check current weather and trail access, start early, and turn around when weather, altitude symptoms, terrain, or fatigue exceed your limits.
Key Takeaways
- Colorado commonly counts 58 named 14,000-foot peaks, while prominence-based lists rank 53 independent 14ers.
- Fitness helps you handle the workload, but it does not prevent altitude illness. Real acclimatization requires time at elevation.
- Choose a first 14er by route class, elevation gain, mileage, exposure, trailhead access, and current conditions—not by an “easy” label alone.
- Carry layers, food, water, a headlamp, first aid, sun protection, and navigation that works without cell service.
- Check the latest forecast, land-manager closures, parking rules, fire restrictions, and trail conditions immediately before leaving.
- Reaching the summit is optional. Returning safely is the goal.
At a Glance
| Time Required | Often 5–12+ hours depending on route, pace, elevation gain, trailhead access, and conditions |
| Difficulty | Strenuous high-altitude hiking to technical climbing; route class and exposure matter more than the summit elevation alone |
| Tools Needed | Appropriate footwear, layered clothing, food and water, offline map/navigation, headlamp, first aid, sun protection, emergency gear, and route-specific equipment |
| Cost | Many trails are free to hike, but parking reservations, shuttles, timed-entry passes, park fees, or other access charges may apply |
The appeal of a 14er goes beyond the elevation number. Hiking above treeline can bring sweeping views, demanding climbs, rapidly changing weather, and a strong sense of accomplishment. For many outdoor enthusiasts, a first summit becomes a memorable test of preparation, judgment, endurance, and respect for the mountain.
That challenge should not be confused with a race to the top. Even a nontechnical route can involve several thousand feet of elevation gain, hours of exposure to sun and wind, and much less oxygen than hikers are used to at lower elevations. The safest approach is to treat every 14er as a mountain objective rather than an ordinary day hike.
A Class 1 trail can still be a long, strenuous high-altitude day. “Nontechnical” never means risk-free.
Disclosure: As an Amazon Associate I earn from qualifying purchases. Some links on this page are affiliate links, at no extra cost to you.
Preparing for the Challenge: Physical and Mental Training
Physical training makes a 14er more manageable, especially when a route involves hours of steady climbing. Build cardiovascular endurance through activities such as brisk uphill walking, hiking, running, cycling, or stair climbing. Strength work for the legs, hips, and core can also make steep ascents and long descents more comfortable.
As your trip approaches, include hikes with meaningful elevation gain while carrying the pack you plan to use. This gives you a chance to test footwear, clothing, pacing, food, water, and your ability to move steadily uphill.
Note: Fitness and acclimatization are different. The CDC Yellow Book notes that physical fitness does not determine your risk of acute altitude illness. Acclimatization comes from spending time at elevation so your body can adjust.
For hikers arriving from low elevation, staging the trip can reduce altitude risk. CDC guidance says spending roughly two to three nights around 8,000–9,000 feet before going substantially higher can be protective against acute mountain sickness. A slower itinerary is especially valuable for someone who has previously felt ill at altitude.
Mental preparation matters too. Decide before the hike what conditions will make you turn around. Examples include thunder building nearby, losing the route, worsening altitude symptoms, reaching a predetermined turnaround time, unusually slow progress, or terrain that feels beyond your skills.
Visualization, mindfulness, and a steady pace can help with nerves, but good judgment matters more than determination. A summit can be attempted another day.
Essential Gear for Conquering 14ers
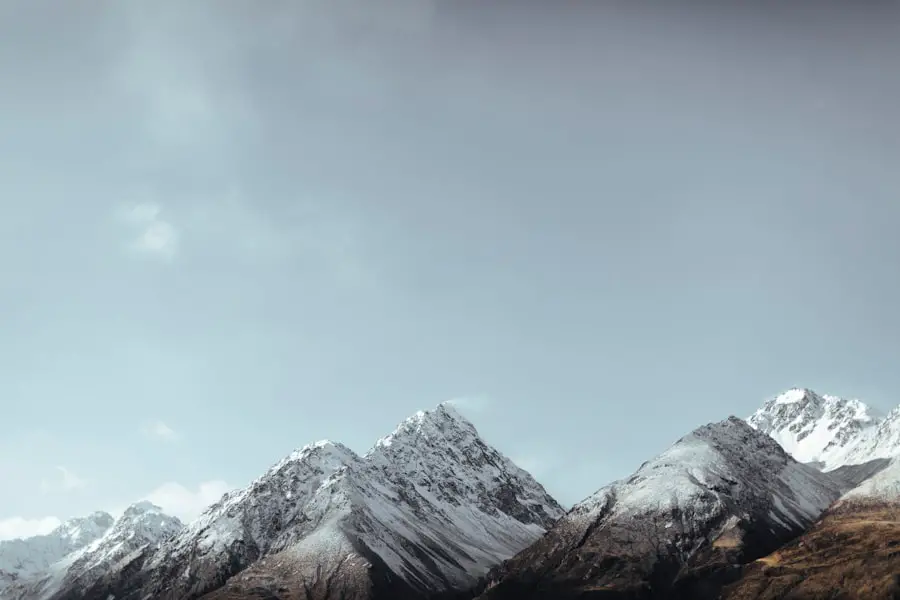
Choose footwear that fits well, grips securely on rock and dirt, and is already broken in. Some hikers prefer trail shoes while others prefer boots; the best choice depends on the route, weather, pack weight, ankle stability, and personal comfort. Moisture-managing socks can reduce friction and help prevent blisters.
Layer clothing so you can adjust quickly as conditions change. A typical system includes a moisture-managing base layer, an insulating layer, and windproof or waterproof protection. Even a warm trailhead can lead to cold, windy conditions above treeline.
A day pack should normally include:
- Enough water for the route, plus a realistic plan for any refill sources
- Food and extra calories for an unexpectedly long day
- Offline map, compass or GPS navigation, and knowledge of how to use them
- Headlamp with adequate battery power
- First-aid and blister-care supplies
- Sunglasses and broad-spectrum sunscreen
- Warm hat and gloves
- Waterproof or windproof shell
- Emergency insulation or shelter
- Whistle and other signaling equipment
- Phone with downloaded maps and forecast information
- Optional satellite communicator for remote routes
Trekking poles are optional but can improve balance and reduce stress on the knees during long descents. Snow, ice, or technical routes may require additional equipment and skills that go far beyond a standard summer hiking kit.
Pro Tip: Pack your headlamp where you can reach it without unloading your entire backpack. A hike that takes two hours longer than expected can turn a planned daylight descent into a navigation problem after dark.
Choosing the Right 14er: Difficulty Levels and Routes
Do not choose a first 14er solely because somebody calls it “easy.” Compare route class, mileage, elevation gain, exposure, trailhead access, road conditions, expected weather, and your own experience.
In commonly used Colorado route ratings, Class 1 generally means trail hiking. Class 2 can involve rough terrain, talus, route finding, and occasional use of the hands. Class 3 introduces sustained scrambling where hands are regularly used and a fall can have serious consequences. Higher classes move into increasingly technical climbing. Snow or ice can make any summer rating irrelevant.
| 14er | Typical Standard-Route Character | Common Route |
|---|---|---|
| Mount Elbert | Class 1 hiking, but with major elevation gain | Northeast Ridge |
| Grays Peak | Class 1 hiking | North Slopes |
| Torreys Peak | Class 1 on the South Slopes standard route | South Slopes |
| Mount Bierstadt | Class 2 with rougher terrain near the summit | West Slopes |
| Quandary Peak | Class 1 hiking with substantial elevation gain | East Ridge |
| Mount Blue Sky (formerly Mount Evans) | Class 2 on the West Ridge from Summit Lake | West Ridge from Summit Lake |
| Longs Peak | Exposed mountaineering route with scrambling, loose rock, steep terrain, and potentially fatal fall consequences | Keyhole Route |
For beginners, peaks such as Mount Bierstadt, Grays Peak, or Quandary Peak are commonly considered more approachable than technical 14ers because their standard routes avoid sustained technical climbing in normal summer conditions. That does not make them easy. Each still demands high-altitude endurance, weather awareness, and appropriate judgment.
Route descriptions on 14ers.com can help compare mileage, elevation gain, class, exposure, route finding, and trailhead difficulty. For federally managed land, confirm the final access and closure status with the relevant agency before departure.
Warning: Longs Peak is not a suitable “next step” simply because it appears in the same 14er list. The National Park Service describes the Keyhole Route as a mountaineering climb rather than an ordinary hike. It includes exposed ledges, loose rock, scrambling, route finding, and locations where an unroped fall could be fatal.
More experienced climbers may seek peaks such as Capitol Peak or Pyramid Peak, where exposed scrambling, complex route finding, loose rock, and consequential terrain demand much stronger mountain skills. These objectives should not be approached as simply longer versions of beginner 14ers.
Check Access Before Choosing Your Peak
Trailhead rules can change because of wildfire, construction, private-property agreements, crowd management, snow, road damage, or seasonal closures.
2026 Access Note: As of July 27, 2026, the USDA Forest Service Willow Fire closure includes North Mount Elbert Trail #1484 and is scheduled through September 30 unless rescinded. For Quandary Peak, the official 2026 parking and shuttle program requires parking reservations from June 13 through September 13. Vehicle access to the Mount Blue Sky Recreation Area also uses timed-entry reservations. Always recheck these pages because closures and access rules can change.
Season and Trail Conditions Matter as Much as Route Class
A route that is straightforward in dry summer conditions can become a snow climb when covered with hard snow or ice. Spring and early summer may bring avalanche hazards, cornices, snow bridges, and runout zones. Fall can bring early-season ice and shorter daylight. Winter 14ers require a separate set of avalanche, navigation, cold-weather, and mountaineering skills.
Check current conditions shortly before the hike and be willing to choose another peak when the mountain does not match your experience or equipment.
Safety Tips for Hiking 14ers
Altitude, weather, exposure, fatigue, route finding, and changing trail conditions all deserve attention. Good decisions are more important than any single piece of gear.
Acclimatize Instead of Relying on Fitness
Anyone arriving rapidly from low elevation can develop altitude illness, including a very fit athlete. The CDC lists headache, fatigue, dizziness, loss of appetite, nausea, and sometimes vomiting among common acute mountain sickness symptoms.
Do not continue climbing simply because you trained hard for the trip. Stop ascending when altitude symptoms develop and reassess. Worsening symptoms are a reason to descend.
Altitude Emergency: Confusion, unusual drowsiness, loss of coordination or inability to walk normally can indicate high-altitude cerebral edema. Severe shortness of breath at rest, worsening cough, chest congestion, or respiratory distress can indicate high-altitude pulmonary edema. These conditions require urgent descent and emergency medical care. Do not wait for them to improve on the summit.
Hydration still matters because exertion, sun, dry air, and wind can contribute to dehydration. However, drinking extra water is not a substitute for acclimatization and does not make someone immune to altitude illness.
Plan for Lightning and Rapid Weather Changes
Colorado mountain weather can change quickly, especially during the summer thunderstorm season. Check a mountain-specific forecast before leaving and again at the trailhead when service is available.
Starting early gives you more time, but there is no universal departure time that guarantees safety. Build your schedule backward from the forecast, route length, pace, and the amount of exposed terrain. Current National Park Service summer guidance for Longs Peak, for example, warns that afternoon thunderstorms are a serious threat and recommends returning to treeline by noon when those conditions are present.
If thunder is audible or threatening clouds are building over exposed terrain, do not keep climbing merely because the summit is close.
Do Not Depend on Cell Service
Download maps, route descriptions, forecasts, and access information before leaving town. Cell service can disappear at trailheads, in valleys, behind ridges, and even on popular routes. The National Park Service specifically cautions visitors not to rely on a phone for emergency help on Longs Peak.
A satellite communicator can add another layer of emergency communication, but it does not eliminate risk or guarantee immediate rescue.
Leave a Trip Plan
Tell a reliable person:
- Which mountain and exact route you intend to use
- Your trailhead and vehicle information
- Who is in your group
- Your planned start and turnaround times
- Your expected return time
- What they should do if you do not check in
If your plans change before you lose service, update that person.
Use a Turnaround Time
A planned turnaround time keeps “summit fever” from driving the decision. If you reach that time before the summit, turn around unless your plan deliberately allows otherwise and conditions remain safe. Descending often takes longer than expected when hikers are tired.
The Importance of Leave No Trace Principles
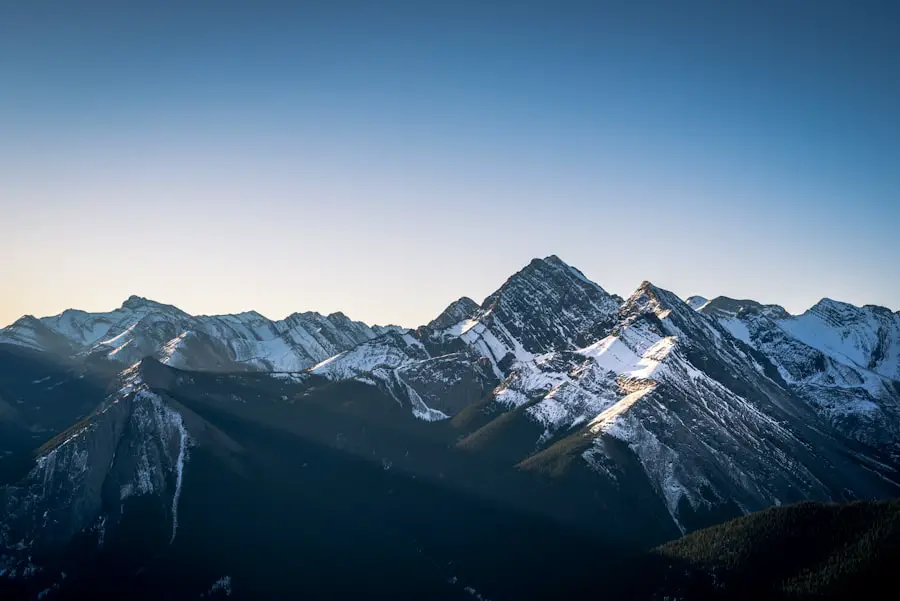
High alpine environments recover slowly from damage, and popular 14ers can receive intense use. Following Leave No Trace principles helps protect fragile vegetation, wildlife, water, and the experience of other visitors.
The seven core principles are:
- Plan ahead and prepare. Know the route, regulations, weather, access rules, and hazards before leaving.
- Travel and camp on durable surfaces. Stay on established trail where possible and avoid trampling fragile alpine plants.
- Dispose of waste properly. Pack out trash, food scraps, pet waste, and other litter. Follow the land manager’s human-waste rules; packing waste out may be required or preferable where soils are shallow or use is heavy.
- Leave what you find. Do not remove rocks, plants, artifacts, or summit-area features.
- Minimize campfire impacts. Follow all fire restrictions and avoid fires where they are prohibited or inappropriate.
- Respect wildlife. Give animals space and never feed them.
- Be considerate of other visitors. Keep noise low, manage dogs responsibly, and yield appropriately on narrow trails.
Staying on established routes is especially important above treeline, where a few footsteps across fragile tundra can create long-lasting damage.
Conquering Your First 14er: Tips for Success
A successful first 14er begins before you reach the trailhead. Use a route you have researched carefully, confirm access, and pack the night before so an early departure does not lead to forgotten gear.
The Night Before
- Check the latest National Weather Service or land-manager forecast.
- Check wildfire closures, trail closures, parking restrictions, and road conditions.
- Download your route and maps for offline use.
- Charge your phone, headlamp, GPS, and emergency communicator.
- Pack food, water, layers, first aid, and sun protection.
- Set a realistic turnaround time.
- Send your route and return plan to your emergency contact.
At the Trailhead
- Recheck the sky and weather when service is available.
- Confirm you are starting on the correct trail.
- Make sure everyone in the group feels well.
- Start at a pace you can sustain for hours rather than racing the first mile.
Frequent short breaks can be more efficient than hiking until exhaustion. Eat and drink throughout the day rather than waiting until you feel depleted.
Pro Tip: On the ascent, occasionally turn around and study what the route looks like in the opposite direction. Junctions and rock features can appear surprisingly different during the descent.
A positive mindset can make a difficult day more enjoyable, but do not let motivation override objective warning signs. Turning around because of weather, altitude symptoms, fatigue, snow, route-finding uncertainty, or exposure is a successful safety decision—not a failed hike.
The Ultimate Reward: Enjoying the Views from the Summit
Reaching a 14er summit can be an unforgettable moment. The broad views, high alpine terrain, and knowledge of how much effort it took to arrive can create a genuine sense of accomplishment.
Take time to enjoy the summit, but remember that you are only halfway through the outing. Many injuries occur on descents when fatigue builds and concentration drops. Keep eating, drinking, checking the weather, and paying attention to your route.
The shared experience can also create a strong sense of community among hikers. A brief conversation at the summit, encouragement on a steep section, or helping another group confirm a junction can become part of the day’s memory. The best summit story, however, is one that ends with everyone returning safely.
Electronics should remain secondary to mountain skills, but keeping essential devices charged can still be useful for offline navigation, weather information, photography, and emergency communication. A compact option from this guide to the best power bank for international travel may also work for hiking trips. For longer backcountry trips, the site’s guide to the best solar charger for backpacking covers another charging option. For organizing clothing and non-trail gear during a Colorado trip, see these 5 must-have packing cubes for your spring 2025 getaway. Never treat battery-powered electronics as your only navigation or emergency plan.
Frequently Asked Questions
What is a 14er in hiking?
A 14er, or fourteener, is a mountain peak reaching at least 14,000 feet above sea level. The term is especially common in Colorado, where hiking and climbing these high peaks is a popular outdoor goal.
How many 14ers are there in Colorado?
Colorado is commonly described as having 58 named peaks above 14,000 feet. Lists that require roughly 300 feet of topographic prominence rank 53 independent 14ers, so you may see both numbers depending on the counting method.
What are some popular 14ers in Colorado?
Popular Colorado 14ers include Mount Elbert, Grays Peak, Torreys Peak, Quandary Peak, Mount Bierstadt, Pikes Peak, Mount Blue Sky, and Longs Peak. Popularity does not mean every route is beginner-friendly; Longs Peak’s Keyhole Route, in particular, involves serious exposed mountaineering terrain.
Which Colorado 14er is best for a beginner?
There is no universally easiest 14er. Grays Peak, Quandary Peak, and Mount Bierstadt are commonly selected for first attempts because their standard summer routes are relatively straightforward compared with technical peaks. Compare current conditions, route class, mileage, elevation gain, trailhead access, and your own high-altitude experience before choosing.
What should hikers consider before attempting a 14er?
Consider your fitness, altitude acclimatization, route class, elevation gain, mileage, exposure, navigation ability, expected weather, snow or ice, trailhead road conditions, parking rules, wildfire closures, available daylight, emergency communication, and a firm turnaround plan.
What should I do if I develop altitude sickness while hiking?
Stop ascending and reassess. Headache with nausea, dizziness, unusual fatigue, or appetite loss can indicate acute mountain sickness. If symptoms worsen, descend. Confusion, loss of coordination, severe breathing difficulty at rest, or other serious neurological or respiratory symptoms require urgent descent and emergency medical care.
What are the most important safety tips for hiking a 14er?
Acclimatize before the climb, choose a route within your abilities, check current access and weather, start with enough time to avoid forecast storms, carry proper layers and navigation, do not rely on cell service, tell someone your itinerary, monitor altitude symptoms, use a turnaround time, and be willing to descend before reaching the summit.
Sources
- Colorado.com — What Are 14ers? — Colorado 14er count and general background.
- U.S. Department of the Interior — Mount Blue Sky Renaming — confirms the 2023 federal name change from Mount Evans to Mount Blue Sky.
- CDC Yellow Book — High-Altitude Travel and Altitude Illness — acclimatization, acute mountain sickness, HACE, HAPE, symptoms, and descent guidance.
- National Park Service — Longs Peak Keyhole Route — route hazards, exposure, weather, altitude, and mountaineering guidance.
- USDA Forest Service — Willow Fire Area Closure — current 2026 closure affecting North Mount Elbert Trail and surrounding areas.
- Leave No Trace — The 7 Principles — responsible travel, waste disposal, wildlife, durable surfaces, and visitor ethics.

