
Last Updated on July 27, 2026 by Daniel Globe
Hiking shoes collect mud, grit, sweat, and trail debris every time you wear them. Cleaning that buildup helps the uppers, tread, lining, and water-repellent finish work as intended while giving you a chance to spot worn lugs, damaged laces, or separating sole edges before your next hike. The safest method is simple: remove loose dirt, hand-clean the shoes with products suited to their materials, and let them dry naturally.
Quick Answer
To clean hiking shoes, remove the laces and insoles, brush away dry dirt, wash the uppers and outsoles by hand with lukewarm water and a material-safe cleaner, rinse away residue, and air-dry at room temperature. Reapply water-repellent treatment only when needed and only with a product approved for the shoe material.
Key Takeaways
- Brush off mud and grit before wet cleaning so you are not grinding debris deeper into the upper.
- Remove laces and removable insoles so you can clean the tongue, eyelets, lining, and footbed properly.
- Check the footwear manufacturer’s care instructions before using detergent, leather cleaner, waterproofing spray, vinegar, or any other treatment.
- Do not put hiking shoes in a washing machine unless the shoe manufacturer specifically says that model is machine washable.
- Dry shoes naturally at moderate room temperature and keep them away from radiators, hair dryers, fires, and other strong heat sources.
- Do not automatically re-waterproof shoes after every wash. Restore DWR when water stops beading or when the manufacturer recommends treatment.
At a Glance
| Time Required | About 20–30 minutes of active cleaning, plus air-drying time |
| Difficulty | Easy |
| Tools Needed | Soft brush, cloth or sponge, old toothbrush, lukewarm water, towel, and a material-safe footwear cleaner if needed |
| Cost | About $0–$20+ depending on whether you already own a suitable cleaner or water-repellent treatment |
The safest cleaning rule is to use the least aggressive method that removes the dirt: brush first, add water second, and use a material-compatible cleaner only when necessary.
Materials Needed for Cleaning Hiking Shoes
You do not need a complicated cleaning kit. Start with basic tools and add a specialized product only when the shoe material or level of dirt calls for one.
- Soft-bristled brush: Use it to remove dust, dried mud, and grit from the upper.
- Old toothbrush: Useful around eyelets, seams, outsole edges, and small tread channels.
- Microfiber cloth or soft sponge: Good for wiping textile, synthetic, and smooth surfaces.
- Lukewarm water: Enough for most routine cleaning.
- Material-safe footwear cleaner: Choose one specifically approved for the shoe’s fabric, membrane, or leather type when plain water is not enough.
- Clean towel: For blotting excess surface water.
- Paper or newspaper: Optional for absorbing moisture inside very wet shoes.
- Water-repellent treatment: Optional and only needed when the shoe’s outer material no longer sheds water effectively.
Warning: Do not assume that bleach, stain remover, dish detergent, vinegar, leather conditioner, wax, or waterproofing spray is safe for every hiking shoe. Materials and membranes differ. Check the shoe manufacturer’s instructions before applying a chemical treatment. GORE-TEX specifically advises against bleach and machine washing its footwear.
Check the Shoe Material Before You Start
Cleaning methods differ because a hiking shoe may combine synthetic mesh, textile, rubber, smooth leather, suede or nubuck, foam, adhesives, and a waterproof membrane.
- Synthetic and textile uppers: Usually tolerate gentle brushing and hand cleaning with lukewarm water. Use a compatible footwear cleaner when needed.
- GORE-TEX or similar waterproof footwear: Follow the shoe manufacturer’s instructions first. GORE-TEX footwear care guidance recommends removing laces and the footbed, brushing away dirt, hand washing with lukewarm water and a small amount of liquid detergent, avoiding bleach, and avoiding the washing machine.
- Smooth/full-grain leather: Use products made for that leather and avoid aggressive soaking. Conditioning and water-repellent treatments can affect color or feel.
- Suede and nubuck: Use cleaners and proofing products specifically intended for textured leather so you do not flatten or permanently alter the nap.
Salomon’s current footwear-care guidance likewise recommends hand cleaning with a soft wet brush and clean water and drying footwear at room temperature rather than using a washing machine or external heat.
Step 1: Remove Laces, Insoles, Dirt, and Debris
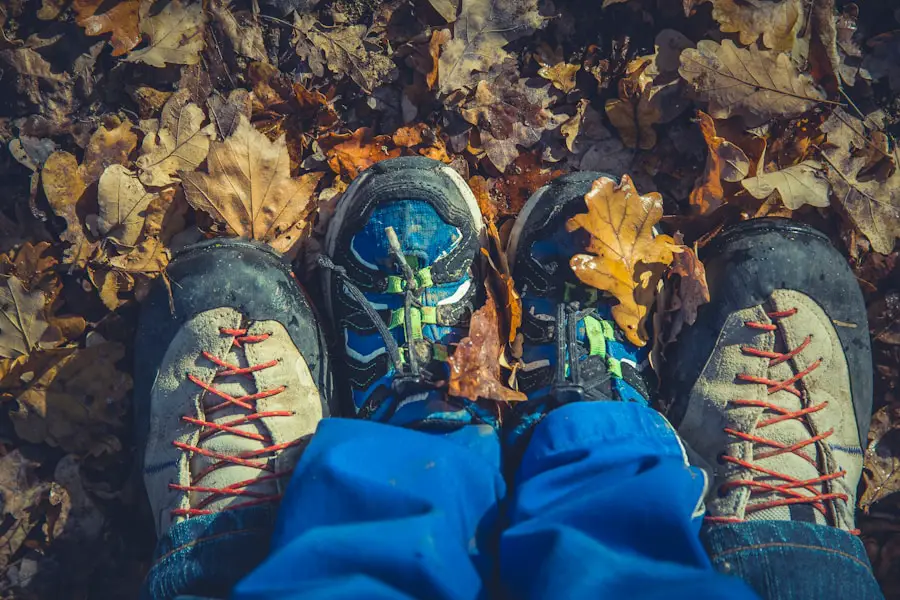
Start while the shoes are dry or only slightly damp. Remove the laces so you can reach the tongue, eyelets, and upper more easily. If the insoles or footbeds are removable, take those out too.
Shake the shoes upside down to remove sand, gravel, leaves, and other debris from the interior. Then use a soft brush to loosen dried dirt on the upper.
Give the outsoles more vigorous attention. Mud can pack between the lugs, and small stones may become wedged in tread channels. Removing that material exposes the tread pattern again and keeps trail debris out of your vehicle and home.
Pro Tip: Clean the outsole before scrubbing the upper. Otherwise, mud from the tread can end up back on areas you have already washed.
REI’s hiking-boot care guide notes that embedded dirt and grit can work deeper into leather and fabric as footwear flexes, increasing mechanical wear over time.
Step 2: Clean the Exterior of the Shoes
Once the loose dirt is gone, use lukewarm water and a soft cloth, sponge, or brush to clean the upper. Plain water may be enough for routine dirt. For stubborn grime, use a footwear cleaner approved for the material.
| Cleaning Method | Typical Active Time | Materials Needed |
|---|---|---|
| Dry brushing | About 5 minutes | Soft shoe brush |
| Wiping with a damp cloth | About 3–5 minutes | Cloth, lukewarm water |
| Deeper hand cleaning | About 10–15 minutes | Compatible footwear cleaner, brush or sponge, water |
Work over one section at a time. Pay attention to the tongue, seams, eyelets, rand, mesh panels, and the line where the upper meets the sole. An old toothbrush can help around small details without requiring excessive force.
After using cleaner, rinse or wipe the area with clean water according to the product instructions. Leaving cleaning residue on the surface can affect appearance and may interfere with water repellency.
Note: Do not immerse leather footwear simply because a stain is stubborn. Repeated soaking is unnecessary for most cleaning jobs, and leather care should follow the footwear maker’s instructions.
Step 3: Clean the Laces, Insoles, and Interior
The inside matters as much as the exterior. Sweat and moisture collect in the lining and footbed, while sand or grit inside the shoe can cause discomfort on the next hike.
Clean the Laces
Brush loose dirt from the laces, then hand wash them with water and a small amount of suitable mild cleaner if needed. Rinse them thoroughly and leave them to air-dry.
Clean the Insoles
Shake or brush dirt from removable insoles. Wipe or hand wash them according to their care instructions, then dry them separately from the shoes.
Do not assume every insole is machine washable. Some brands permit machine washing for specific removable sock liners, but that does not make it a universal rule. Follow the instructions for the actual insole in your shoes.
Clean the Interior
Use a lightly damp cloth or sponge to wipe reachable interior surfaces. Avoid saturating foam and padding unless the manufacturer specifically recommends washing them that way.
For ordinary odor, drying the shoe completely and allowing plenty of airflow is the first step. Salomon recommends removing the insoles and airing footwear between hikes to help control moisture and odor.
Do not routinely pour vinegar or another household solution into hiking footwear. REI describes an 80% water/20% vinegar mixture specifically for mold cleaning, but material compatibility still matters. If you see mold, check the footwear manufacturer’s care guidance before treating it.
The CDC notes that damp and moldy environments can cause respiratory or skin symptoms in some people, especially those with mold sensitivity or certain underlying conditions. The practical footwear lesson is simple: do not store hiking shoes wet.
Step 4: Dry the Shoes Correctly
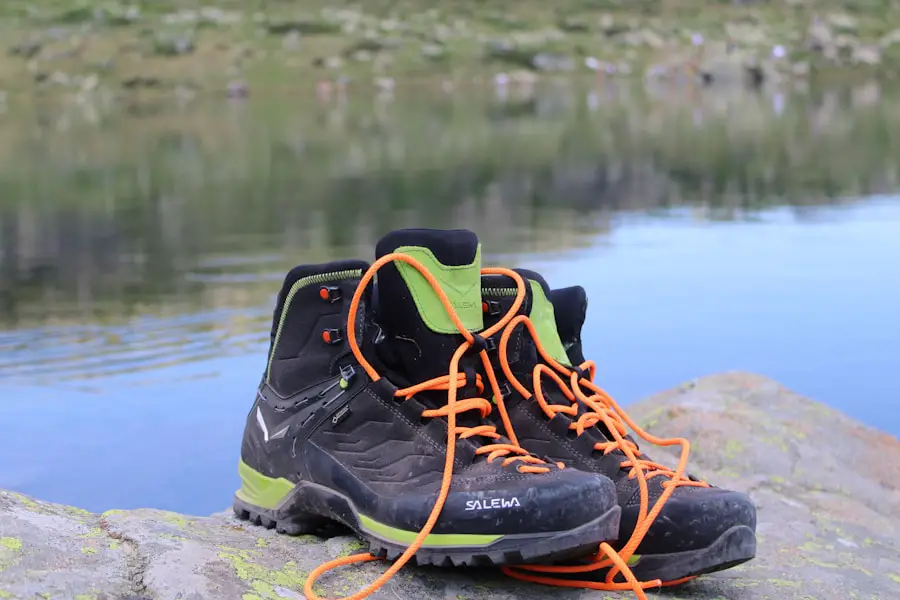
After cleaning, blot excess surface water with a clean towel. Leave the shoes open in a well-ventilated area at normal room temperature. Keep the laces and insoles out until every part is dry.
Do not dry hiking shoes against a radiator, beside a fire, in a hot clothes dryer, or with a high-heat hair dryer. Excessive heat can age leather, distort components, and weaken bonded footwear construction.
Both GORE-TEX and Salomon recommend natural drying at moderate or room temperature rather than direct heat.
If the inside is very wet, loosely stuff the toes with newspaper or absorbent paper and replace it when it becomes damp. A fan moving room-temperature air can also speed drying without exposing the shoes to damaging heat.
Warning: Do not put the shoes away while the lining, tongue, or insole is still damp. Persistent moisture encourages odor and can support mold growth.
Inspect the Shoes While They Dry
Cleaning is a good time to check for damage. Look for:
- cuts or torn mesh
- loose or frayed laces
- cracks in leather
- separating sole edges or delamination
- worn or torn outsole lugs
- damaged eyelets
- persistent leaks in footwear that is supposed to be waterproof
Cleaning will not repair structural damage. Address serious sole separation or failed waterproof construction before relying on the shoes for a long or remote hike.
Step 5: Check and Restore Water Repellency if Needed
Re-proofing is not automatically required after every cleaning. First let cleaning do its job, then check how the outer material handles water.
When droplets still bead and roll off the upper, the existing durable water-repellent finish is generally still doing its job. When the outer material begins absorbing water instead of beading it, the DWR may need restoration.
GORE-TEX currently recommends reapplying a water-repellent treatment when water no longer beads and runs off the footwear. Importantly, the DWR on the outer material is separate from the waterproof membrane inside the shoe. A wetted-out upper does not automatically mean the waterproof membrane has failed.
Choose the Treatment for the Material
- Waterproof textile or fabric footwear: Use a compatible water-based treatment recommended by the footwear or membrane manufacturer.
- Smooth/full-grain leather: Use a treatment intended for smooth leather and follow the footwear manufacturer’s directions.
- Suede or nubuck: Use a product specifically designed for textured leather.
- Combination leather/fabric shoes: Choose a treatment approved for mixed-material footwear.
Nikwax notes that footwear does not necessarily need to be re-waterproofed every time it is cleaned. When cleaning no longer restores beading, it recommends an appropriate water-based footwear treatment.
Pro Tip: Read the waterproofing product directions before drying the shoes. Some modern footwear treatments are designed to go onto clean, damp uppers, so automatically drying the shoes first can mean missing the ideal application stage.
After treatment, dry the shoes exactly as the treatment manufacturer directs before replacing the insoles and laces or wearing the shoes again.
Tips for Maintaining Clean Hiking Shoes
Deep cleaning is easier when you do a little maintenance after each hike.
- Knock off mud promptly: Brush or rinse away heavy trail mud before it becomes deeply packed into the tread or dries into the upper.
- Air the shoes out: Remove the insoles after sweaty or wet hikes and let the footwear ventilate.
- Keep the tread clear: Remove stones, dried clay, and other material caught between the outsole lugs.
- Use gaiters when conditions warrant: Gaiters can reduce the amount of mud, sand, snow, and trail debris entering or covering the shoes.
- Store shoes dry: Keep them in a ventilated location with moderate temperatures rather than in a damp bag, hot vehicle, or unventilated storage area.
- Avoid unnecessary heat and sun exposure: Strong heat can prematurely age footwear materials.
- Use the shoes for appropriate terrain: Excessive abrasion on surfaces the shoe was not designed for can accelerate outsole and upper wear.
How Often Should You Clean Hiking Shoes?
There is no fixed number of miles between cleanings. Base it on conditions.
- After a dry, clean hike: Shake out grit, brush the uppers and soles, and air the shoes.
- After a muddy hike: Remove mud and clean the shoes soon after the trip rather than storing them dirty.
- After a very wet hike: Remove the insoles and dry everything thoroughly.
- Before long-term storage: Clean the shoes, dry them completely, inspect them, and store them somewhere ventilated and temperature-stable.
Salomon recommends removing mud and cleaning hiking footwear after muddy outings or whenever the shoes visibly need it, while airing them after ordinary hikes.
Note: The original article also linked to How Bed Bugs Travel Room to Room. That is a separate housekeeping topic rather than a source for hiking-shoe care. For footwear cleaning, rely on the manufacturer and care references provided in this guide.
Frequently Asked Questions
What are the best methods for washing hiking shoes?
Remove the laces and removable insoles, shake and brush away loose dirt, hand-clean the upper and outsole with lukewarm water and a material-compatible cleaner when needed, rinse away cleaner residue, and air-dry at room temperature. Always give the shoe manufacturer’s instructions priority.
Can I put my hiking shoes in the washing machine?
Usually, no. GORE-TEX and Salomon both advise against machine-washing their hiking footwear because agitation and the wash process can damage shoe materials or construction. Only use a washing machine when the manufacturer of your specific shoe explicitly says it is safe.
How should I dry hiking shoes after washing?
Remove the insoles, open the shoes, blot excess moisture, and let them air-dry in a ventilated space at moderate room temperature. Keep them away from radiators, fires, hot dryers, and other direct heat. Damp paper inside the toe can be replaced periodically to absorb moisture.
Can I use regular laundry detergent to wash hiking shoes?
Do not assume ordinary laundry detergent is suitable for every hiking shoe. GORE-TEX permits a small amount of liquid detergent for its footwear, while leather and other constructions may require different care. Check the footwear manufacturer’s instructions or use a cleaner specifically labeled for the shoe material.
How often should I wash hiking shoes?
Clean them according to conditions rather than a rigid schedule. Brush and air them after ordinary hikes. Give them a more complete cleaning after muddy or unusually dirty trips, and always clean and dry them before long-term storage.
Should I waterproof hiking shoes after every cleaning?
No. First check whether the clean upper still beads water. Reapply an appropriate DWR or water-repellent treatment when water begins soaking into the outer material or when the footwear manufacturer recommends treatment.
Can I clean leather, suede, and mesh hiking shoes the same way?
The basic sequence is similar, but the cleaning and proofing products are not necessarily interchangeable. Smooth leather, suede or nubuck, synthetic mesh, and waterproof-membrane shoes can each have different care requirements. Match the cleaner and treatment to the material and follow the footwear manufacturer’s directions.
What should I do if my hiking shoes still smell after cleaning?
Remove and dry the insoles separately, make sure the lining is completely dry, and give the shoes good airflow. If odor persists, use an odor-control product approved by the shoe manufacturer rather than automatically soaking the interior in household chemicals.
Sources
- GORE-TEX — Footwear Care Instructions — hand washing, detergent, drying, DWR restoration, bleach, and washing-machine guidance.
- Salomon — Footwear Care — routine cleaning, machine-washing precautions, drying, leather care, lining, insoles, and storage.
- REI — How to Clean Hiking Boots — grit removal, upper and outsole cleaning, drying, storage, and conditioner guidance.
- Nikwax — Footwear Cleaning Gel — cleaning waterproof footwear and determining when re-waterproofing is needed.
- CDC — Mold — moisture, mold growth, and possible health effects of mold exposure.
