
Last Updated on July 27, 2026 by Mason Reed
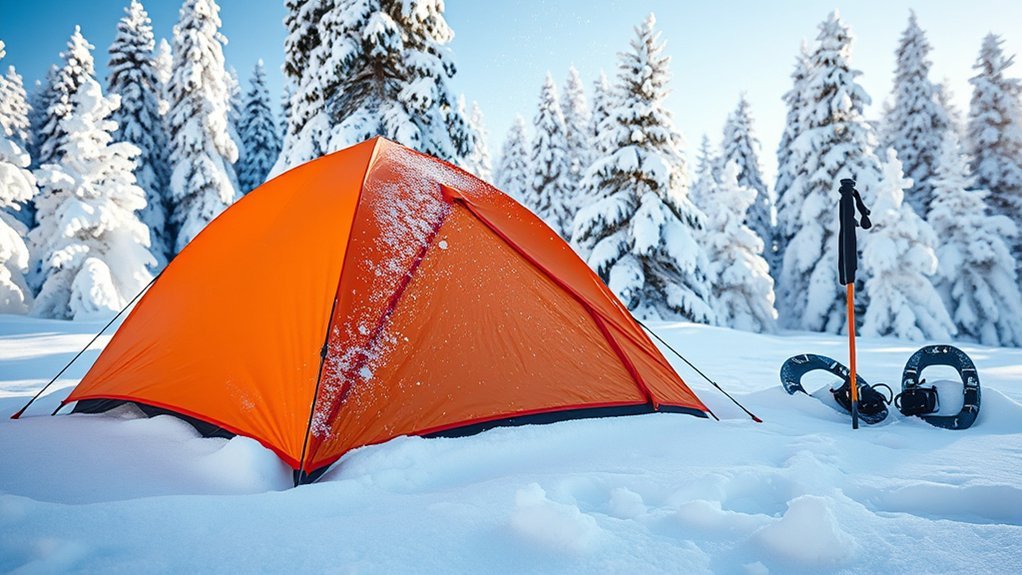
Pitching a 3-season tent in light snow is a manageable challenge for winter backpackers, provided you understand its structural limits. While non-winterized tents lack the heavy-duty pole geometry and solid fabric walls of true 4-season shelters, strategic pitch adjustments, snow anchors, and an insulated sleep system allow you to stay safe and dry during mild cold-weather trips.
Quick Answer
Yes, a 3-season tent can handle light snow if you minimize mesh exposure, stake the rainfly close to the ground, use sturdy anchors, and pair it with a warm sleeping bag and high R-value pad. It struggles in heavy snowfall and high winds, where a 4-season tent is safer.
Key Takeaways
- A 3-season tent’s mesh panels and lighter poles make it better suited to light snow than heavy accumulation or strong wind.
- Your sleeping bag and pad do most of the work keeping you warm — the tent fabric itself adds only a few degrees of warmth.
- Standard stakes often fail in snow; deadman anchors, snow stakes, or buried gear hold much better.
- Regular snow removal from the roof is essential to prevent collapse under heavy loads.
- For extended winter trips or harsh conditions, a dedicated 4-season tent is the safer choice.
At a Glance
| Time Required | 30–45 minutes (includes snow packing) |
| Difficulty | Intermediate |
| Tools Needed | Snow shovel, snow stakes or deadman anchors, extra guylines, high R-value pad |
| Target Conditions | Light dustings, dustings under 3 inches, low wind |
Disclosure: As an Amazon Associate I earn from qualifying purchases. Some links on this page are affiliate links, at no extra cost to you.
Understanding 3-Season Tents
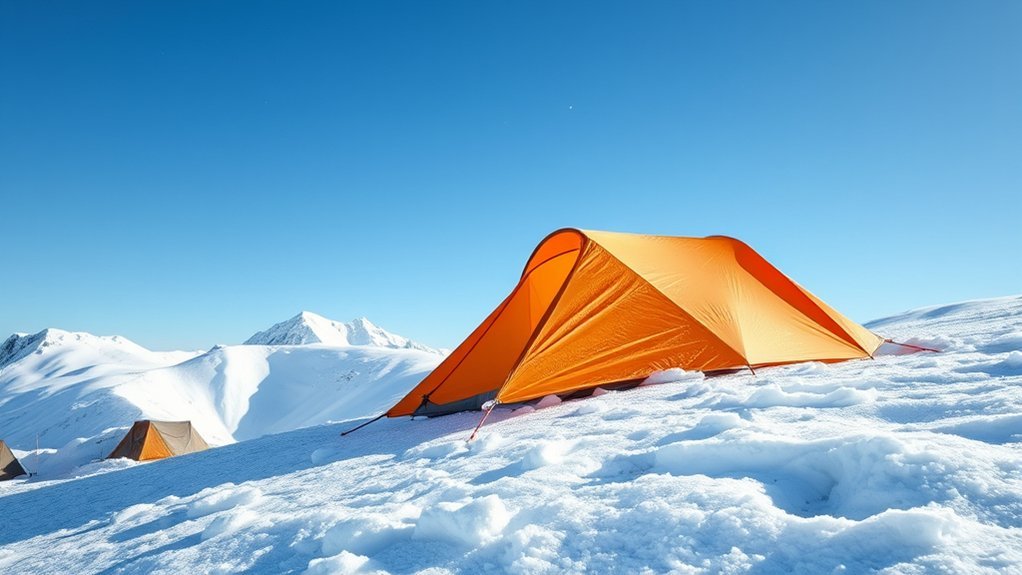
Three-season tents are built for spring, summer, and fall, with a strong focus on ventilation through mesh panels that keep airflow moving on warm nights. That same mesh lets in cold air, which is why these tents aren’t designed for winter use. Weighing around 2–4 pounds, they’re popular for backpacking, but they lack the wind and snow resistance of dedicated winter gear.
Some 3-season tents can handle light snowfall reasonably well, though their thinner poles and reduced stability make them vulnerable in high winds. Staking the fly close to the ground and minimizing mesh exposure can help in mild winter conditions, but you’ll still need to clear snow regularly to prevent the tent from collapsing under its weight. Knowing these limits upfront helps you plan a safer, more comfortable trip.
Pro Tip: Don’t seal off all your vents to trap heat. Some airflow is still necessary to prevent condensation from building up inside the tent and soaking your gear overnight.
Site Selection and Snow Preparation
Before pitching a 3-season tent in winter, choosing the right spot and preparing the ground are vital steps that determine whether your shelter stays secure. Standard summer campsite prep won’t cut it on frozen terrain.
- Avoid hazard areas: Never pitch under trees heavy with snow load (“widowmakers”) or near avalanche-prone slopes. Consult the National Park Service Winter Camping Safety Guidelines for terrain hazard evaluation.
- Sinter the snow: Stomp down a flat area using snowshoes or boots. Packing the snow causes friction heat that refreezes the ice crystals (a process called sintering). Wait 20 to 30 minutes after packing before pitching to let the platform harden into a solid foundation.
- Position for wind: Align the lowest, narrowest profile of your tent directly into the prevailing wind to reduce drag and pole deflection.
Key Features for Winter Use
To get the most out of a 3-season tent in winter, focus on the features that actually affect performance in the cold. Reduce mesh exposure and pitch the fly as close to the ground as possible to block wind and hold in warmth. Stronger poles with extra guyline points improve stability and help the tent handle snow loads better. Manage condensation with smart ventilation rather than sealing the tent up completely, and use a footprint underneath for moisture protection and added durability. Building up snow around the tent’s base can also help insulate it and cut down on wind penetration.
Tent Poles and Structure
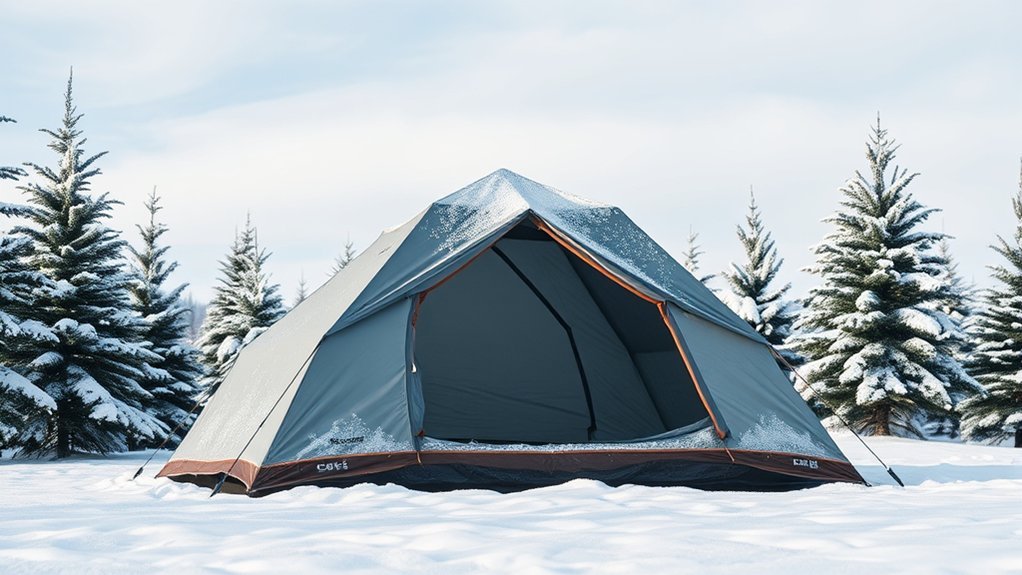
Poles and structure make a big difference in how well a tent holds up to winter weather. Keep these factors in mind:
- Pole materials: High-grade aluminum alloy poles (such as DAC Featherlite or 7001-T6) handle cold temperatures with flex, whereas low-cost fiberglass becomes brittle and can shatter in sub-freezing conditions. Carbon fiber is lightweight but prone to shear failure under sudden heavy snow impacts.
- Structure design: Steeper pitches shed snow more effectively, lowering the risk of collapse.
- Support features: Criss-crossed pole configurations add strength under snow loads.
- Stability enhancements: Extra guyline points and stake loops give better hold in harsh conditions. For detailed gear maintenance, review the REI Co-op Tent Care and Maintenance Guide.
Insulation Considerations
A 3-season tent’s thin walls don’t add much warmth on their own — a non-winterized 3-season tent is typically only about 3°F to 5°F warmer than the outside air. That means your sleeping bag and pad carry most of the responsibility for keeping you warm, not the tent fabric itself.
A 3-season tent only provides about 3°F to 5°F of warmth above outside ambient temperatures. Your sleep system—not the tent fabric—is your primary defense against freezing ground and cold air.
Sleeping Bag and Pad R-Value
Choosing the right sleeping bag and pad combination is critical when using a 3-season tent in cold weather:
- R-value rating: Choose a sleeping pad with an ASTM F3340-18 R-value rating of 5.0 or higher to block conductive heat loss to frozen ground.
- Insulation type: Down offers an excellent warmth-to-weight ratio; synthetic handles moisture better if things get damp from internal condensation.
- Stacked pads: R-values are additive. Placing a closed-cell foam pad (R-2.0) under an inflatable pad (R-3.5) yields a combined R-value of 5.5.
- Layering: Wear dry thermal base layers to bed and consider a thermal liner for extra warmth.
Tent Wall Thickness
Three-season tents use lightweight materials that offer little built-in insulation compared to dedicated winter tents. Thin walls mean cold air penetrates more easily, especially in windy conditions, so most of your warmth needs to come from your clothing and sleeping system rather than the tent itself. A waterproof footprint underneath adds a helpful moisture barrier and modest extra protection against ground frost.
Warning: Cold-weather camping carries real risk of hypothermia and frostbite, especially in wet or windy conditions. Watch for shivering, confusion, or numbness in yourself and others, and head back if conditions turn dangerous.
Tent Anchoring Techniques
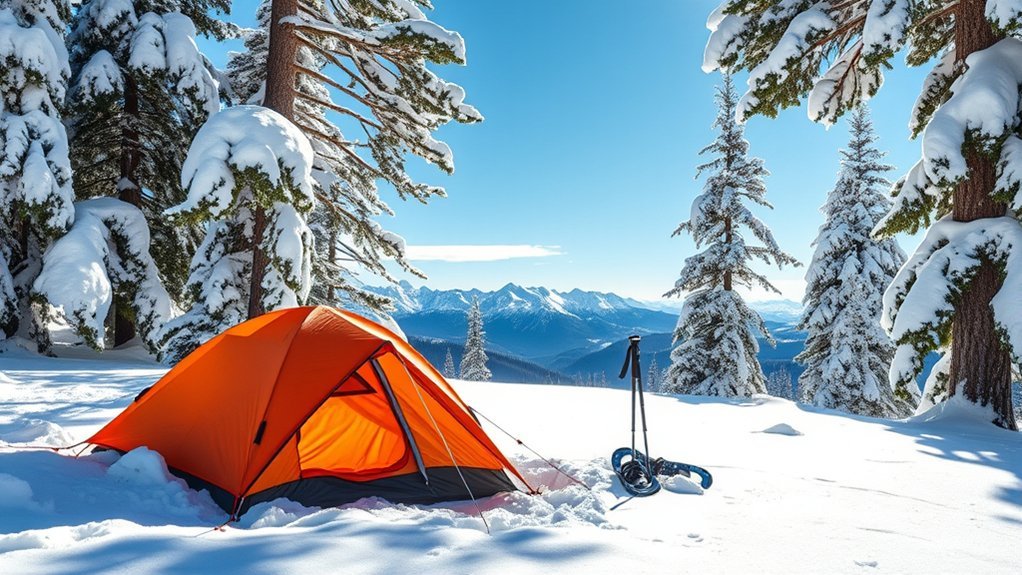
Standard stakes often fail in snow or frozen ground, so you’ll want alternative anchoring methods:
- Deadman anchors: Bury a sturdy stick, stuff sack, or other solid object horizontally 12–18 inches deep in the snow and pack it down tightly for a reliable anchor point.
- Snow stakes: Wide, winter-specific aluminum or plastic stakes with concave profiles hold far better than standard thin pegs.
- Ski or snowshoe anchors: Skis, trekking poles, or snowshoes buried deeply in snow provide strong temporary anchor points in deep drifts.
- Improvised anchors: Fill plastic grocery or stuff sacks with snow and bury them as makeshift deadman anchors.
Managing Snow Accumulation and Frost
Keeping snow from piling up is key to your tent’s stability. A steep-walled design sheds snow naturally, while proper anchoring with deadman stakes keeps everything secure against wind and weight.
Snow Shedding Techniques
- Clear snow off the roof regularly during active snowfall to prevent weight accumulation from snapping lighter 3-season poles.
- Build snow walls 1–2 feet high a few feet upwind of the tent to deflect prevailing winds.
- Keep guylines taut for maximum structural support, re-tensioning them as nylon fabric stretches in cold humidity.
- Use deadman anchors or snow stakes to keep the tent secure in deep snow.
Internal Frost and Condensation Management
In cold conditions, the moisture from your breath (up to 1 liter per person per night) rises and freezes upon contacting cold mesh and inner fly fabric.
- Keep upper fly vents open to create a chimney effect that vents warm air before moisture freezes on interior walls.
- Bring a small microfiber towel inside to wipe down interior walls before frost melts into your sleeping bag in the morning sun.
- Avoid cooking inside your tent vestibule; burning fuel produces large amounts of water vapor and carries dangerous carbon monoxide risks.
Additional Gear for Winter Camping
The right gear makes winter camping safer and more comfortable:
- Zero-degree sleeping bag or quilt: Keeps you warm through frigid nights when paired with a high-rated pad.
- Sleeping pad with R-value of 5 or higher: Insulates against the cold ground beneath you, meeting ASTM F3340 standards.
- Avalanche shovel: Useful for digging out campsite platforms, clearing snow, and building wind barriers.
- Hot water bottles: Placed inside your sleeping bag near your core, they add noticeable extra warmth overnight.
Comparing 3-Season and 4-Season Tents
The core difference between these tent types comes down to design intent. Three-season tents are lighter (typically 2–4 pounds) and prioritize ventilation for moderate weather, but they struggle in heavy snow and strong wind. Four-season tents use solid fabric panels instead of mesh to block wind-driven snow and retain more heat, along with more robust pole structures — often three to five poles crossing at multiple points — to shed snow and resist wind. If you only camp in mild winter conditions occasionally, a well-modified 3-season tent can work; for frequent or extreme winter trips, a 4-season tent is the safer long-term investment.
Tips for Successful Winter Camping
- Choose the right tent: Look for minimal mesh and a fly that pitches close to the ground for wind protection.
- Manage snow: Bank snow around the tent’s base to cut down on airflow and add insulation.
- Monitor snow load: Clear the roof regularly to avoid structural failure.
- Check the forecast: Know what’s coming so you can adjust your plans if conditions turn severe.
Frequently Asked Questions
Can I use a 3-season tent for winter backpacking trips?
You can, but the tent’s insulation won’t be enough on its own. Success depends much more on your sleeping bag, pad, and clothing than on the tent fabric itself, so plan your sleep system for the coldest expected temperature, not the mildest.
What temperature range is safe for a 3-season tent?
There’s no fixed safe number, since a 3-season tent typically adds only about 3°F to 5°F of warmth over the outside air. Safety comes down to your sleeping bag rating, pad R-value, and clothing — a well-equipped camper can handle much colder nights than an underprepared one in the same tent.
How much snow can a 3-season tent handle?
Light, occasional snowfall under 2 to 3 inches is usually manageable if you clear the roof regularly. Sustained heavy snow can overwhelm the poles and fabric, so frequent snow removal and a steep pitch angle are essential to avoid collapse.
Are there specific brands recommended for winter use?
Brands like MSR, Big Agnes, and NEMO make tents built with winter conditions in mind, including sturdier poles and reduced mesh. If you camp in snow often, look at their 4-season or winterized 3-season lines specifically.
How do I improve ventilation in a 3-season tent during winter?
Partially open vents rather than closing them completely, and use a footprint or small tarp to manage moisture. This keeps airflow moving enough to reduce condensation without losing all your trapped warmth.
Conclusion
A 3-season tent can get you through light snow, but it isn’t built to be your main defense against real winter weather. Without added insulation, sturdy poles, and solid anchoring, you’re relying almost entirely on your sleeping bag and clothing to stay warm. For frequent or extreme winter trips, a 4-season tent is the safer, more dependable choice — but for the occasional snowy night, a well-prepared 3-season setup can absolutely get the job done.
Sources
- Field & Stream — How to Winterize a 3-Season Tent — supports the ~5°F warmth differential for non-winterized 3-season tents
- Camped Too Hard — 3 Season vs 4 Season Tent Guide — backs the mesh-vs-solid-wall and pole-structure comparison
- REI Co-op — Tent Care and Maintenance Guide — supports structural stability, pole care, and guyline anchor recommendations
- National Park Service — Winter Camping Safety Guidelines — backs site selection, hypothermia prevention, and snow hazard management
